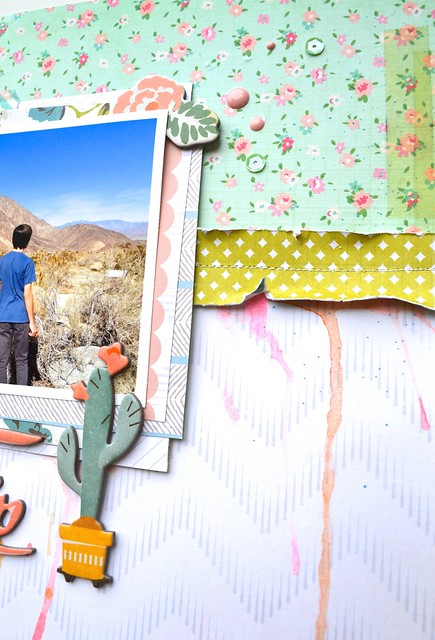
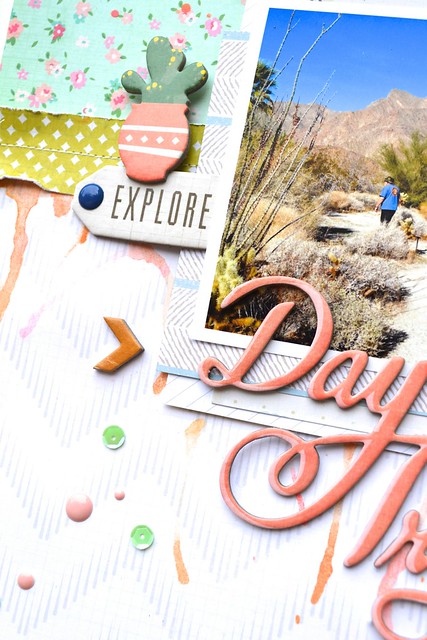
and some details:
The process in photos (with a few tips thrown in there ;) - You can enlarge the photos by clicking on them:
This page did not start with a photo but with my strong desire to use these chipboard pieces from the embellishment kit. In order to move them around and find where to place them on my page, I put them on wax paper first (then it is easy to pull them off)
I cut the two papers that I thought would work best with the title. It happens to be both sides of the same paper. When that happens I simply adhere them on another piece of cheap paper.
Before getting messy with watercolors, I chose the papers that would look good as layers under my photo.
Then I got my son's old watercolors and picked two colors (a brick and a neon pink) that I applied loosely to the edge of my paper. I used lots of water because I wanted the drips to happen. Placing the paper on the vertical and blowing down helped. For some of us, this is a tough step but know that there's really no right or wrong way of doing this. You just have to have fun and accept whatever happens!
To hide the actual edge, I cut, sewed and distressed an inch wide strip of paper to go on each side of the photo block.
Then it's time to mat the photo with several layers of various sized papers. No need to measure.
I then created an area from my journaling by adding a couple of strips of paper on the bottom left corner as well as a chipboard arrow. The finishing touches include a piece of washi tape towards the top of the mat (from my stash), a few more chipboard pieces here and there that coordinate with the title, sequins and enamel dots.
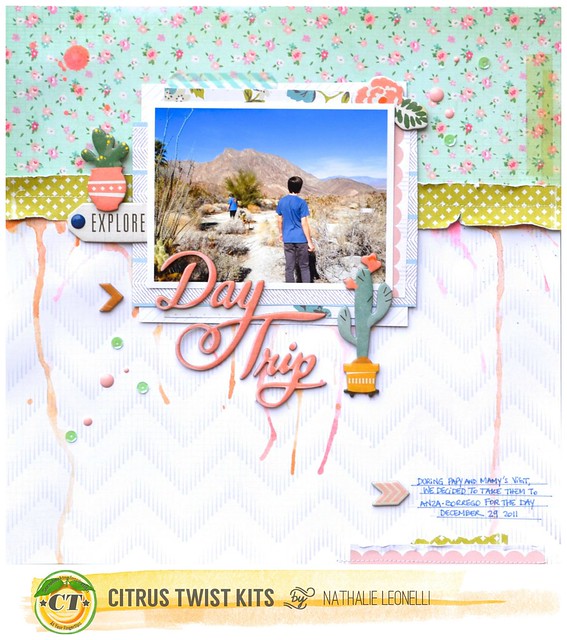
Here's a look at the final page once again:
KITS USED: Beautiful Life main kit, Day Tripping embellishment kit
NON-KIT ITEMS: watercolors, washi tape
Are you ready to play with your June kits yet! :) I'll be back here on Saturday with more pages!


Such a beautiful layout!
ReplyDeletebeautiful!
ReplyDelete