Sunday, April 25, 2021

Sunday sketch with Alena


 Hey everyone!  It's Alena with  layout for Sunday Sketch.


Here's a look at the sketch this week:


Instead of creating a traditional 12x12 layout, I used this sketch for the pages of my LC album


 These pages are quite simple and has lots of white space. For the basis of  the pages, I took a white cardstock. Then I layered strips of patterned paper, on which I placed   embellishments.


I created the title using my favorite NARROWS ALPHABET stamps. I added accents with mini stamps and enamel dots.

Well, then it is time for you be inspired by the sketch to create a page of your own.  Remember to share your creations with us on the Citrus Twist Kits Friends page on Facebook or by using #CTK, @Citrustwistkits on social media.  I cannot wait to see what you create with this sketch.


Saturday, April 24, 2021

3-to-Inspire with Shannon


Hello there, friends! Shannon here with your 3-to-Inspire for the week. I love this challenge. Picking three things to focus on when I'm creating my layout makes it come together so much easier. It's such a great starting point! Let's get to the list:

1. Use an old photo

2. Use a sketch

3. Use multiple embellishments to make a title

And now let's look at the page I created using these prompts.


1. Use an old photo

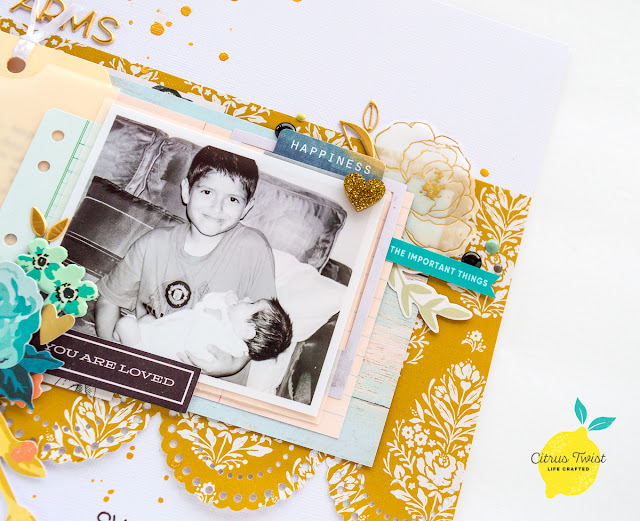
I knew that I wanted to use the Travelogue products for this page so I started looking through my photos for one that hadn't been scrapbooked yet. This photo from a few years ago is one of my favorites. It was taken during my long scrapbook hiatus so I knew it wasn't documented anywhere. All that I had to do was pull it into my phone for a quick edit. Sometimes I'm hesitant to document older photos because the quality isn't as good as new photos. I'm really trying to get over that so hopefully this challenge will give you a push to do the same!


2. Use a sketch

I always find that sketches help flip my brain into creative mode. This is helpful when I want to scrapbook but my brain might be feeling a little fried. Or when I want to break out of my box a little. Did you know that there is a new sketch every Sunday on the Citrus Twist blog? You can find them all through the Sunday Sketch tag. I chose a sketch from May 2020 for this layout. I made several changes - there is only one photo, the journaling is in a different place, I made a cluster of stamps, chipboard stickers, and puffy stickers at the top, and my page is in a Life Crafted album. That's what I love about sketches. You can interpret them as literally or as freely as you want.


3. Use multiple embellishments to make a title

This part of the challenge was so fun! I gathered up some Travelogue ephemera and chipboard stickers that had words on them. From there, I decided what I wanted to use for my title. There are so many possible combinations! You could also add in some stamped phrases or words too. 


I hope these 3 prompts will inspire you to get one of your old photos documented! Thanks for joining me here today!


Sunday, April 18, 2021

Sunday Sketch with Marsha


Hey, friends!  Marsha here today with this week's Sunday Sketch Challenge.  I love using Citrus Twist Kits sketches because they always include such fun layers and details!

Here's a look at the sketch:  


Here's my take on the sketch:

The sketch was designed for a 12x12 page, but I chose to create a layout in my Life Crafted Travel album.  I used the new Food Love StampTravelogue Kit, From the Heart Add-on Kit, and the Real Life Puffy Stickers.  

I chose to flip the sketch 90 degrees counterclockwise, so the photos were on the left side of the layout. I layered a diagonal striped patterned paper behind my photos and used some digital patterned papers to create a tag and banner behind the photos.  Ephemera pieces and a puffy sticker from the Travelogue kit were perfect embellishments for the page.


I added some stamping using the Food Love stamp.  This is such a fun stamp set- perfect for all of your food documenting!  I also added a puffy heart sticker from the Real Life Puffy Stickers.


For the right side of the layout, I followed the sketch and added a thin strip of patterned paper to the edge of the page.  I created the title by stamping the words "Yes to" using the Food Love stamp and black ink.  To complete the title, I used the Explore Chipboard Alphabet Stickers.  I added an ephemera die-cut arrow from the Travelogue kit above the title and added my journaling in strips below the title.  To finish the layout, I stamped another phrase using the Food Love stamp onto a digital patterned paper, trimmed it out, and added it below the journaling.  

I love how this layout turned out using the sketch!

I hope you are inspired to create a layout based on this week's sketch!  Be sure to share your pages with us on Instagram using the hashtag #citrustwistkits.  I can't wait to see what you create!

xo,


Saturday, April 17, 2021

3 to inspire challenge recipe with Lory


Hello Friends! It's Lory here today! So happy to celebrate the weekend with a creative jump! Today I'm happy to share some new pages about my January 2021 Life Crafted Album. I am in love with the Seagrass album and super excited because it's almost complete! Wooohoooooo!


Today I have a a little and easy recipe to share with you to have the right creative inspiration jump to keep telling your everyday stories. There's nothing better than being at my creative disk and play with colors, and with all these so yummy goodies from Citrus Twist!  To be true these products , looking at them  using them make me feel so happy, I mean really happy, the sadness the bad thoughts go away from me when I create with Citrus Twist Products. I have a deep love for them it's so something that I can't explain with words. 

So stop me Lol  I could write an entire book, LOL . 

Here the recipe:

  1. Stamps
  2. Cut file
  3. Ticket and tags
TIPS FOR THIS RECIPE:

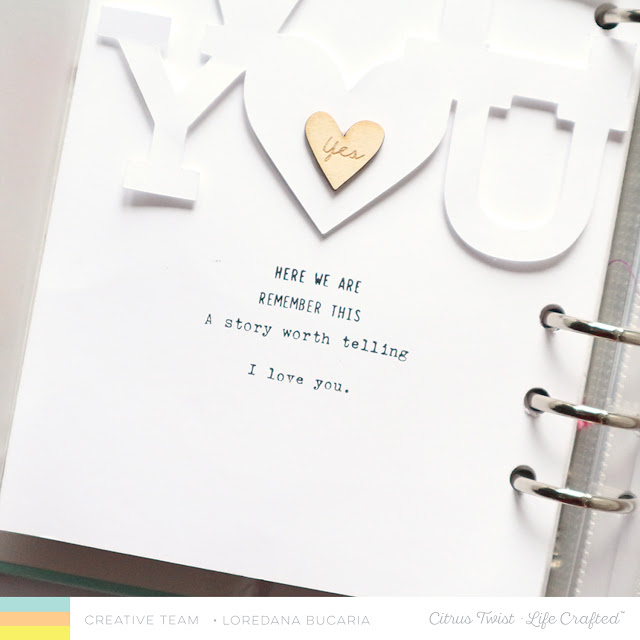
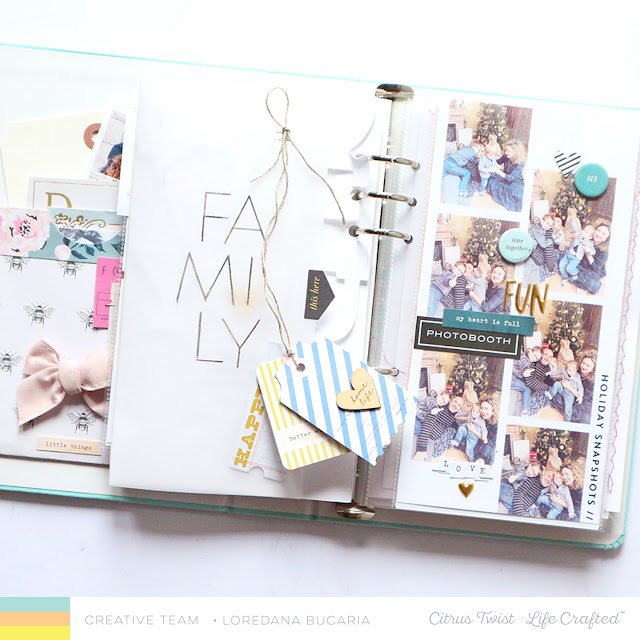
  • With stamps I usually create a title or I create a key word for my story. In this spread I have told with just pictures and many little phrases stamps what I would. My family, how much it means to me. I have used the gorgeous 6x8 Felicity ALPHABET  STAMPS .  
  • I have used the cut file to create a sort of handmade patterned paper behind the little vellum door I created.  To give more attention to  the amazing cut file from Citrus Twist I used the foam double siede tape and the tone on tone tecnique. I have used one of the Placemats group cut files.
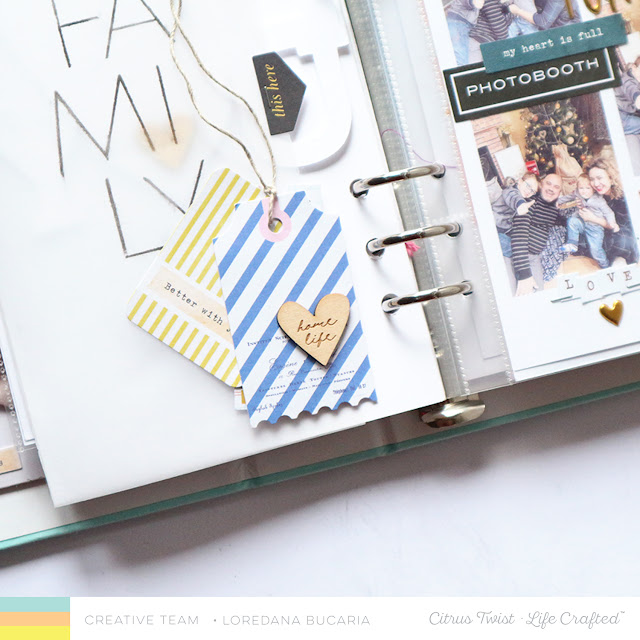
  • I love to add many details to my pages because they are what complete my creative flow. I added three lovely tags and tickets on the vellum door holding them with a little natural twine. Ticket and Tags are one of my favorite embellishments ever.


The beautiful wooden hearts Bites on the tag and on the cut file are from the beautiful embellishments from Citrus Twist.

On the right page I have inserted many pictures made in the same moment to create a Photo Booth. Everything complete with chipboards stickers, I love them to pieces!


So how about you? Join me to use these three and let me see your creations! You can share them also in our Facebook Fans group :) 

Have a wonderful Saturday!
Love, Lory


Sunday, April 11, 2021

SUNDAY SKETCH with Nathalie


Hi there!

Nathalie with you today with this week's Sketch Challenge.   Let's just say that sketches are a busy scrapbooker's best friend ( aka  ME!).   Having a blue print for your page is just awesome, as it just gives you a clear idea for your page (thus taking the guessing game) and allows you to add small touches that will make the page your own.   


This week's sketch is a fun one, and pretty versatile as it can be adopted into many sizes and formats.  For my page, I used the sketch as inspiration, and mixed papers and embellishments from the add on kits and shop exclusives.


I focused on the gold tones of the papers, and brought pops of teal to add a bit of a masculine touch to the page.  Of course boys need flowers!!


I started with a  piece of the Country Arbor paper (Maggie Holmes - April Add-on kit).  The scalloped border just adds movement to the page, and softens the look of the layer.   Next, I followed the sketch to cut the next two layers of paper from High Tide, and Blossoms in Blue ( both in April's add on kit).   


Here is where my take on the sketch changed a bit.  Since, I am enlarging the sketch to fit a 12x12 page,  I had to extend the layers on the left of the sketch so that they are part  of the paper cluster under the photo.  IN addition, I chose to actually use the pocket in the sketch keep my lines  of journal.   So, I created the pocket out of vellum, and also backed the picture with vellum so that it has a cohesive look.


I used a premade manila tag to add my journal and slid it into the pocket.   I chose to follow the sketch for the placement of the  embelllishment cluster.  However, since my page is larger, I needed to add two more clusters with repetitive elements.   I added flowers and ephemera from March's Add on kit, plus some of the Hearts and Such and Floral CTK ephemera as per in the sketch, then used flowers from Heidi Swapp's  ephemera pack ( April add-on kit) to create two other small clusters at the corners of the paper layers.


 One of the biggest changes is removing the small strip of paper behind the picture, and instead replacing it with ephemera and an embellishment cluster.   I love having my printable elements at hand, so I can easily just add them to my clusters.     


I used puffy Weekender gold alphas for my title, and replaced the journaling position with a stamped subtitle.  The Storytelling stamp has the same font as the alphas, and the sentiments just fit the memory!


I hope this inspires you to use the sketch to create a project of your own.  Remember to share with us your finished projects (use #citrustwistkits #ctksketch).  We love being inspired by you, too!

XO


Saturday, April 10, 2021

3-to-Inspire with Ingunn


Happy Saturday, everyone! I am not anywhere near ready to let move on from the Travelogue collection yet, so for this week’s 3-to-Inspire, I’m back with another spread from my Mount Rainier 2020 album.

This time I am changing it up a little bit – instead of three specific types of products, I am calling this “3-to-In...gunnstepsalittlebitoutofhercomfortzone”.


1)    (1)  Document something you usually don’t // When I scrapbook vacations, I have a tendency to only focus on the adventuring parts – the hiking/swimming/touristing etc. But! I’ve noticed that my kids often reminisce about where we slept, not just our forays out into the world. They talk about the excitement of sleeping in a new bed, of a break in the routine, and they notice so many little details of where we’re staying than I do. In honor of that, I am including a section about our rental cabin in this album, and I hereby challenge you to document your hotel or Air BnB or whatever it is next time you are scrapbooking a trip!


2)   (2)   Use a color you normally avoid // I keep noticing more and more black scrapbooking embellishments around, but I tend to steer clear of them because I'm worried they'll be so dominant that they steal your attention away from the photos (and I am all about the photos). However, I can no longer resist, because the products are just too cute. In order to soften the blow of stepping out of my comfort zone, I decided to pair the black die cuts with my favorite color, also known as “any and every shade of turquoise” – I used a digital card & digital TN page (cut down) from Travelogue + a couple of the puffy heart stickers.


3)   (3) Stamp directly onto a photo // Dun-dun-DUN! This is probably something most scrapbookers do all the time, so you’re gonna think I’m a total weenie, but for someone who tends to pre-design most of her spreads digitally, well…the innate imperfection and uncontrollability of stamping, especially directly onto a photo *insert gasping emoji*, is very hard.

*braces self*

*drinks a sip of wine*

*just goes for it*


Ta-da! Okay, so this was admittedly a very small stamp, but I promised myself that I am going to work on actually using my stamps this year instead of merely hoarding them (especially this set, because it kind of feels like it was designed for me and my nature-loving heart), and this is a good first step. I also like how this added some additional black next to the turquoise heart, so that I have a visual triangle of black/turquoise across the spread.

*pats self on back*

*glances over at my dog on the couch in hopes of a sign of approval of my brave stamp usage*

*realizes I should probably not have any more wine tonight*


I hope I’ve managed to inspire some of my fellow scrapbook weenies (I know you’re out there, I simply cannot be the only one!) to try breaking out of your own box. If I have, please let me know and leave a link to your project in the comments!


Thursday, April 8, 2021

MORE TRAVELOGUE INSPIRATION with Our Guest Designer Sarah Zayas


Hello there!

We are so happy to welcome our friend Sarah Zayas, our Guest Designer, to the blog today.  She has prepared a beautiful spread for you using our TRAVELOGUE kit.   I  leave you with Sarah...


Hi, everyone!  It's Sarah back today to share another project using the gorgeous TRAVELOGUE kit.  For this entry documenting a trip to Lake Tahoe, CA in my travel album I decided to put together a flip out page for one half of my spread.  This is one of my favorite ways to include more photos on a single layout.  Plus, it provides an interactive element, which is always fun to come across when you're flipping through an album.  


I started with a simple piece of grid paper and then folded it where I wanted my flipout to be.  I used pattern paper on both sides, being mindful in choosing colors that would work well together.  On the inside of the flipout I layered photos with some of the die cuts and also did some stamping.  


For the left side of my layout I used one of the three pocket inserts to house a couple more photos and another ephemera piece.


I hope you'll give flipouts a try if you haven't tried them already.  They are super quick to put together, but you get a nice expandandable layout to see all your photos.


Thanks for stopping by to check out this project!


This is just amazing!  Thank you so much Sarah for sharing your talent with us.  Remember you can check more of Sarah's work on Instagram. You are going to love her projects!


Sunday, April 4, 2021

Sunday Sketch with Patricia


Happy Sunday and if you celebrate, Happy Easter CTK Friends!!!  Today brings another sketch for inspiration and as always I love to draw inspiration from the sketch, but not following it exactly.  Here's how I interpreted this one.


I looked at this with the two sides divided and balanced.  One large cluster on each side, one small cluster on each side.  I didn't follow those clusters exactly, but they inspired me first by creating clusters on the left side using the new Travelogue stamp set and kit contents.


The pattern paper I used was from my wonderful stash of leftover CTK papers from exclusive kits.  I just trimmed to fit the pockets.  I have been wanting to use that large geotag image, and this was a perfect place for it as was the circle die cut in the center.  Because this is a continuation of my Disney Cruise album, I've used 'go' already, now that we are at our designation, I used the stamp image 'see'.   The fonts are amazing in this set.


The bottom pocket gets more layers, but I was able to keep them 'looking' like they were light by using the white cardstock cut file frame and palm and then using a die cut and sticker in the same color.    There's a perfect pop of yellow from the die cut under it and the arrow puffy sticker I used.


While I didn't create two clusters on this side as the sketch shows, I still created a cluster with the photo and the embellishments from the kit.  


Adding the cut palm, and the colors of the die cuts from the kit I chose, help to balance with the left side.  I used the same ink using the Travelogue stamp set for the no.1 no.2 no.3 for my journaling to finish.

Very inspiring sketch as always.  Hope you are inspired as well and maybe give adding clusters to your 3x4 pockets as I have done here.  Happy Creating!