Thursday, December 31, 2015

Wishing You A Happy 2016!


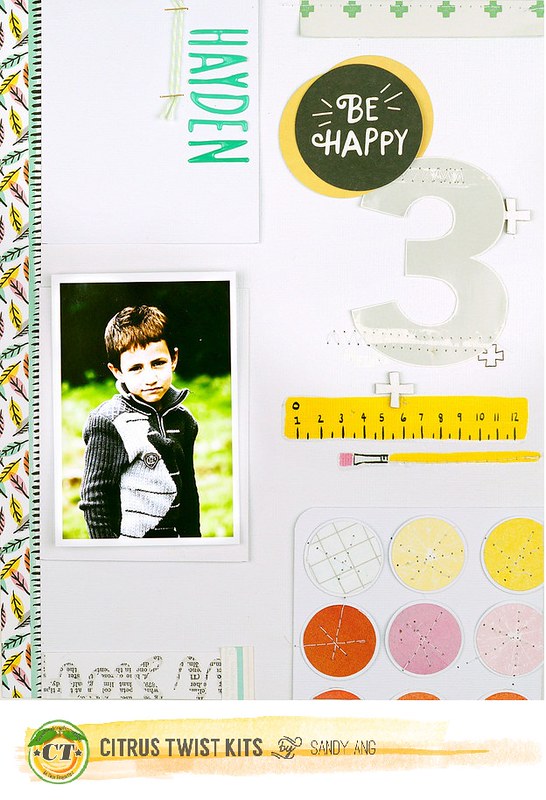
Hi everyone! It's Sandy with one more December kit layout to share. I've used bits and pieces from the December Main Kit, "Keeper" Embellishment Kit, "Flea Market" Add-On Kit and Pattern Paper Kit. Inspired by the ruler and paint brush stickers in the Embellishment Kit, I decide to create my own artist's supply embellishment -  a homemade water-colour palette filled with red, yellow and orange paint cakes (which are just circles punched from the Magnify paper in the Add-On Kit).

a

Thank you for everyone's support of Citrus Twist Kits in 2015 and from all of us here at Citrus Twist Kits, we want to wish you a very Happy New Year!


Tuesday, December 29, 2015

Tuesday Tutorial: Simple Hand Stitch in 8,5x11 Layout With Evelynpy

Still in the holiday mood with my family but doesn't mean I don't have time to just do fast scrapbook layout. This time I wanna share how to do simple hand stitch to your 8,5x11 inch layout. The final result will give you something classic and modern and the same time.

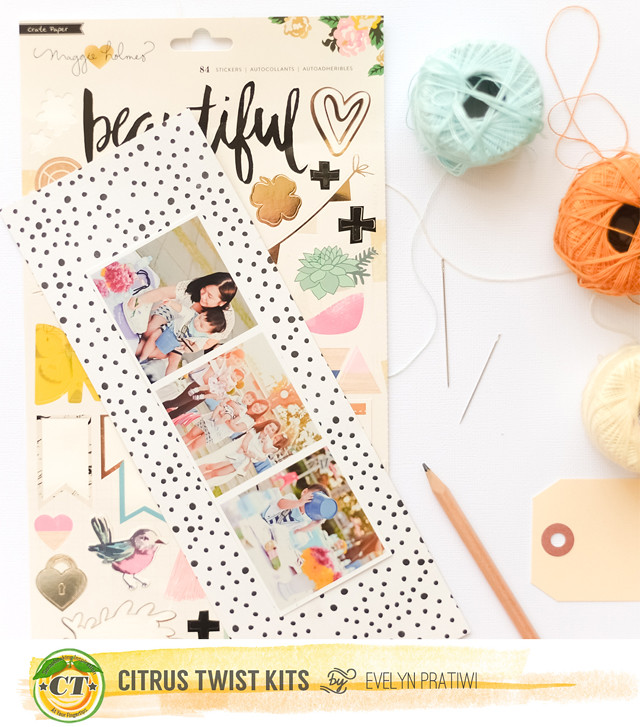
stitch tutorial cover by evelynpy

Prepare: ( I use Dec 2015 Main Kit)
  1. White card stock as your background
  2. 3 different colors of thread (caramel, blue and orange)
  3. Maggie Holmes Shine paper and stickers
  4. Pencil
  5. Needle
  6. and Tag.

Step by Step:

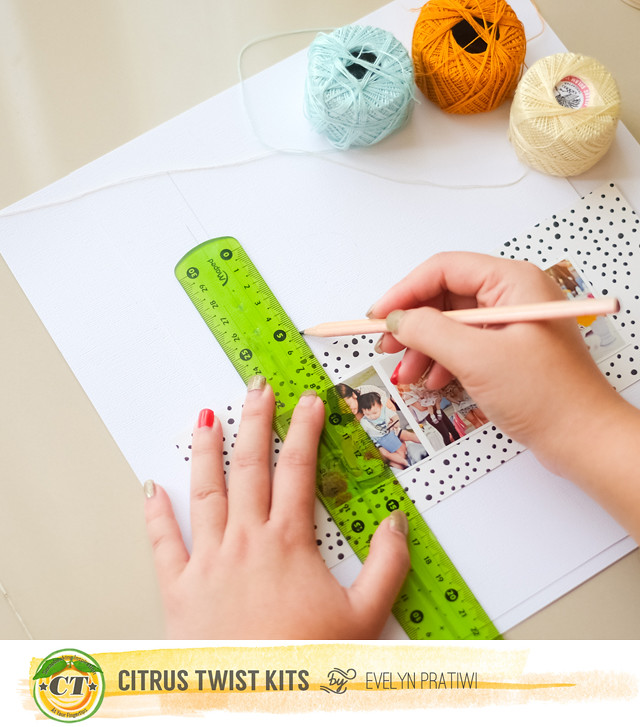
- Create vertical line in your layout using ruler and pencil.

stitch tutorial step1 by evelynpy - Don't over think about how long, just use your feeling and draw some lines.

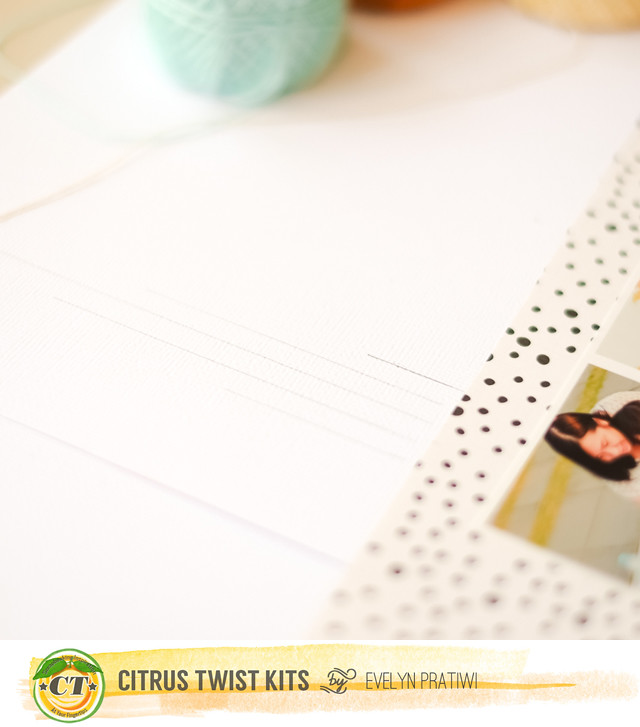
stitch tutorial step2 by evelynpy

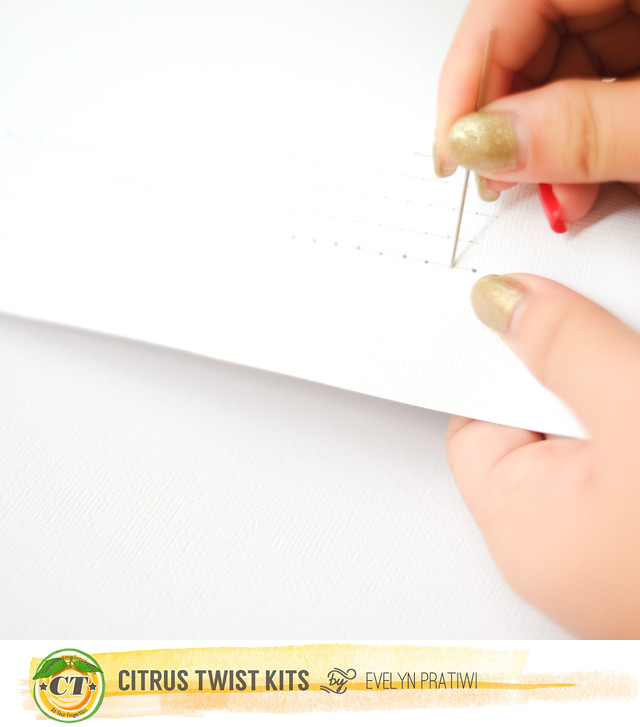
- After that give some dot mark size 0,5cm between each other to make some holes for the thread.

stitch tutorial step3 by evelynpy

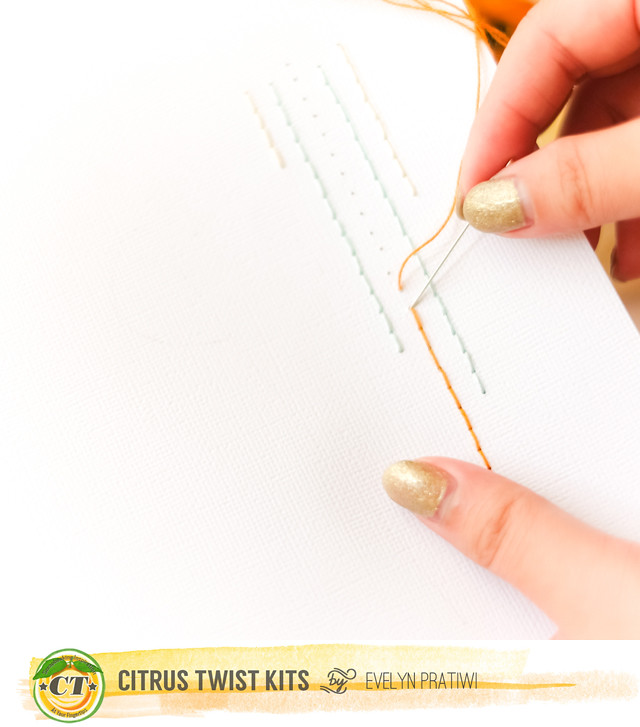
- Do hand stitch just like I did.

stitch tutorial step4 by evelynpy

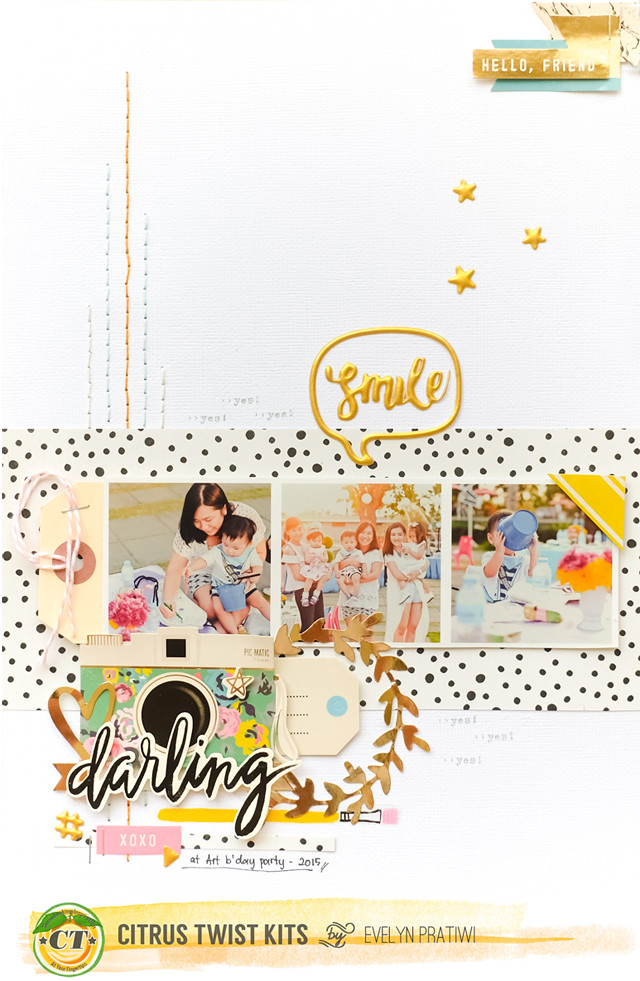
- Enjoy the final result!


stitch tutorial full layout by evelynpy


Love: Evelyn Pratiwi Yusuf

Sunday, December 27, 2015

Sunday Sketch with Aimee Dow

Yay for another Sunday! I am particularly stoked about this one for a couple of reasons. For starters all the Christmas madness is beginning to subside and a weekend is just another weekend, rather than my own personal christmas present safari. Secondly, I got first pick of the sketches this month and I don't mean to brag, but I love how this one turned out.


I rotated the sketch on the side to accommodate the large letter title and the photo orientation. 


The subject matter is a little new to us too. Little Eva arrived 2 weeks early on the 7th and really put a kink in my christmas scrapping. Truth be told I'm really not that upset. Red and Green are not exactly my colours. This months 'Flea Market' scrapbooking add on, on the other hand was right up my alley. 

I punched some circles from the Amy Tangerine paper and used the Basic Grey cork circles as the scatters. The little acrylic stars are the only thing I had to pull from my stash all the little hearts around the layout came from the Maggie Holmes Shine Chipboard - that's my favourite thing in the whole kit.


I fussy cut out a typewriter from Dear Lizzy paper to use for my journaling. I even used a craft knife to slot the cardstock in where is would usually go on a typewriter. It's super simple to do, but it's super effective.


Last, but not least are the tiny little finishing touches like watercolour splashes, a few lines of stitching and of course a stamp or two and I'm done! Now it's your turn. So now it’s your turn to play with this lovely sketch… and don’t forget to upload your project to the Citrus Twist Gallery: you could win a $5 Coupon to use on anything in the CTK Store! Remember to add "Sketch 12/27" to the title line.

Aimee Xx.

Saturday, December 26, 2015

3 to Inspire


Hello! Michelle here with this week's "3 to Inspire" challenge!

Your take on this challenge can be a layout or a PL spread and you must include all 3 prompts on your project. This is what I have for you today:

1. Use patterned paper for your background.
2. Add in a bold black. 
3. Create some texture.

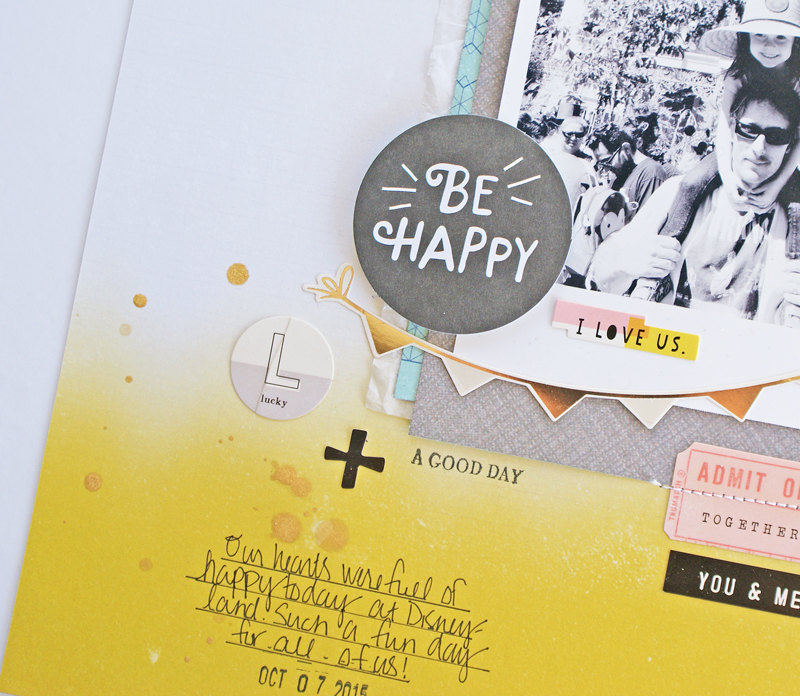
Here is my take using the December Main Kit:

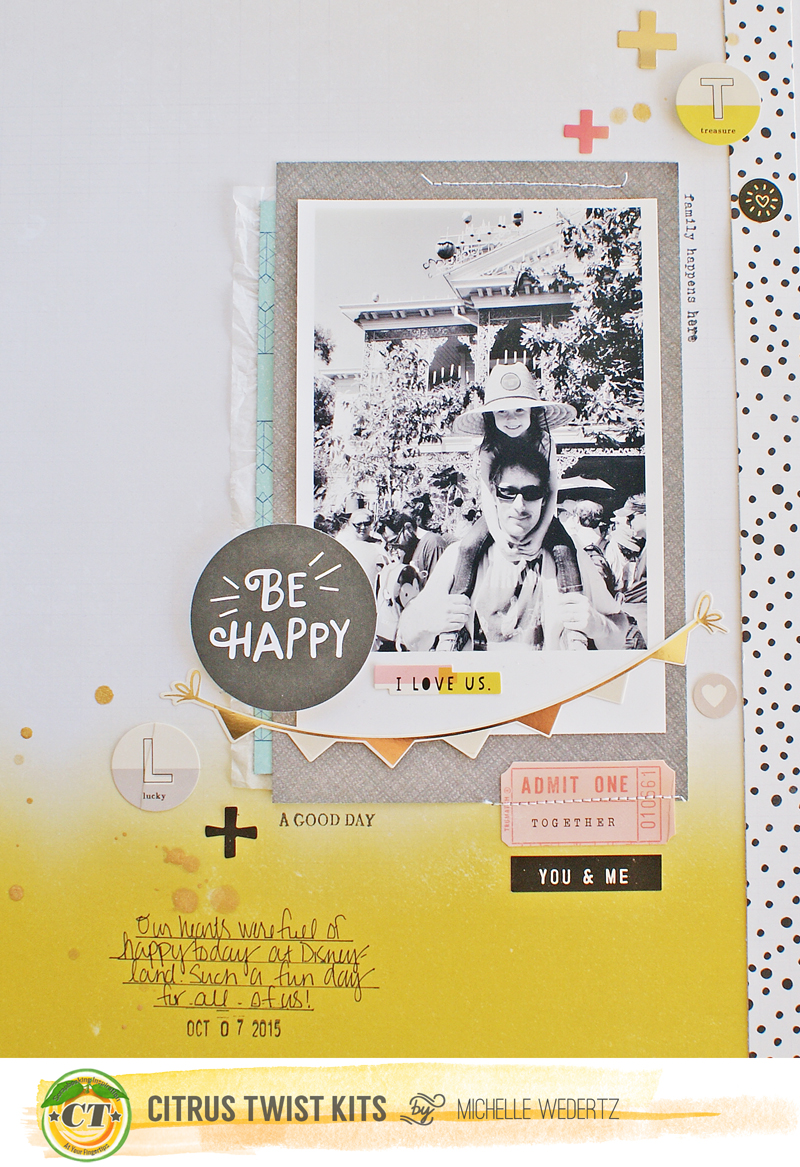
Be Happy

For my background I used the super cool yellow ombre patterned paper. I really loved how that one choice made my layout look so different from my other projects. I added in some bold, black in three spots with stickers and a diecut (**Note that I placed them in a visual triangle--an old design rule that really comes in handy when deciding where to place embellishments or pops of color.) Finally, I added in texture in three different ways: by layering the tissue paper under the papers; adding in some drops of gold Color Shine; and finishing my project off with some machine stitching. Here's a close up at the details:

Be Happy 2

Now it's your turn! Use the three prompts to create your own project, share it with us here in the gallery, and you will be eligible to win a small prize from the CTK Store. Make sure to include the date of the challenge in the title of your gallery submission.  Can't wait to see what you all do!

Michelle

Friday, December 25, 2015

Pocket Life Sketch Friday with Diane

Merry Christmas everyone! If you find yourself sneaking off for a bit of quiet crafty time over the next few days and need a bit of inspiration, here is Pocket Life Sketch Friday for you! Don't forget that we have a giveaway associated with the sketches at the end of this post.


Here is the process video of how this layout came together...


And here are a few close-ups...


And now for your Pocket Life sketches...

Thanks for visiting Pocket Life Friday, where every week we share PL sketches and a chance to win. For your chance to win, create a layout based on the sketches in this blog post, post your layout to our Gallery or our Facebook Fan Page by Friday, January 1st 2016. Be sure to include PL 12/25 in the title!

Thursday, December 24, 2015

Christmas Daily Kit with Marie-Pierre Capistran

Merry Christmas everyone!
I hope you are having a wonderful day!!

What a better day to show you some pages from my December Daily album that I made with the Citrus Twist Kits Christmas Daily Kit.

You've seen snippets of these pages when I showed you the digital files but now let me show you the full pages and details! :)


I placed the little dear head over the page protector. This way I can pull the card up to have a better look at what my daughter wrote.


Have a marvelous day!!
Merry Christmas again!

Marie


Wednesday, December 23, 2015

Inspiration with Alena

 Hi everyone!  Alena here today!
Last month our family was walking in the Park and took many beautiful photos. One of those photos I used for the layout. 

Tuesday, December 22, 2015

Tuesday Tutorial with Christin

Good morning everyone. Christin here today. It's time for Tutorial Tuesday and I will be showing how I made this layout.


Usually when I make layouts I am all about layers - starting up with layers of mists/liquid watercolors and then adding layers of paper, but for this layout where I have multiple focal points I have reduced the number paper layers.   The reason why I use several layers of paper and several layers of color under usually only one photo is that I want to build up the focus to the picture, I always want the main thing about my layouts to be about the pictures, but having fun visual things around the picture without taking over.


My inspiration for this layout came in the shape of the die cuts in the December main kit.  I measured the circles and printed two photos and cut them out.


For my background I had already prepped my white cardstock with clear gesso and I just dropped lots of layers of mist and liquid watercolors and with a waterbrush I spread the colors around a little.  


Contrast is always good and I added that in two steps. Step one - black drops of mist.


Step two is stamping - here I used a grey inkpad for the contrast to be a little more subtle than the mist.

 For my one layer of paper I used my old Silhouette to cut out a few triangles.

And here is again the final layout with some closeups. I even added the text stamp from the main kit.


Thanks for stopping by! Happy Holidays

/Christin

Monday, December 21, 2015

Let's get digital by Marie-Pierre Capistran

Hi everyone!

I made some digital files that you can grab for free on our Citrus Twist Kits Facebook fan page.


There are many ways to use them: print and cut, cut file, overlay on a picture, print on a page/card, use as a stamp and color it and cut it out... the possibilities are infinite!

Here are a couple examples:

The first one comes from DT member Mira, who made a cut file out of the Make a Wish:


I love how she used the negative cut  and added a chipboard star.


Here I printed the "our elf was here on a card that was meant to become a journaling card. I ended up punching it out with a circle punch and using it as an embellishment in a small cluster.


Then I used it on my photo. It's very easy to do. You simply open the .png file of your choice in Photoshop. The writing is on a transparent background so you can grab it with the move tool and slide it on your photo that you also have open in Photoshop. That's it. :)


I decided to make a journaling card with the little light post. I printed it on watercolor paper and cut around to get a 4x6 card. I then painted it with watercolor paint, being careful not to go over the lines with my paintbrush because the ink from the printer will bleed. 


Finally I printed "make a wish" directly on my background.


To make it grey I simply changed the opacity in Photoshop.

Here's how:

Open your file and place it over a background of the size of your choice. I'm working with 6x8 for my December Daily album. Select the layer of the file on the right and you see just above it there's the opacity. Slide the little slider and the color fo your digital file will change to a paler grey.


I hope you'll download all the files and make good use of them!! And when you use them, please share with us on Instagram using #CTKdigitalfiles or on our Facebook Fan page. :)

Have fun creating!!!

Marie