Showing posts with label Sandy. Show all posts

Thursday, December 31, 2015

Wishing You A Happy 2016!


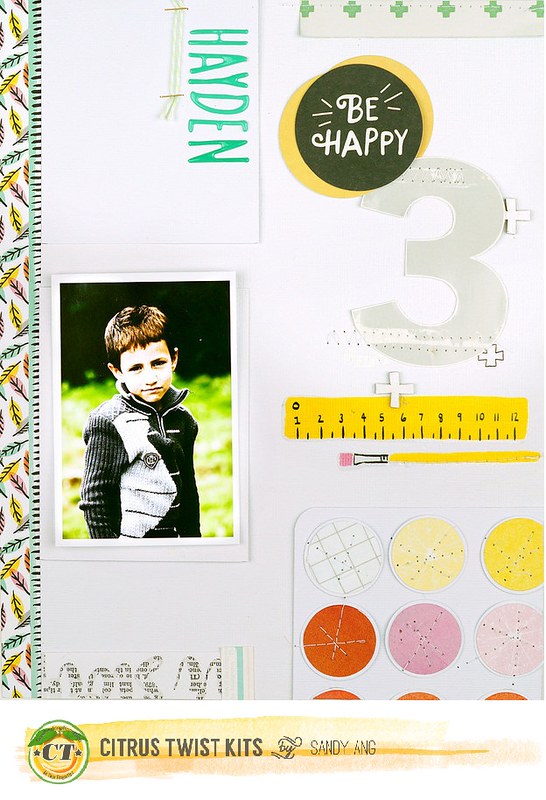
Hi everyone! It's Sandy with one more December kit layout to share. I've used bits and pieces from the December Main Kit, "Keeper" Embellishment Kit, "Flea Market" Add-On Kit and Pattern Paper Kit. Inspired by the ruler and paint brush stickers in the Embellishment Kit, I decide to create my own artist's supply embellishment -  a homemade water-colour palette filled with red, yellow and orange paint cakes (which are just circles punched from the Magnify paper in the Add-On Kit).

a

Thank you for everyone's support of Citrus Twist Kits in 2015 and from all of us here at Citrus Twist Kits, we want to wish you a very Happy New Year!


Tuesday, December 15, 2015

Tuesday Tutorial With Sandy


Hi everyone! It's Sandy sharing a technique using my  favourite mixed media supply item from Ranger. It's Perfect Pearls. I love fashioning little accents on my pages with it. For example on this layout I used Onyx Pearl to fill in the centers of the gold puffy stars creating a two-toned effect. Since the Perfect Pearl nozzle is really fine, I can work easily on small areas just as if I'm using a pen or colour pencil.

f2

Another thing I frequently do with Perfect Pearls is make pearlescent enamel dots. Just put the nozzle against paper and squeeze to produce dots of different sizes. For the holidays you can't go wrong with colours like gold, platinum and silver. The only thing to remember is to put your layout aside for a couple of hours in order for the dots to set. If you are fashioning extra large dots - anything more than half an inch - than leave it overnight to dry completely.
  
a1


That's all from me for 2015. Hope you have a wonderful December and see you in the new year!


Wednesday, November 25, 2015

A View From Our Gallery

Hi everyone! It's Sandy back with another View From Our Gallery. We love how our subscribers and customers use their Citrus Twist Kits and are always excited to share their creations with you. Here's a sampling of projects made with our October Kits. You can find more inspiration by heading over to our Gallery.

Credit : kellymagpie

Credit : Julie Evers


Credit : anniefb


Credit : peggyemmy

Credit : bargp


Sunday, October 4, 2015

Sunday Sketch With Sandy


Sandy sharing another fabulous sketch from Kasia with you today.

Oct Sketch

This sketch allows me to feature a couple of cut-apart journal cards from the Crate Paper Wonder collection. I've paired them with the scattered floral background pattern, taking my colour cue from that paper. Everything is from the September Main Kit except for the flair button (from the Embellie Kit), a ticket tub (from the Project Life Kit) and the green strips along the edges (from the Pattern Paper Play #1 Kit).

Seek CTK

Now it's your turn. If you want to play along with this week's Sunday Sketch and be eligible to win a $5 gift certificate, create a project based off of the sketch and upload it to CTK Gallery by next Saturday. Please make sure to include "Sketch 10/4" to the title line of your project.

q7

Wednesday, September 16, 2015

A View From Our Gallery : August Kit Layouts

Hi everyone! We've had a terrific response to our September kits with the Main kit, the Project Life kit and the Add-On Kit all selling out. Thank you so much for your support and for sharing the wonderful layouts you create using Citrus Twist kits. As I look through the Gallery I am inspired by many of your pages. Here are a few lovely creations by our members using the August Main kit and Add-On kit.


credit : annau

credit : mamakven

credit : mommamoonrn

credit : pizookie

Please continue to inspire us with your Citrus Twist projects by sharing them in our Gallery and on our Facebook Fans Page. We love seeing them and I look forward to featuring more of your layouts next month. Cheers and happy scrapping.

Monday, August 31, 2015

Dream Big With Sandy

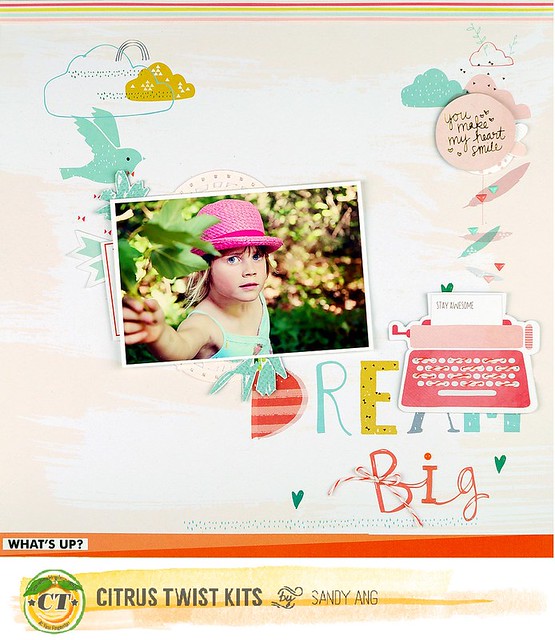
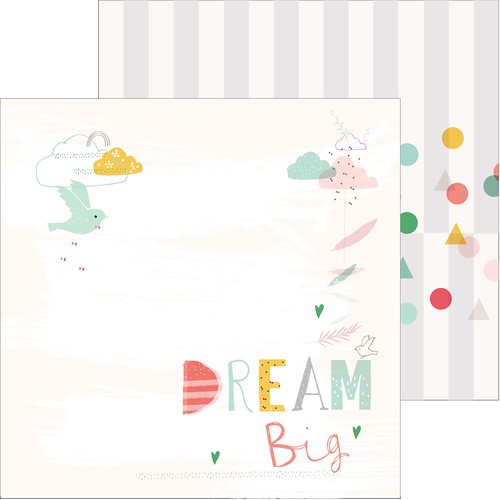
There are lots of fabulous pattern papers in this month's kits. My favourite has to be this Dream Big paper from Pinkfresh Studios that's available in Pattern Paper Play #2. With a perfect balance of white space and decorative motifs it's an ideal background paper for my layout. All I had to do is add a couple of  paper strips to the top and bottom, place the photo in the middle and embellish with some die-cut shapes from the August Celebrate Add-On Kit.

Dream Big CTK

If you love using a scene type pattern paper as the background to your layout, then check out the rest of the August kits. You'll find one with pastel balloons in the Main Kit and another with puffy white clouds against a blue sky in the Pattern Paper Play #1 Kit. Hope you enjoy scrapping with this month's kit and tomorrow we will be showing sneaks of the September kits on our fans facebook page.  
 
  
Pinkfresh

Sunday, July 5, 2015

Sunday Sketch With Sandy

Hi everyone! Are you ready for another Sunday Sketch challenge? This week Kasia has a sketch for us which calls for a large photo. Play along and be eligible to win a $5 gift certificate to use at the CTK Store, upload your project to the CTK Gallery by July 12th and please include the date of today's sketch in the title of your project!    


July Sketch

My approach with this 6"x8" layout is to call out the three main colours of the threads in the photograph. So I picked a red stripey background paper from the Life Noted Add On Kit, a blue label sticker from the Sprinkles Kit, a wood button from the Main Kit and cut out soom green Shimelle paper journal phrases from the Pattern Paper #2 Kit.

g9


It's great that there are three alphas in this month's Main Kit. My favourite is the confetti sprinkled letters from the Webster's #Happy Sticker Sheet. They are predominantly white but can easily be coloured to suit any layout. Here I tinted them with Versa Turquoise Ink which isn't opaque so it allows the confetti pattern to show through. Then I layered the inked letters over white ones for a shadowed effect.  

Hope you'll be inspired by this week's sketch to play along with us.

Monday, June 29, 2015

Triangle Love With Sandy

Hi everyone! I hope you are enjoying scrapping with your June kits. I certainly did and have two layouts created using this month's kits to share with you today. Both feature a strong design element - the triangle. And we are talking big triangles, taking up half of each page.

8 Days CTK

The left side of this first page is taken up by a sunny yellow triangle. I used vellum (leftover from an older kit) so that you can still see hints of the water where the triangle cuts across the photo. On top of the vellum I place a long title, breaking up the text by using a combination of gold and white alphas, the white ones created by spray painting Heidi Swapp alphas from the Sprinkles Kit.

Simple Life CTK

Another triangle on my next page. This time it's created by placing strips of geometric washi tape from the Main Kit on acetate which is then cut into the shape of a right-angle triangle. The translucent washi again allowing the photo below to show through. Following the slope of the triangle are a series of circular embellishments floating from the top down to the focal point of the page - the girl in the photo.


Before signing off I'll just remind you that subscribers will receive the newsletter tomorrow with sneaks of the July kits. Pre-sale starts on the 30th at 10pm PST and lasts for 24 hours. The reveal for non-subscribers  will be on the 1st and you can make your one time purchase over at the shop.

Tuesday, May 5, 2015

Tuesday Tutorial With Sandy

Hi everyone! Here at Citrus Twist Kits we are celebrating National Scrapbook Week with seven days of challenges and daily deals. To participate head over to our Fans Facebook Page. Even if you are not able to scrap during this period as long as you participate in the daily conversation chain and leave some love for those who share their layouts, you'll earn an entry into our daily fun mail giveaway. 

c7


This month's kits have a subtle tribal vibe running through them courtesy of some geometric patterns in zig zag triangles, diamond ripples and tie dye effects. I decide to incorporate a couple of them into my layout, pairing them with quotations from the vellum cut-apart sheet found in the Pattern Play 2 Kit. I also had a large amount of journaling to fit into a small space. The trick I employ is to print my journaling in a small but legible font then transfer the text onto the page using a blender pen. Here's a quick tutorial on this technique.  

a2

First you do a mirror image flip of your text. Then print it on normal computer paper using a laser printer. If you don't have a laser printer, a photocopy from your local copy shop will work too.

a4

Next place your text face down on the surface you wish to transfer onto. Saturate the back of the text with solvent from a blender pen. Once you see the text appear burnish over the text with a craft stick. The solvent releases the toner powder and allows the text to be transferred.

a5

I use a Chartpak marker which give a pretty good transfer, slightly lighter than the original image but with nice sharpness.

Saturday, May 2, 2015

3 To Inspire With Sandy

3-To-Inspire
Happy National Scrapbooking Week everyone! Sandy with my first "3 to Inspire" challenge. You can find this challenge here every Saturday for those who need a little extra creative push to get scrapbooking, to keep scrapbooking or for those who just like a challenge! Your take on this challenge can be a layout or a PL spread and remember that you'll want to include all 3 prompts on your project.

Your prompts this week are:
  1. Use numbers
  2. Use arrows
  3. Use the colour gold


d1

With my layout I took inspiration from the "3" in the challenge title creating a page with: three horizontal pattern paper bands above my photo, three dominant colours and even the numbers 1-2-3. Based on a simple colour blocking technique, it came together quickly once I printed out the bands and journaling on white cardstock. Initially it was going to be a 6"x8" page but I kept adding  embellishments to the top. So I ended up matting the design on another piece of 8.5"x11" cardstock with a gold striped tab off to the side to complete the visual triangle.


Now it's your turn! Use the three prompts to create your own projects and share them with us here in the gallery and/or in our Facebook Forum. You can also upload to Instagram and tag us @citrustwistkits. Look forward to seeing your takes on this challenge. 

Sunday, April 26, 2015

Sunday Sketch With Sandy

Hi everyone! Hope you are enjoying your Sunday. Today is sketch day and I present to you the latest sketch from Kaisa. We love to see what you do with our kits and sketches, so please make sure to upload your projects to the Citrus Twist Gallery. And remember, if you upload your take to our Gallery by 2nd May, you will be entered to win a $5 coupon to use on anything in the CTK store! Make sure to add "Sketch 4/26" to the title line when you upload. Have fun! 

April Sketch

I've adapted the sketch to a 8.5"x11" format which I'm most comfortable working in, otherwise I remained pretty faithful to the sketch. When I saw the Amy Tangerine circles paper from the April Pattern Play No 1 Kit I knew it'll be perfect for this sketch.  I fussy-cut a bunch of blue and black circles and layered them around the photo of a cyclist, the spokes of the circles adds a suggestion of bicycle wheels spinning. In place of the two tags in the sketch I use two text labels again cut out from pattern paper. Journaling I printed in two columns directly onto the background paper. To finish things off I embellish with few small pieces including a re-purposed light-blub paperclip from the April Sprinkles Kit.  

a5

I hope you'll be inspired to play along with our sketch challenge. We welcome layouts that stick pretty close to the sketch and also layouts with creative interpretations. Have fun scrapping and I look forward to seeing your takes in our Gallery.

Tuesday, February 24, 2015

Tuesday Tutorial With Sandy

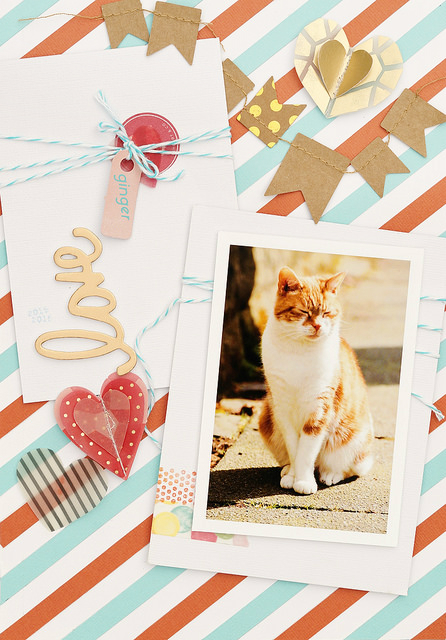
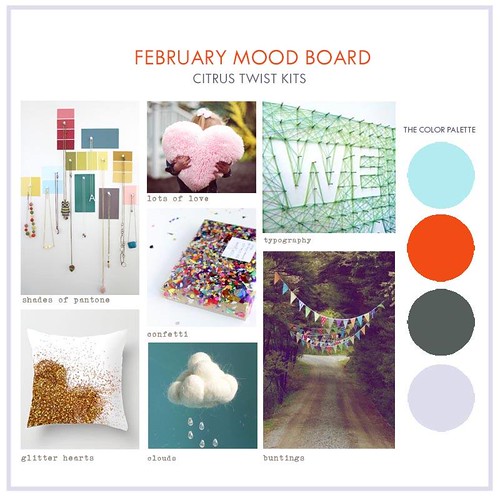
Hi Everyone! Do you start the new year with a list of scrapbooking resolutions? I like the idea of setting goals for myself but find it daunting to commit to a list at the beginning of the year. Instead what I do is set myself mini challenges every couple of months and give myself lots of time to tackle them. This month I'm inspired by Kaisa's moodboard to overcome my mental block with regards to cardstock.

 
a7
In the Citrus Twist February Love Letters Main Kit are red, white and blue cardstocks which evoke the bright, happy mood of a fun fair for me. So I think : Create a colourful striped backdrop that resembles the fair tents. There are also embellishments in the kit like vellum hearts and a banner garland I can use to add to the feeling of a fete.
 
a4

 
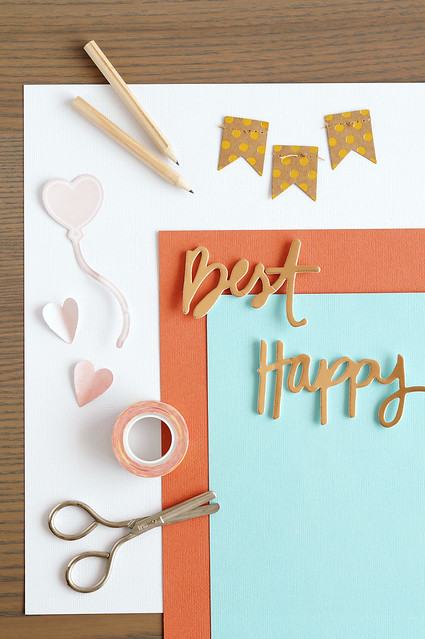
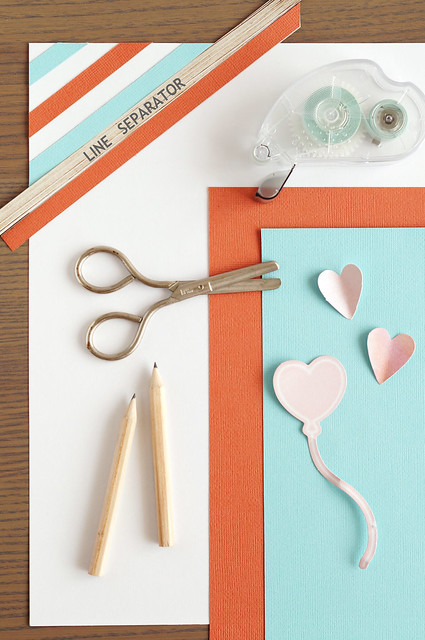
Creating the diagonally patterned background is simple. Cut 1cm strips of red and blue cardstock. Glue the first one down on the top left corner at a pleasing angle. Use one of the strips as a separator to determine the positioning of the next strip. Continue until you fill the page.
 
A2

 
Once the stripe pattern is ready, I add two pieces of 4"x6" white cardstock on top to break up the busy background. That way the photo has some breathing room around it, the title and caption woldn't get lost among the stripes. A little more embellishing with washi tape and baker's twine and my layout is done. Hope you'll be similarly inspired to try something fun with the card you find in your Citrus Twist kits.

Feb Moodboard


Monday, January 12, 2015

Scrapping Valentine With Sandy


This month's kits filled with red, pink and gold colours inspired me to scrap this valentine's day layout. This fun flower-strewn paper, paired with a pink wood grain, is the perfect romantic background for a page featuring a photo of a couple's silhouette. To make sure the photo stands out I place it in a custom frame - one of a series running across the page like a row of windows. The title (Gossamer Blue alphas from the main kit spray painted matt black) and journaling sits below anchoring the design.

a1


g1

s4

Lovefest Detail2

I hope you love the January Kits as much and as I do and that I've inspired you to create some Valentine's Day pages with them.

Sunday, January 4, 2015

Sunday Sketch With Sandy

Hi everyone! I'm happy to share with you the first Sunday Sketch of 2015 :

Jan SKetch


Like Trina I love making 8.5"x11" so I've turned Kasia's sketch into a narrower format layout. To recreate the sketch's diagonal flow, I used two supersized photo-corners and a spray of pink paint droplets. Since I had wrote too much journaling below the photo I moved the title (Gossamer Blue alphas from the Main Kit spray painted black) to the top.  

b3


Inspired by the fabric strips Trina included in the Main Kit, I decide to create a white-on-white frame around the photo using gauze, vellum and wax paper from my stash. The look is reminiscent of Lucia Baraba's soft, ethereal style.


a1


b7


Now it's your turn to take on this week's sketch!  We love to see what you do with our kits and sketches so please make sure to upload your projects to the Citrus Twist Gallery. And remember, by uploading your take on today's sketch to the gallery by January 10th, you will be entered to win a $5 Coupon to use on anything in the CTK Store! 

Saturday, December 6, 2014

Kit Love With Sandy

Hi it's Sandy with my first Kit Love post. Since we are well and truly into the holiday season, I thought I'd share some of my favourite things from the December Kits for scrapping about Christmas and the end of year. To begin how festive are these gold embellishments from the Comforts of Home Main Kit and the Joyful Tidings Embellishment Kit. It'll be difficult to resist using these foil stickers, vellum die-cut shapes and gold-flecked enamel dots to give my projects a celebratory feel.

y1
 
 
Next I'm sharing two of my favourite patterned papers : the grey and white September Skies Aspen Paper and the dark wood-grain Open Book Dearest Paper, which incidentally matches perfectly with the Jillibean Soup Label Sticker as you can see in this photo of my gift tag. It graces a homemade giftbox crafted out of the cardboard that Trina tucks into every Citrus Twist Main Kit to ensure  patterned papers reach us without dog-eared corners. Two pieces of cardboard are all that's needed to create a 4" box with lid that's great for sweet treats or soft, textile gifts like handkerchiefs and socks.   
 
b5
 
 
Finally here's a look at some of the smaller items that I intend to use for creating embellishment clusters. You can find vellum circles (these Day/Month/Year ones will be perfect for layouts about celebrating the new year), wood chip and puffy sticker banners, more enamel dots in glossy black and chipboard numbers (part of the mistable alpha set from Heidi Swapp). I hope you enjoyed this look at some of my favourite supplies from the December Citrus Twist Kits and do hop over to the Gallery to get more inspiration from our designers on how to use these supplies on layouts and project life spreads.  
 
x2


December Kits Featured :  Comforts of Home Main Kit, Joyful Tidings Embellishment Kit, Christmas Lane Paper Paper Kit
Styling Props : satin ribbon, gold button, gold-flecked tulle
  

Thursday, November 13, 2014

Constellation Trend With Sandy


Hi it's Sandy. I'm so glad to be back playing with Citrus Twist's November Kits after taking two-month long break to travel for work. The first thing that struck me about this month's Get Cozy Main Kit is that Heidi Swapp Star Gazing pattern paper. Fashion, movies and home decor have been under the constellation spell for a while so it's no surprise to see it making the jump into scrapbooking. I want to show you my take on this intergalactic trend.


b5

I didn't want to be too literal with it so no scrapping about the moon or pairing it with a night sky photo. Instead I choose to focus on the zodiac motifs - how the star points are joint together with lines but with the alphabets of my layout title taking the place of stars. Since I'll be spreading my title out across the width of the page I go with the smaller sized Pink Paislee Solstice Alphas (spray painted silver to better fit in with the colour scheme of the layout) from the Special Order Embellishment Kit, mixing in a larger sized R from the Beanboard Alpha set that's included in the Get Cozy Main Kit so that it'll stand out against the photo. In a final node to this celestial trend I also sprinkle some Gossamer Blue Enamel Stars among the horns of my deer embellishment cluster.

Heidi Swapp Star Gazing Pattern Paper 

Have you been inspired by this fashionable constellation trend too? If so please share it with us by loading your project onto our Gallery. Every week one submitted layout will be chosen to be featured on the Citrus Twist Kits Blog.