Showing posts with label August 2015 Kits. Show all posts

Wednesday, September 16, 2015

A View From Our Gallery : August Kit Layouts

Hi everyone! We've had a terrific response to our September kits with the Main kit, the Project Life kit and the Add-On Kit all selling out. Thank you so much for your support and for sharing the wonderful layouts you create using Citrus Twist kits. As I look through the Gallery I am inspired by many of your pages. Here are a few lovely creations by our members using the August Main kit and Add-On kit.


credit : annau

credit : mamakven

credit : mommamoonrn

credit : pizookie

Please continue to inspire us with your Citrus Twist projects by sharing them in our Gallery and on our Facebook Fans Page. We love seeing them and I look forward to featuring more of your layouts next month. Cheers and happy scrapping.

Monday, August 31, 2015

Dream Big With Sandy

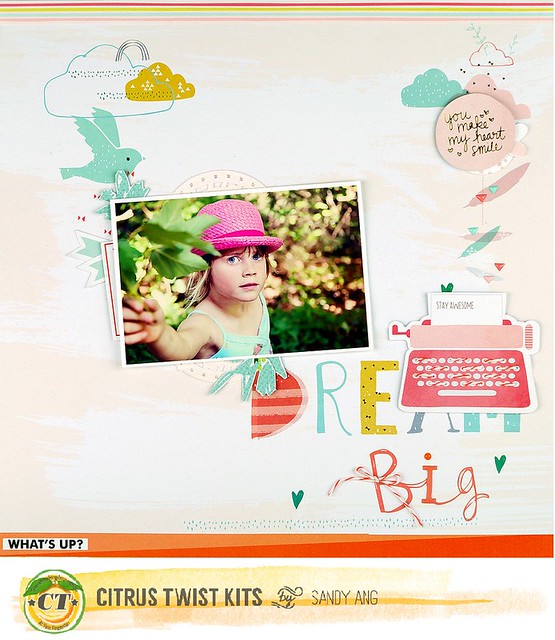
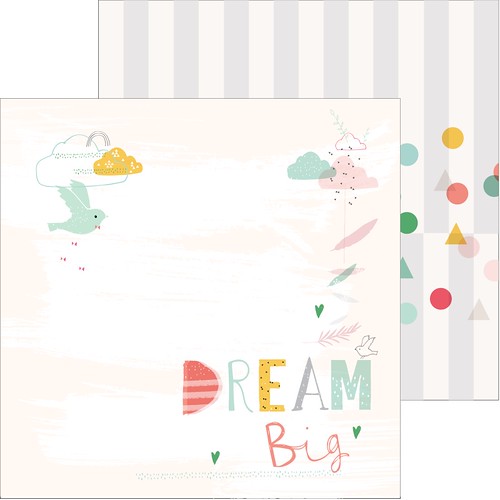
There are lots of fabulous pattern papers in this month's kits. My favourite has to be this Dream Big paper from Pinkfresh Studios that's available in Pattern Paper Play #2. With a perfect balance of white space and decorative motifs it's an ideal background paper for my layout. All I had to do is add a couple of  paper strips to the top and bottom, place the photo in the middle and embellish with some die-cut shapes from the August Celebrate Add-On Kit.

Dream Big CTK

If you love using a scene type pattern paper as the background to your layout, then check out the rest of the August kits. You'll find one with pastel balloons in the Main Kit and another with puffy white clouds against a blue sky in the Pattern Paper Play #1 Kit. Hope you enjoy scrapping with this month's kit and tomorrow we will be showing sneaks of the September kits on our fans facebook page.  
 
  
Pinkfresh

Sunday, August 30, 2015

Sunday Sketch with Emma

Hi everyone!  Emma here to share this weekends Sunday Sketch. Today's sketch is a 12x12 layout using a couple photo's.


One of the things I love about using a sketch when creating your page is that you don't always have to stick with the format exclusively.  You're able to take the basic design and mix it to suit your photo/layout.  In this instance my layout is 6x8 and rather than use 2 portrait type photos I had a single landscape photo and used my title and journaling to fill the remainder of that space.  This is the layout I came up with:


I absolutely adore the Pinkfresh Happy Things paper in the kits this month (well truth be told, I love that entire line of goodies) and it was perfect backdrop for my page.  I hand cut the title freehand - not perfect but that's half the point of hand cut lettering isn't it :)  For my embellishments I picked a few pieces from the Main and Embellishment kit to tie it all together.


I really love using the aqua tulle from the Main kit to add some dimension to the page.


Now it's your turn to take on this week's sketch!

We love to see what you do with our kits and sketches so please make sure to upload your projects to the Citrus Twist Gallery. And remember, by uploading your take on today's sketch to the gallery you will be entered to win a $5 Coupon to use on anything in the CTK Store! Remember to add "Sketch 8/30" to the title line :)

Em

Tuesday, August 25, 2015

Tuesday Tutorial with Diane

Hi everyone, today I want to share with you how you can convert your handwriting or brush script into a cut file to use on your layouts.

Using either your favourite pen or a brush and ink, write your sentiment onto a blank piece of scrap paper. You might need to practice a few times to get it to look how you want it to. If you a using a pen, try something a bit thicker like a Sharpie so you can get a thicker title for your Silhouette to cut. You can use any colour but Black will make it much easier to get a good result.

Once dry, either scan or photograph your writing. I then import the scan into Photoshop. Adjust the levels (or contrast) until the white of the paper is as white as it can be and the black of your writing is as black as it can be. Don’t forget to save your new image as either a PNG or JPG file. If you don't have Photoshop, you can get similar results using a photo editor on your smartphone.

Then in your Silhouette Studio software, open the file you saved. Use the trace tool to select the area you want to cut. Don’t forget to uncheck “High Pass Filter” and then click “Trace”. Repeat this process with as many of your written words as you like. You can then select the background image and delete it. You are left with the cut files of your chosen words. You can adjust the size to suit, or even weld separate words into one. Don’t forget to save this file so you can use it when ever you like!

You can also download the cut files I created over on the Citrus Twist Kits Fan page.

On this layout, I used black adhesive-backed card to create my title. I can't get enough of all the wee dog elements in the August kits!


Thursday, August 20, 2015

Whole lot of lovely with Christin

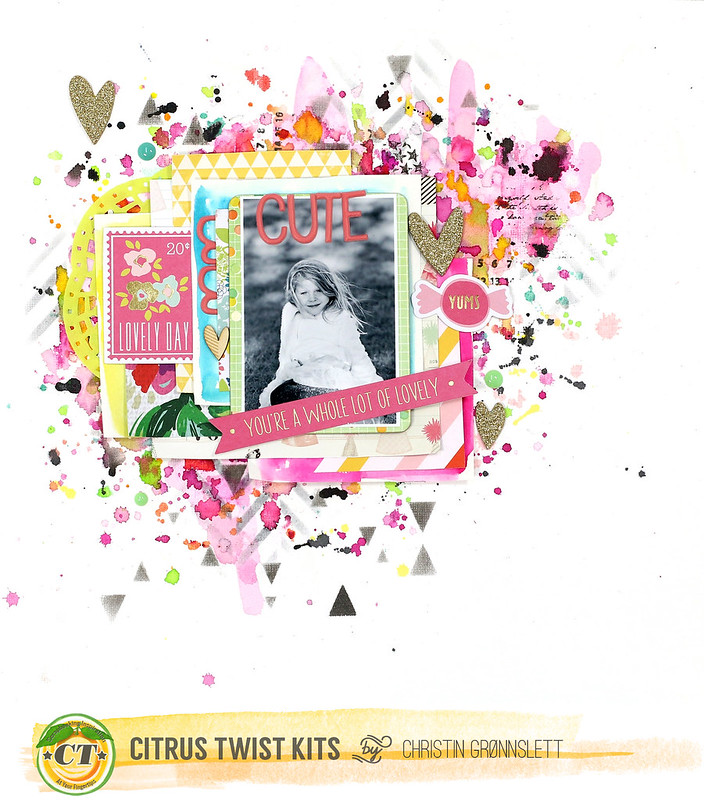
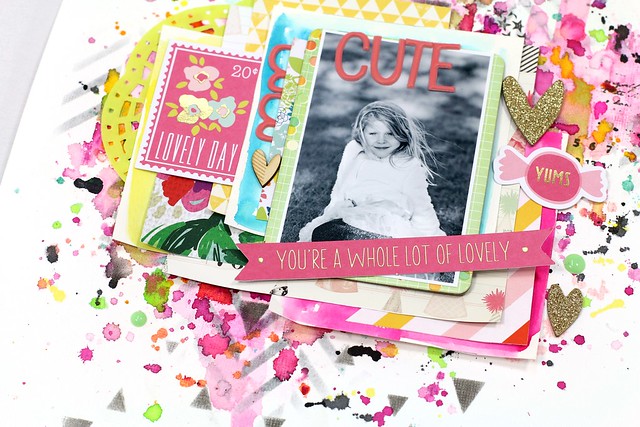
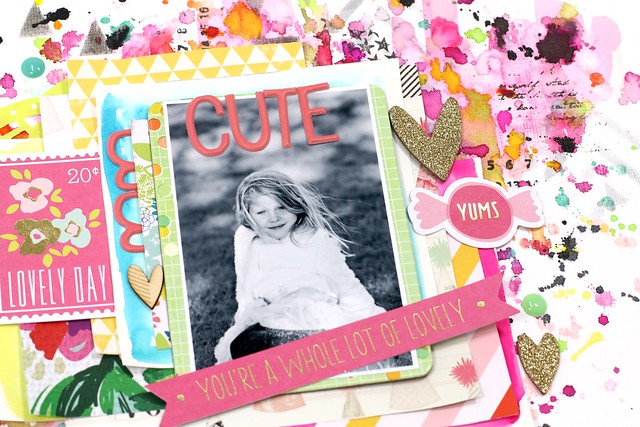
Christin here to share with you some ideas to add more color to your layers of paper. Sometimes when you feel like you don't have the right mix of colors or want to get that extra wowfeeling I have a suggestion to you. For this page I used a lot of colors on the background, but felt like I needed more colored layers.

CTK Aug Add-on - Christin Gronnslett Whole lot of lovely

Here I have painted three pieces of watercolor paper with watercolors. One in blue, one in yellow and one in hot pink to mix well with the papers chosen (I have worked with the Add-on kit and a few papers from the two Papern Pattern kits)  You can get watercolor paper in very small book of paper for this. (Also added a golden heart from the main kit)


CTK Aug Add-on - Christin Gronnslett Whole lot of lovely02

CTK Aug Add-on - Christin Gronnslett Whole lot of lovely03

CTK Aug Add-on - Christin Gronnslett Whole lot of lovely04

CTK Aug Add-on - Christin Gronnslett Whole lot of lovely05

Wednesday, August 19, 2015

Alpha love with Emma

Hi everyone!  It's Emma here to share a couple projects I've made using not only the amazing August kits but also some fun alpha's I picked up from the store this month. 

I can't help but pick up a little something each time - Trina always uploads those little extra's that you just have to have!  This month it was the Seven Paper, Amelia Gold Puffy Alphabet stickers.  The font is gorgeous!  Plus they're gold.  That alone was a good reason to get them :)

The first project I created was a layout.  I went big with my photo, it's almost a full 6x8.  I set the title at the top of the page to fill that big white space in the photo - the gold against the white makes it really stand out.


To fill the bottom of the page I just picked some paper from Paper Play #1 - I wanted to add some colour given the photo is quite bright.  The tag at the bottom is another shop item I picked up (Maggie Holmes/Crate Paper Ribbon set) then I just layered a few smaller pieces from the Main and Embellishment Kits.  (Oh, the gold dotted vellum I used at the top corner and the gold paper clip at the bottom both came from my stash!)

 
The second project I created using the alpha's was a card.  I'm trying to make more cards lately.  I mean I have all the materials I need, so why not?!  Seems crazy to keep buying them when I can make them.  Plus I'm lucky enough to have friends that actually appreciate hand made cards or want me to make them for them so they can give them away.  Lucky me :)


For this I pulled a few items from my own stash but the background paper is from the August Pocket Life kit.   On top of this I just added a scrap piece of the gold dotted vellum on top (left over from the layout!) then added my sentiment to a plain white tag, sewed them together and popped some enamel dots in black and gold to tie it all together!  Easy one :)


Did you pick up these the shop this month?  Would love to see your creations if so!  Remember to link them up in the gallery or share them on the Facebook page so we can all see :) 

Thank so much for stopping by!
 
Em

Sunday, August 16, 2015

Sunday Sketch with Janine

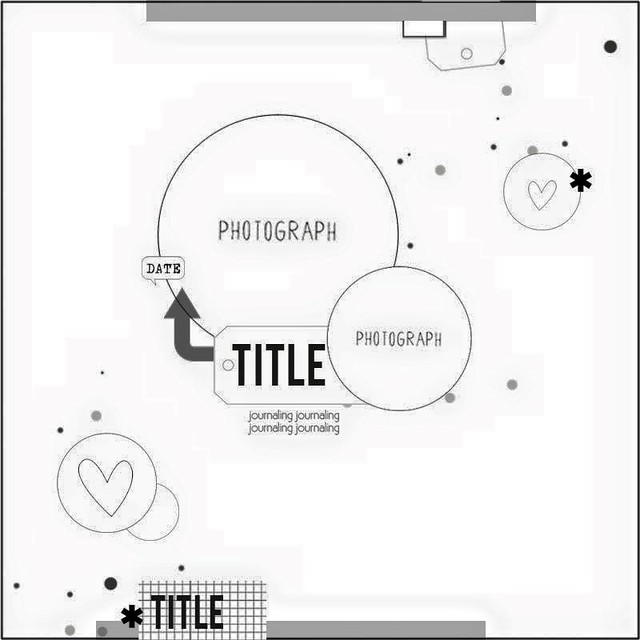
Hey everyone, Janine here to share my take on this week's great sketch! This time we have a two photo circle sketch that leaves so much room for your own interpretation!

Let's first take a look at the sketch:

sketch-august16th-ctk

Isn't it fun?

When I saw the sketch first, I was totally excited about the shaped photos, I love to use shaped photos on my scrapbook.

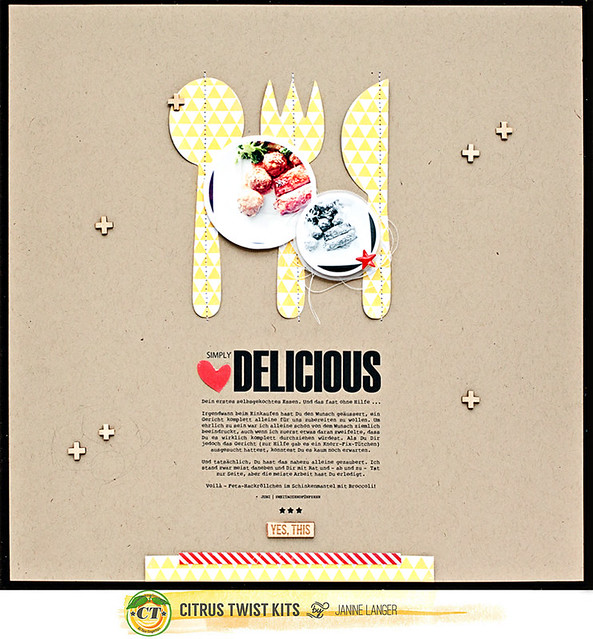
And I don't know why, but the pictures I took, when my son first cooked a meal all by himself, came to my mind. I knew immediately I wanted to place those photos on a set of silverware that I printed out with my silhouette. Just to give it a bit of a themed look, because that's another thing I love to do on my layouts.

janinelanger-ctk-august2015-banner-003-sketch

To give it a modern twist though, I decided to use kraft cardstock as a background and to keep it quite simple. I love that yellow paper that came with the Pattern Paper Add-On this month, and those wooden embellishments are so great to emphasize something positive!

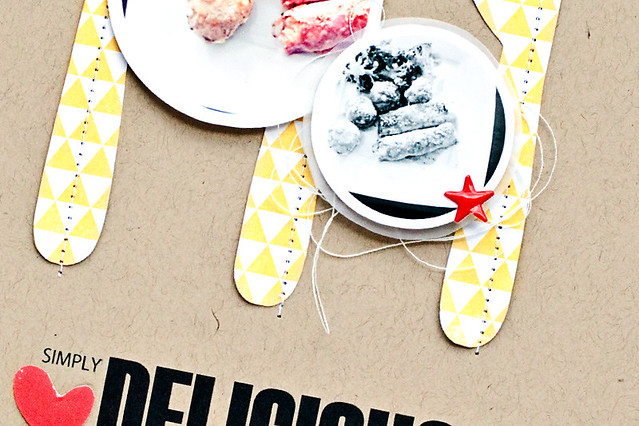
Here is a close-up:

janinelanger-ctk-august2015-003a-sketch

Now it's your turn. If you want to play along with this week's Sunday Sketch and be eligible to win a $5 gift certificate, create a project based off of the sketch and upload it to CTK Gallery by next Saturday. Please make sure to include the date of the sketch in the title of your project.

Thanks so much for stopping by and we are looking forward to see what your takes on the sketch will be! Have a wonderful Sunday. :)

Friday, August 14, 2015

Pocket Life Sketch Friday

Hello!
Mira here today with Pocket Life Sketch Friday.

I have one page with loooots of journaling to share with You! It means challenge! Huge challenge! Not many of You write this much in Your albums, right? Last time, when I was on this blog I talked a lot about journaling, now You can challenge Yourself to give it a try!
And remember that You're in the run for a great prize!
Let's see the page:


The page was created with August PL Kit, Sprinkles Kit and "Celebrate" Add-On Kit.
Here are the details:


And those are your PL sketches for the week!


As You can see above I also challenge You a bit to go out of the pocket (box :P)! Isn't that fun?  

Thanks for visiting Pocket Life Friday, where every week we share PL sketches and a chance to win a piece of weekly fun mail. For your chance to win, create a layout based on the sketches in this blog post, post your layout to our Gallery or our Facebook Fan Page by Friday, June 21st. Be sure to include PL 8/14 in your title!

Hugs,
Mira

Wednesday, August 12, 2015

Pocket Pages Journaling with Mira

Hello!
It's Mira today (Pocket Life journaling maniac!) to share my journaling process with You Guys!


First - I have a question: Do You write stories in Your Pocket Albums a lot?
Actually there are more questions: Do You like it? Do You have some fun tips how to do it? Any good/bad experience? Share it with me! I love writting and I would definitely love to try some new ideas!

I know that some of You would like to write more, but it seems to be too overwhelming! It can be - sure, but when You keep doing it each time - the same way it's easy peasy! Just need to try and find the best way that works for You.

See how I do it...

I'll start with the fact that I work with my pocket pages once a month - for a few days in a row (when the kits arrive!!! :D) so there are a lot of stories that I have to incorporate. Most of them are the funniest stories about our daughter that I want to remember so she could laugh about it with us in the future (isn't that great motivation?).
So how to remember all the stuff that happened? Especially that most of them are a really small details of our days...
Guys! Don't we - as a scrapbookers just LOOOOOVE planners?
Quilty!
So let's create special chapter in there called journaling! You can write the stories in every day section too - this way You will always have it documented chronologically!

Whenever something funny/worth noticing happens in my life I ALWAYS have my idea book open and I am ready to write it down! If don't - I use notepad app on my smartphone to collect the thoughts (when we are travelling)! We have our smartphones with us most of the time, aren't we? We just need to learn to write things down when they actually happen, cause we probably won't remember them at the end of the day (if You can do it - please teach me ;)) Normal people (non scrapbookers - can I call them Mugols?) always laugh when I tell them: "wait a sec! I need to write this down!

So the stories are there - in our planners... What next?

Before I start creating I always check what I gathered on the phone and in my idea book and rewrite it on the computer and then print it (I am not a fan of my handwriting).

How do I like to print it?
It depends on my mood :D

First:
When I have a lot of stories collected I create the whole page covered with journaling and then decorate it. It's easier than dividing everything to fit into the small journaling cards. I did it here to document the details about our daughter when she turned 6 months old:


Those can also be all the stories that happened in the month that You are working on.

Second:
I also like to print the stories directly on the cards. 4x6 are the best for that because most of the printers have that format predefined. But I also print the stories on a white A4 format page - I put the text in smaller boxes that I eventually cut out from the page and attach to the colorful cards. Here You have some examples:


I keep the boxes in empty template file (simple text editor will do well) with the font chosen and they are just waiting to be filled with text and printed every month.

Obviously there are also times when I need to write something quickly and then handwriting is accepted as well:


My pocket page journaling process is still evolving and I find it really fun to explore new possibilities. There are still many ideas that I haven't try, but I'm glad that I make this little effort each month to fill my book with the text! I love when my Family laugh when they go through my album - they watch the pictures and always read the stories!

After all it is all about positive attitude, right? There is this one question that You need to ask yourself in order to start doing it: do I want to have that stories written down to be able to read it in the future or I don't?
I do! What about You?
Set Your mind positively and get it done!

Thank You Guys for stopping by and reading. If You have any thoughts or questions, please share them in the comment form! I'd love to hear what is Your experience in this topic!

And don't forget to have fun!

Tuesday, August 11, 2015

Summer Fun Mini Album

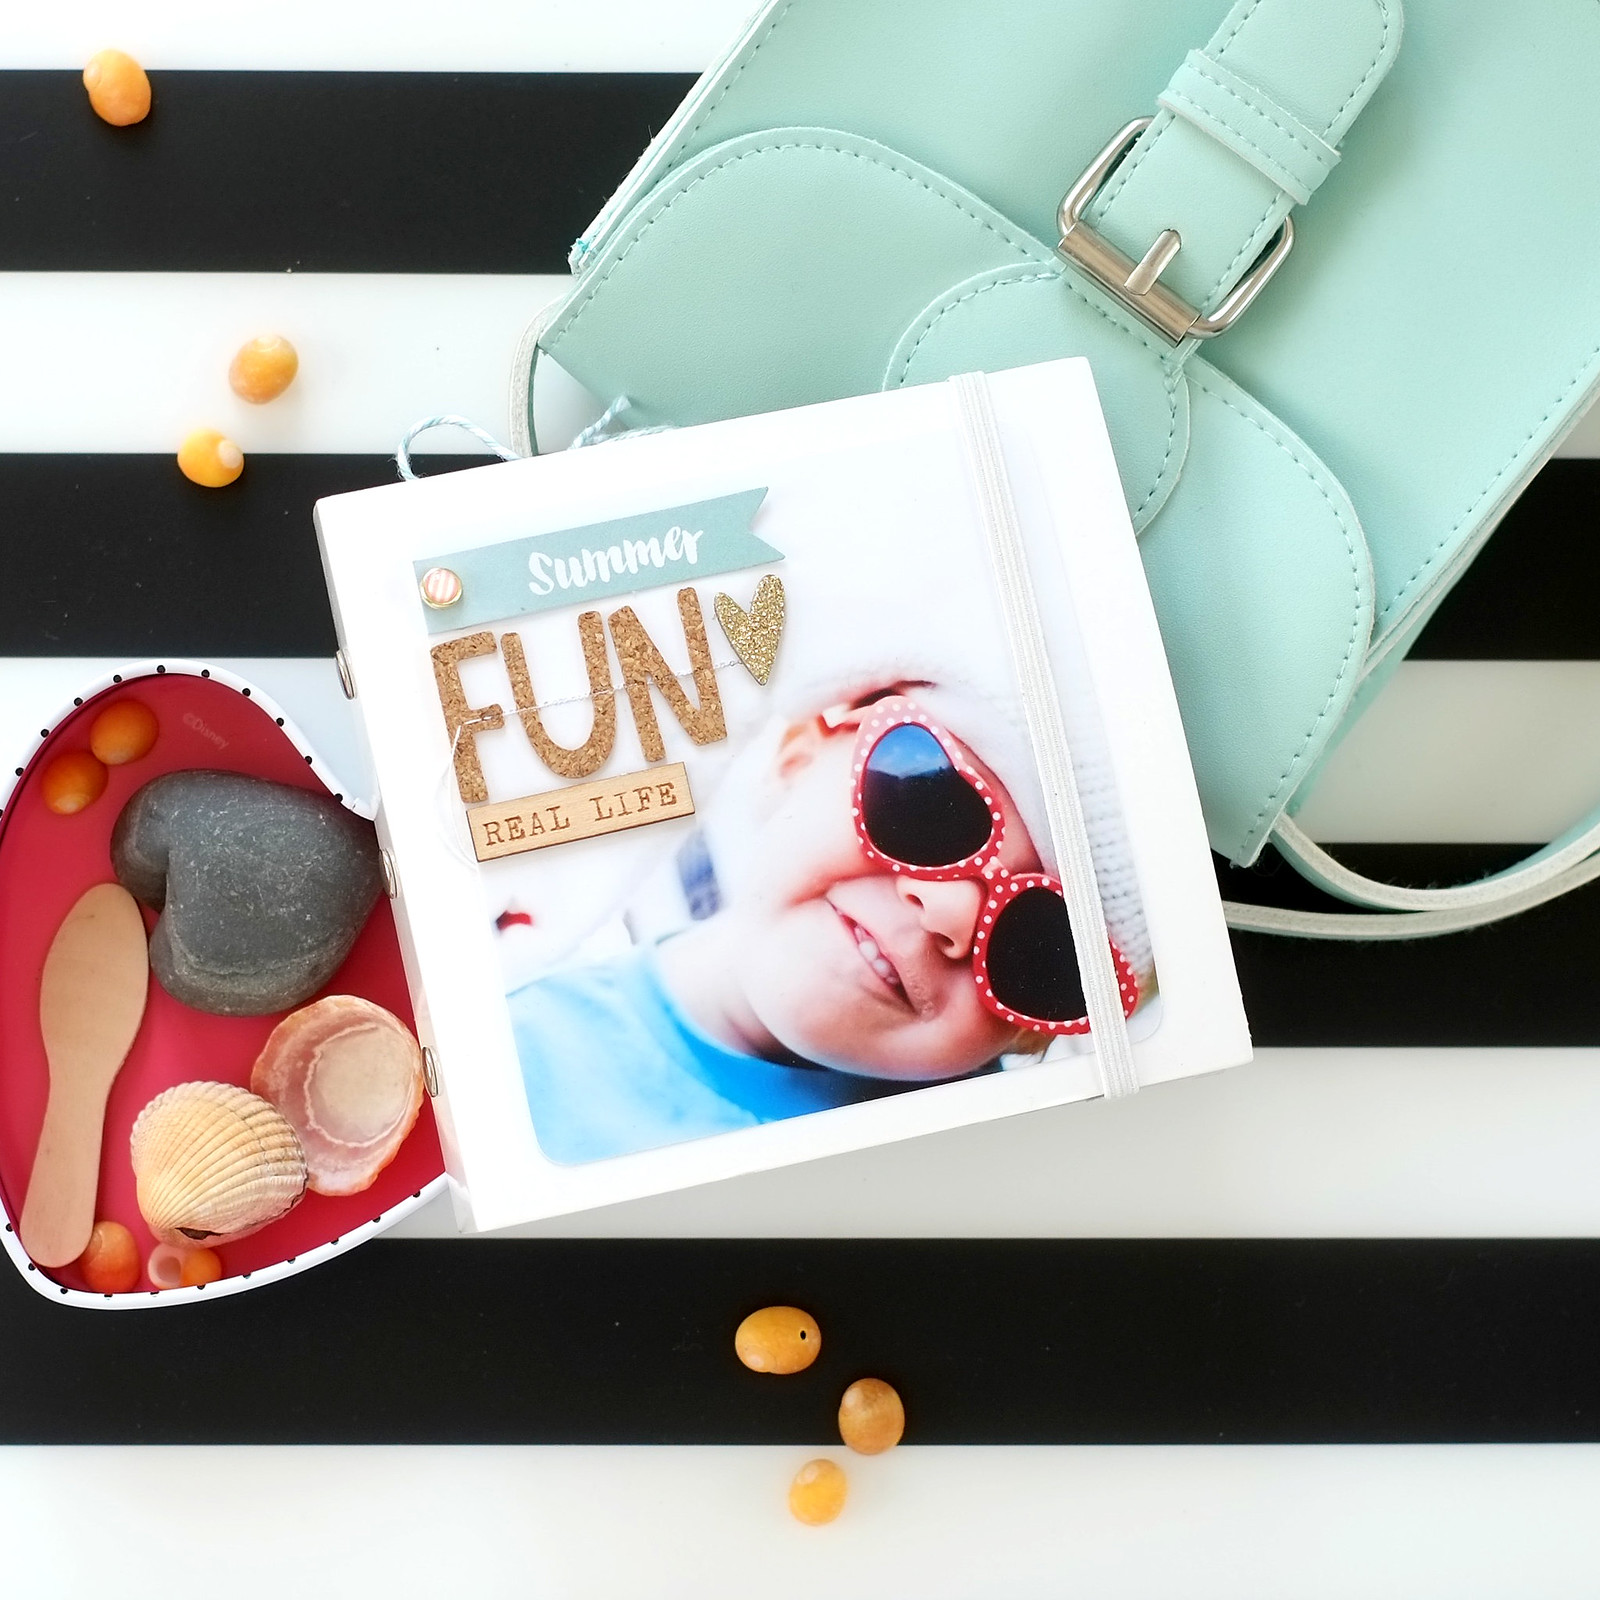
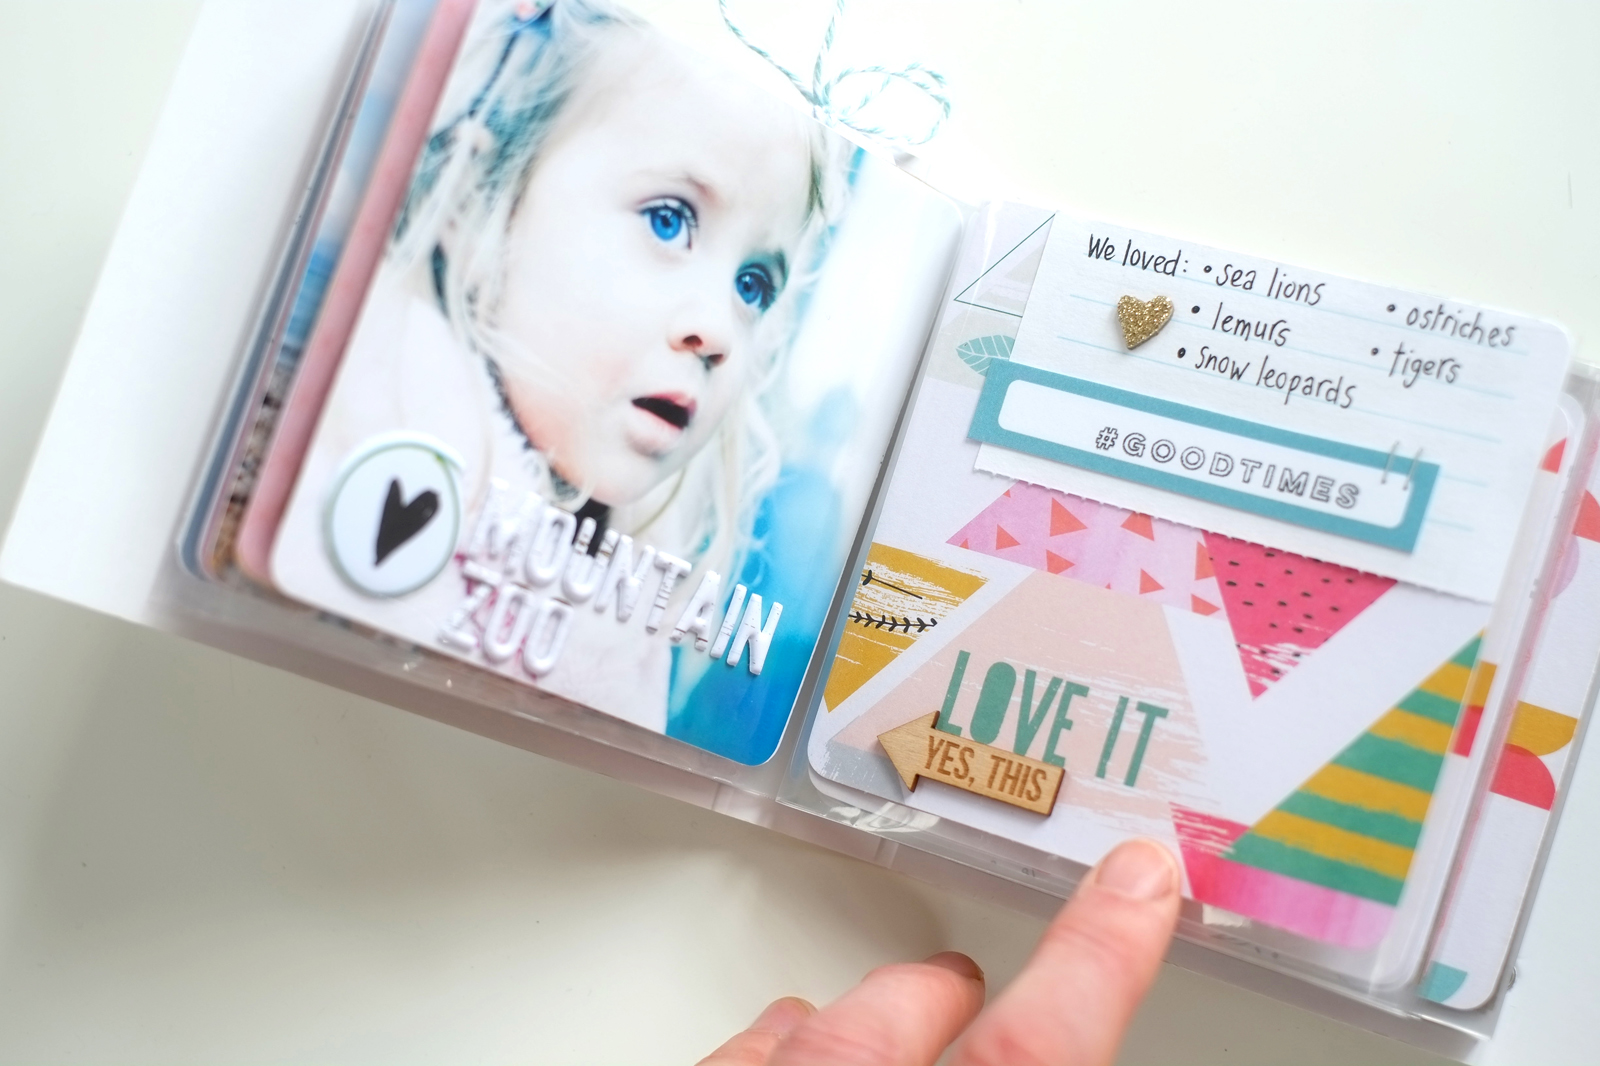
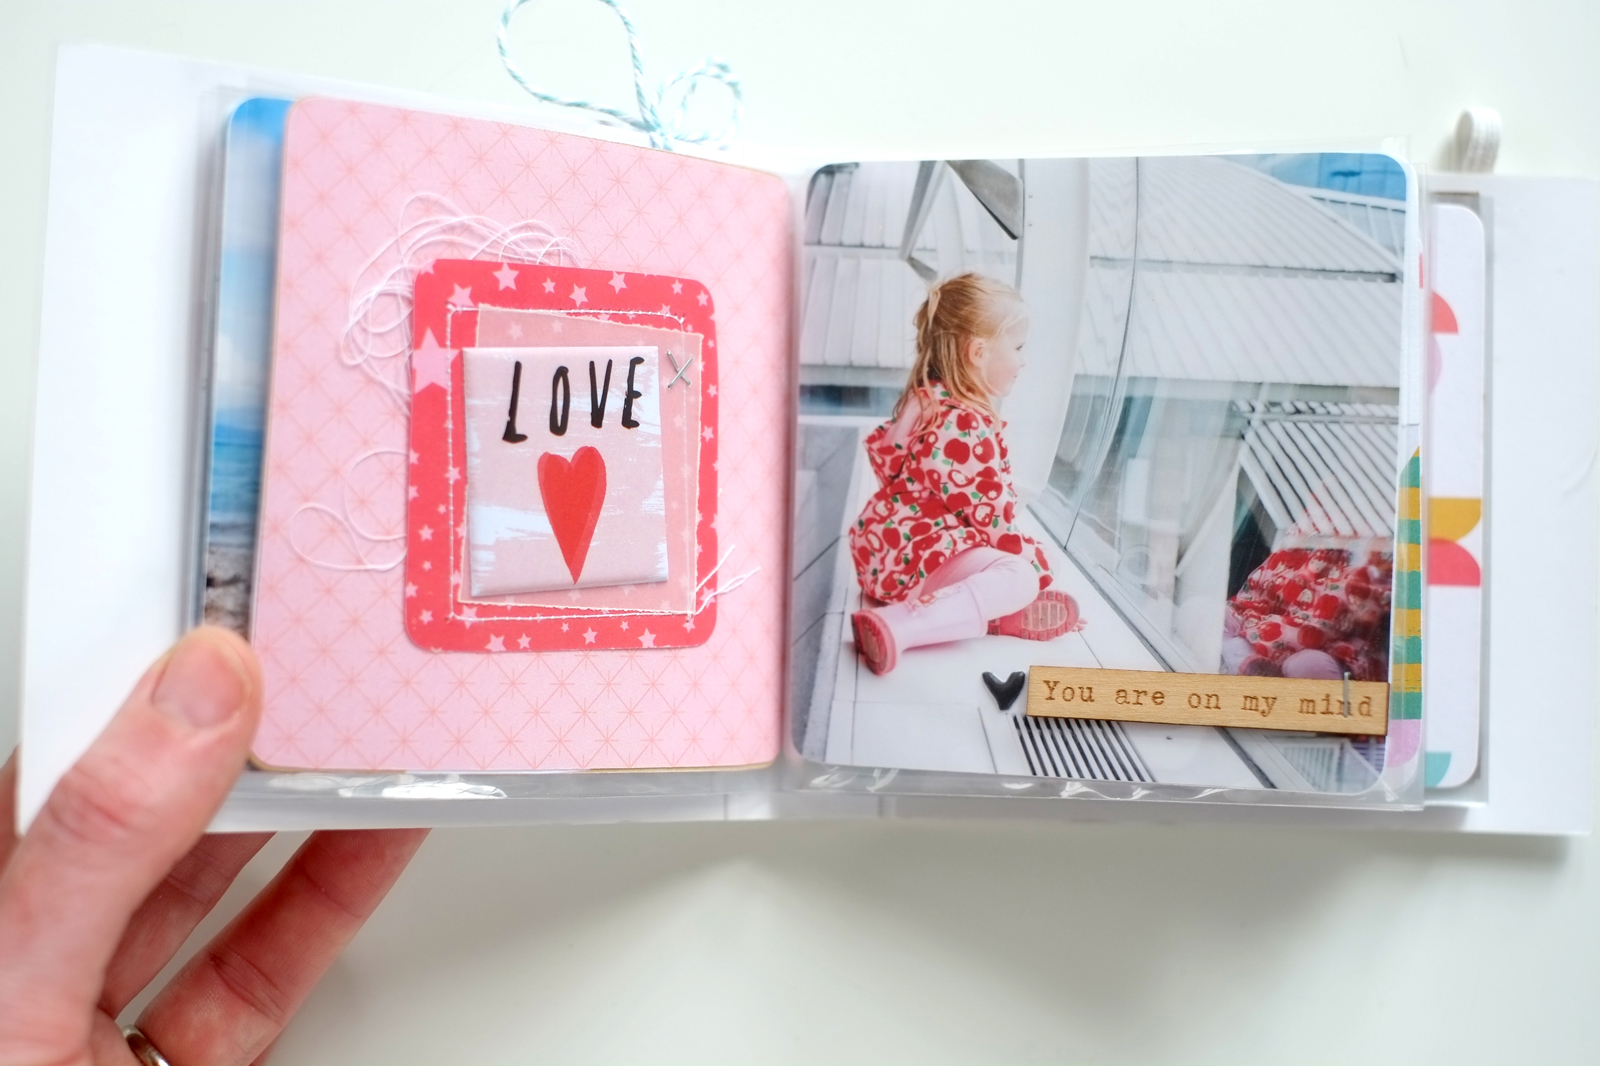
Hi everyone. Suse Fish here with a fun little summer mini-album made from a (cheap-as-chips!) photo album from Ikea and some of the beautiful bits and bobs from this month's summery kit.

Untitled

Like many families on a bit of a budget, we like to fill our summer holidays with simple pleasures: days out and short camping trips. And do you know what? The little 'un seems to have as much fun as if we'd taken her to Disney World!

  Untitled

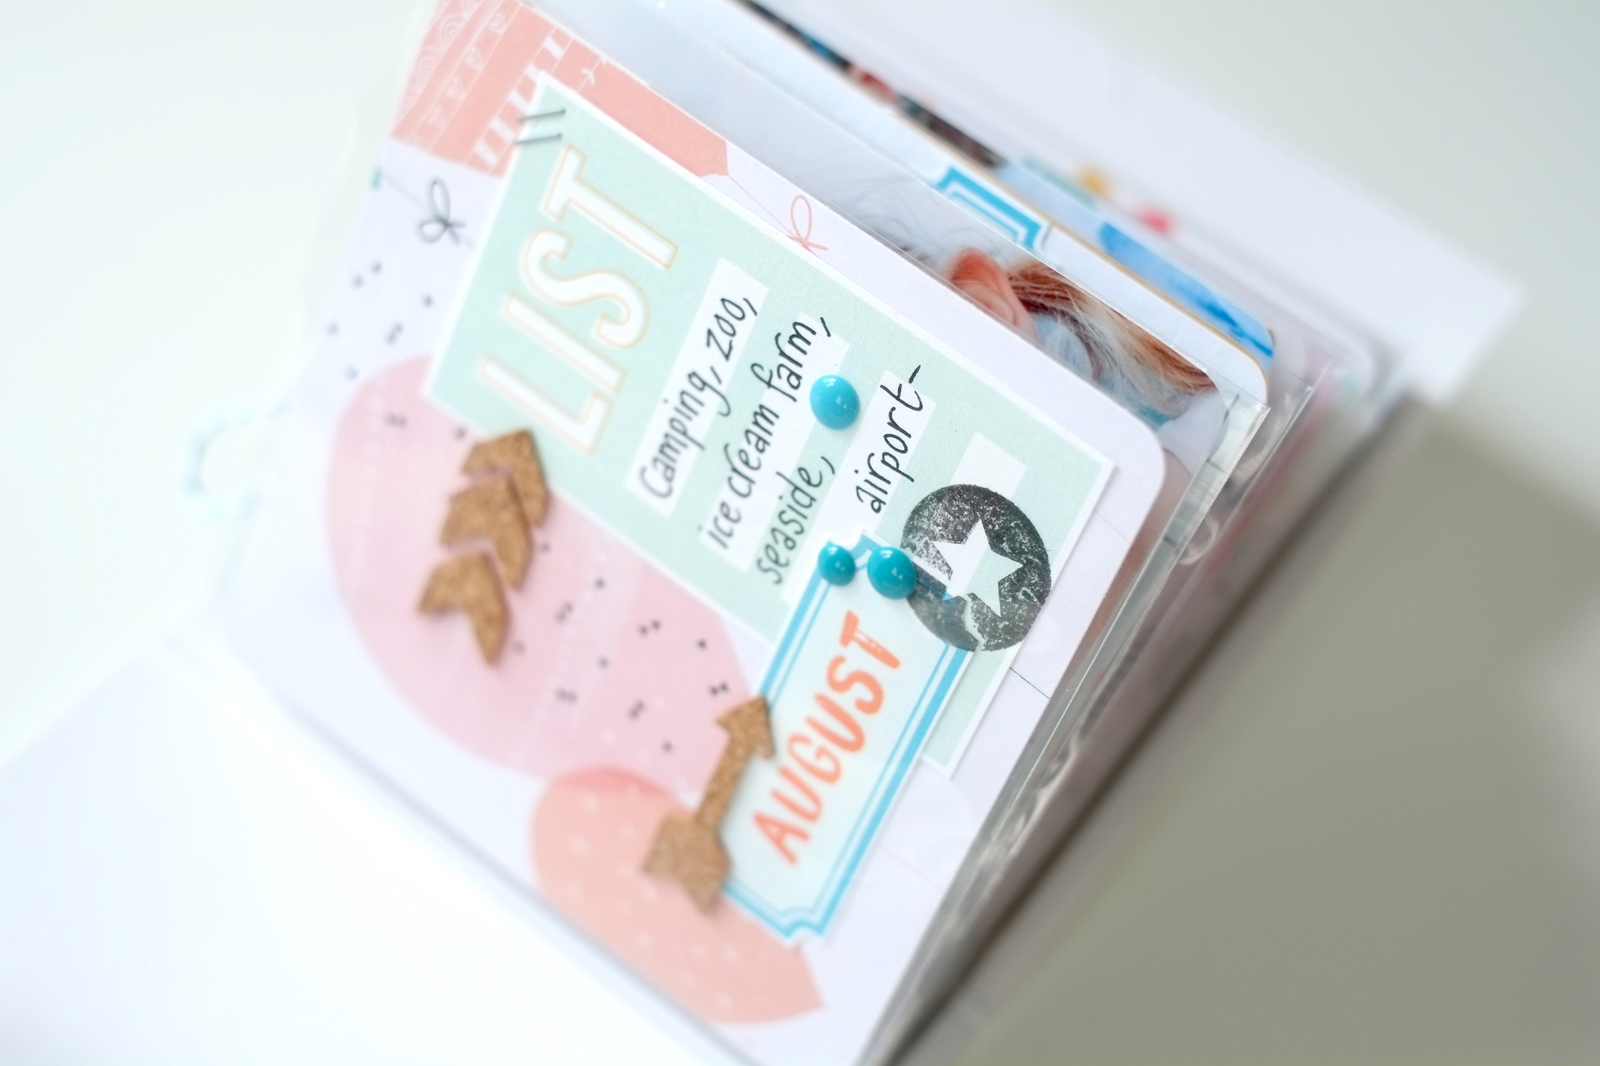
This little album was just so much fun to make! I started out by cutting my papers into 10cm squares, then added pretty cut-aparts and embellishments to each page.

  Untitled

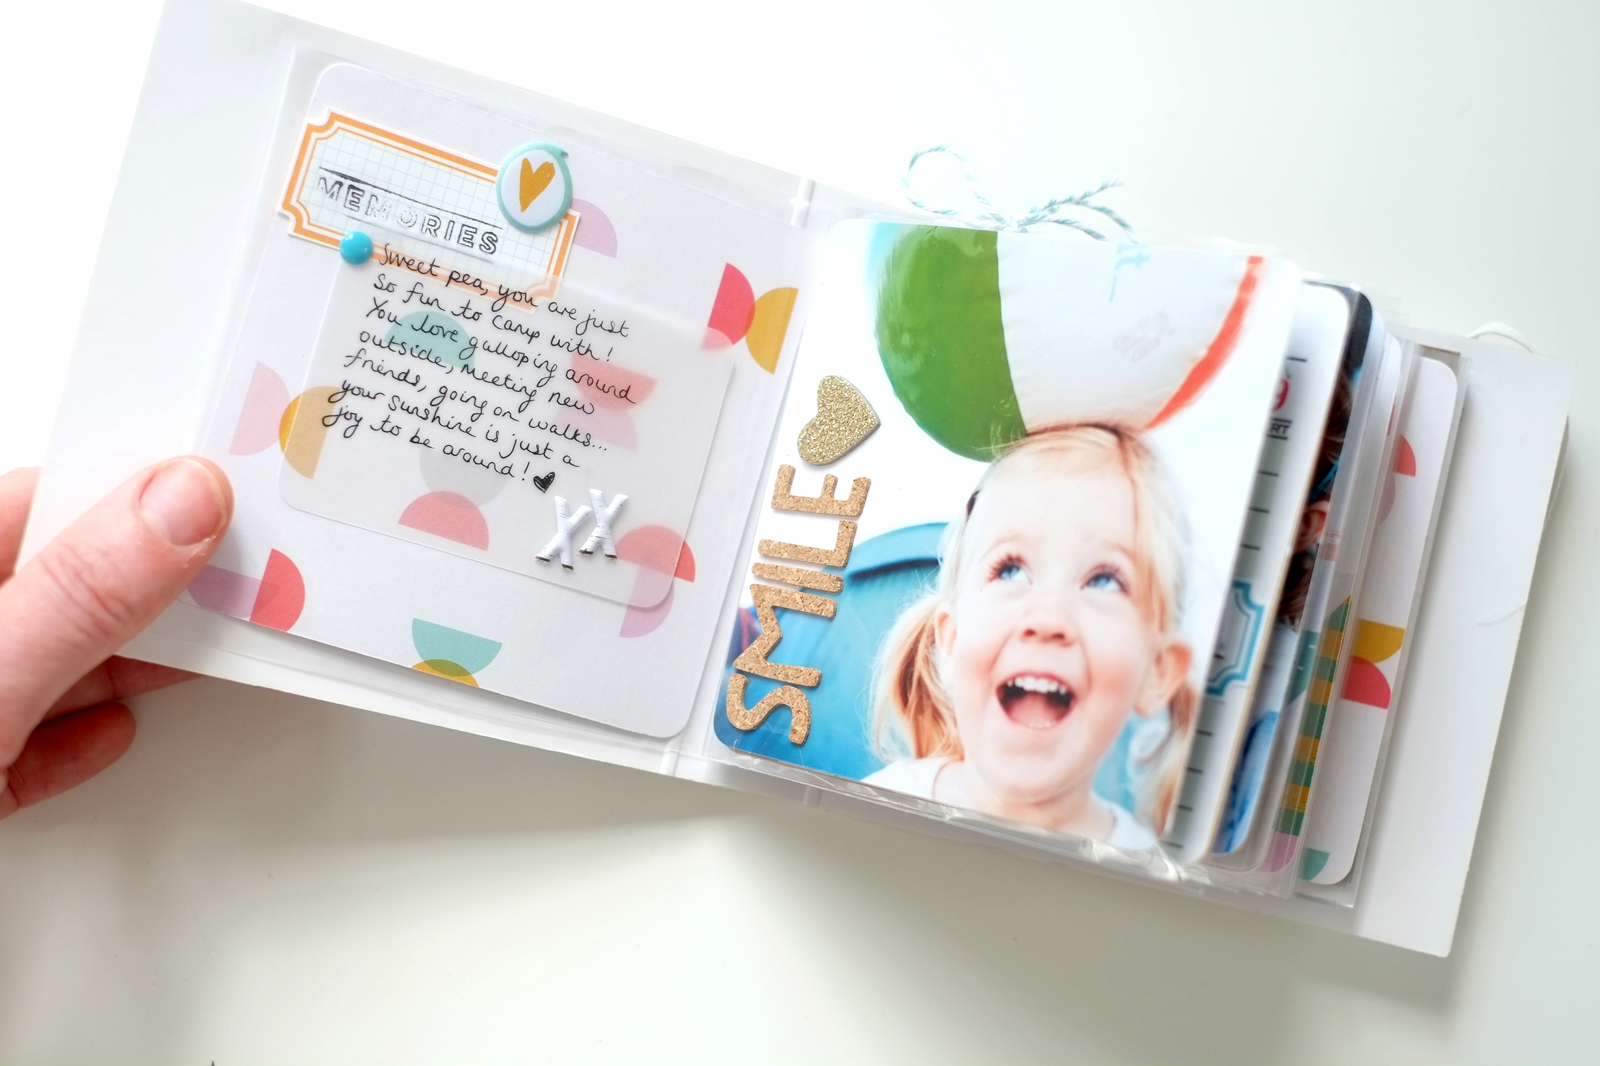
This little girl is never happier than when she's let loose on a campsite! Capturing that feeling of bliss wasn't hard with this stunning paper.

Untitled

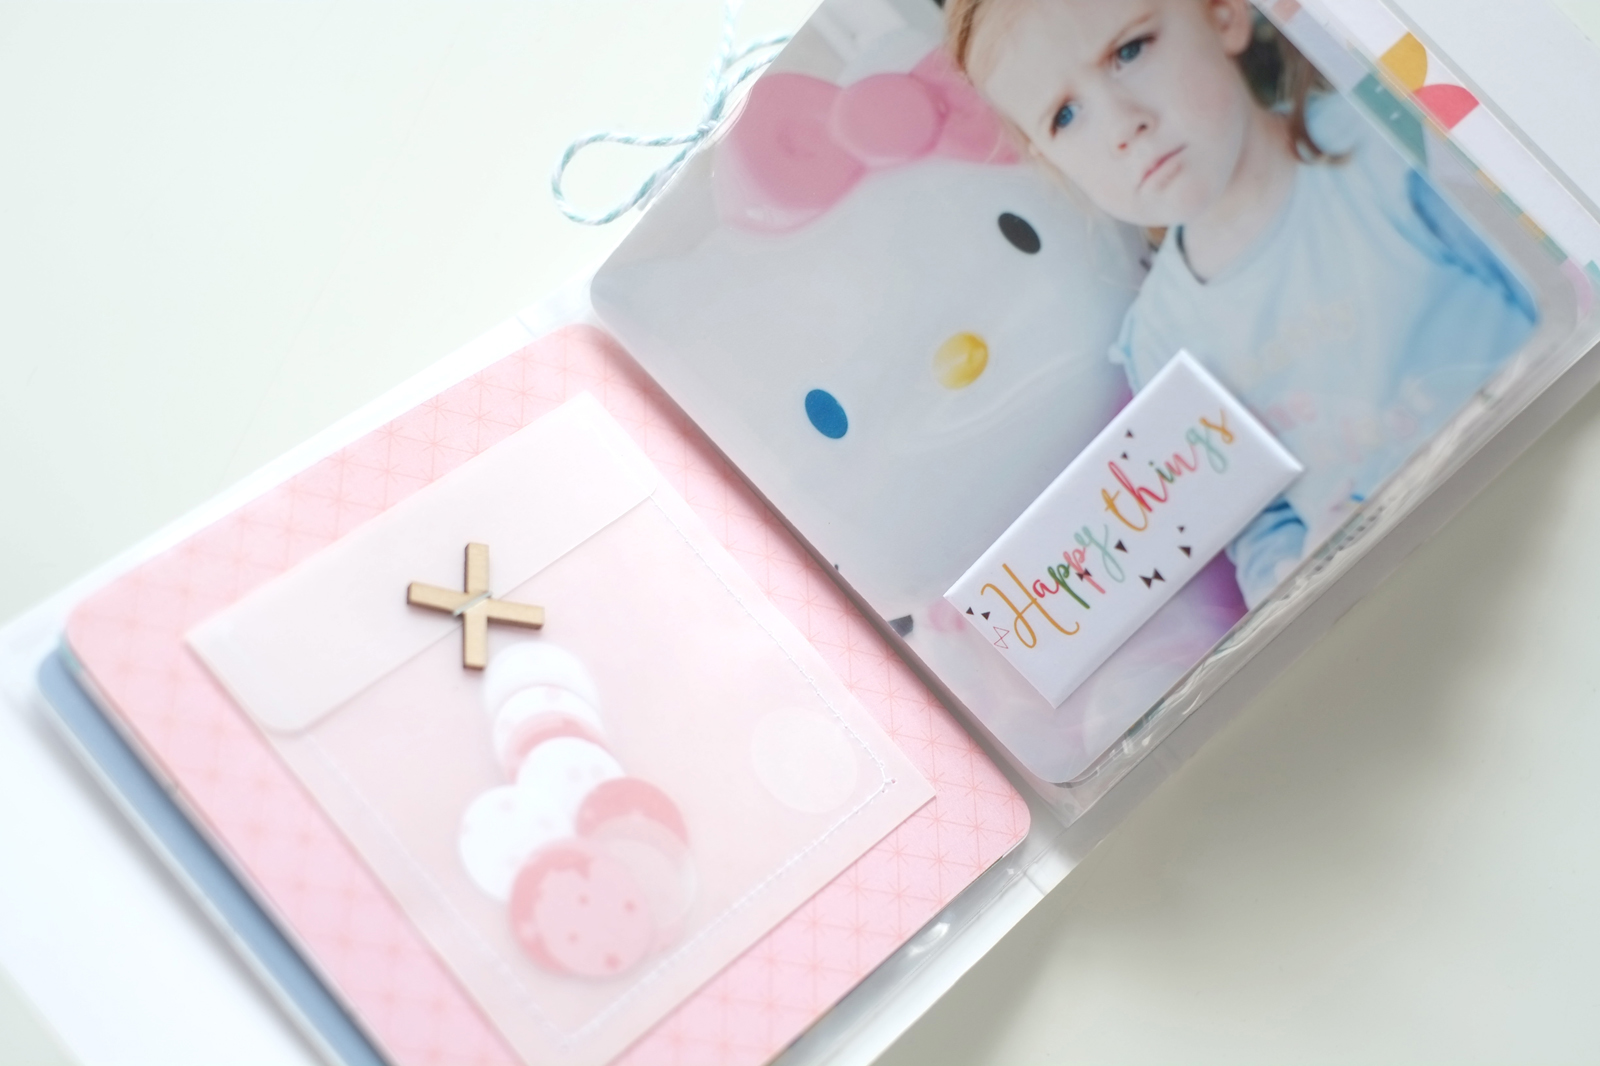
Don't you love this picture? I wonder how many of us scrapbookers have kids who get a bit fed up of being expected to pose for our photos all the time? Ha ha.

Untitled

We're lucky to live near a small zoo that isn't too expensive to visit. Our favorites are the sea lions. Don't these letter stickers look fab spelling out my title here? They're the perfect size too.

Untitled

Hope you've enjoyed a peek into my summer mini-album. Do have a go at making your own: they're great for recording those little moments that make our lives so special. Bye for now friends!