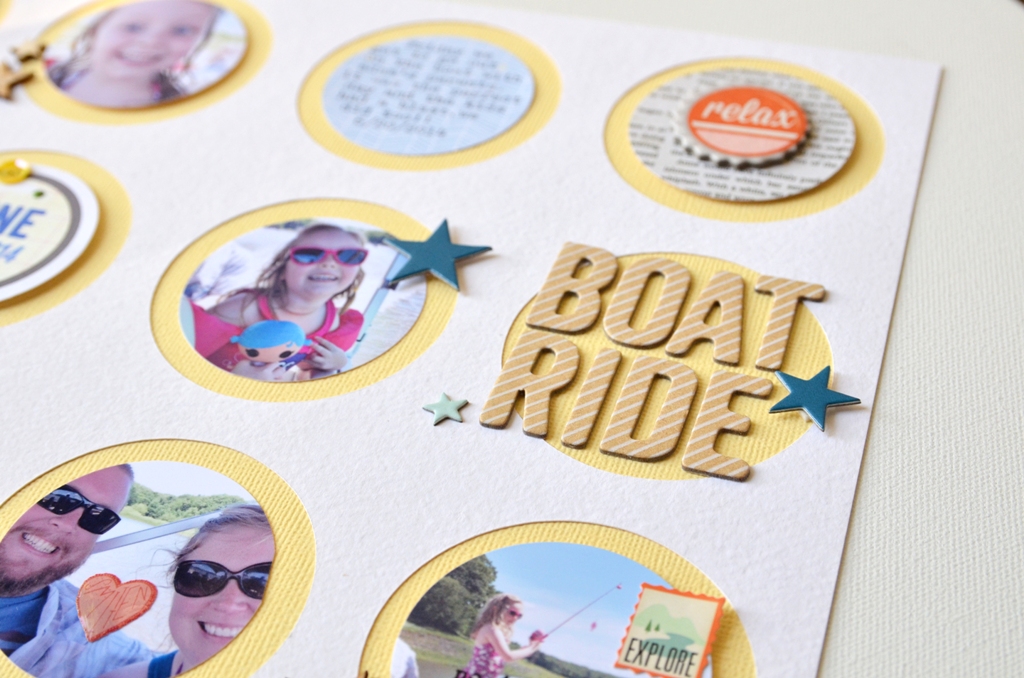
Hi there! Today I'm sharing a quick Silhouette tutorial with you all for making your own backgrounds. For this layout, I wanted to make a circle grid design and I will show you how to do that with your Silhouette Software.
First, draw a circle. Pick the elliptical icon on the left side of your screen. If you hold your shift key down while dragging, it will be a perfect circle. I sized mine about 2.5"
Next you will want to repeat your design. At the top of the screen pick Object > Replicate > Fill Page.
Now your design is complete! If you don't get enough circles, go ahead and pick 'Undo' and resize your shape a little smaller and try again.
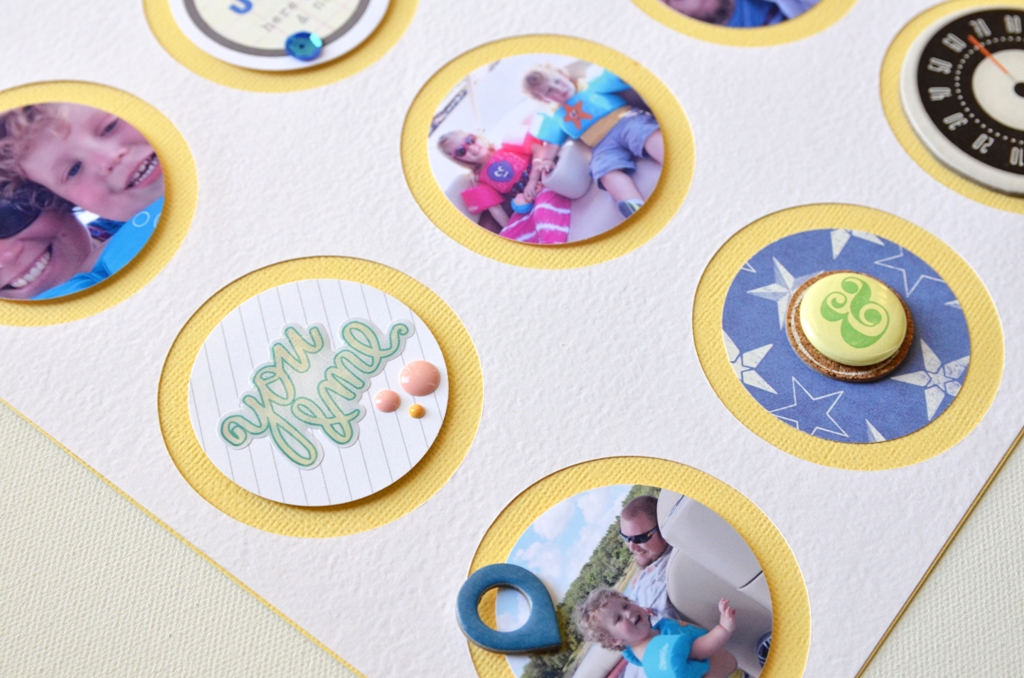
After I adhered my die cut cardstock to the background of the layout, I used my 2" circle punch to embellish each space.
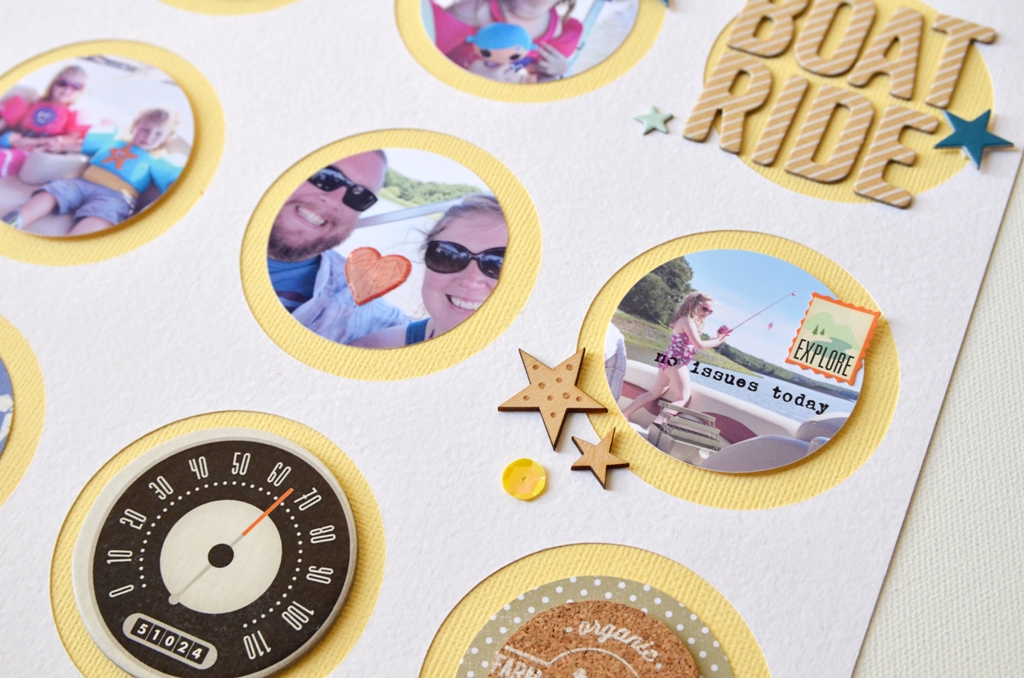
I used the
add-on stamp here which was perfect for this photo!
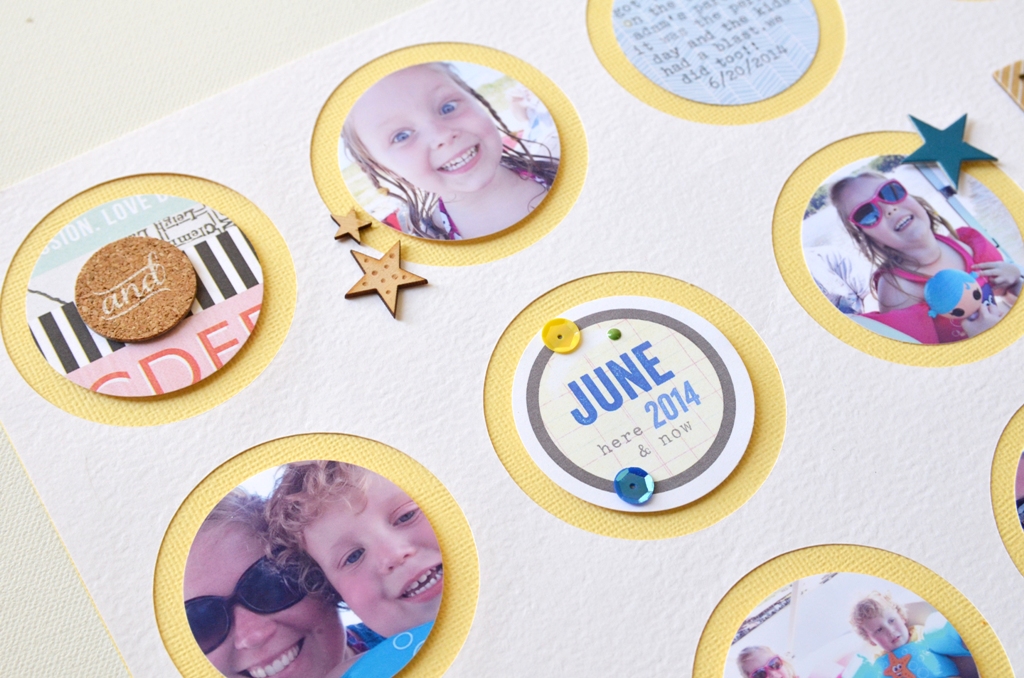
The June icon was perfect for punching out of one of the cards from the Pocket Life kit.
Thanks so much for stopping by today, and I hope you'll try this technique soon! Let me know in the comments if you have an questions!


LOVE this Jen!
ReplyDeleteGreat tutorial. Thanks!
ReplyDelete