Showing posts with label September 2015 Kits. Show all posts

Saturday, September 26, 2015

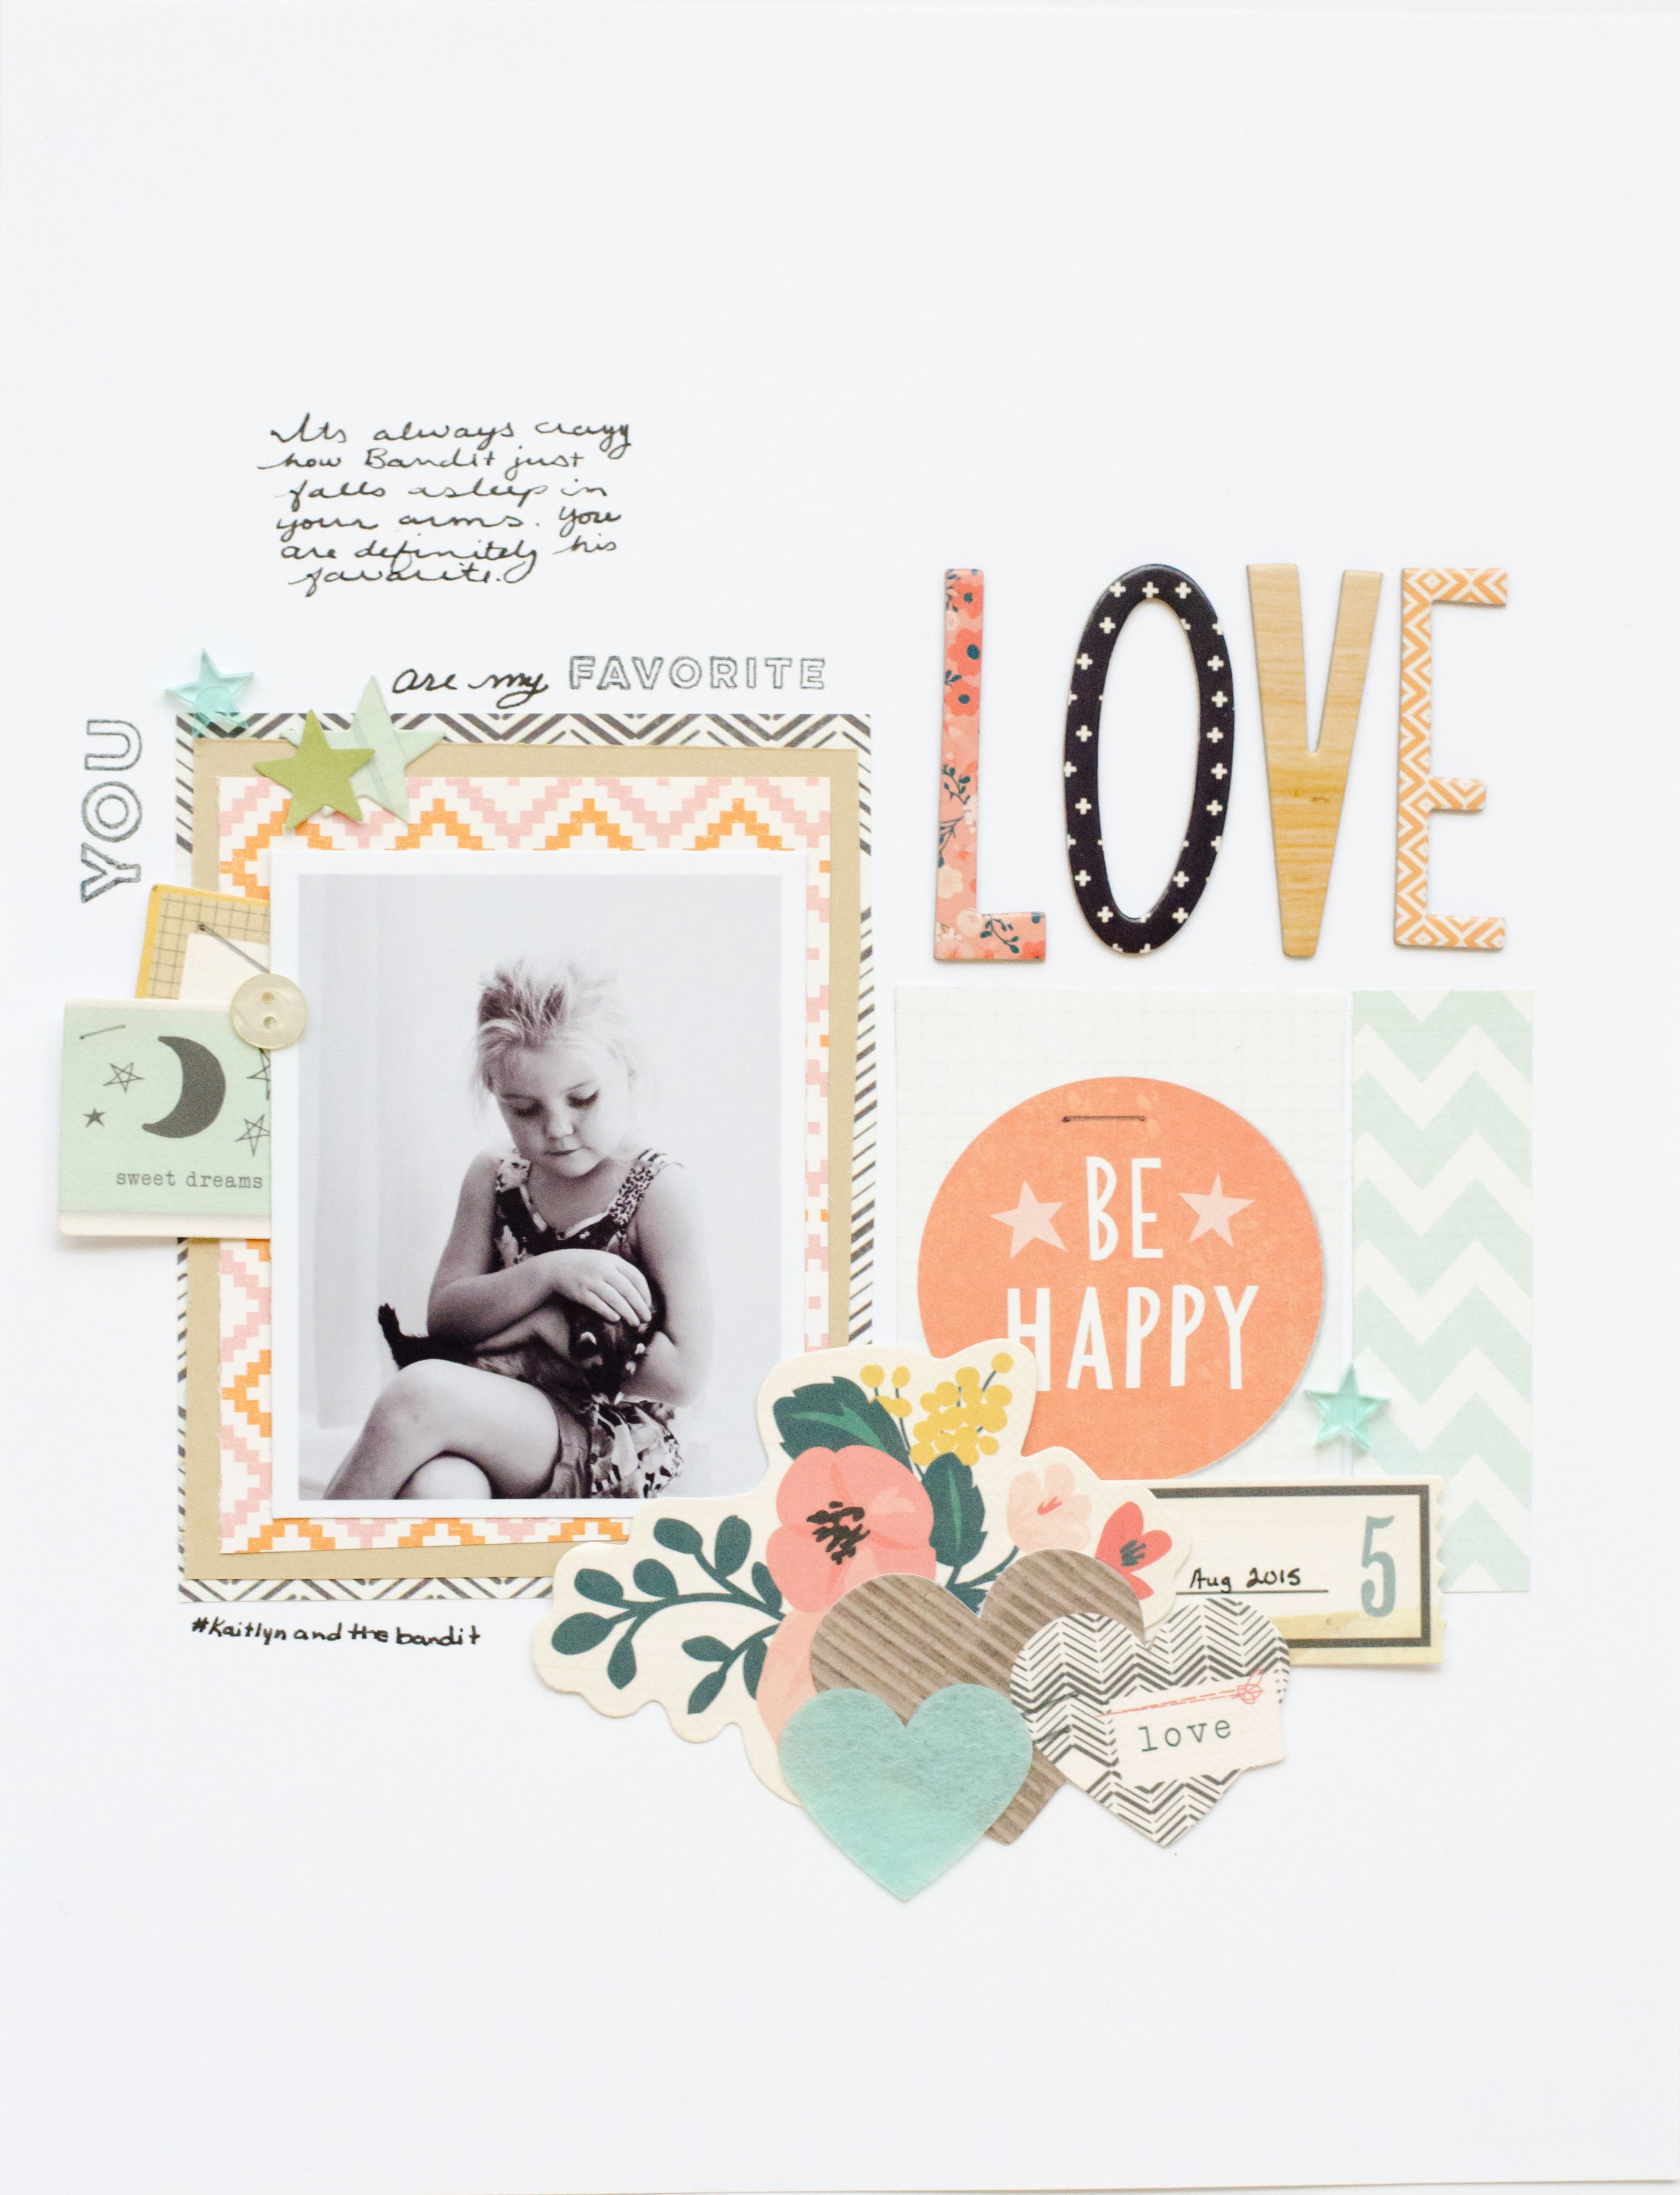
3 to Inspire with Diane

Diane here with another "3 to Inspire" challenge. You can find this challenge here every Saturday for those who need a little extra creative push to get scrapbooking, to keep scrapbooking or for those who just like a challenge! Your take on this challenge can be a layout or a PL spread and remember that you'll want to include all 3 prompts on your project.

Your prompts this week are:
    1.    Use a lot of sequins.
    2.    Add some hidden journalling.
    3.    Try stamping on your photos!

Here’s my take on this challenge:

In the bottom middle pocket I created a little confetti shaker card using my fuse tool. I stamped the sentiment a few times and then roughly cut them out before adding to the pocket with some of those gorgeous sequins and closing the whole thing up. A perfect little filler card! I added my journalling on the inside of a folded card and added some embellishments to the outside. And I stamped on nearly every photo I had! My new favourite white ink is Brilliance Moonlight White – SO GOOD on photos.

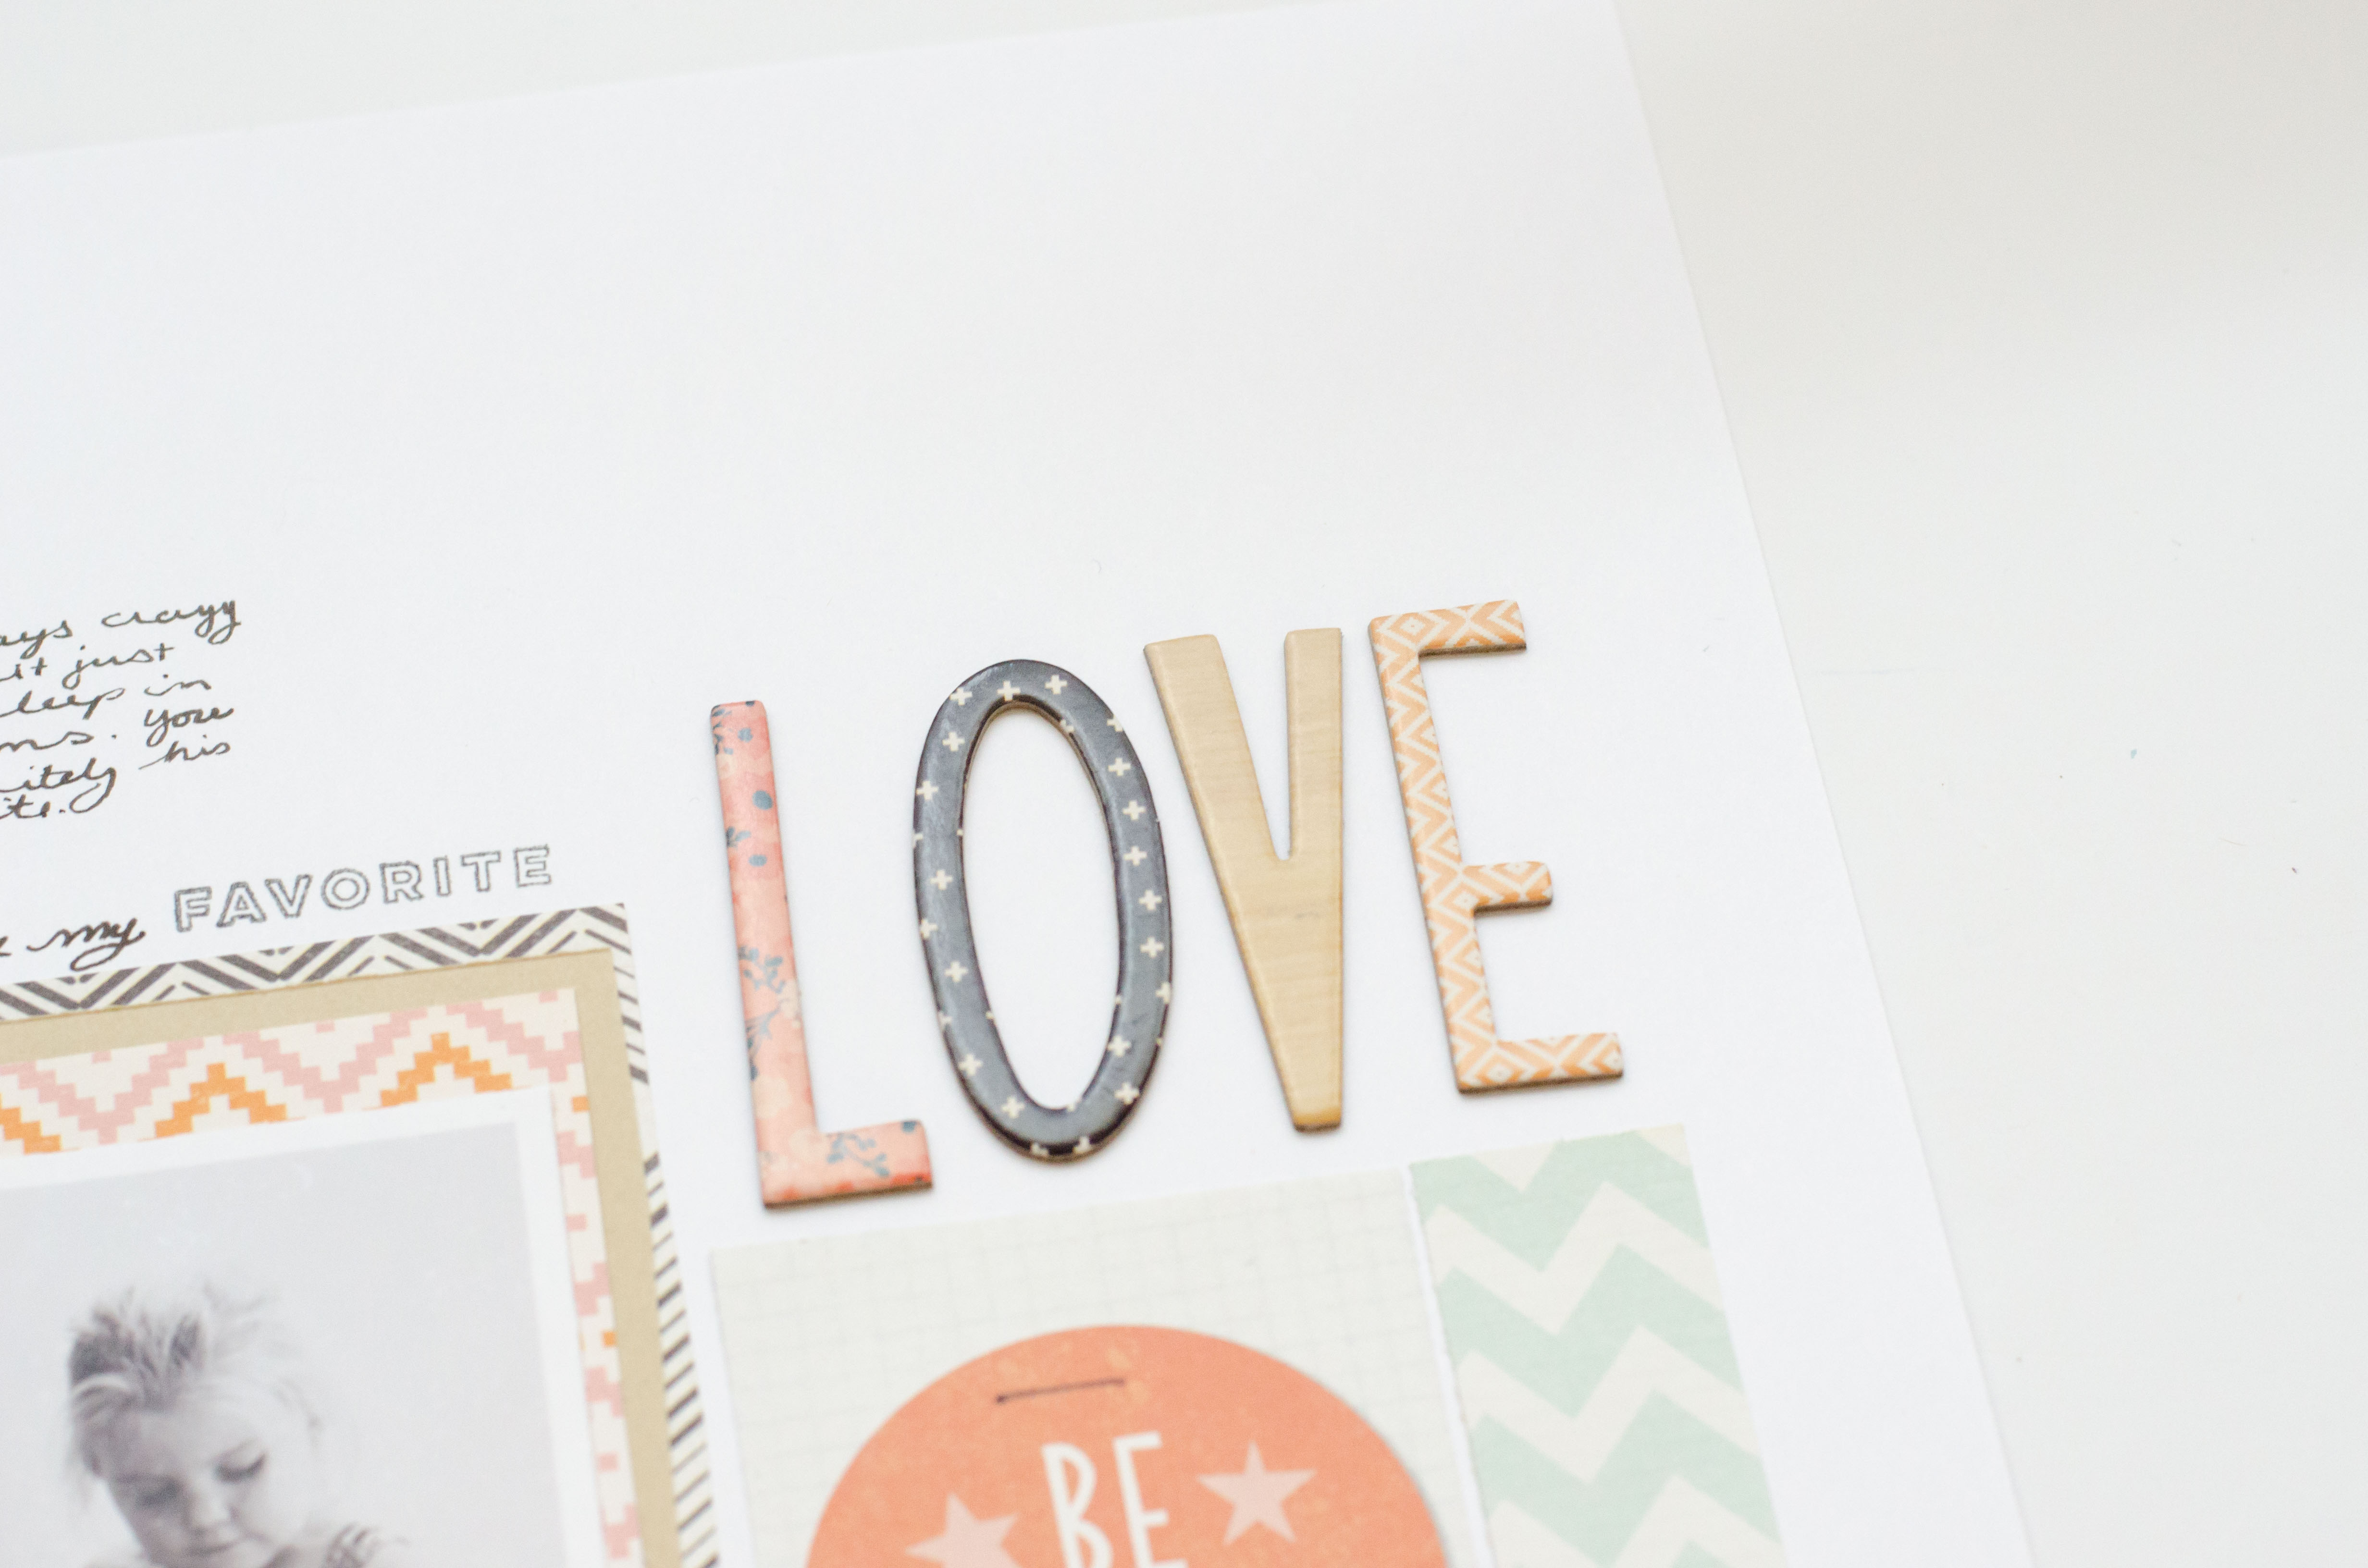
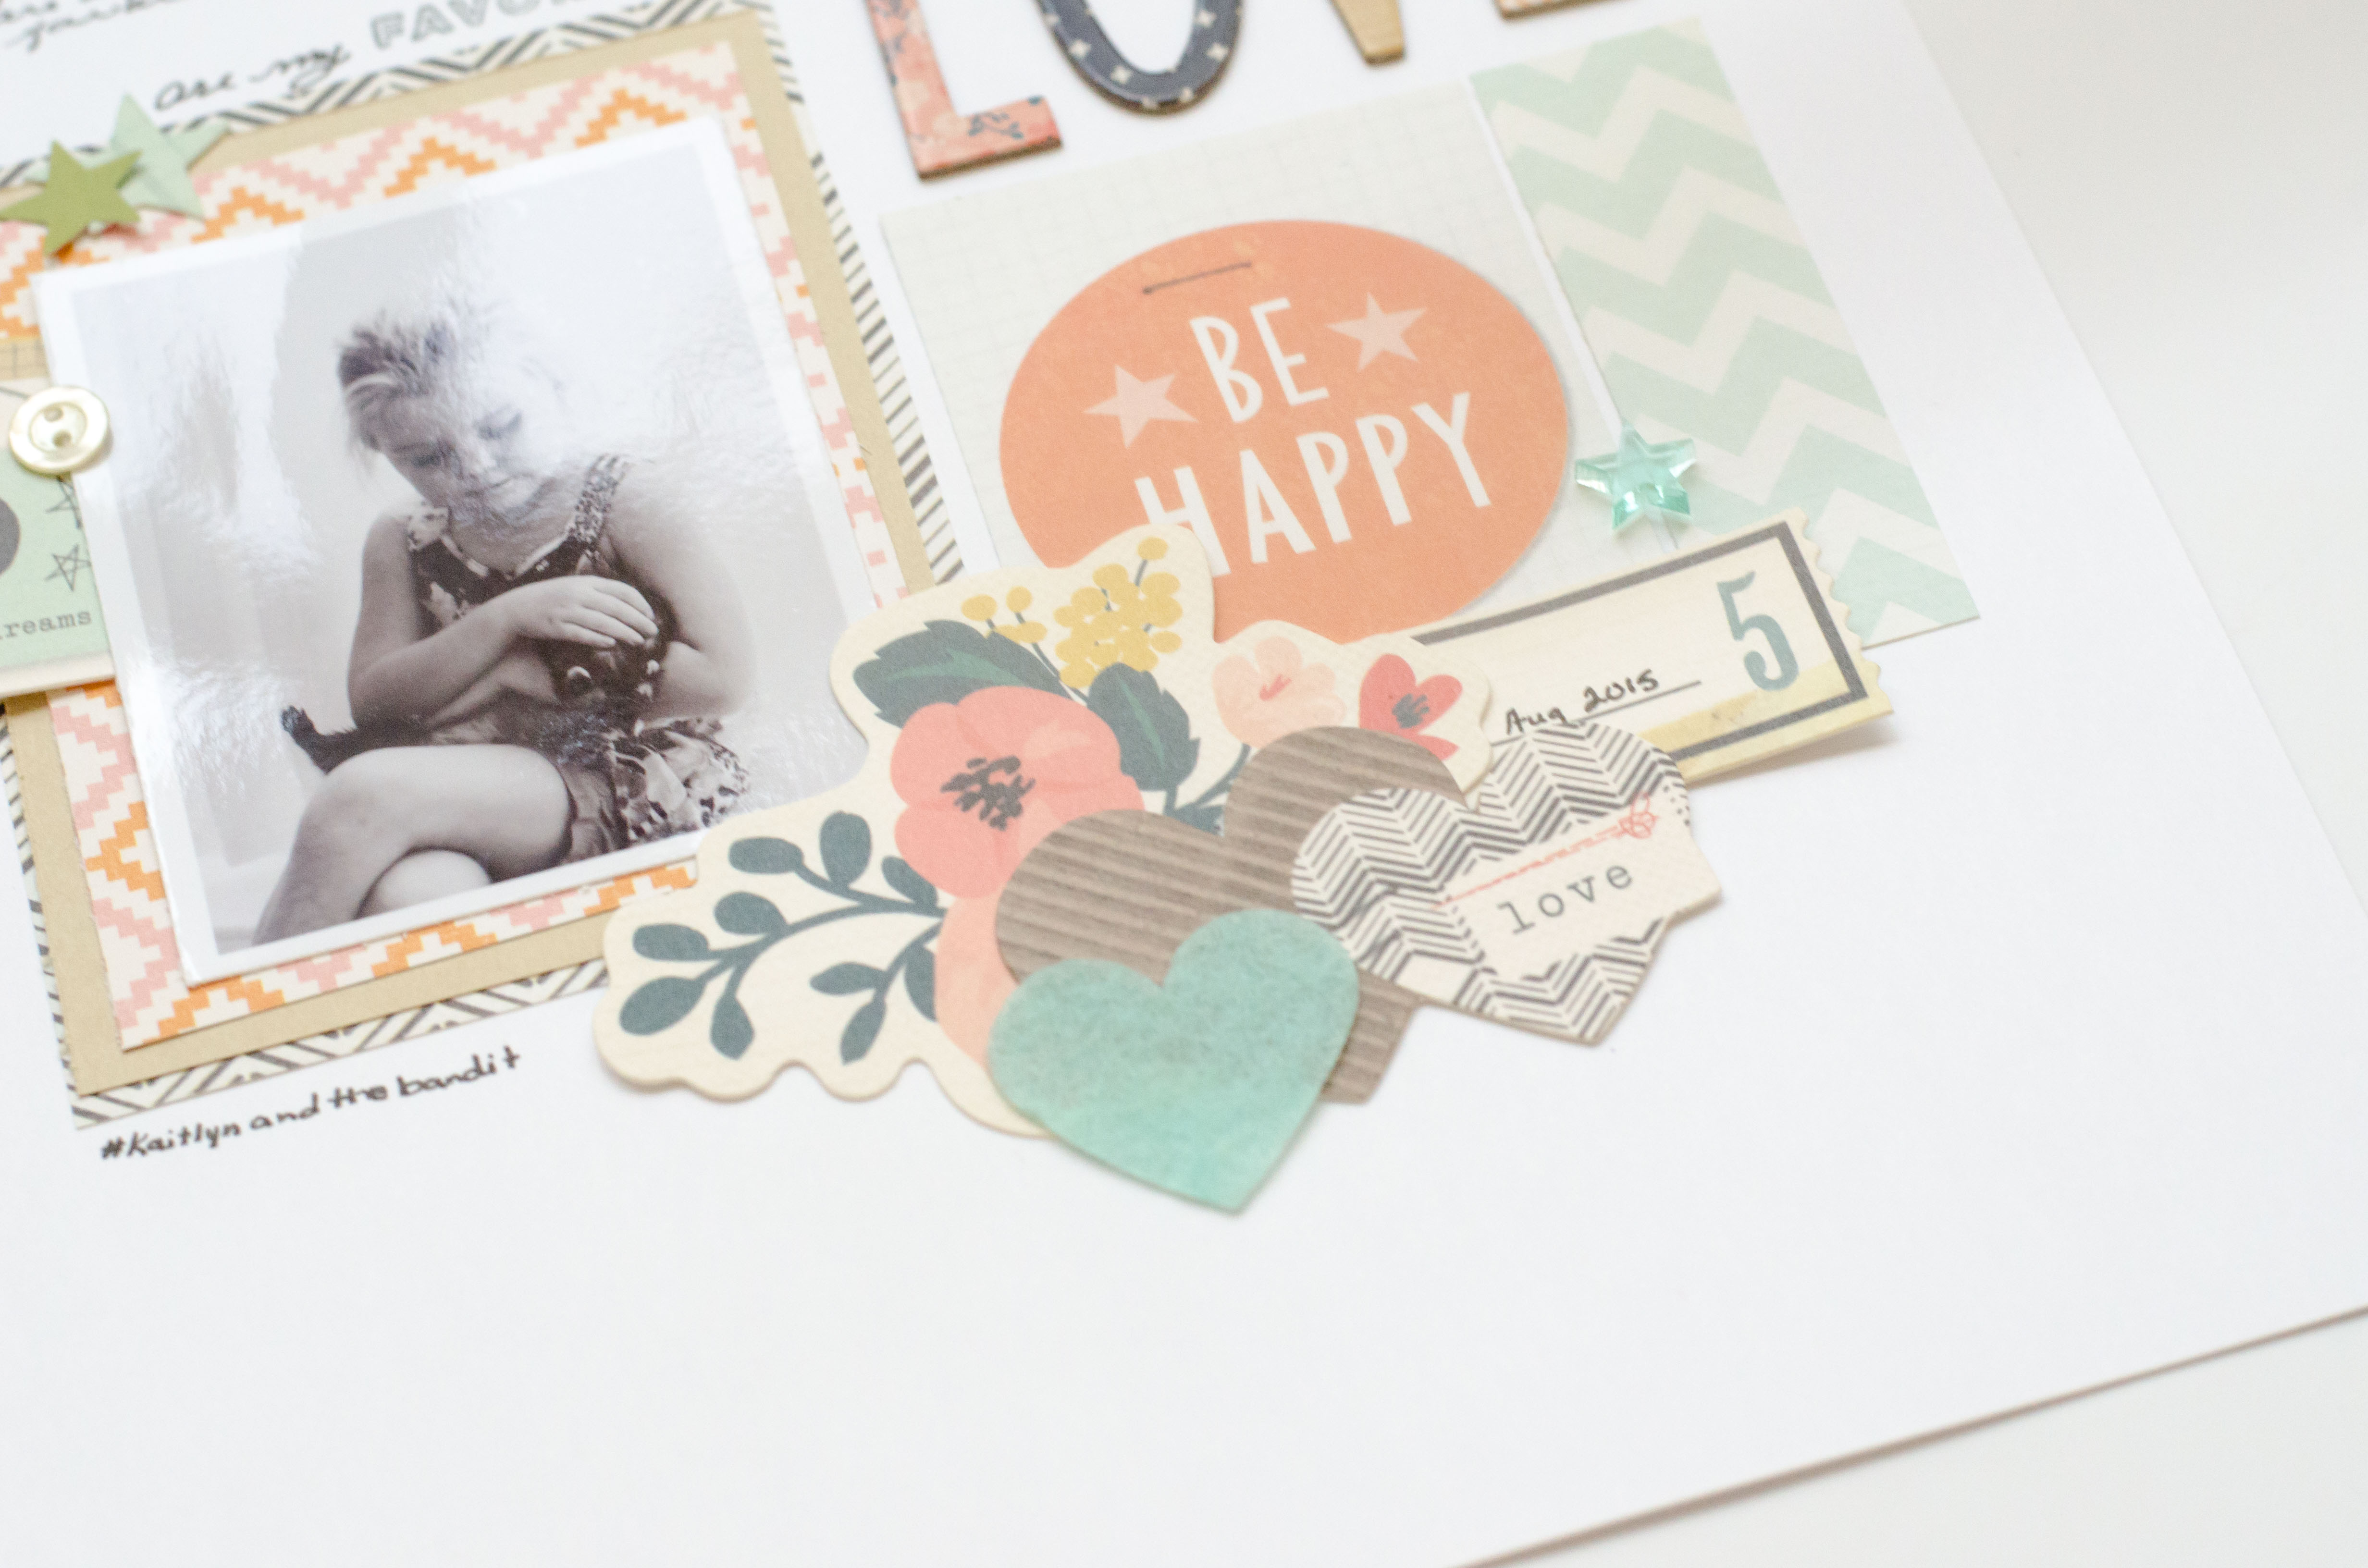
And here are a few close-ups...


Now it's your turn! Use the three prompts to create your own projects and share them with us here in the gallery and/or our Facebook Forum. You can also upload to Instagram, but remember to tag us @citrustwistkits. Looking forward to seeing what you can do!

Sunday, September 20, 2015

Sunday Sketch with Christin

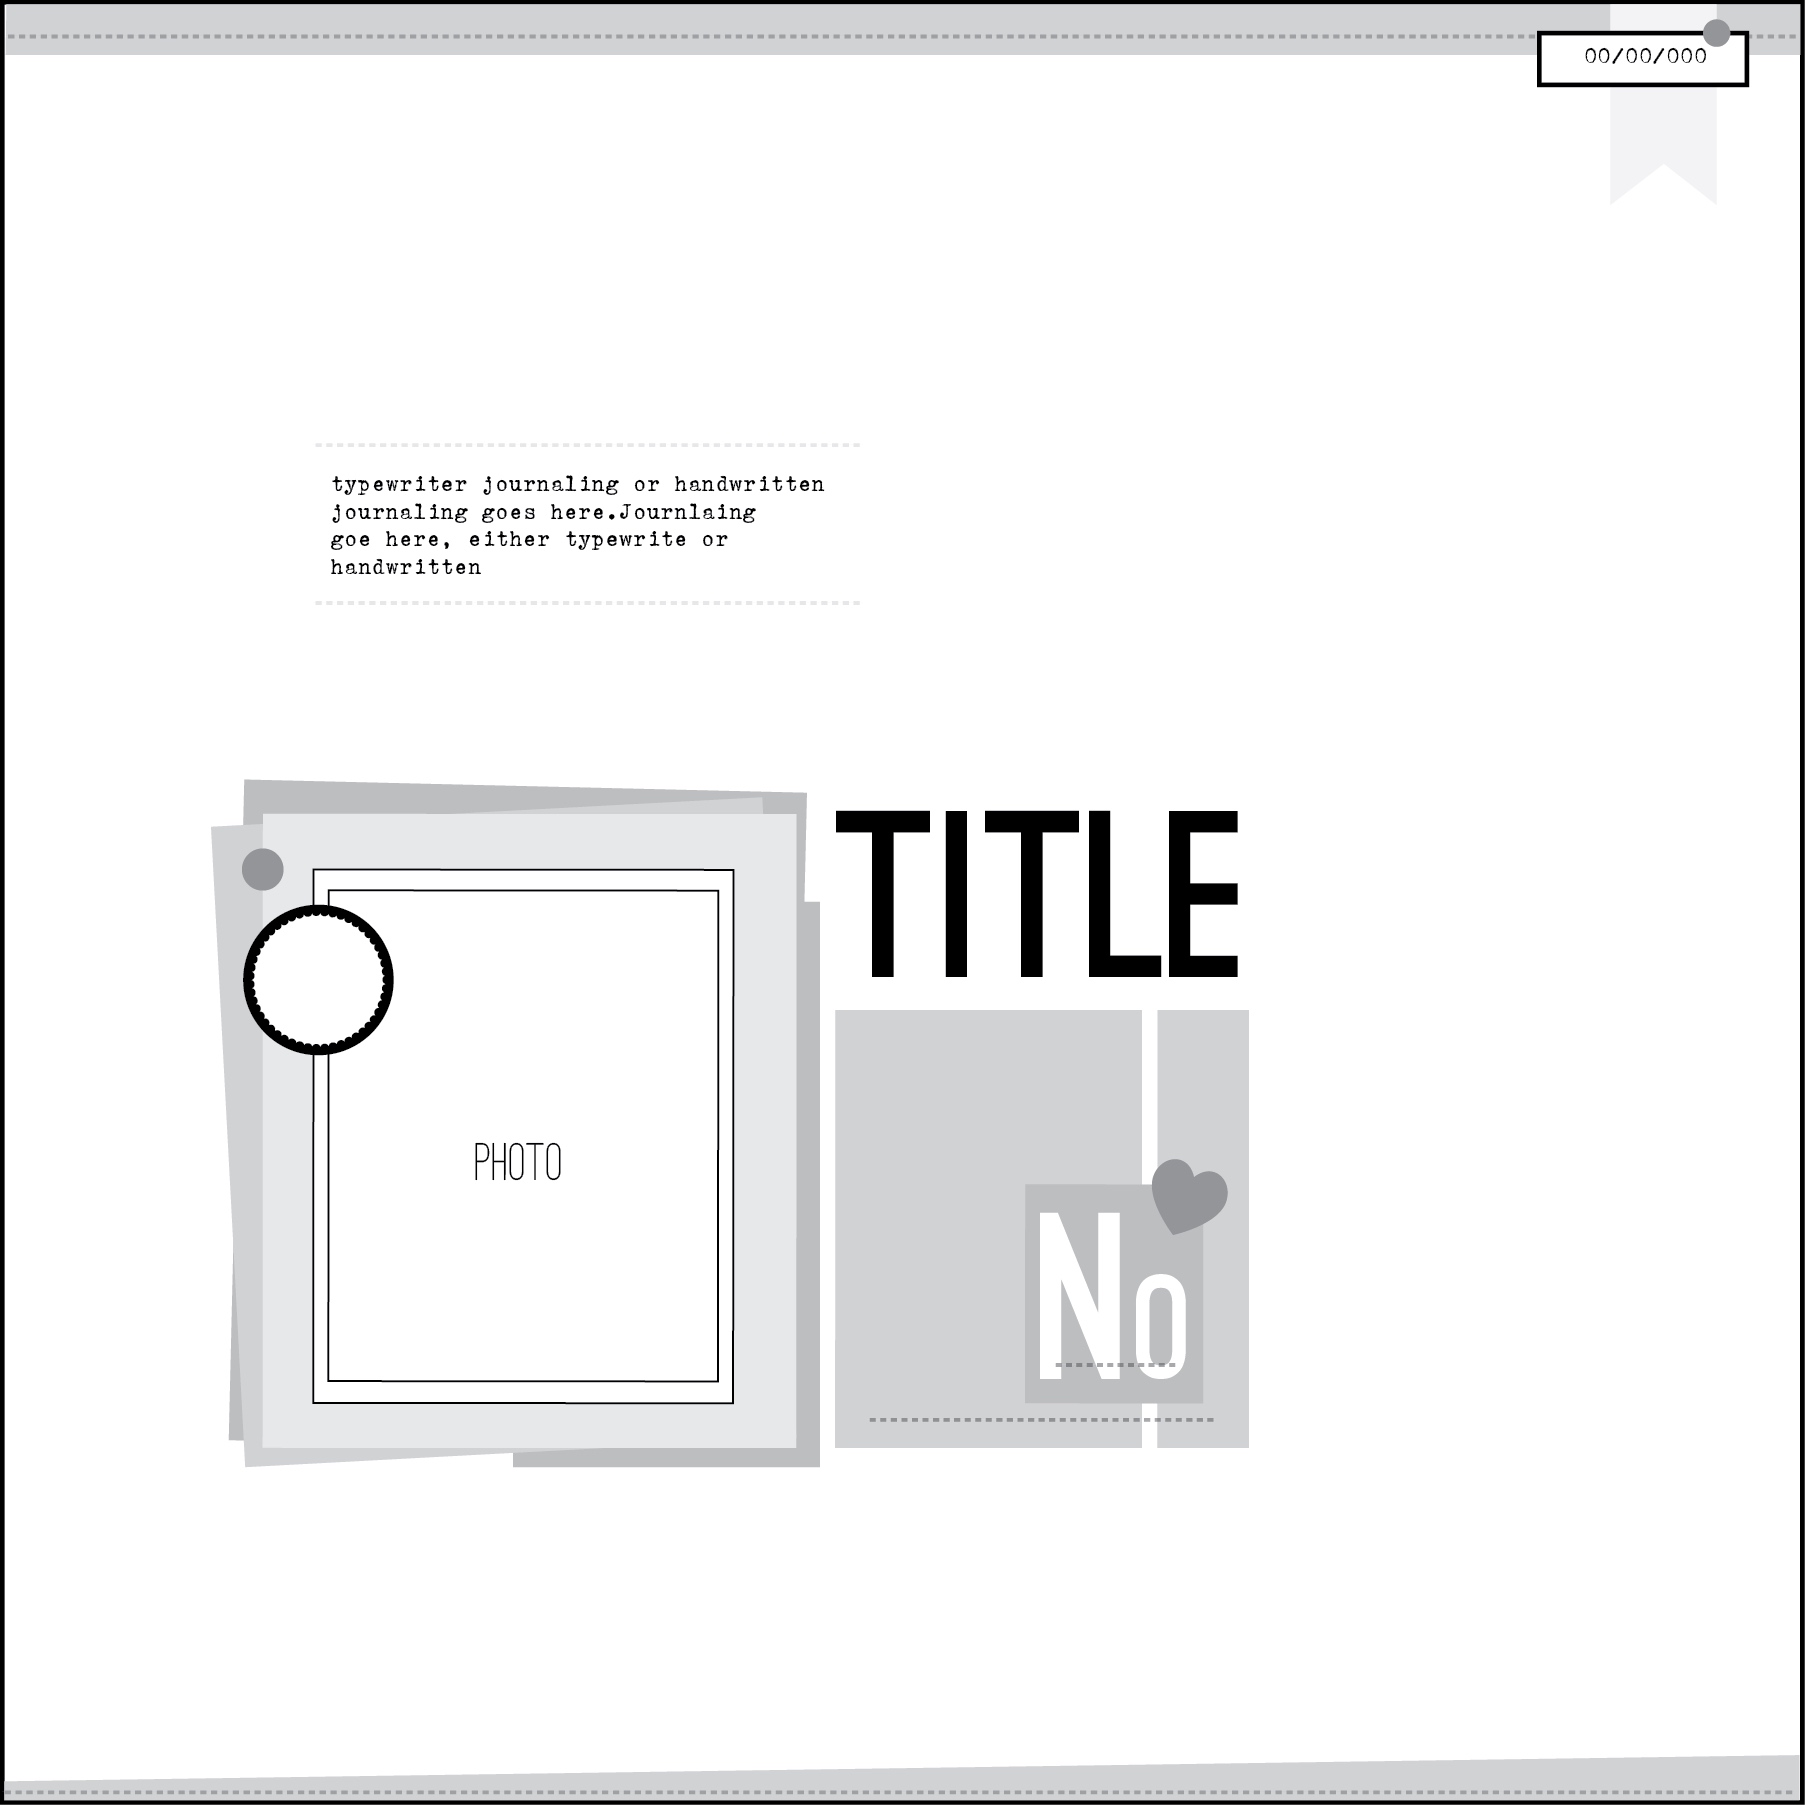
Christin here to share with you this week's sketch.


For my layout I only used one picture and I cut the paper in a triangle and moved a few pieces, but other than that I followed the sketch more than I usually do.


Now it's your turn. If you want to play along with this week's Sunday Sketch and be eligible to win a $5 gift certificate, create a project based off of the sketch and upload it to CTK Gallery by next Saturday. Remember to add "Sketch 9/20" to the title line :)

/Christin

Friday, September 18, 2015

Pocket Life Sketch Friday with Diane

Hi everyone, Diane here! It's time for Pocket Life Friday.

The September Pocket Life "Lombard" kit is so cute! I just adore the gorgeous puffy stickers, tiny words and wood veneer in this kit! I added little bits of stitching and and I had to restrain myself from going overboard stamping but who could blame me with stamps like these!


And here are a few close-ups..


And now for your Pocket Life sketches...


I can't wait to see what you do with them!

Thanks for visiting Pocket Life Friday, where every week we share PL sketches and a chance to win. For your chance to win, create a layout based on the sketches in this blog post, post your layout to our Gallery or our Facebook Fan Page by Friday, September 25th. Be sure to include PL 9/18 in the title!

Thursday, September 17, 2015

Quick tag using the WRMK Heatwave Pen!

Hi everyone!

It's Emma here to share a project I made using the WRMK Heatweave pen tool that I picked up from the shop this month.

As soon as I saw this Heatwave Pen I knew I had to get one!  I've been holding out for the Minc but I thought this would be a perfect introduction to getting started with foils on projects.

First up, this pen is alot of fun!  But I must confess, I found it had quite a learning curve.  It's not that the pen is hard to use - I mean, it's a pen...you turn it on, it heats up and then you write with it.  Couldn't be any simpler! ;) The learning curve I had was getting a consistent finish with the foil.  I'm guessing most of the inconsistency comes from the way I held the pen (i.e. the way I write) but as with most things...practice makes perfect!  The more I used the pen; the better it got!  If you are looking to pick one of these up I would suggest getting extra foils so you have plenty to practice with.

For today I thought I would share how this tag came together. I love making gift tags for family and friends, and I'm excited that I can now add my own personal touch to each one! 


First up I gathered some supplies from the September kits and my own personal stash that I wanted to use.  As you can see above, I went with gold foil because its my favourite but the pen itself comes with foil sheets in gold, silver, blue, red and pink!


And rather than show you a bunch of photo's, I've actually made a short little video of how this tag came together.  Still learning this video thing so you'll have to forgive me for getting my head into the frame as I wrote with the pen...amateur ;)   But the good news is..there's no talking, ha!


I'd love to hear if you picked up the Heatwave Pen!  How did you find it?  And if you've not got it yet, is it on your wish list?!

Thanks for stopping by!

Em

Sunday, September 13, 2015

Sunday Sketch

Hello everyone...Brenda, your September Guest Designer here again.

Today I have a post using this week's amazing sketch. It is right up my alley with the simple design and pretty layers:

Sept Guest Sketch

I chose to stick pretty close to the sketch instead of my usual switch ups: re-sizing and flipping. It was perfect just the way it was. I did make it an 8.5x11 page, but that is normal for me since my pages are almost always that size.

Sept Guest

For this page I used the September Main "Lombard" Kit. The top part of the title was cut from the adorable paper from Crate that is in the kit. I love the word side and couldn't wait to hand cut some of the letters out. That added just a bit of whimsy that is so very much like the personality of the little love in the photo. She is flighty and sweet with tons of imagination.

Sept Guest

Sept Guest

How did this sketch inspire you? I cannot wait to see what you make with it!

Brenda

Thursday, September 10, 2015

Smile


Hello! Michelle here with you today sharing a new layout featuring the "leftovers" from my September Kits.

This month I flew through the process of making my layouts (A sure sign that the kits were awesome!) and before I knew it, I was left with a small pile of paper scraps. Generally, I am not one to hold on to products that I have already gotten a lot of use out of , but this month I couldn't part with even the tiniest of scraps. Today I am going to show you how I used some of those up.

Smile 5

Working from a pile of scraps is a sure fire way to simplify the process of creating for the sole reason that I have little to choose from. Here I had only a few pieces left-two small rectangles, a long paper strip, and left over circles that I had used on a previous project. 

Smile 6

Since I had very little paper, I went ahead and spread what I did have out across the page to fill as much room as possible. The circles that I laid out in a vertical line are pretty small, but since they are in a bold black pattern, they stand out and add contrast.

Smile 7

Having a limited amount of paper on hand meant that I was a little strapped when it came to adding in more color to my layout. This is where embellishments such as stickers,ephemera, and small pieces such as sequins and acrylic shapes really come in handy.   With these I was able to dress my layout up and add in more patterns and colors.

Smile 8

Here is a look at the final project:

Smile

Wishing you a great day!

Wednesday, September 9, 2015

Go Big or Go Home with Aimee

Today I have a really quick and easy layout for you that works on a very simple principe - Go Big!


It all starts with a big photo and a big alpha. Once you have them in place you are already three quarters of the way done! 


I choose to mat the photo on big chunky banners in a smaller pattern paper to match the patterns on the alpha and give the layout more detail. The theme I had in mind was big, overstuffed old lady couch - you could just go with rustic.


Once you have your 'big' pieces in place it's time to add the tiny little details that make the spread yours and brings the layout all together, like the twine that tied up Septembers kit, a button and a felt heart from the Wonder ephemera pack. I also went a little crazy with the black destress ink just to amp up the 'well worn' feel. 


So there you have it my giant old lady overstuffed couch - I mean layout. All done and dusted in under an hour. 

Until next time...

Aimee Xx


Monday, September 7, 2015

Recipe challenge with Emma & Aimee

Hi everyone!  It's Emma (and Aimee) here to share a couple layouts we have made using a little recipe challenge I set!  These kind of challenges are fun way to get a page done and similar to our weekly 3 To Inspire challenge.

 OK let's get straight into it - the recipe for our layouts was:
  • Die-cuts (at least 5)
  • layers
  • stitching (machine or hand)
  • 1 veneer 
  • Cut file (and if you want to be extra tricky, try and use it as a digital stamp and your title)
First up I'll share my page - this is what I came up with!


My page started with the "#THATFACE" stamp which is actually something a little new from Kellie Winnell.  I'm incredibly fortune to be friends with Kellie so I was able to test out something new she's trying  - BONUS! ;)  

I repeated the stamp over a full page (6x8) and printed it onto vellum.   To do this I just opened the stamp up in Photoshop, set up my document size to 6x8 and stacked the stamp over and over until the page was full.  Printed as normal with my Canon printer onto a piece of vellum.  Easy one! 


The die-cut piece at the bottom is actually a piece of cardboard that came in the paper packs (to stop them from bending!) - I loved the colour so I ran it through the Cameo and used the negative of the  cut to make the title at the bottom of my page!

 
I'm a big fan of die-cuts/ephemera so I was super excited to see the Main kit this month came with a full pack from Crate Paper's new Wonder line!  Happy days!  I layered a few of the pieces at the top of my page, having only the top sections visible and the rest hiding under my vellum paper (which is backed up with white cardstock which explains why you cant see the bottom half of those pieces!).


This page came together rather quickly.  I love using digital files to create custom pattern paper - makes your page just that little bit unique :)


I'm so excited to show you Aimee's layout - I think she's absolutely smashed this challenge!

-----------------------------------------------------------------------------------------------------------

Hi! I can’t tell you just how excited I am to be here with you today. I was completely over the moon when Emma offered to do a joint post with me! I love recipe challenges and I love Emma’s style, so how could it possible go wrong? 


I have absolute mad love for this layout. I had both the main kit and sprinkles kit to work with this month, but the main kit was just so jam packed, there was no need to breakout the sprinkles.


One of Emma’s first stipulations was 5 or more pieces of ephemera - sounds like a lot doesn’t it? Turns out if you take into account her layering rule this is actually an easy fix. I even included my own ephemera from the cafe we visited and a heart from the Wonder Ephemera pack. The hardest part was stopping at one veneer. The veneers in this month’s kit are SO pretty!


I die cut my title on the silhouette and used a prima chalk ink (colour: dry sand) to stencil it on to the layout. I tried my best to pick a similar font to the ‘Merci’ on the transparency to add extra continuity.


Finally there is the matter of sewing - A long time ago Emma paid me a visit and even helped me set up my sewing machine. I naively thought it would be easy. I mean, all I wanted to do was stitch on paper, right? Ha…yeah. Since then I had to change the bobbin thingy to fix a pair of my husbands jeans. I followed what the peeps on youtube said and still nothing. Now I can’t get either the navy or the white thread back in. So until Emma comes back to visit I am restricted to hand sewing. I played around with a couple of ideas on how to include it in the layout, but ultimately decided easiest (read: laziest) way was to hand stitch on a few cute buttons from the kit. 

TA -DA! Mission Accomplished. 

-----------------------------------------------------------------------------------------------------------
 
It's just so awesome right?!  Thanks so much for joining in with me Aimee!  We will have to do this again ;)  I'd love to see YOUR take on this one too!!  Please upload to the gallery or link it up on the comments below so we can leave you some love :)

Thanks so much for stopping by!
 
Em & Aimee

Wednesday, September 2, 2015

September 2015 Kit Reveal

Good morning. It's reveal day over at Citrus Twist Kits. You can view the September kits here. This month we have the colorful, whimsical "Lombard" Main and Pocket Life kits for you.

Please join us in welcoming the wonderfully talented - and with a cool accent! - Suse Fish to our creative team. Check out tomorrow's blog post as she shares opening her first DT scrapbooking kit by video.

We'll start off reveal by sharing this month's mood board:


During this month's reveal we thought we would share a few things that customers love about Citrus Twist:

  • The 13th kit is free*. After 12 consecutive months of subscribing to our scrapbooking kits or PL kits, your 13th kit is free (*you just pay shipping).
  • Customer Loyalty Program. After 12 consecutive months of subscribing to our kits you enter our Customer Loyalty program and receive 10% off all of your add-on and shop orders, for as long as you continue your subscription.
  • Bundled Shipping. Our kit subscribers receive the benefit of bundled shipping. Any order you place by the 8th of the month will ship with that month's kit at no additional shipping.
  • Great Customer Service. If you have a question, we are always happy to assist you. Just send us an email at CitrusTwistKits@yahoo.com
  • Citrus Twist Kits-brand stamps ship free world-wide.

For those of you who love reveal-by-video, we have Emma sharing the September kits with you:


Have a happy month of scrappy projects!

Trina