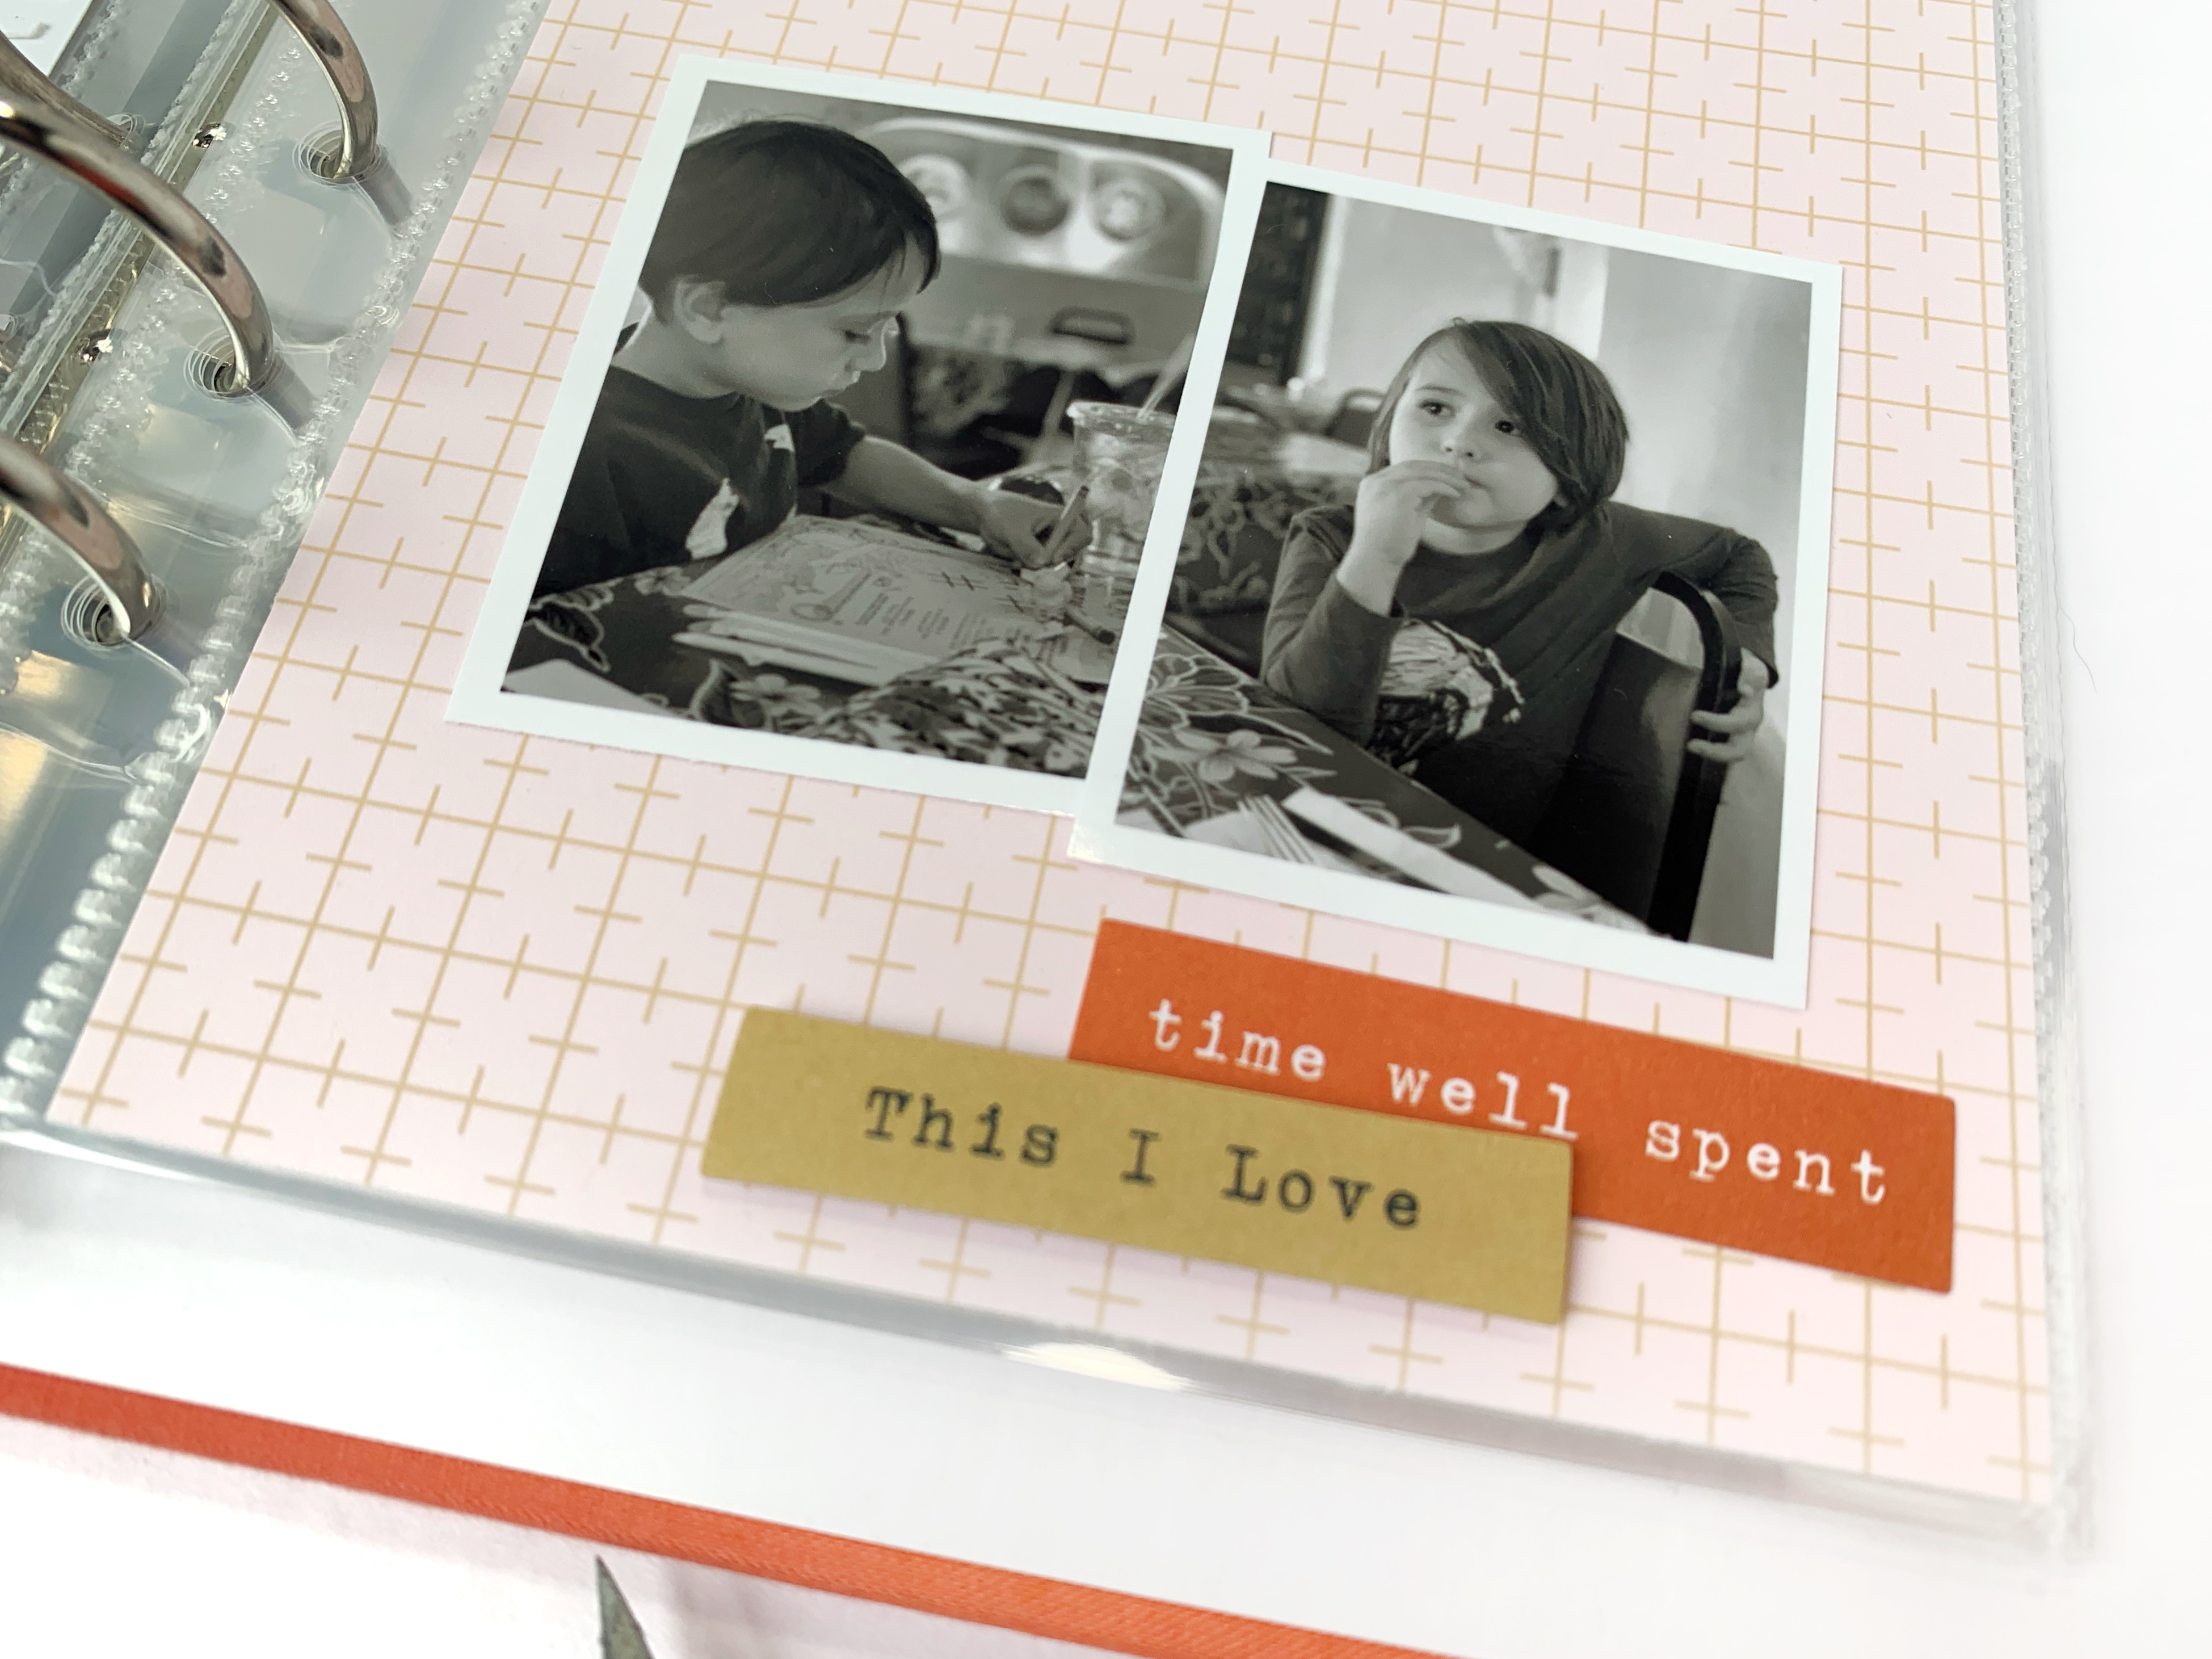
Showing posts with label Life Crafted. Show all posts

Monday, March 23, 2020

Life Crafted with Erica


Hey guys! It's Erica here with another layout in my Life Crafted album using the Weekender kit!

Choosing which photos to use and which to leave out on a layout can be hard for me. I love including as many photos as I can, so I am absolutely thrilled with the 2x2 Pocket Pages to give me all the space I need!


On the left hand side of my spread I chose two of favourite photos to highlight and printed them larger. I added layers and texture with scraps of the 6x8 papers. I stamped directly on my photo with the adorable Weekend Life stamp set, and added the gold puffy alphas for my title.


On each photo I added the same elements to compliment each other- a chipboard tab, gold alphas and a phrase from the ephemera pack.


On the right hand side I filled half of my pockets with photos, alternating each pocket with a white piece of card to stamp on and embellish. I chose colours to compliment the bright and fun nature of my photos and the little shops stamp was perfect for Brunch!


I used a few elements from the March Cutaparts Sheet on one pocket. They are a fantastic source for bonus ephemera. I always print mine immediately and incorporate them into my diecut pack. 


To finish off my spread I sprinkled a few puffy hearts about and added a little bit of journaling to a label. Now it's all ready to pop into my Life Crafted album!


Thanks for joining me on the blog today! Happy crafting!


Saturday, March 21, 2020

3-to-Inspire with Ashley


Hello everyone!  It's Ashley, and today I'm here with my first Design Team Blog post!  I've got a fun 3-to-Inspire challenge for you, based on my new Traveler's Notebook layout using the March 2020 "Weekender" Kit.  This challenge is a fun way to get those creative juices flowing and give you some ideas for using your Citrus Twist Kits.  You can create a layout, Traveler's Notebook layout or pocket page spread using the 3 prompts.  Just make sure to use all 3 prompts on whatever project you choose to do.

Here are this week's 3 prompts:

     1.  Use multiple photos - 3 or more
     2.  Cut your 6x8 papers into smaller shapes and incorporate them into your project (for example:
          small squares, circles, hexagons, etc.)
     3.  Mix Chipboard Stickers, Exclusive Die Cut Pieces and Puffy Heart stickers

Here's the Traveler's Notebook layout I created for the challenge, using the March "Weekender" Life Crafted Kit.


I loved all of the 6x8 patterned papers included in the March "Weekender" Kit and wanted to find a way to incorporate them into my layout.  I decided to trim the papers into 1.6 inch squares and use them to create a grid background.  Once I had the papers arranged and adhered the way I wanted them, I used my sewing machine to stitch along the edges of the squares horizontally and vertically.


This grid design gave me the perfect spots for adding my photos.  We went to Disney World in February and they had some beautiful painted butterflies in Epcot for International Festival of the Arts.  I snapped a photo of each of the kids in front of the butterfly they picked out and wanted to have them all on one layout.  This design provided me with a visual triangle that worked great for placing the photos.


Once I have my basics in place...background and photos...it's time for my favorite part of creating a layout - adding the embellishments!  There are some fun ticket shapes in the Exclusive Die Cut pack that fit just right in the square shapes I cut for my background.  I added those first and then decided on some other pieces I wanted for the layout.  I chose the cute speech bubble from the Chipboard Stickers and also placed a couple of the Puffy Heart Stickers.  I love to create a variety of textures on my projects with embellishments from the Kits.


My finishing touch for the layout was a die cut title.  I used the words "good" and "life" from the March 2020 Digital Stamp Set.  I wanted the words to be a little bolder, so I opened them in my Silhouette Studio Software and added an Offset to get the thickness I wanted.  I cut the title from White card stock so it would add a nice contrast with the patterned papers in the background.

Thanks so much for stopping by the Blog today!  I hope you'll join in the 3-to-Inspire challenge and have fun creating with the prompts.  You can share your projects in the Citrus Twist Facebook Fan Page, and I would love to see your take on the challenge, so make sure to tag me when you post!


Saturday, March 14, 2020

3-to-Inspire with Marivi

Hello everyone, I'm Marivi, and I'm very happy to be here for the first time.

These are my three elements:
1. White background
2. Stitching
3. Alphabet stickers


I used a picture of the beautiful carousel in my city, with a card with colors that blends perfectly with it.I added a die-cut piece (Citrus Twits),too.


For the other page a white background and the precious golden puffy alphabet (Citrus Twits), for the title of the layout.
And finally I have sewn the title, to give a personal touch to the project.


I have left part of the leftover thread loose, to finish decorating,in addition to another die-cut, a margarita of the three that includes the package.


It is a very simple project, which I hope you like and inspire to create your work with this beautiful kit.

Greetings and see you soon.


Thursday, March 5, 2020

Pocket Pages Using the Add-On Kit with Shannon


Hello crafty friends! Shannon here with my first post as a part of the CTK Design Team. I'm excited to show you how I take the scrapbooking add on kit and use it to create a pocket page spread.


As a lover of pocket pages, I often find myself staring longingly at traditional scrapbooking supplies wishing I could use them in my pockets. Now, I wish no more! With a little creativity, you can take traditional supplies and make them work for you. The March Scrapbooking Add-On Kit is so full of color so I let my photos guide my color scheme. It just so happens that yellow-orange is a perfect match for my daughter's hat! After I had my photos and supplies picked out, I started on my journaling cards.


For my title card, I chose a section of the color sampler 12x12 paper that had all the colors I wanted to use in my spread. I created the title using the word "life" from the die cut pack and those amazing copper alphas. A little heart (from the March WEEKENDER Life Crafted kit) and a flag from the die-cut pack was all that was needed to pull this card together.


Next, I used a ton of flowers from the floral die cuts and layered them onto a piece of yellow-orange cardstock. The package came with so many flowers that I'll be able to use them on several more projects! I kept them mostly black and white with just a few pops of color. I wanted the visual interest of a lot of flowers but it's important to give the eyes a place to rest.


Finally, I pulled a tag from the die cut pack to create a journaling spot. I went with a more neutral striped patterned paper to cut as the background for the card. The note tag was a little too tall for my 3x4 pocket but since this is the front of my page protector it's okay if it sticks out a little. After writing out my journaling, I finished it off with a few puffy butterflies making their way up the note tag.

My last step of most pages is adding embellishments. The embellishments on this page are a mix of both the March Scrapbooking Add-On Kit and the March WEEKENDER Life Crafted kit. I love that the kits mix and match so well with their wide variety of colors.


I hope I've inspired you to use the March Scrapbooking Add-On Kit to create your own pocket pages. I'm looking forward to seeing your creativity at work!


Monday, March 2, 2020

Hello Life with Marsha


Hey friends!  Marsha here today sharing a layout in my Life Crafted Album.  I used the gorgeous NEW March Life Crafted "Weekender" Kit and Scrapbooking Add-on Kit.  They are SO good this month!  I am also using my new Life Crafted Album in charcoal gray and it is beautiful! 

Here's a look at the layout I created:


To begin the spread, I trimmed a piece of white cardstock to 5" x 8.25" to fit as a full page in the album.  I printed a photo I took on a recent errand day and added it to the page.  I am determined to get more of these little everyday stories documented this year!  For the title, I backed a tag from The Stamp Market Miss Modern collection (from the Add-on kit) with a fun striped patterned paper from the LC kit.  I let the tag hang off of the edge of the page.  I love the bit of extra interest and fun this adds to the spread.  Next, I added the "Life" die cut over my photo to complete the title.  To embellish the page, I added some tab ephemera pieces from the LC kit and some beautiful black and white floral die cuts from the Pinkfresh Studio My Favorite Story collection, found in the Add-on kit.  I also added a heart and butterfly puffy sticker.


For the other side of the spread, I used a LC Page Protector #2 that has 2- 3x4 pockets. To begin, I trimmed one of the 4x6 LC journaling cards to 3x4 so that it would fit in the pocket.  I added another floral die cut and a ticket ephemera piece.  Then, I added a staple for extra texture and stamped the date using a roller date stamp.


For the other 3x4 pocket, I used a 3x4 journaling card from the LC kit.  I stamped a sentiment onto an ephemera label and added it to the top of the card.  I typed my journaling onto a piece of cardstock, trimmed it out, and attached it to the page using mini staples.  To finish off the card, I added a bit more stamping using the LC kit stamp and added a puffy butterfly sticker from the Add-on kit.


I've enjoyed sharing my project with you today!  Be sure to stop by the CTK shop and check out the new March kits, stamps, and Life Crafted Albums.  They are perfect for helping you document your stories in a beautiful way.

xo,

Saturday, February 22, 2020

3-to-inspire with Diane


Hi everyone, Diane here with another 3-to-inspire challenge for you! You can find this challenge here every Saturday for those who need a little extra creative push to get scrapbooking, to keep scrapbooking or for those who just like a challenge! Your take on this challenge can be a layout, Traveler's Notebook page or a pocket page spread in your Life Crafted and remember that you'll want to include all 3 prompts on your project.

Your prompts this week are:
  1. Use as many die cuts as possible
  2. Include some hidden journalling
  3. Put some puffy stickers on it!
Here’s my take on this challenge using the February "Possibilities" Life Crafted kit ...


I decided for this challenge I would create a page in my reading-themed Traveler's Notebook. I was inspired by the "chill" die cut because I had spent so much time forcing myself to take breaks and relax while reading this book. First I created my base for my hidden journalling by taking a tag from my stash and typing my journalling onto it, making sure it would be hidden by my photo. Then I used some washi tape to create a flap and viola, hidden journalling!


Then I started placing my die cut on my page, making sure that I started with the larger ones first and then filling in any gaps with smaller pieces. I was trying to create a diagonal from the bottom left to the top right so that my page still had some white space to stop it becoming too busy.


Once I felt happy with the general layout, I started sticking things down, rearranging as necessary. I filled in any little gaps with puffy stickers and stamps until my page was covered.


Here's a look at the process this spread took ...


Thanks for stopping by today and I'd love to see any page you create using this challenge so don't forget to tag me and share in the Citrus Twist Facebook Fan page!


Friday, February 21, 2020

Life Crafted with Krystal


Hi everyone! Krystal here with two spreads in my Life Crafted album for 2020. This year, I decided to dedicate an album to some of the "in-between" stories, ones that I don't feel require a full 12x12 layout but are too big to fit into my Project Life album. I'm using one of the gorgeous new Charcoal albums for this purpose, and I'm super excited to start filling it up!


I'll be using the February Add-on kit for both of today's spreads. It's full of beautiful papers from Pinkfresh Studio and Crate Paper, which ended up being the perfect compliments to the stories I have to tell! I'll also be using two of this month's cut files on my pages. The first is a subscriber exclusive floral heart, and the second is an adorable heart with paw prints, available in the shop.


My first spread is documenting a funny moment between my partner and me while we were on a recent trip to Cancun. I decided to use the rainbow "Looking for Sunshine" paper from Pinkfresh Studio as my background, so I trimmed it down to fit the album, being careful to trim off both of the darker colors on either end of the paper. I wanted to keep this page light and bright. 


I cut the floral heart cut file from the white cardstock that was included in the kit, then backed it with a sheet of vellum from my stash. I wanted to add softness to the page, and I wanted the beautiful rainbow colors to show through. When I adhered the cut file to the background, I was careful to only add adhesive around the outside edge. That way I could tuck some of the other elements on my page underneath the florals, making everything flow together and feel cohesive. 


I backed my photo with the "Beauty of Simplicity" paper from Pinkfresh Studio to give it  a bit of contrast and help it stand out on the page, then I tucked it into the floral on the right-hand side before adhering it down. I added embellishments from the kit in three clusters around the page and finished it off with a few of the enamel dots from the kit.


For my journaling, I decided to hand-write it around the outside edge of the heart. I felt like this was the best way to get my story told without adding a bunch of harsh lines to my otherwise organic page. Finally, I added the date of the photo using my roller date stamp, and then I could call this page done!


For my second page, I decided to cut the "Paw Prints on My Heart" cut file from the B-side of the "Meadow" paper from Crate Paper's Magical Forest collection. I loved how the dark forest green stood out from the woodgrain of the "Childhood" paper I used as my background.


For the opposite side of the page, I used the same "Meadow" paper, but chose the A-side this time. It has a beautiful floral pattern that works perfectly with my nature-themed photo. To help the photo stand out from the background, I added a matte of the minty green "Bloom and Grow" paper from Pinkfresh Studio. I also added a die cut in that same shade of green to the right-hand side of the page to tie both pages together. 


I added several die cuts around my photo to embellish it, and I included a couple of the chipboard circles from the kit on both sides of the page. I love the pop of yellow against all of the earth tones. It adds a brightness to the page that keeps it from feeling too heavy. 


For my title, I used the puffy alpha from the kit and added them along the edge of the heart cut file. Then I finished off the page by adding a few lines of journaling and the date below the title. And that's it! Both of these pages came together really quickly, and I was able to document two stories that would otherwise have gone untold.


You can all of the details to my process in the video below.


Thanks so much for stopping by and taking the time to read my post. I hope you were able to find some inspiration for using your kits and albums. Until next time!