

Hi there!
Nathalie with you today to share with you a few more entries of my December Life Crafted album. I hope you all spent a peaceful Christmas, and have lots of memories to document. Our December is filled with lots of activities, so lots to document. Having the Life Crafted and all the kits and stamps has come in so handy - I have added a few extras from my stash,too- but i am loving putting it all together. Let me show you:

The cute little ephemera bear came in handy to complete this page about my kids advent calendars. Plus the shaker pocket was a great way to tie in the two sides of the spread.

I chose a hybrid approach for this entry, and used this month's THIS IS LIFE Digital Stamp set to create the journal page of this layout.

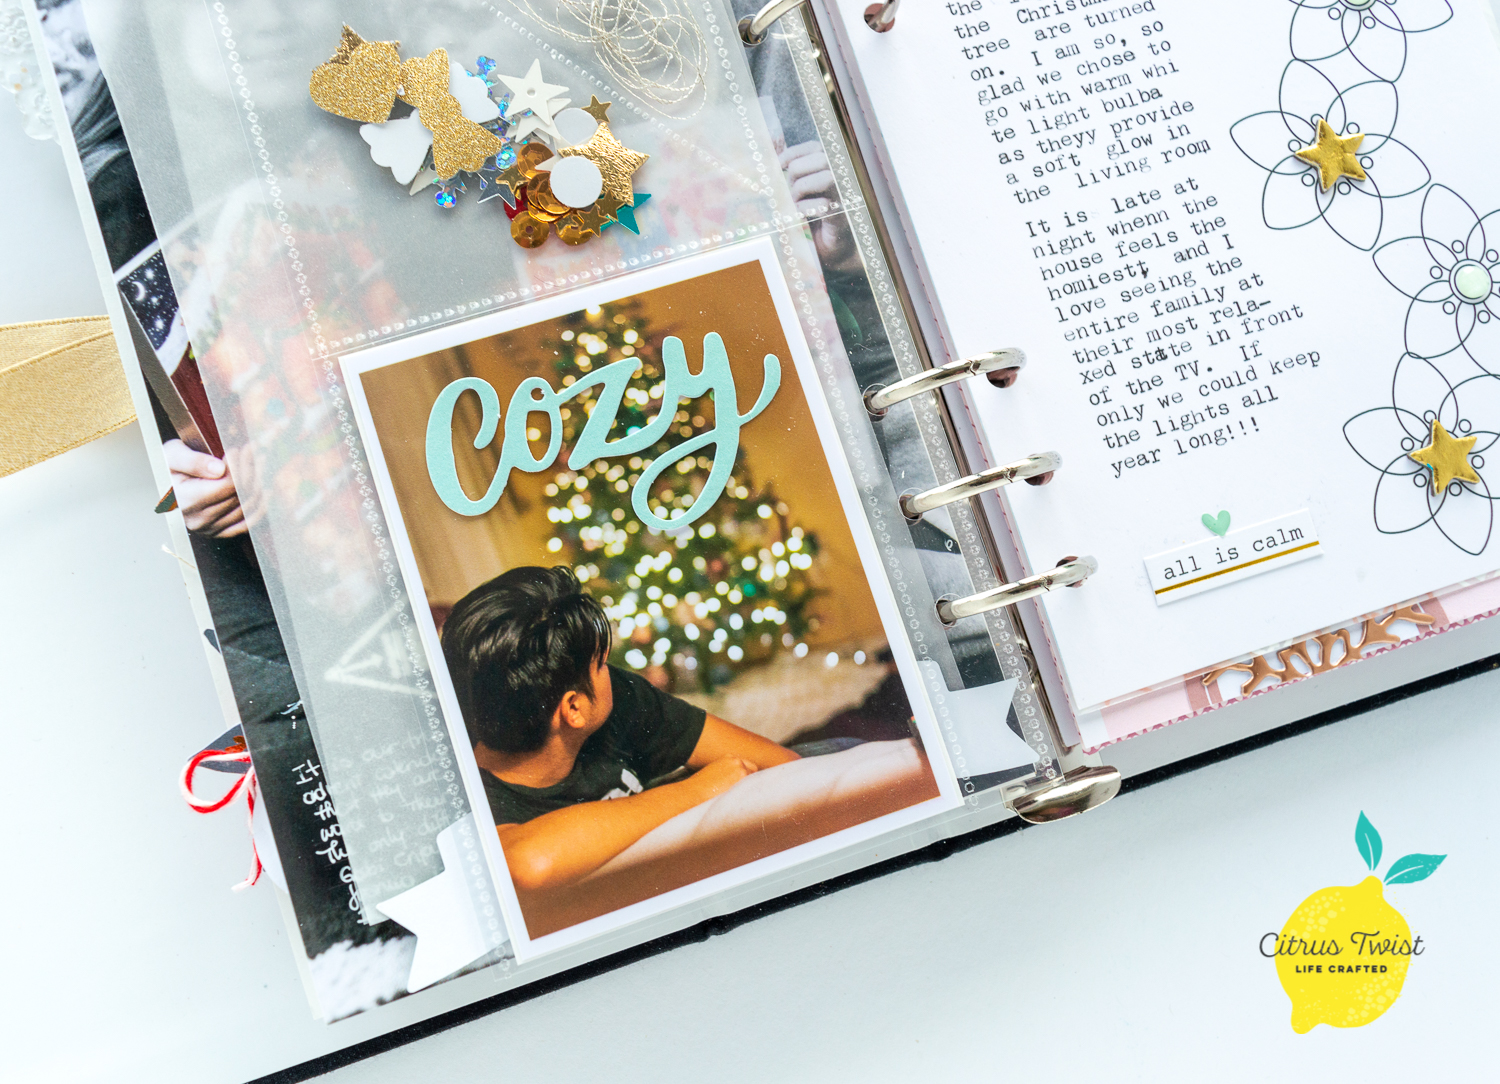
I used the This is Life:HUSTLE & HEART stamp to create the small star in the shaker pocket, and then trimmed one of the word stickers to complete the sentiment. Then used one of the embellishments from the Pink Paislee Together for Christmas (available at the CTK shop) to add the sentiment to the picture.

The beautiful chipboard stars from this month's Life Crafted kit were the perfect size to embellish the snowflakes on this page. I used an older This is Life stamp set to create the title and added a few more embellishments from my stash to complete the page.

For my next page, once again, i used a hybrid approach by creating my large journal page by printing the same card together (December PL Digital cards).

I used the This is Life Stamp set to create the background of this page. I heat embossed with white powder the frame image so that it formed a pattern on the piece of vellum. Then, i used the snowflake image to heat embossed -with rose gold embossing powder- the design in the center of each frame. All that was left to do was add the picture and a few embellishments ( Life Crafted kit and Add On kit)


For the other side of the page, i used a combination of embellishments from both kits to decorate the page. The small doggie embellishment comes from the Heidi Swapp's Honey and Spice collection ephemera pack -available at the CTK shop-.

This year,i have created lots of pages with pockets in them as i have lots of pictures to document.

I used ephemera from the Add On Kit to embellish the large pocket in this page, plus used one of the MME's Yuletide collection card -available at the shop- to create the journal for the page.

To create this pocket, i used a cut file from last year's Christmas kit and cut the bow design from white cardstock a bit smaller than the entire width of the page. The bows were backed with vellum, then i glued just the outer edge of the cut file -not the bows- to a patterned paper from the add-on kit to form my pocket.

I used a paper from the November Add on kit to create the backgrounds for the layouts, then added the pictures and embellished them with cut aparts from this month's Life Crafted kit and enamel dots from the Christmas kits. All that was left to do was add a title -used puffy stickers from the Add-on kit- to finish this page.
I hope these give you a few ideas for your December memories documenting. I still have a few more days to document before i can put my album away.
Have a Happy New Year!


