Thursday, March 8, 2018

Let's Get Digital with Nathalie


Hi there!

Nathalie with you today bringing you a bit of inspiration using this month's free cut files and some of this month's kits  - I might have purchased all the kits this month!!-  This time, I worked a page for each of the cut files, so be prepared to see how beautiful this month's Lemon Drop kit and Pretty Things Add-on kit are.


For the first layout, I chose to combine the Folded Triangle cut file with the Pretty Things Add-On kit to create this layout about my daughter in one of her antics.


For this page, the cut file was cut three times from white cardstock, and then backed with papers from the Pretty Things kit.   I took advantage of all the pinks and maroon colors in the Paige Evans, Amy Tangerine,and Vicki Boutin papers included in the kit to create this girly page.   A bit of Jane Davenport mermaid markers create the soft mixed media  background for the picture and title.


The Pretty Things add-on kit is also packed with beautiful ephemera and embellishments from Paige Evans's Pick Me Up collection, and these were perfect to complete the page.   The Folded Triangle cut file was the perfect file to create the fun and colorful background of this page.


Next I wanted to take advantage of  the travel feel of the Lemon Drop Main Kit, and paired it up with the Geotagged cut file.


For this page, I chose to use the Geotagged cut file as the title of the page.  For that, I enlarged and  changed the color of a picture of my daughter and mom walking on the beaches of Ecuador .


Papers from the Here and There collection from Crate Paper, included in the Lemon Drop Main kit,  were used to backed the cut file and to frame the picture.   I tried at best to keep the background behind the cut file clean, so that the letters will pop  off the title.


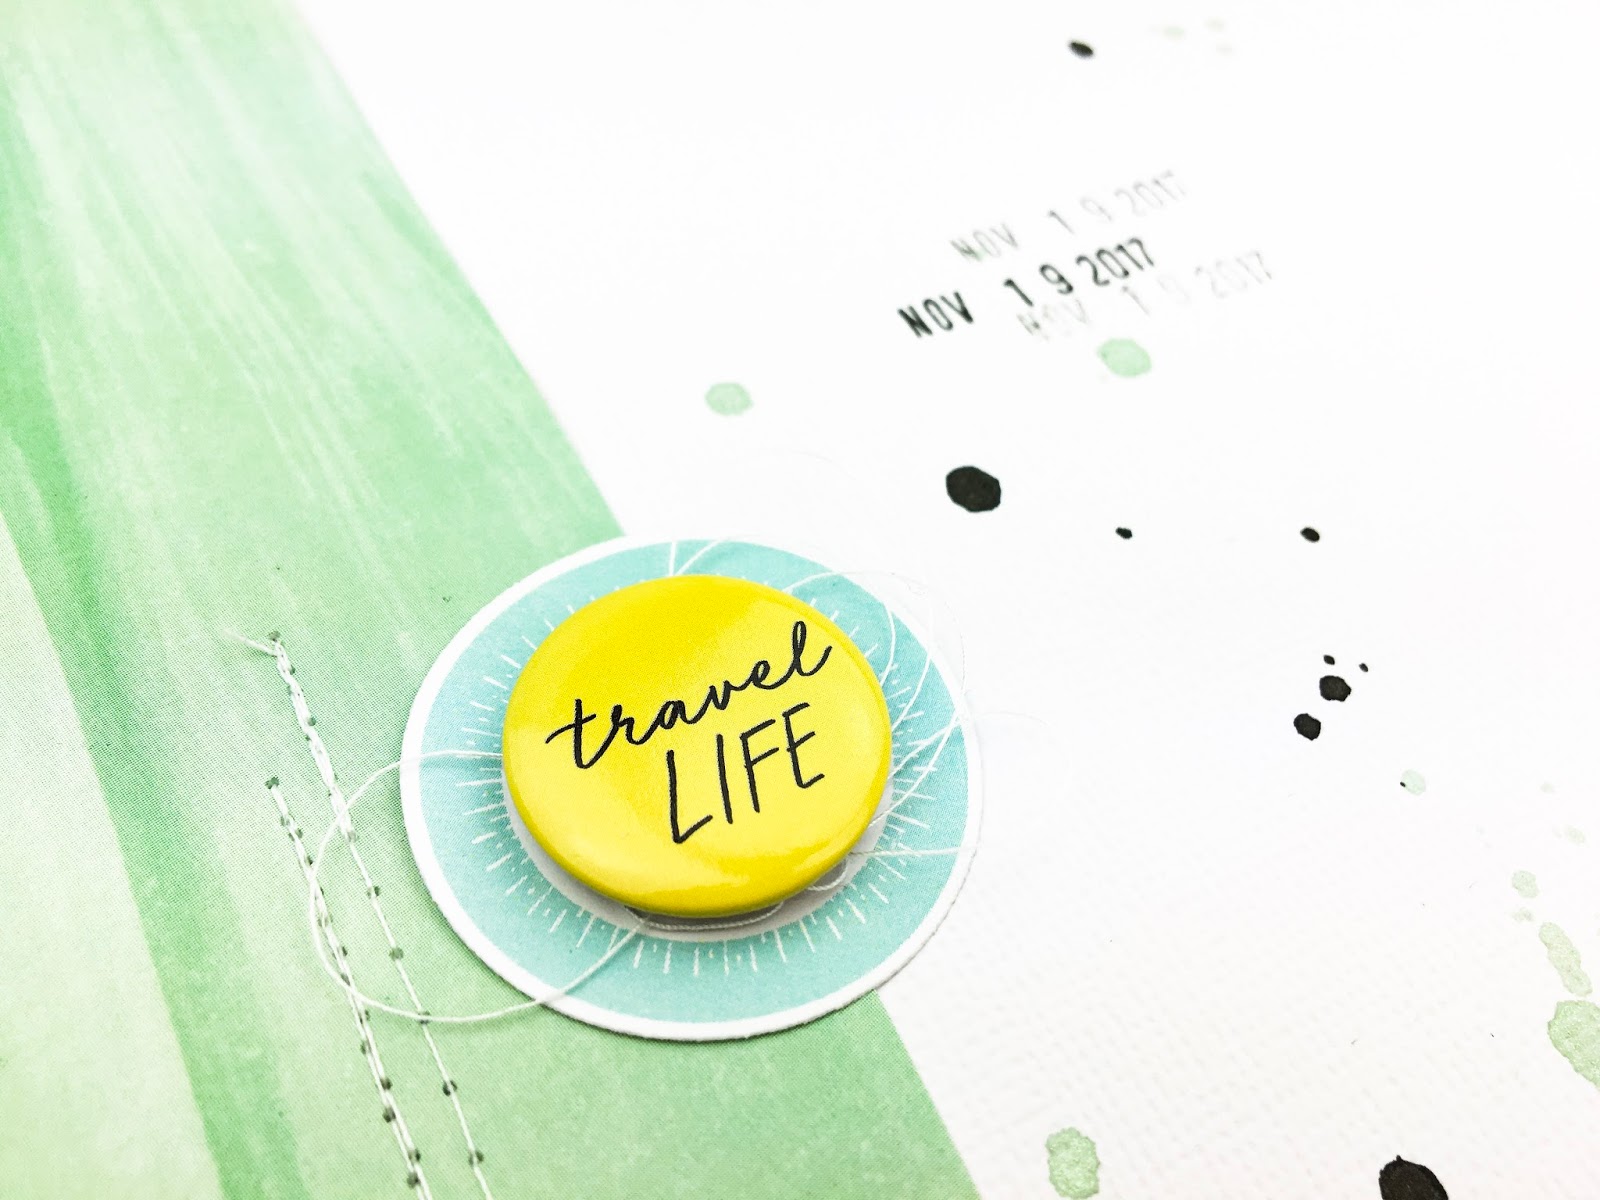
Trina included in my box, this month the TN kit, and I love all the envelopes from the Here and There collection (you will see soon how i used them!), but i love the rotary stamp that is included, and it came really handy to add sentiments to the cluster of embellishments on this corner of the page.


I love how this page turned out.   The Geotagged cut file along with the Lemon Drop kit , and TN kit were the perfect matched for this picture of my family enjoying our vacation time in Ecuador.   Did i mention, it took 30 minutes to put this page together?!!  The following video will show you how easy and fast this page came together:


Remember to stop by the Citrus Twist Kits Fans Facebook page to pick up a free download of the cut files.  When sharing your projects created with these files, don't forget to tag Citrus Twist Kits, we would love to see how you use the cut files.

That is all for me today!

XO

Nathalie

Wednesday, March 7, 2018

"Explore Life" 12x12 Scrapbook Layout with Mary


Hi friends!  It's Mary and I back today with a precious layout about my Abby girl and her "flowers".  It's definitely going to be an early spring this year and last month she found some pretty weeds during her outside adventures.  Of course she had to bring me a special bouquet, of which I was so grateful for ;) 

My favorite, absolute most favorite of all time in the history of ever manufacturer is Pinkfresh Studio.  So when I saw the "Be You" mini leatherette tags in the Embellishment Kit, I knew I had to use them all.  So I came up with this clever idea to string them all across like a clothes line and hang the pictures of Abby mixed in.  


I had a hard time using the pink stripe on this gorgeous Maggie Holmes "Grandiflora" paper from her Flourish collection.  The back side has beautiful yellow florals on it but the pink stripes were just too perfect for this layout! 


The Pinkfresh epoxy heart stickers are soooooo yummy don't you think?


I just love the soft pinks, mints and yellows mixed in to this layout.  I also used a few pieces from the Crate Paper "Here and There" ephemera pack from the main "Lemon Drop" March kit.  I just goes to show you that even themed collections have versatility...


...especially if you have a little girl as wild and free as this one is.


After lining all of my bits and pieces up, I glued them all down and carefully ran it through my sewing machine to really add to the "clothesline" effect.  It's subtle enough to not distract from the softness of this layout and yet creates just enough interest to move the eye around the page.  


Lastly I created my own little title, totes aprops for this spread, using the Crate Paper puffy thickers, a little circle bit from the ephemera pack and a rose gold phrase sticker from the "Here and There" cardstock sticker sheet. Either way you read it "Explore Life" or "I Love Exploring Life with You" works perfectly because it's so true.  

Here's another look at the full layout!


Thanks so much for hanging out with me today!  Make sure to head over to the shop and score some of these yummy goodies if you haven't already!

xo,
Mary

Tuesday, March 6, 2018

"VAYCAY" Scrapbooking your vacation memories with Nathalie


Hello CTK friends and fans!
Nathalie with you today bringing you a project using this month's gorgeous  LEMON DROP scrapbooking and Embellishment Kits.

  When Trina shared with us what will be included in the LEMON DROP  kit, I was so excited to receive it (and probably purchased all the add-ons) since i have a very large number of vacation pictures yet to be documented.  But before, I  continue on, let me show you what i created for this post:


The inspiration for this page was the color contrast between the Scenic View paper (from the Here and There collection from Crate Paper) and the rose gold  tones in the ephemera both included in the main kit.   So i decided to create a rather monochromatic simple look for this page that ensure the picture pops.


 \


The background of this page was created using a bit of acrylic pain (Vicki Boutin) to match the color of the ephemera.   Them to replicate the train rail, a bit of texture paste (Ranger) was used on top of the acrylic paint.   The contrast in texture and color make all the pieces of ephemera and layers pop  behind the picture.


The Lemon Drop kits are  probably one of my favorites, yet!  It was so easy to combine pieces from them to add sentiments and details around the page.  Plus the stamp -included in the kit- is perfect to give a bit more details to the page.   My final touch was creating the little fold to the page, and adding the flair that serves as the title for this page!   Here is a video that showcases how the page came together:


I love how this page turned out!  All the elements in the page work harmoniously to document one of our vacation memories ( about 5000 more to go!!!).   Stop by the Citrus Twist Kits store to check the kits (if you are not a subscriber)  you will love them!!!    Remember, I am always a comment away if you have questions on how this came together.

XO

Nathalie


Monday, March 5, 2018

Kit Love with Anna

Hi dear friends! It's Anna and I'm here today with an unboxing video for you! And I've also made a layout with the absolutely FAB kits for March. I know I'm not alone to have been blown away with the kits this month, ask the rest of the dt's, lol!

Well here's the Lemon Drop Main Scrapbook kit, the Pretty Things Add On kit and the Embellishment kit.


I hope you'll love these kits as much as we do. I have so many favorites that it would be hard for me to choose one but if I have to, I'll choose the lovely flairs from the Crate Paper Here+There collection and the puffy stars from Pinkfresh  and... oops already more than one, lol!
Did you find some favorites? Please share with us in the comments below.

Anyway, here's my layout made with the Lemon Drop Main Scrapbook kit.


Do I have to tell you my favorite color no1 is GREEN?!  
And I love how the yellow and black complements so well.


Thanks for stopping by!

You will find more information and details about the prescritions and shipping of the kits here.
And be sure to join us at our Facebook forum as well!

I can't wait to see what all of you come up with, please share with us at the Facebook forum.

 Hugs Anna xo


Sunday, March 4, 2018

Sunday Sketch with Kelly

Hi everyone! It's Kelly and today I have a fun sketch to share with you!


I used a polaroid cut file from the Silhouette store and cut them out so that the photo was slightly larger than 2x2 inches. Since I used white cardstock as my base, I enlarged the paper strips shown on the sketch. The largest measured 4 inches tall. In trimming the patterned paper, I chose to leave on the branding strip, and flipped it so that the branding strip was at the top. This is a great way to incorporate every little bit of the gorgeous pattern.


Cutting my letters by hand was made easier by drawing straight lines 1.5 inches apart. I then lightly sketched out the letters and cut them out on a piece of printer paper. I did this first because I wasn't sure how my title would fall in the space provided, and I needed to make sure that it stopped in a good spot that would make the title easy to read. Outlining the letters in black also helps to increase legibility with the different patterns, plus it adds a bit of whimsy to the page.


 The colors of the Here and There collection are bold and so fun. I chose to stitch through the letters in black to provide some contrast. I also stitched through the middle polaroid frame with both straight and zig zag stitches.


These banners from PinkFresh studio are so fun. I used some thin twine from my stash to wrap around the polaroid frame and tie a bow.

Thanks for stopping by today. I can't wait to see what you do with this sketch! Be sure and post your creations in the member gallery or Facebood group with the date of today's blog post for a chance to win a $5 gift certificate for the CTK shop!


Saturday, March 3, 2018

3-to-Inspire Saturday with New Designer Melanie Blackburn

Hello friends! I am so excited and thrilled to be joining the CTK DT!! I hope you will enjoy seeing my projects every month! Today I am bringing to you my very first 3 To Inspire challenge! I can’t wait to see all of your creations! This month I'm working with the Citrus Twist Lemon Drop Pocket Life and Embellishment kits.


Your prompts for this week’s challenge are:
  1. Create a grid design
  2. One picture
  3. Pattern paper as anchor to the picture


I just love how this TN spread came together! I started with the right side of the spread, I always start with the design that surrounds and anchors the picture, once this is done I can move on to the rest of the spread. I loved the black and white pattern paper that was included in my PL kit and thought the “paper girl” diecut from the same kit was just too adorable and had to be used. A good portion of this page is dedicated to pattern paper, therefore I knew that I wanted to keep a lighter design for the opposite page. 


On the left side I decided to create a grid design, mostly with the diecuts but also with the puffy stickers from the same kit and the Crate Paper stickers from the embellishment kit. For me creating a grid design is all about trial and error, I will move things around until I am satisfied with the design. I always keep the heavy embellishments for the middle as well as the journaling. As I work outwards the items become smaller in scale. Once I’m happy with the design I’m ready to finish the journaling and adhere all of the items. 


Hope you are inspired to create a TN spread or even a layout based on these design prompts! Make sure to share your projects with us in the gallery or our Facebook group! 

Happy creating!

Friday, March 2, 2018

Pocket Life Challenge with Jennie

Raise your hand if you are neglecting a few tools in your scrap stash. This is Jennie! I've been revamping my craft room and in the process I've found so many cool items that I forgot about, like this embossed label maker. The cut outs sheet had a few phrases that looked like label maker font so I was inspired to use my label maker. My challenge for you is to dust that neglected tool, die or stamp and put it to good use!

For this project, I only used the March Pocket Life Kit.

This week I used a Tombow TwinTone to hand write my journaling. I chose a blue similar to the blue in the sticker sheet. 

The filler cards used in this spread were originally 3x4 but when I cropped them to be 3x3 they looked great! These journaling cards are super versatile.

I love to stamp multiple times to add texture to the cards without making it too busy.

I love these alpha stickers and the best part is that they have NUMBERS!! I punched circles to put them behind the numbers. I loved how this technique turned out! I will be trying that again soon!

I hope you join this challenge! 
If you want to see what else I find while I declutter and organize my room follow me on Instagram @jenniegarcian! https://www.instagram.com/jenniegarcian/