Showing posts with label April 2014 Scrapbook Kit. Show all posts

Sunday, December 24, 2017

Sunday Sketch with Anna

Merry Christmas Everyone! Anna here to share my layout using the December 24th sketch.
Today we have Christmas Eve and this is the day we are celebrating Christmas here in Sweden.
I know most of you probably have to wait until December 25 for your big day of celebrations. Or maybe thats a releif, one more day to get the last things done before Christmas, LOL!

Any way, let's look at our gorgeous sketch to play with.


Michelle Wedertz foto.

And here's my take on it using the December Bundle Up Add On Kit and Trinas absolutely stunning CTK FREE digital snowflake cut file. Love the blues together with a touch of gold, YUM!


I really like this photo of our son totally cought up by the ride in a cableway last December up in the Swedish moutains.

I didn't change to much from the sketch as you can see.

For making my background I've used a few different color mists using the "plasic bag" technique.
Love this way of adding inks to a page, you have sort of control yet get a pretty uncontrolled feeling, that's perfect, lol!


Some stitches, of course! That's almost a must for me on my layouts.


My second "must have" are the cotton undernetath my photos and/or embellies.


Well, I hope you've got some inspiration here today!
This sketch was really so much fun to work with :)


Now it's your turn! To play along with this week's Sunday Sketch Challenge, create a layout based off of today's sketch, upload it to the gallery with today's date (12/24) in the title, and you are in for a chance to win a $5 gift certificate to the CTK Store!

Until next time, take care! Hugs Anna xo


Tuesday, March 31, 2015

Tuesday Tutorial: Stamping with the New Kelly Purkey Stamps

Hi everyone! It's Trina here to share a tutorial using Kelly Purkey's new stamps sets from Hero Arts (available in our store beginning April 1st).
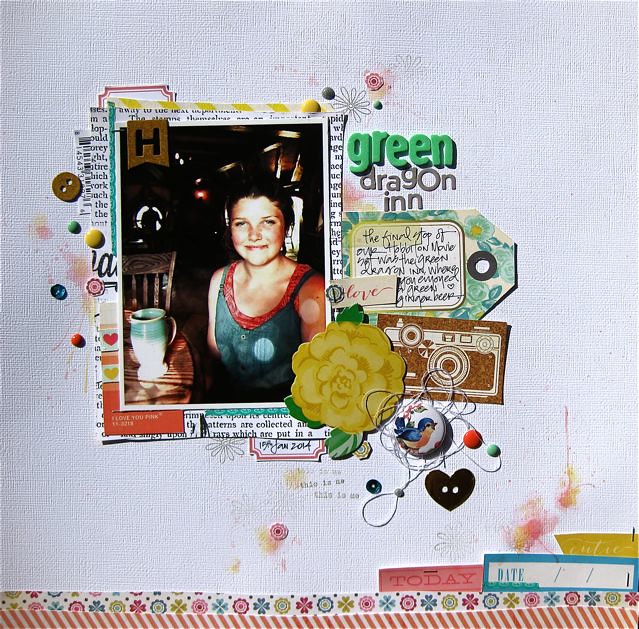
The Kelly Purkey alphabet set grabbed my eye and I know this is one stamp set I'll be using for many years to come. I love the creative background shapes included with this set, so you can stamp a color shape to fill your letters. This layout was made using the April "Flight of Whimsy" Main kit. If you haven't heard, the price on our Main kits just went down!

Here we go. First, here is a picture of the stamps (plus one, upper right, that I haven't used yet) I played with for this project. The stamp in the lower right is our April stamp add-on, with alphabet lettering and that adorable plane by @fabworqs:


Here is my layout:


Next, the supplies and tutorial. Here are the basic stamping supplies I used:

  • Jet Black StazOn Ink
  • ColorBox Cleaning Pad (for cleaning the stamps)
  • Acrylic stamp block (to adhere stamps to)
  • Prima Fluid Edge Chalker


Following is a mini tutorial on how to use the Kelly Purkey alphabet shapes with the alphabet letters. I didn't use this sample in my layout, but plan to tuck it into a PL sleeve.

First I stamped the colored shape using my Prima Fluid Chalk Edger in yellow. Next, I inked up my letters with StazOn Jet Black ink and stamped over the colored shapes. Don't worry if the stamps don't align/overlap perfectly:


Next, a close-up so you can see how the black ink alpha letters overlap the stamped colored shapes. The little car, just adorable, is from one of Kelly's stamp sets, as is the string of punctuation. The tiny alphabet letters are from the April 2015 Embellishment kit.


Once I practiced on my scratch paper, I started stamping on my layout background. Before I glued anything down, I ran my background pattern paper into my old typewriter and did some journaling.


Now for the close-ups of my layout. This first photo shows my fussy-cut title. I wanted to mix some of the pattern papers from the April Main kit "Flight of Whimsy" (presale begins tonight and reveal happens tomorrow night):


I used some Amy Tangerine Rise & Shine washi strips as part of my layering:


Thanks for visiting our blog today!

Trina

Tuesday, April 29, 2014

Tuesday Tutorial with Tanya Batrak

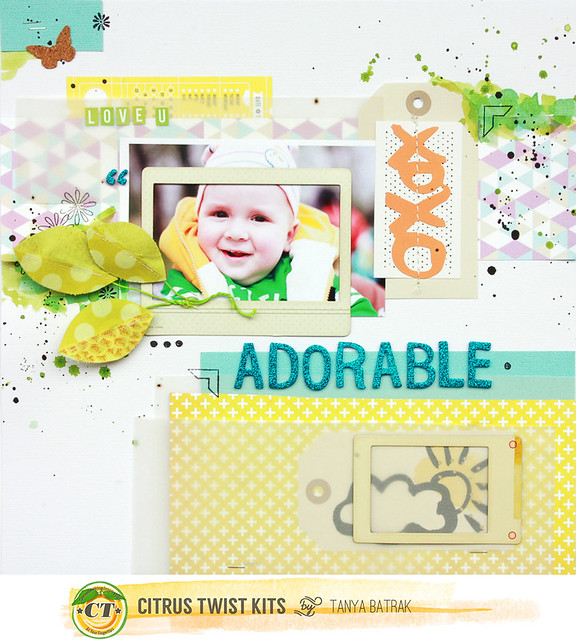
Hello, everyone! It's Tanya here and I have a project and a little tutorial for you. Hope you'll like it! I've made a layout about my cute little nephew using April 2014 Picture Perfect Main Kit and It is Written Embellishment Kit.

april_tanyabatrak_7


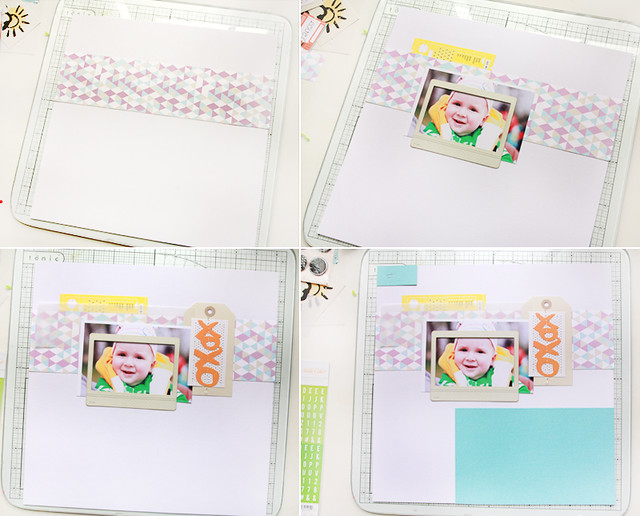
I started with layering different pieces of paper and paper embellishments.
I used white cardstock as a background. 

april_tanyabatrak_3

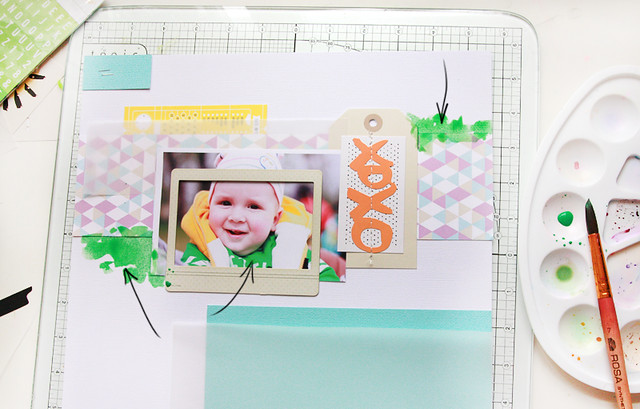
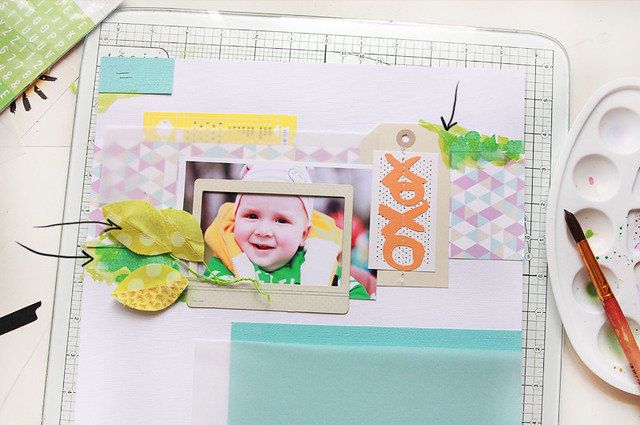
Then I decided to add some watercolor which matches the color of my nephew's hoodie.

  april_tanyabatrak_4

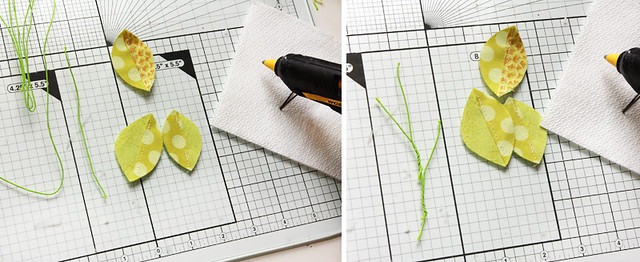
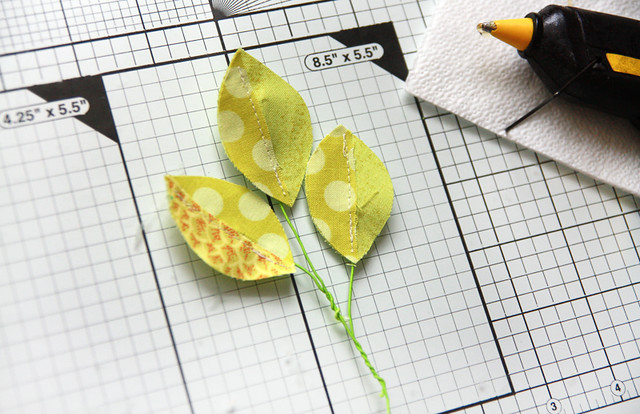
Now I'll show you how I've made the little branch with leaves. 
I cut three small pieces of wire and glued leaves to them using my heat gun.

  april_tanyabatrak_1

  april_tanyabatrak_2

Now I need to add some watercolor which matches the leaves to harmonize the colors on photo with other parts of my layout.

  april_tanyabatrak_5

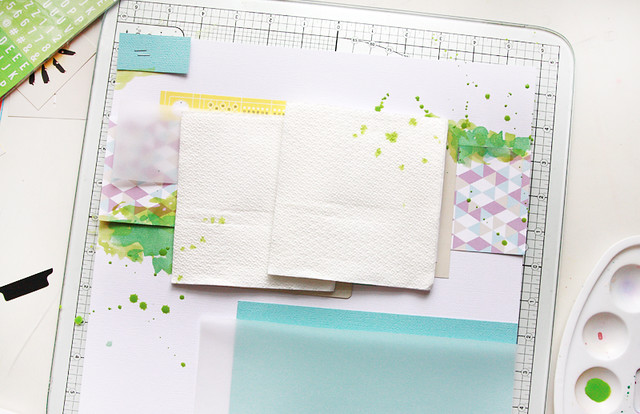
After that I splattered my page with the same two shades of green. 

april_tanyabatrak_6

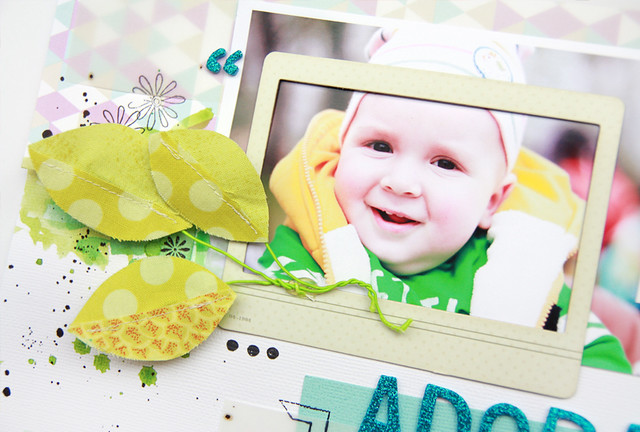
In the very end I added a few black splashes and some little black spots with April 2014 Being Me Stamp.

april_tanyabatrak_10

april_tanyabatrak_9

april_tanyabatrak_8


Thanks for stopping by our blog today. Hope you enjoy scrapping with these kits :)  

Tanya

Tuesday, April 22, 2014

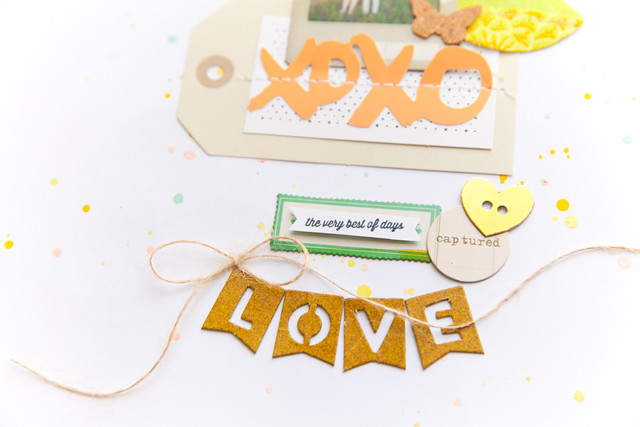
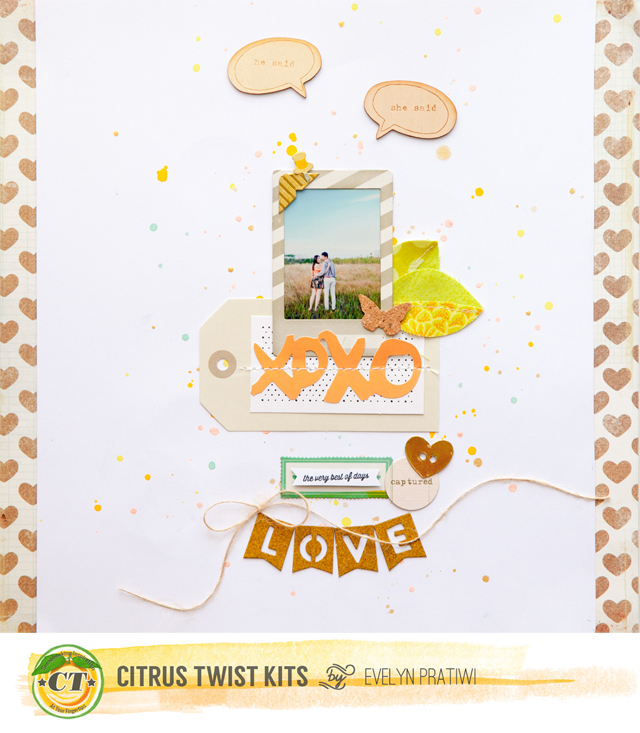
Tuesday Tutorial with Evelyn Pratiwi Yusuf - Playing with Mist

Hey everyone hope you have fantastic Tuesday. Today I’m going to share how to create fast layout under 30 minutes using your mists and Citrus Twist Kit April Main, embellishment kit and add on kit.

IMG_8241

I already choose my color combo based on my photo that I’m going to use and choose the right mists that I want to use in this layout. No I’m not going to play with 2 mists but more than that, I’m going to play with 5 mists in the same time.

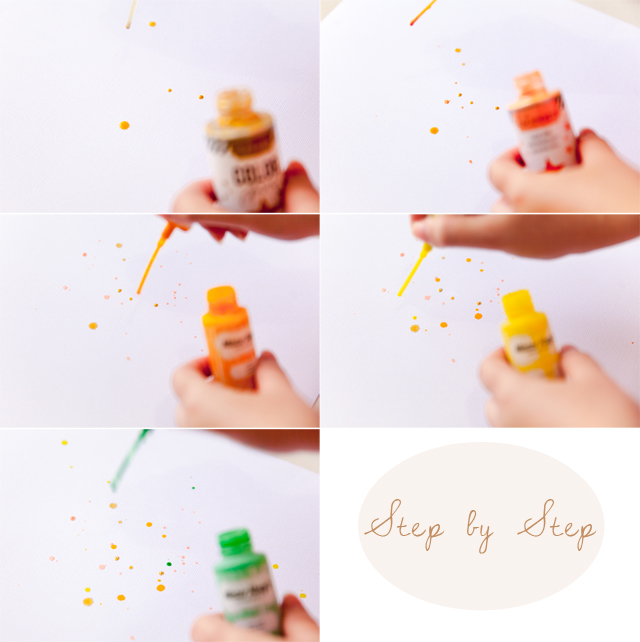
step by step

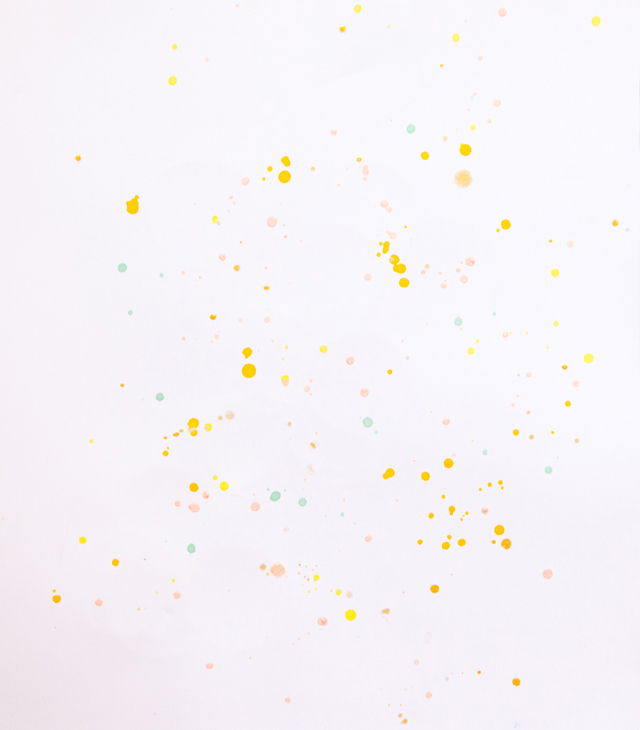
This is how I create my mists background. First you have to start splatter the mist one by one. Me start with the golden one by Heidi Swapp and splatter it to the place that I want, start from the middle of the paper to the top and bottom of it. Don’t scare to do it! Once you think you get the perfect result go take another mist and start in the same way. In the picture you will see I choose coral, orange, yellow and mint after I play with the gold one. 

IMG_8261

Tips is you can splatters the mists with same portion or different portion in each color. Me choose give the different portion in each color, you will see some mint color to make my background more pretty.

IMG_8264

The next step after I play with mists is I decorate my photo. Don’t have to dry it or wait to long because the mists will dry faster than you think. To pop up the white card stock I choose to paste in on pattern paper.  Enjoy the details of my layout.


IMG_8265

This is my full layout


Sunday, April 20, 2014

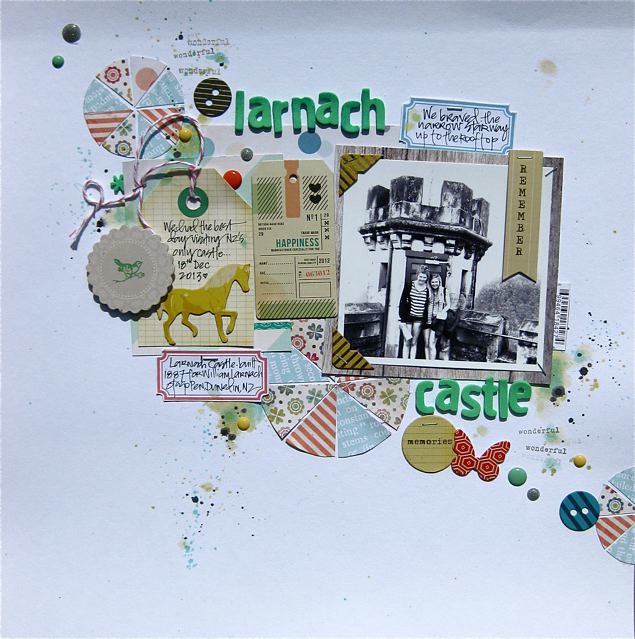
Sunday Sketch with Gina

Welcome to another fun sketch! To play along with this week's challenge, upload your entry to the gallery by April 26th and you could win a $5 GC to the store. When uploading your layout, remember to include "Sketch 4/20" in the title


Here is my take on the sketch using the April "Enchantment" kit add-on.. the colours are great in this kit, loving the mix of neutrals, brights and pastels..

IMG_1133

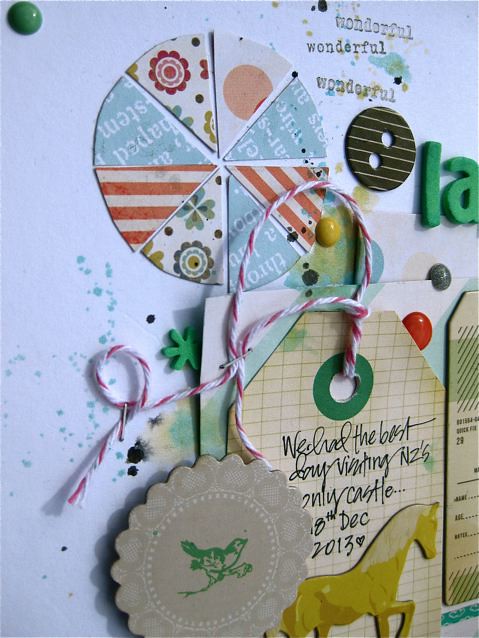
to create the pie-chart elements I've hand-cut segments from a few of the patterned papers..

IMG_1136

IMG_1137

IMG_1134

Thanks for stopping by and I can't wait to see your take on this sketch..
Gina x

Monday, April 14, 2014

Simple Strategies with Gina

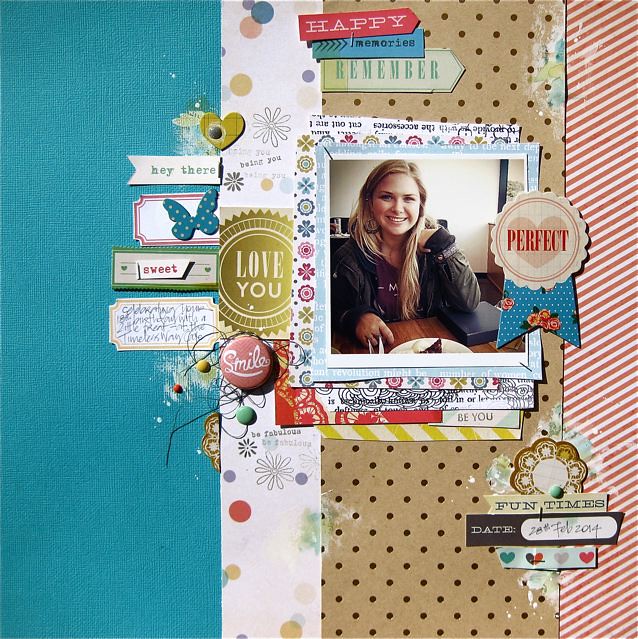
Hi everyone, today I'm sharing a couple of layouts with you, using a few simple strategies. Both pages have been created using the Enchantment Kit Add-On and Being Me stamp add-on

On this first page, I've used a vertical design for the background, starting with a cardstock base then adding 3 strips of patterned paper..

Gina Add-On

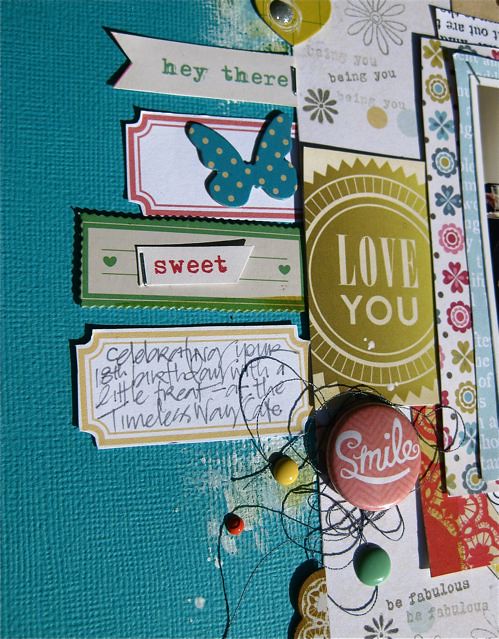
I've kept the vertical elements flowing with a few journaling tags, including a couple of older printable Pocket Life tags

Gina Add-On 2

to add some interest to the cardstock here, I added a smear of white gesso and a little watered down mist with a paint brush. The white splatter was drawn in with a gel pen..

Gina Add-On 3

Gina Add-On 4

On the second page I kept the background very soft with white cardstock and added some subtle water colour touches (once again using watered down mist) and stamping

IMG_1158

I've used a small paintbrush to apply the mist then immediately held the page upright and blew on it in a downwards direction to achieve the drip effect

IMG_1163

I've also added some soft stamping, by stamping first on a scrap paper then onto the cardstock, a nice alternative to black ink is Prima "Old Road" chalk edger available in the CTK store

IMG_1160
IMG_1162

here's some more of the mist effect, this time the drips are in a different direction and I've used the same soft stamping technique with the flower stamp

IMG_1161

I hope this gives you a few ideas for your pages..happy scrapping!
Gina x

Tuesday, April 8, 2014

Tuesday tutorial - make your own enamel dots

Hello hello! Jen here and today I am sharing a little tutorial on how to make your own enamel dots - with perler beads. You might remember these from your childhood if you're like me, placing them carefully on the little plates with a pair of tweezers then ironing them to bond together. I raided my daughter's craft basket for these goodies. You can pick them up at most craft supply stores.

 You will also need a sheet tray and parchment paper.

Preheat your oven to 325 degrees and line a pan with parchment paper (don't use waxed paper). Place the beads carefully upright on the tray. I found a pair of tweezers worked best.

Carefully transfer to the oven and bake for 30 minutes.

When they are done they will look like this! Super cute right?

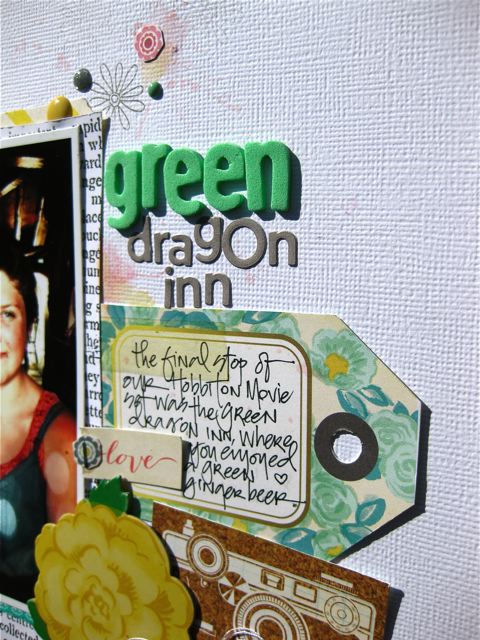
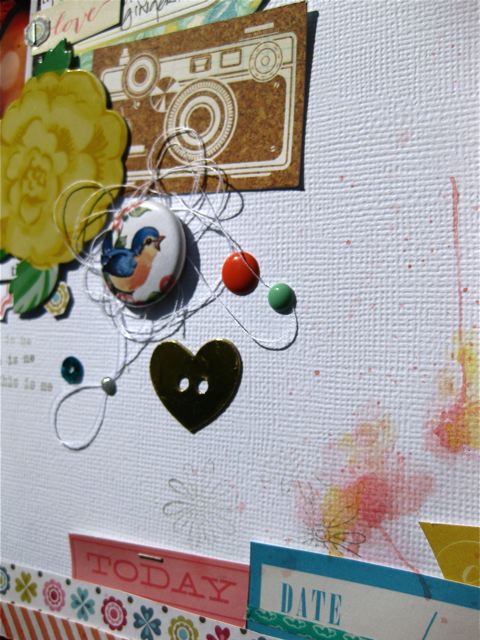
 I used the April kits to create this layout featuring my enamel dots, as well as some from the add-on kit. They are just the perfect embellishment for pages!


I think they add a great touch. I hope you'll try this technique today, it's super fun! Thanks for stopping by.