
Sometimes I find several photos that support the story I want to tell but when it comes to arranging them together on the page I hit a snag. The photos, perhaps taken at different locations or taken years apart, have colours that are just too contrasting. In this situation I find converting the photos to black and white allows me to design a more harmonious layout. In this tutorial I'll show you how to do this without having to install any fancy photo-editing software.


The steps are :
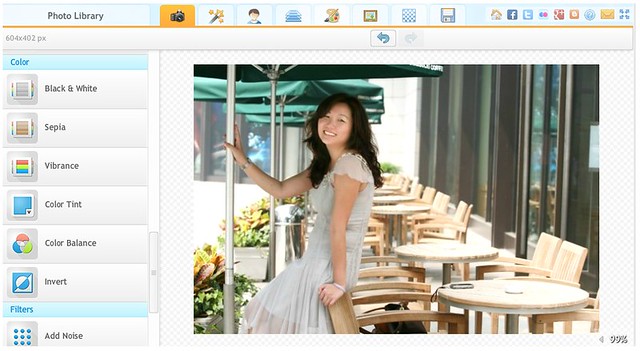
- Go to iPiccy.com. It's a free site that doesn't require any software download.
- You will be prompted to upload your photo
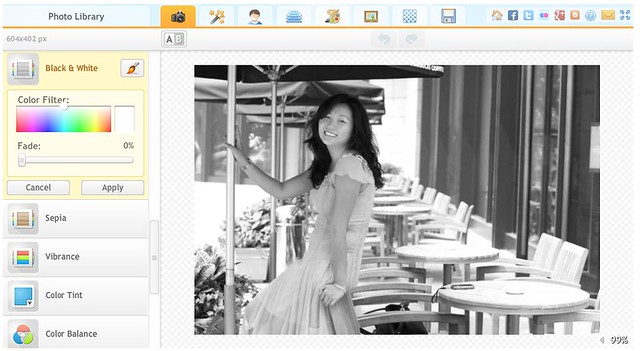
- Scroll down the left menu bar, click on the "Color - Black & White" option and on "Apply"
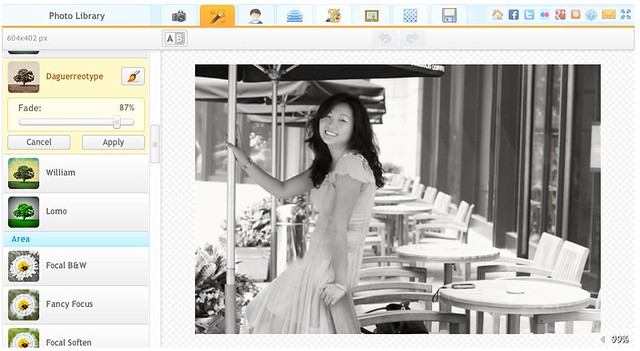
- Click on the "Photo Effects" star wand tab on the top.
- Scroll down the left menu bar and click on the "Daguerreotype" option.
- Select the % fade and click on apply (I usually go for 85% for a soft warm look)
- Click on the "Save" diskette tab on the top and save your edited photo.
Beautiful layout Sandy!
ReplyDeleteI love the layout. It's beautiful. Thanks
ReplyDelete