Friday, February 27, 2015

Pocket Life with April

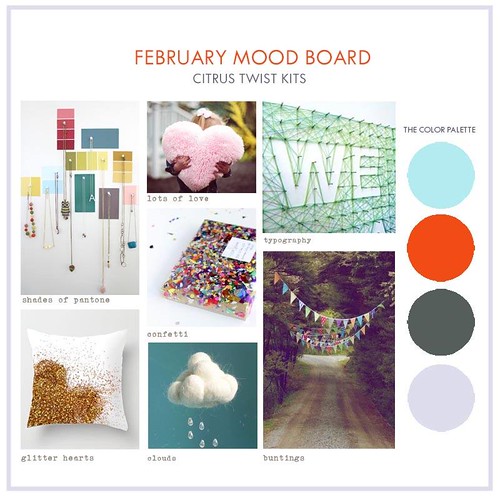
Happy Friday!  April here to share a few of my 2015 pocket life spreads using the February PL and PL Embellishment kits plus a couple of alphas from my stash.

I apologize that my spreads don't have a weekly marker (yet).  At the time that I took photos of these spreads, I hadn't worked on them.  But since taking these photos, I did finish them, so my future spreads will be a little easier to identify.

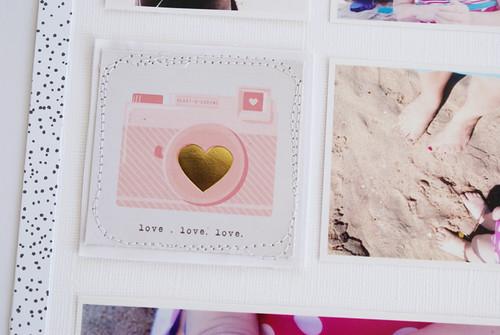
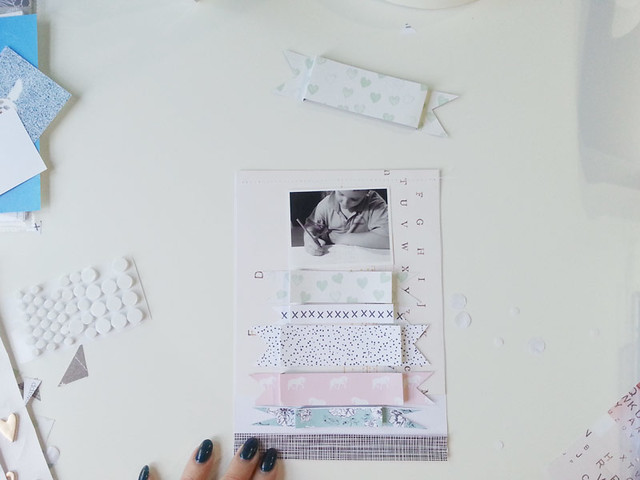
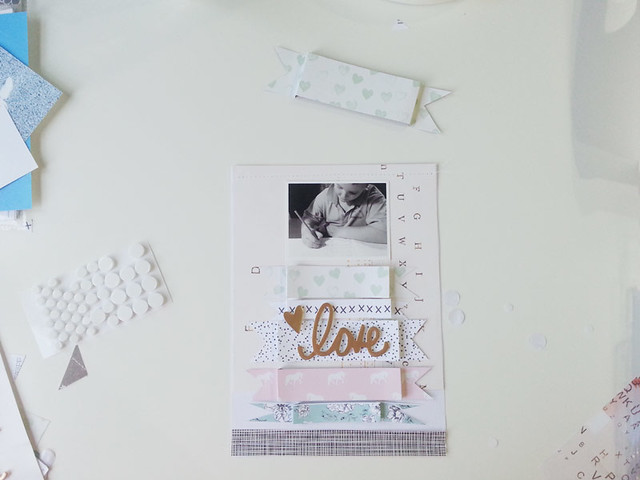
Here's the first of three spreads for week 2:

DSCN5392_800_CTK

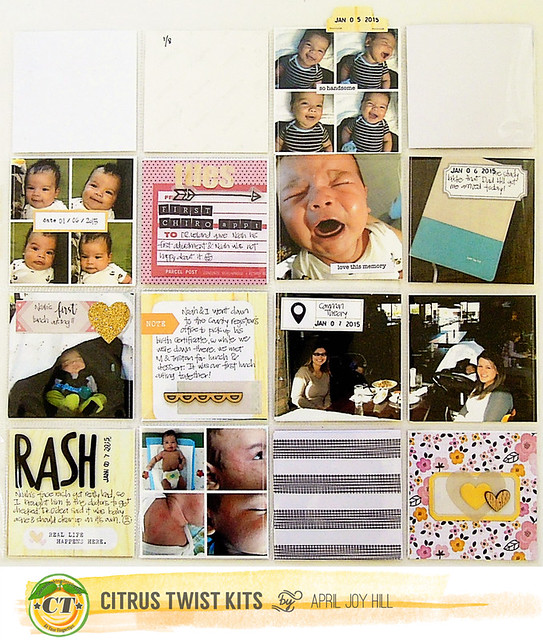
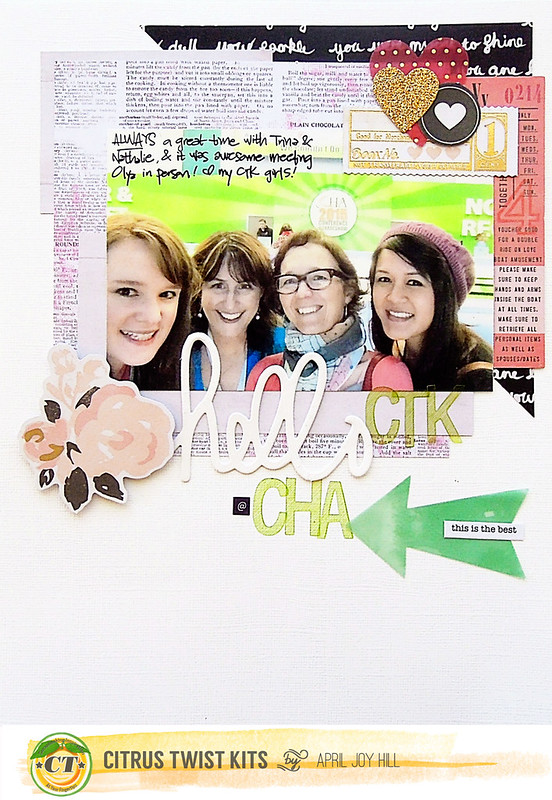
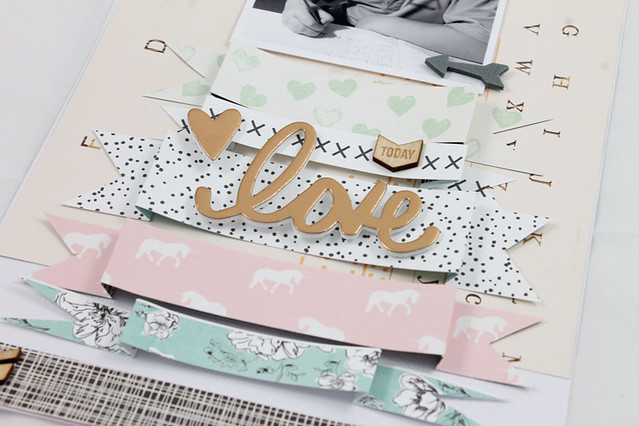
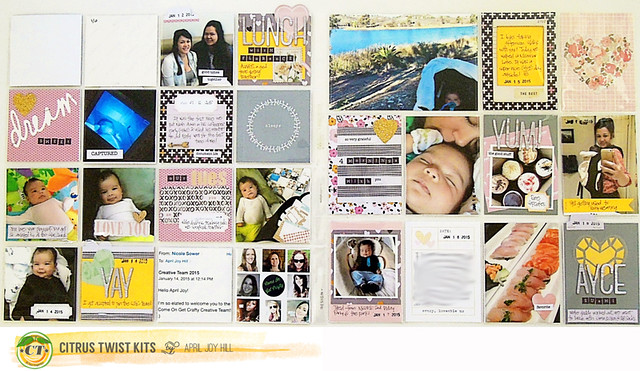
Pages two and three of week 2:

DSCN5395_800_CTK

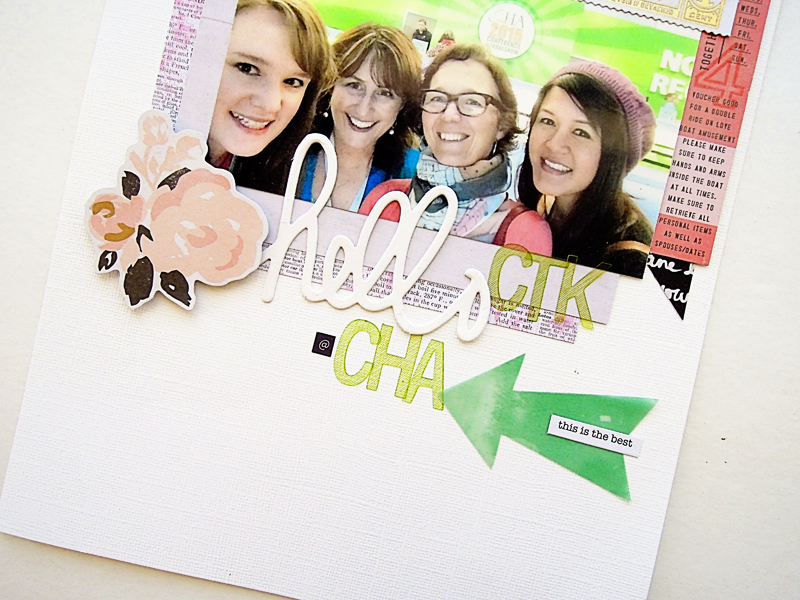
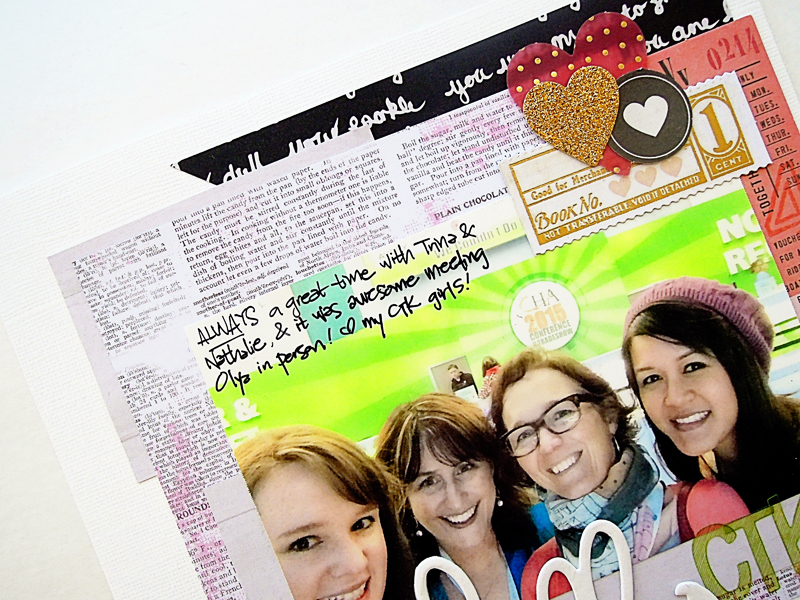
And a closer look at each of these pages.  These pages includes the pictures that I took at CHA.

DSCN5396_800

DSCN5400_800

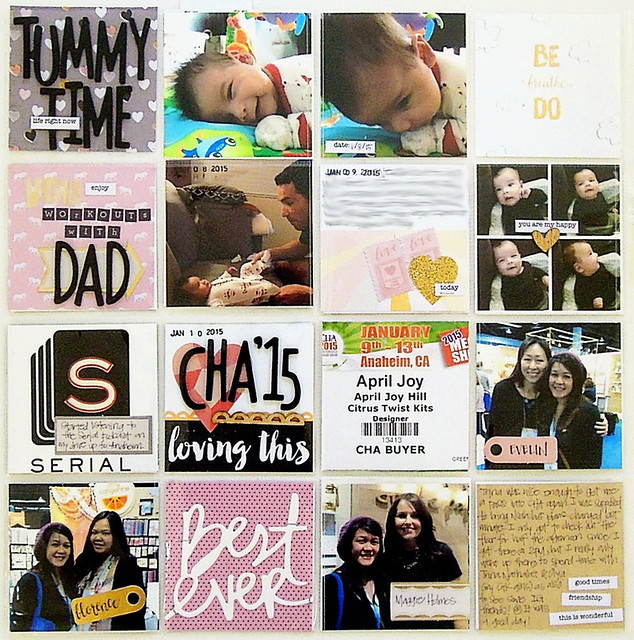
And here's my week 3:

DSCN5405_800_CTK

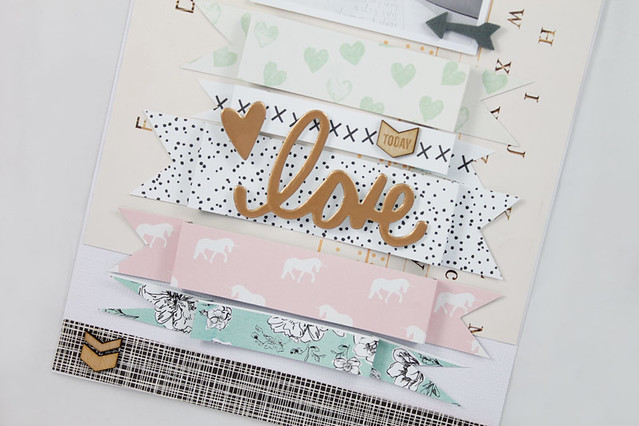
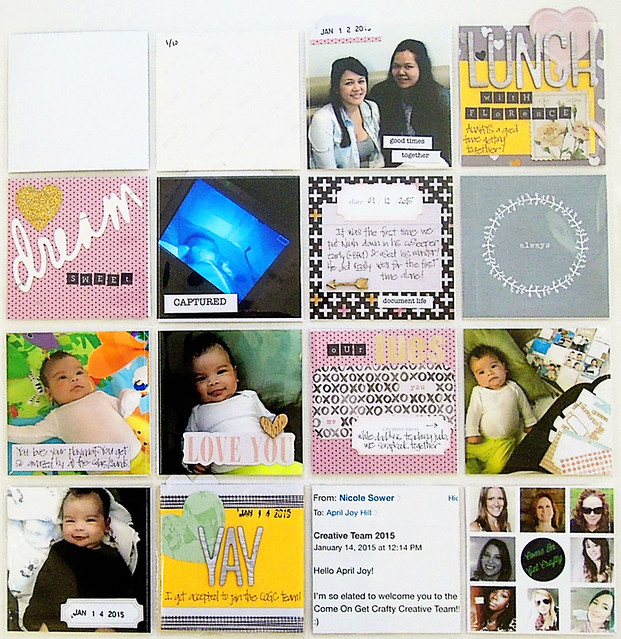
A closer look of each side:

DSCN5406_800

DSCN5410_800

And here are your sketches:


Thanks for stopping by!  Have a great weekend!

Thursday, February 26, 2015

Winners for Sketch Challenges and 3 to Inspire

Sketch Winners $5 Gift Certificate to CTK Store:
Jan. 4 : amborne
Jan.11: anitatina
Jan.18: ingridpeters
Jan. 25: heartstrings
Feb. 1: barbP
Feb. 8: mamakven
Feb. 15: pink
Feb. 22: anitatina


3 to Inspire winners:
Jan 17: ingridpeters


Winners please email Trina at CitrusTwistKits@yahoo.com to claim your prize :)  Congrats!

Wednesday, February 25, 2015

Some layouts with Eve


The kit of february was amazing, i made a 12x12 layouts, and lots of handbook layouts. Hope you love them and will be inspire.

hooray

horray 1

lovely

right here

shine

shine 1

so beautiful

cache cache

Tuesday, February 24, 2015

Tuesday Tutorial With Sandy

Hi Everyone! Do you start the new year with a list of scrapbooking resolutions? I like the idea of setting goals for myself but find it daunting to commit to a list at the beginning of the year. Instead what I do is set myself mini challenges every couple of months and give myself lots of time to tackle them. This month I'm inspired by Kaisa's moodboard to overcome my mental block with regards to cardstock.

 
a7
In the Citrus Twist February Love Letters Main Kit are red, white and blue cardstocks which evoke the bright, happy mood of a fun fair for me. So I think : Create a colourful striped backdrop that resembles the fair tents. There are also embellishments in the kit like vellum hearts and a banner garland I can use to add to the feeling of a fete.
 
a4

 
Creating the diagonally patterned background is simple. Cut 1cm strips of red and blue cardstock. Glue the first one down on the top left corner at a pleasing angle. Use one of the strips as a separator to determine the positioning of the next strip. Continue until you fill the page.
 
A2

 
Once the stripe pattern is ready, I add two pieces of 4"x6" white cardstock on top to break up the busy background. That way the photo has some breathing room around it, the title and caption woldn't get lost among the stripes. A little more embellishing with washi tape and baker's twine and my layout is done. Hope you'll be similarly inspired to try something fun with the card you find in your Citrus Twist kits.

Feb Moodboard


Sunday, February 22, 2015

Sunday Sketch with Jessy

Hello there lovelies! I'm here to share with you today's sketch created by the talented Kasia.


I started of the sketch by layering the patterned papers. Love the black & white stripe patterned paper.  The stripes popped out among the subtle colours. I substituted one of the photograph with dots patterned paper. It worked well. Added the floral cut file & slowly worked my way around with the embellishments. And a few splatters of mist & sequins will add interest to your layout!

Absolutely adore those cork shapes and of course the Dear Lizzy gold stickers! You can never go wrong with anything gold *wink*

Now it's your turn to take on this week's sketch! We love to see what you do with our kits and sketches so please make sure to upload your projects to the Citrus Twist Gallery. And remember, by uploading your take on today's sketch to the gallery by 2/27, you will be entered to win a $5 Coupon to use on anything in the CTK StoreAlso add 2/22 to the title line.

Happy crating!
Xoxo Jessy


Saturday, February 21, 2015

3 to Inspire with April


Hi everyone!  April here to share a new edition of the "3 to Inspire" series. We offer this new challenge every Saturday for those who need a little extra push to get scrapbooking, to keep scrapbooking, or those of you just looking for a challenge!

Your take on this challenge can be in the form of a layout or a PL spread and you'll want to include all 3 elements on your project.

This week, your inspiration should include:
  1. Making your layout a different size than what you're normally used to
  2. Mixing alphas from the most current kit and a previous kit
  3. Adding journaling directly onto your photo
And here's my take on it.  This is an 8.5x11 layout that I will include directly in my Pocket Life album.  (Say hello to some of the other CTK girls!!)
DSCN5362_800_CTK

And some close-up shots:

DSCN5364_800
DSCN5365_800

If you take on this challenge, post your layout or PL spread in the Citrus Twist Gallery or on the Facebook Citrus Twist Fan Page.

Thanks for stopping by! :)

Thursday, February 19, 2015

Inspired by Pinterest

Hi! Michelle here to share with you how a Pinterest pin became the design inspiration for a double page layout.

A lot of the time when I am stumped for an idea, need a little extra inspiration, or when I just want to try something new, I turn to my Pinterest board that contains non-scrappy design related images. When I begain to work on this project with the February "Love Letters" Main kit, I knew I wanted a design that allow for me to use several pictures.  Looking through my board, I found this image which reminded me of a magazine type layout complete with several pictures and lots of room for text. With this in mind, I came up with this double page layout:


Hello Beautiful Day 3
I really stuck pretty close to the pin, keeping the photo arrangement very similar and using the column on the right for my journaling. I varied from the image by adding a place for my title as well as adding in embelllishments and patterned paper.
Hello Beautiful Day 4
Hello Beautiful Day 5
Thanks for stopping by today!
Michelle

Wednesday, February 18, 2015

Edit The Photo Like A Pro Using VSCOCAM - Photo Inspiration


Since I become wedding photographer I rarely use my DSLR to capture my daily life. Not easy to grab the camera and click, sometimes I lost the moment because so busy to take the camera, setting and press click. Iphone always be my fav to capture my daily life. I don’t need to setting anything and just press click button and tada …they are some photos already in your camera gallery. Plus you don't need to transfer your photo to computer and edit it using photoshop or lightroom. Iphone has so many editing apps that you can use and yes they are easy to use.

VSCOCOVR copy

Today I wanna share about how to edit your photo from Iphone or Android using my fav apps called: VSCOCAM. Yes I always use this app to give some photo color (tone) of my photo using Iphone. Because some times you end of with dark photo and less colors, so you need  to edit it before you print the photos and scrap or use it for my project life.
vsco cam all

In this collage I use VSCOCAM to edit my photo. You can see some of my daily life photos in my Instagram: @geekgalz

So in this apps they have some magic photo tone presets to make your photo perfect than before! My fav one is HB1. All of the photos that I share here using HB1. Start from my daily life photos of me, hubby or my baby boy and some of my travelling photos in Bali &Lombok - Indonesia. I’ll give you my little secret how to edit your photo using my HB1 and my vscocam setting so hopefully will end up like mine.

I wanna share before and after I use the VSCOCAM to edit my photo. I'm not gonna explain what is exposure or shadows or temperature in this apps, because I believe some of you already know or you can visit the VSCOCAM website to learn more about it or you can google it. Because again in this post I wanna share my VSCOCAM setting so all of you can edit your cellphone photo just like my photos.

Let's start!
Photo number one.

vsco1 evelynpy
Preset: HB1
Exposure: 0
Temperature: +1
Fade: +1
Saturation: +1

Photo number two.

vsco3 evelynpy
Preset: HB1
Exposure: +1
Temperature: +1
Contrast: +1
Fade: +1
Saturation: +1
Shadows: +2


Photo number three.

vsco4 evelynpy
Preset: HB1
Exposure: +1
Temperature: +1
Contrast: +1
Fade: +1
Saturation: +2
Shadows: +2

My tips is you can adjust the way you edit the photo with the photo it self because every photo has different final result (color tone of the photo) even if you follow my HB1 setting. In the end its up to you to decide which setting do you want or end with.


Thank you for reading my post about how to edit your cellphone photo using VSCOCAM. See you in another photo inspiration post next time. Love Evelyn Pratiwi Yusuf.
 

Tuesday, February 17, 2015

Tuesday Tutorial with Emma

Hi, it's Emma with this weeks tutorial and today I would like to show you how to create some dimensional banners for your layouts.  Although I love adding dimension to my pages I don't like things super chunky that they make them hard to fit into the page protectors later on.  These banners are perfect for adding the dimension without the bulkiness!

 20150515_CT-Love_MAIN-ONLY_Tutorial1A

And they are super easy which is why I love it!

20150515_CT-Love_MAIN-ONLY_Tutorial2

  For this you need your favourite paper, scissors and scoring board / bone folder.

20150215_CT-Tutorial_1
 
My strips of paper are all 6 inches (because my layouts are 6x8) so I just cut a few papers at different heights. I hand cut the ends of each to give them that banner look. If you wanted the ends to be exactly the same you could use a square punch for this too but I'm not that fussy (if they end up different lengths I'm OK with it).

20150215_CT-Tutorial_2
 
Next up, put your paper on the scoring board and mark 2 lines at each end. I came in 1 and 1.5 inches from each end.

20150215_CT-Tutorial_3

20150215_CT-Tutorial_4
 
Once you have the lines scored just fold the paper to create the banner (fold upwards on the first score mark and downwards on the second which will ensure the "face" of the banner sits on top).

20150215_CT-Tutorial_5
20150215_CT-Tutorial_6

 Repeat until you have all the banners you want/need.

20150215_CT-Tutorial_7

To give the banners some dimension I added some foam dots behind the "face" of each banner. I used these “This to That” foam dots which are available in the shop.

20150215_CT-Tutorial_8
20150215_CT-Tutorial_9

Once all the prep is done its time to start adding them to your page! For this layout I stuck with a central column for the banners and photo. Then add a title and all the fun bits and pieces and its done!

20150215_CT-Tutorial_10
20150215_CT-Tutorial_11

 Super fast and easy! Two of my favourite combo's when working on layouts ;)

20150515_CT-Love_MAIN-ONLY_Tutorial3
20150515_CT-Love_MAIN-ONLY_Tutorial4

If you have any questions, please let me know in the comments below and I'll get back to you :)

I really hope you'll give this a try and remember to post it in the gallery so we can all see!