And they are super easy which is why I love it!
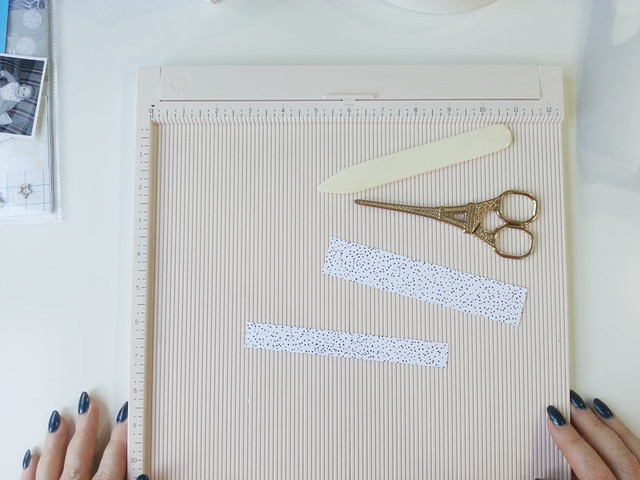
For this you need your favourite paper, scissors and scoring board / bone folder.
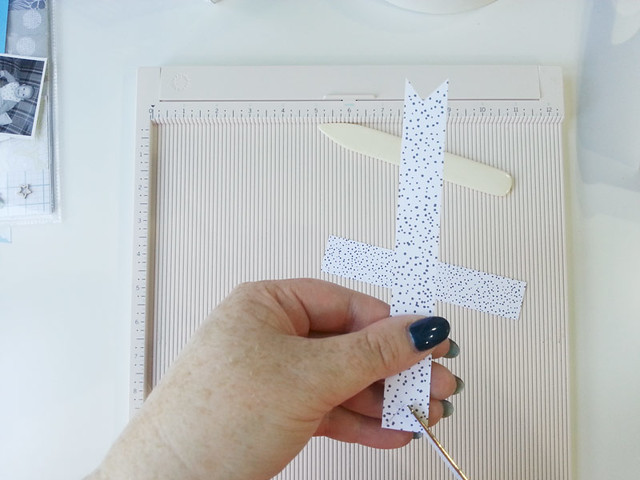
My strips of paper are all 6 inches (because my layouts are 6x8) so I just cut a few papers at different heights. I hand cut the ends of each to give them that banner look. If you wanted the ends to be exactly the same you could use a square punch for this too but I'm not that fussy (if they end up different lengths I'm OK with it).
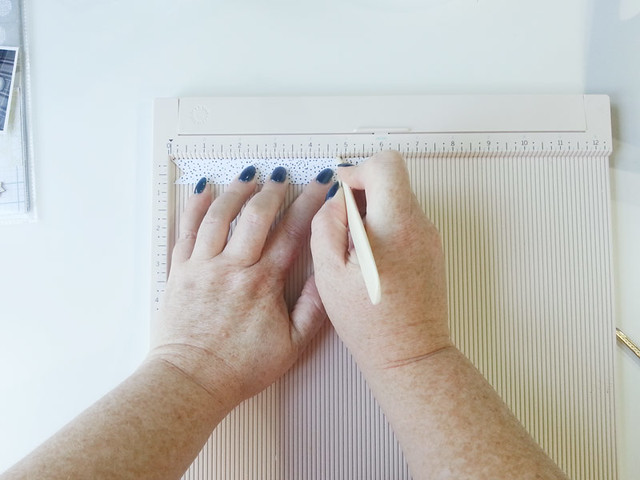
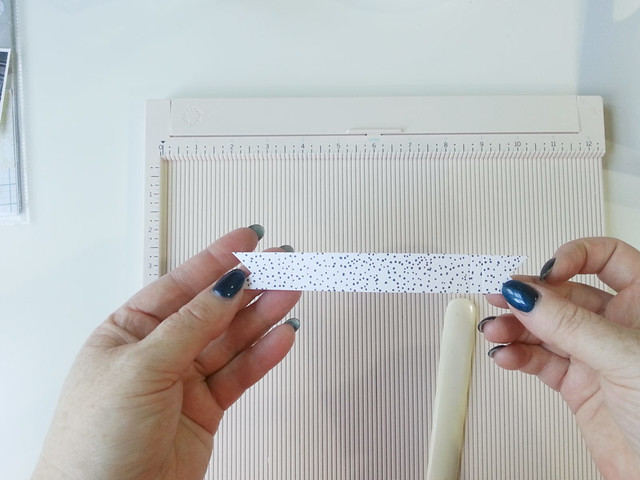
Next up, put your paper on the scoring board and mark 2 lines at each end. I came in 1 and 1.5 inches from each end.
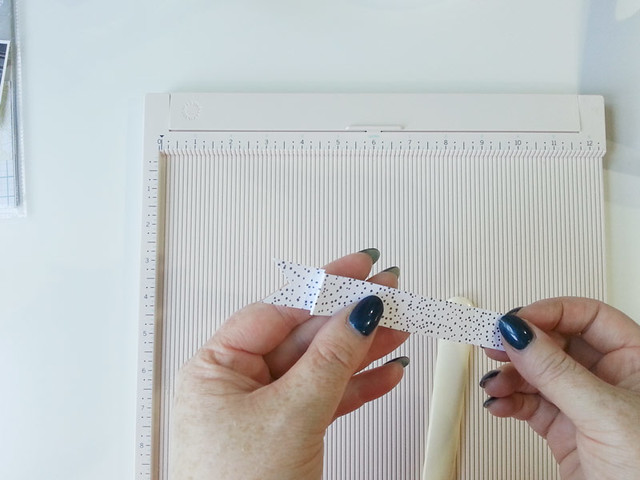
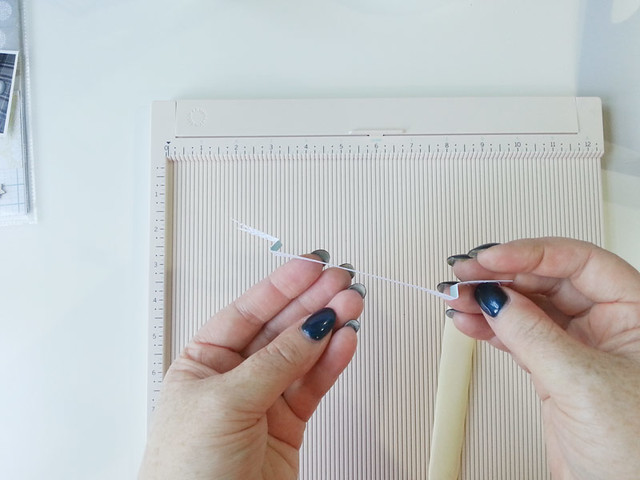
Once you have the lines scored just fold the paper to create the banner (fold upwards on the first score mark and downwards on the second which will ensure the "face" of the banner sits on top).
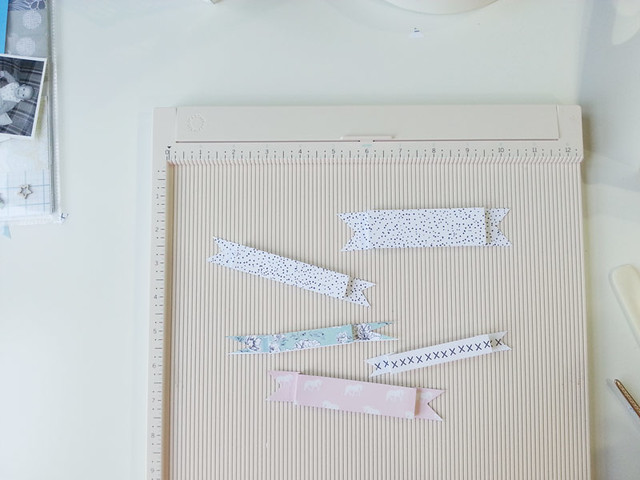
Repeat until you have all the banners you want/need.
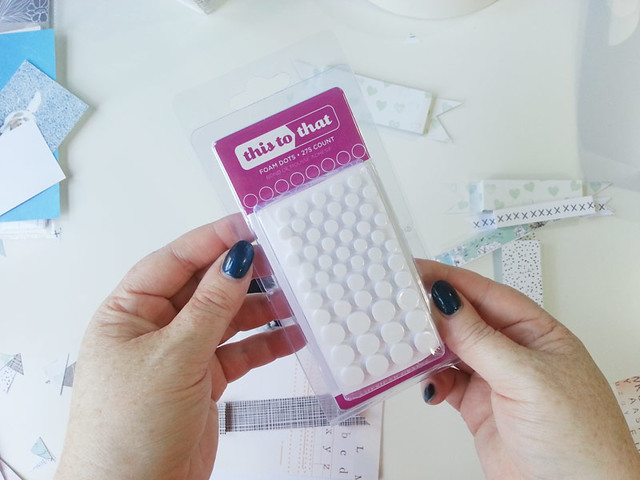
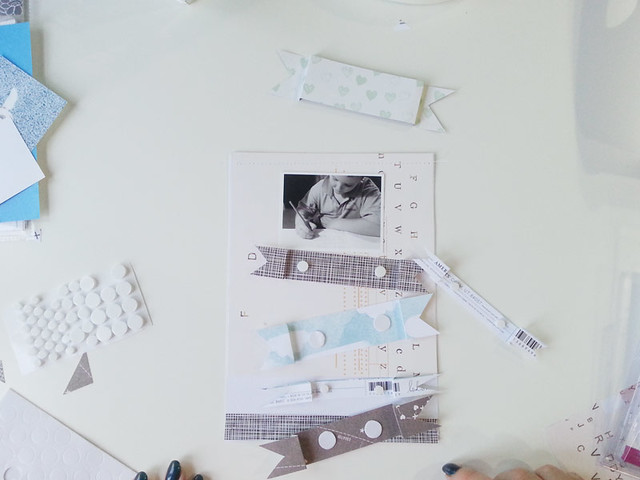
To give the banners some dimension I added some foam dots behind the "face" of each banner. I used these “This to That” foam dots which are available in the shop.
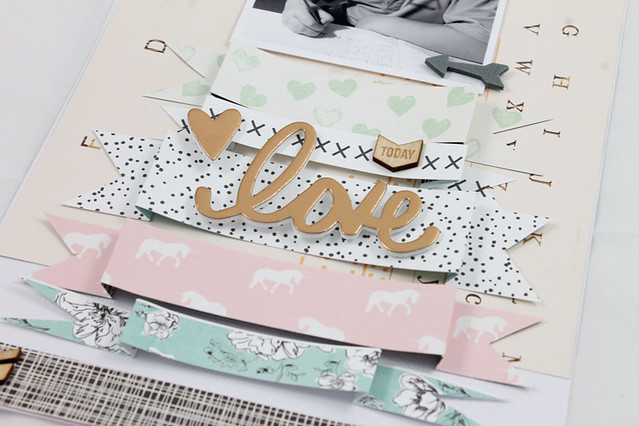
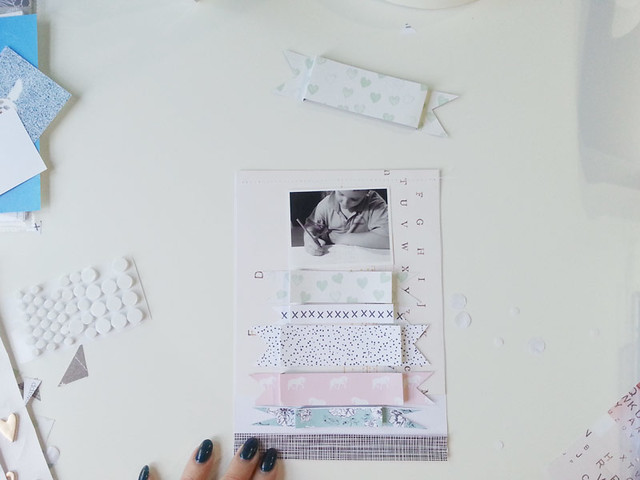
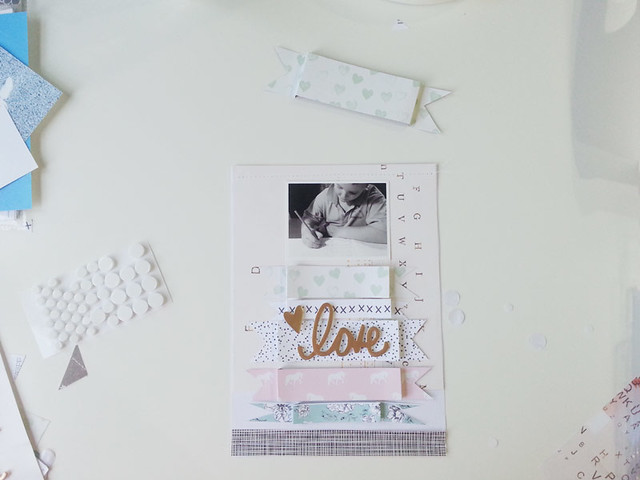
Once all the prep is done its time to start adding them to your page! For this layout I stuck with a central column for the banners and photo. Then add a title and all the fun bits and pieces and its done!
Super fast and easy! Two of my favourite combo's when working on layouts ;)
If you have any questions, please let me know in the comments below and I'll get back to you :)
I really hope you'll give this a try and remember to post it in the gallery so we can all see!


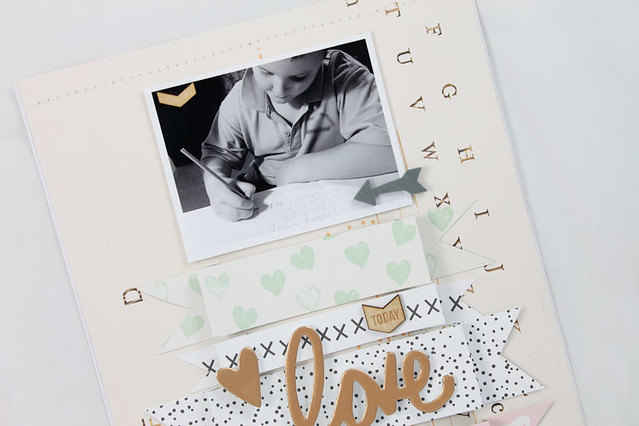
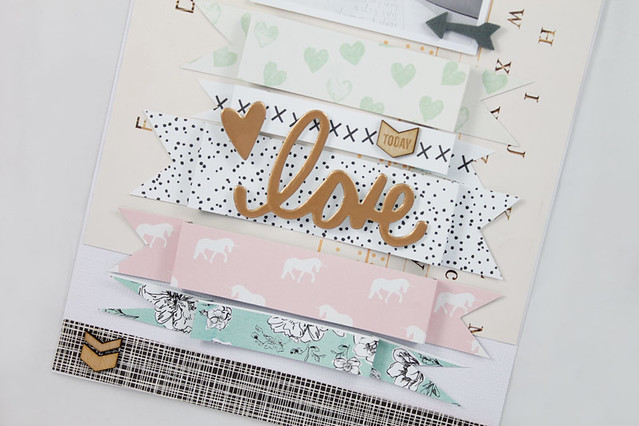
Fantastic layout Emma! What a great idea :).
ReplyDeleteThanks Michelle!
DeleteI seriously love every single thing about this layout.
ReplyDeleteThanks so much Caroline :)
DeleteLove all those banners!
ReplyDeleteLove how easy you made it ... love the layout!
ReplyDelete