Showing posts with label February 2015 scrapbooking kits. Show all posts

Wednesday, February 25, 2015

Some layouts with Eve


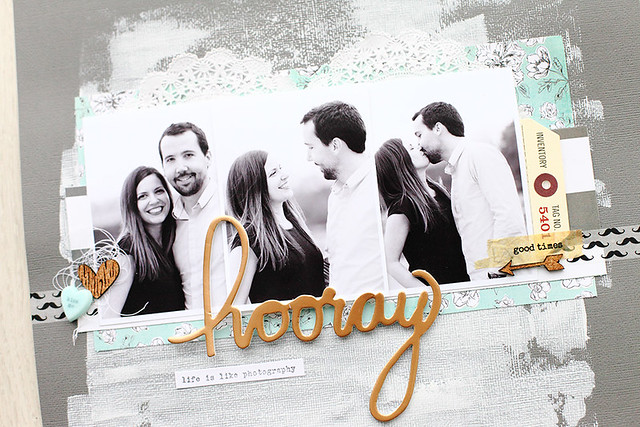
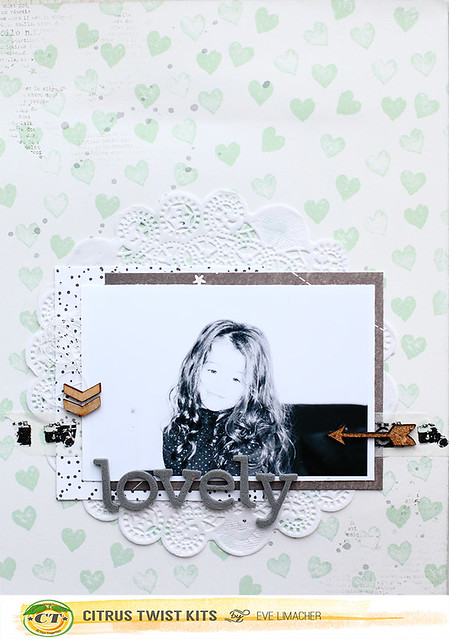
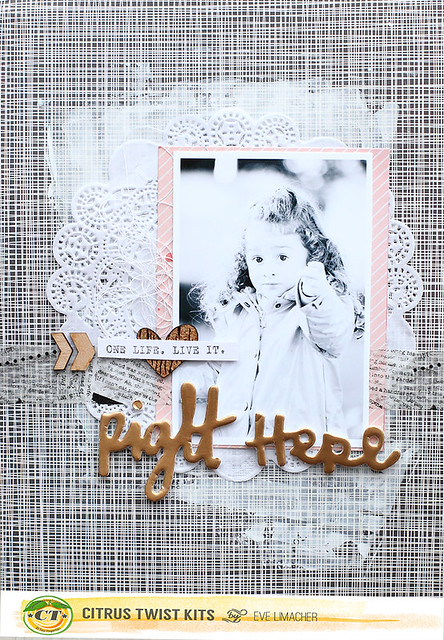
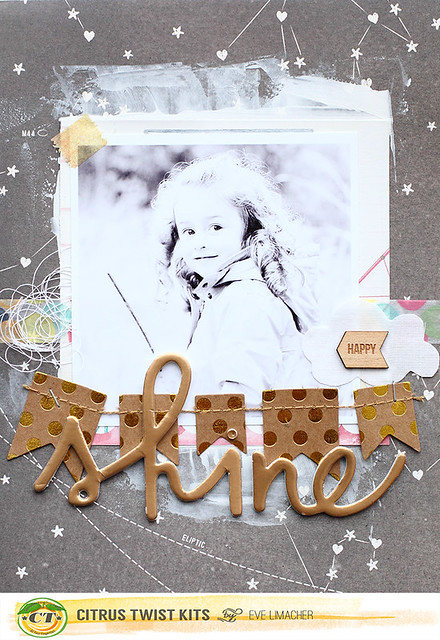
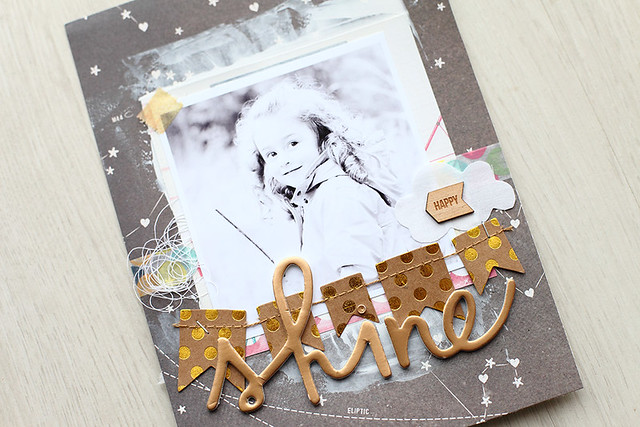
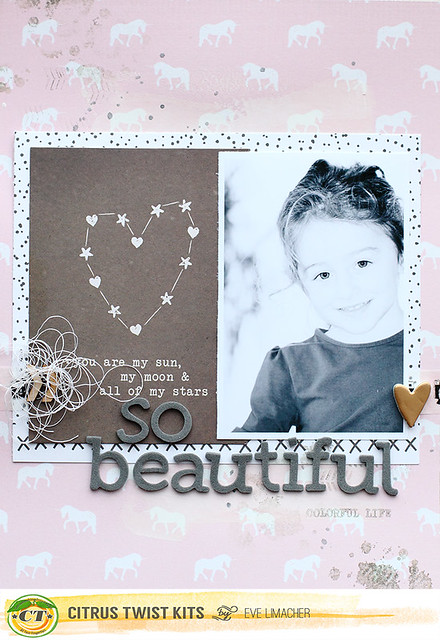
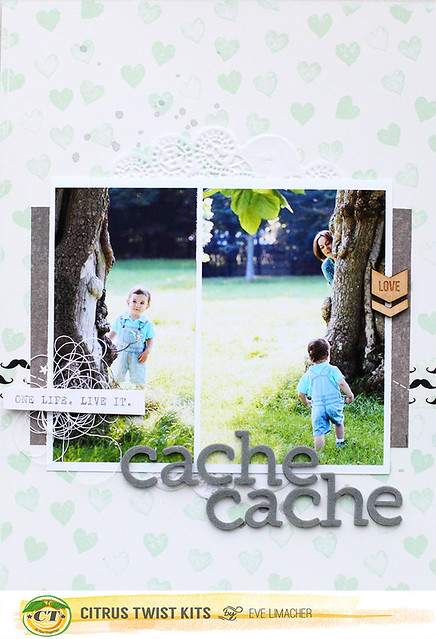
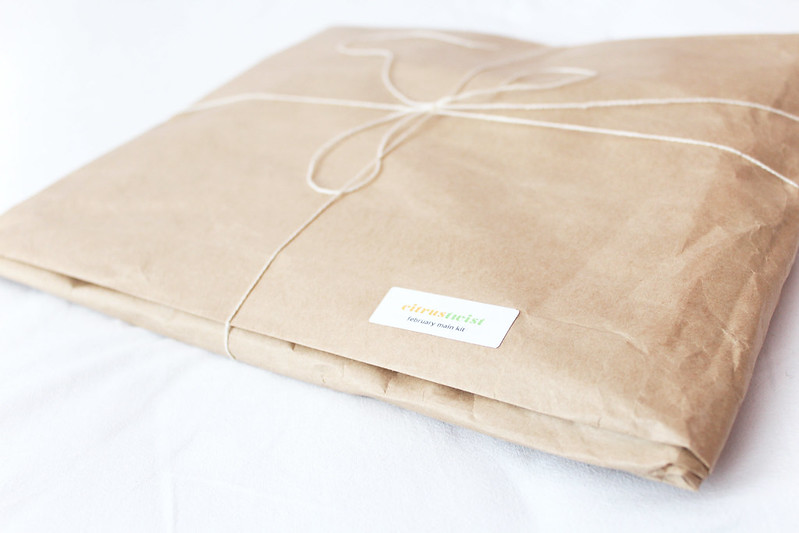
The kit of february was amazing, i made a 12x12 layouts, and lots of handbook layouts. Hope you love them and will be inspire.

hooray

horray 1

lovely

right here

shine

shine 1

so beautiful

cache cache

Tuesday, February 24, 2015

Tuesday Tutorial With Sandy

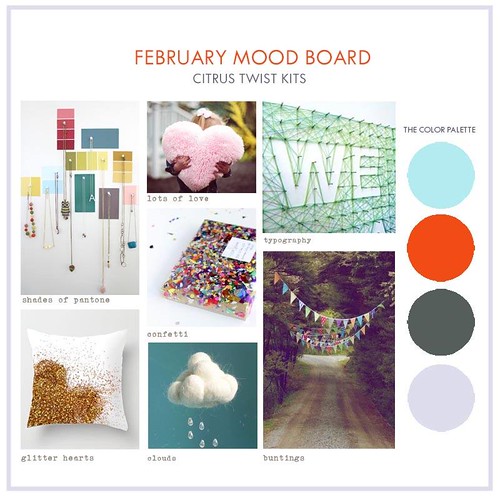
Hi Everyone! Do you start the new year with a list of scrapbooking resolutions? I like the idea of setting goals for myself but find it daunting to commit to a list at the beginning of the year. Instead what I do is set myself mini challenges every couple of months and give myself lots of time to tackle them. This month I'm inspired by Kaisa's moodboard to overcome my mental block with regards to cardstock.

 
a7
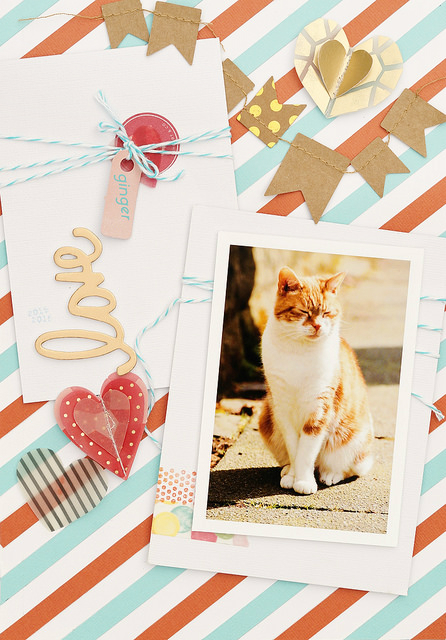
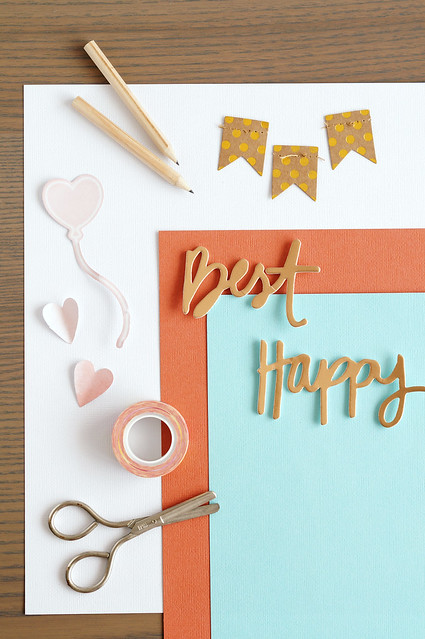
In the Citrus Twist February Love Letters Main Kit are red, white and blue cardstocks which evoke the bright, happy mood of a fun fair for me. So I think : Create a colourful striped backdrop that resembles the fair tents. There are also embellishments in the kit like vellum hearts and a banner garland I can use to add to the feeling of a fete.
 
a4

 
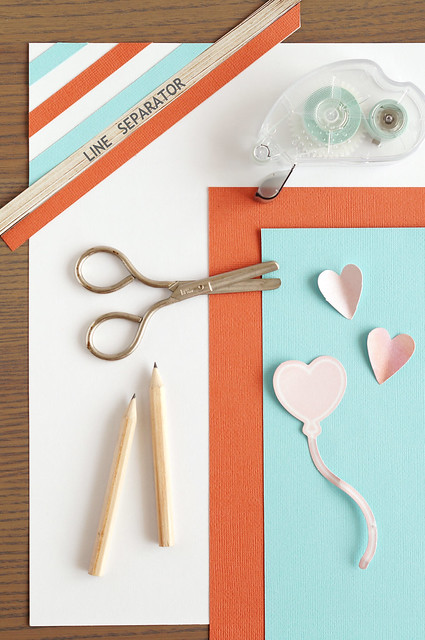
Creating the diagonally patterned background is simple. Cut 1cm strips of red and blue cardstock. Glue the first one down on the top left corner at a pleasing angle. Use one of the strips as a separator to determine the positioning of the next strip. Continue until you fill the page.
 
A2

 
Once the stripe pattern is ready, I add two pieces of 4"x6" white cardstock on top to break up the busy background. That way the photo has some breathing room around it, the title and caption woldn't get lost among the stripes. A little more embellishing with washi tape and baker's twine and my layout is done. Hope you'll be similarly inspired to try something fun with the card you find in your Citrus Twist kits.

Feb Moodboard


Thursday, February 19, 2015

Inspired by Pinterest

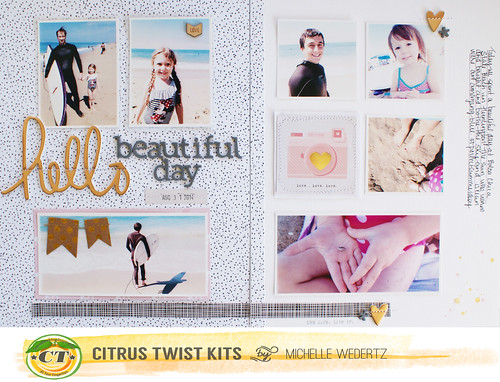
Hi! Michelle here to share with you how a Pinterest pin became the design inspiration for a double page layout.

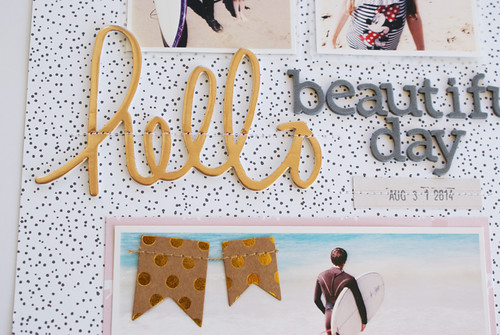
A lot of the time when I am stumped for an idea, need a little extra inspiration, or when I just want to try something new, I turn to my Pinterest board that contains non-scrappy design related images. When I begain to work on this project with the February "Love Letters" Main kit, I knew I wanted a design that allow for me to use several pictures.  Looking through my board, I found this image which reminded me of a magazine type layout complete with several pictures and lots of room for text. With this in mind, I came up with this double page layout:


Hello Beautiful Day 3
I really stuck pretty close to the pin, keeping the photo arrangement very similar and using the column on the right for my journaling. I varied from the image by adding a place for my title as well as adding in embelllishments and patterned paper.
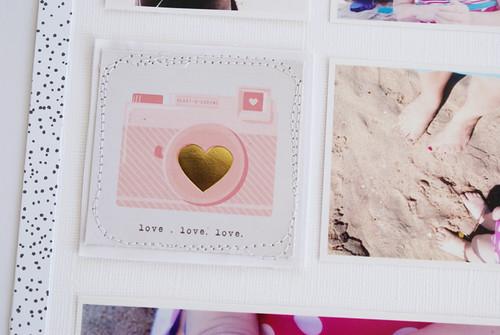
Hello Beautiful Day 4
Hello Beautiful Day 5
Thanks for stopping by today!
Michelle

Tuesday, February 17, 2015

Tuesday Tutorial with Emma

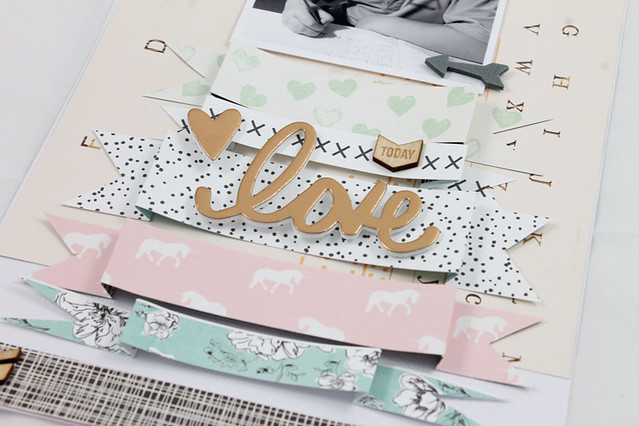
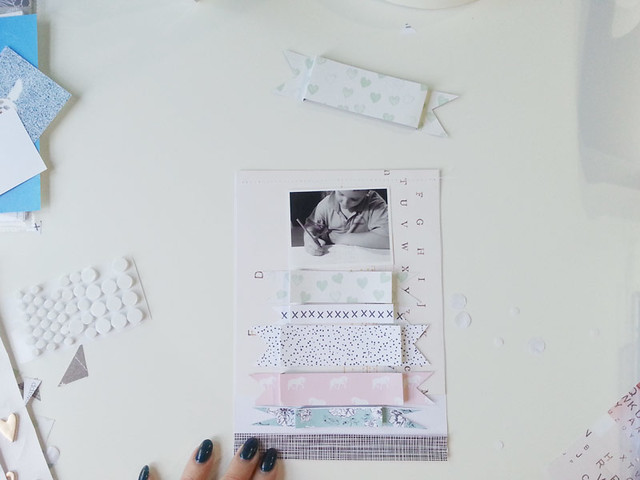
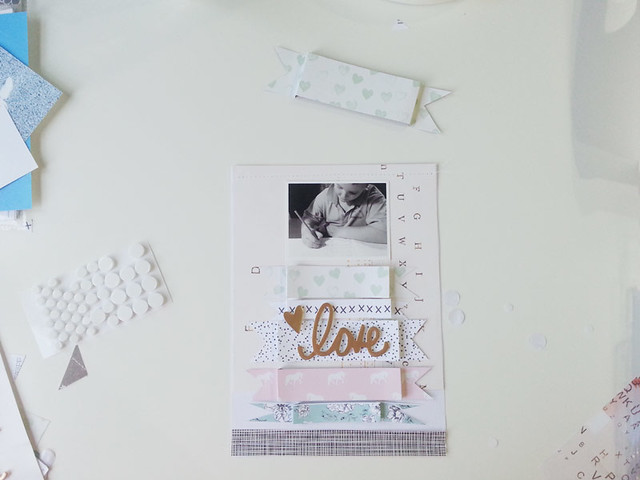
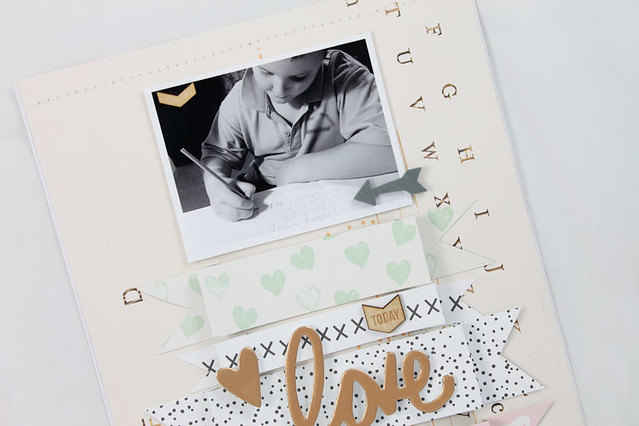
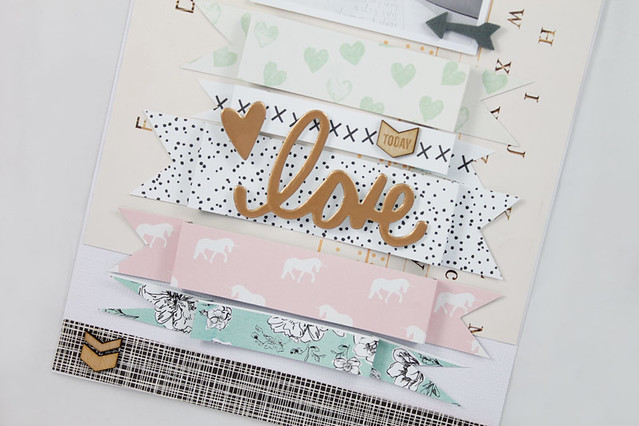
Hi, it's Emma with this weeks tutorial and today I would like to show you how to create some dimensional banners for your layouts.  Although I love adding dimension to my pages I don't like things super chunky that they make them hard to fit into the page protectors later on.  These banners are perfect for adding the dimension without the bulkiness!

 20150515_CT-Love_MAIN-ONLY_Tutorial1A

And they are super easy which is why I love it!

20150515_CT-Love_MAIN-ONLY_Tutorial2

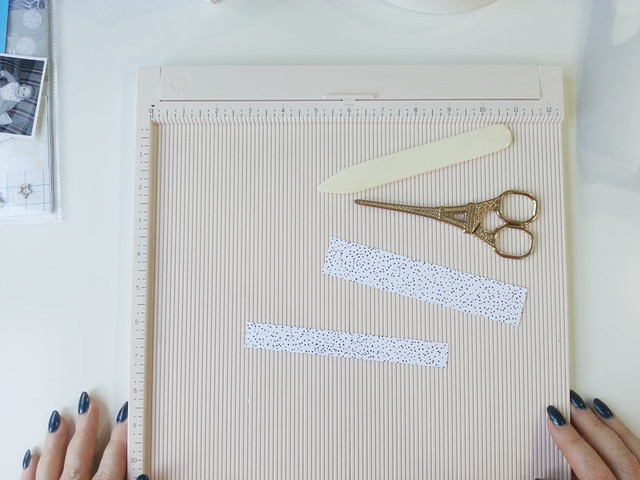
  For this you need your favourite paper, scissors and scoring board / bone folder.

20150215_CT-Tutorial_1
 
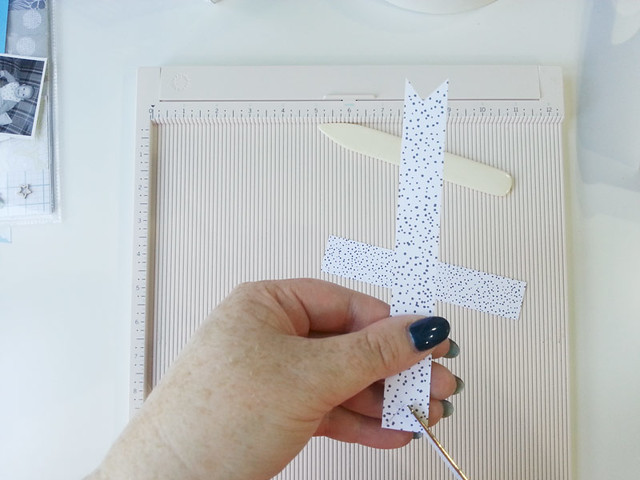
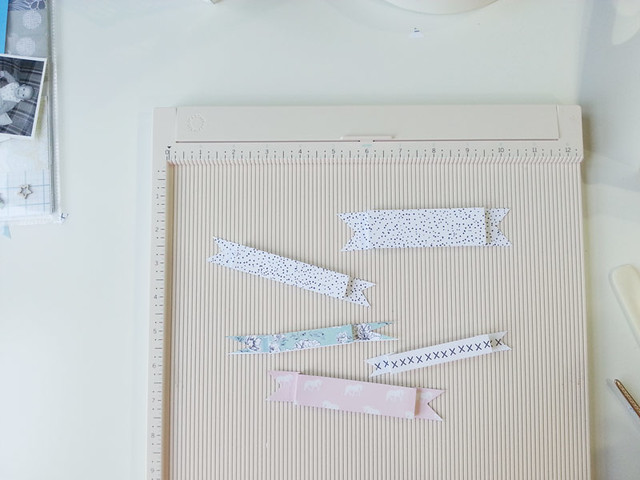
My strips of paper are all 6 inches (because my layouts are 6x8) so I just cut a few papers at different heights. I hand cut the ends of each to give them that banner look. If you wanted the ends to be exactly the same you could use a square punch for this too but I'm not that fussy (if they end up different lengths I'm OK with it).

20150215_CT-Tutorial_2
 
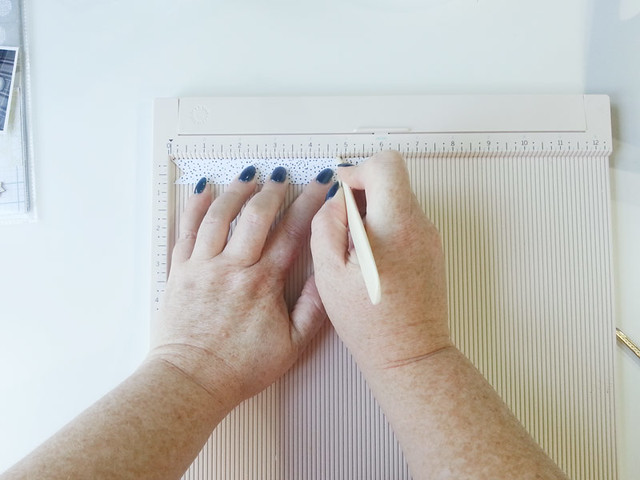
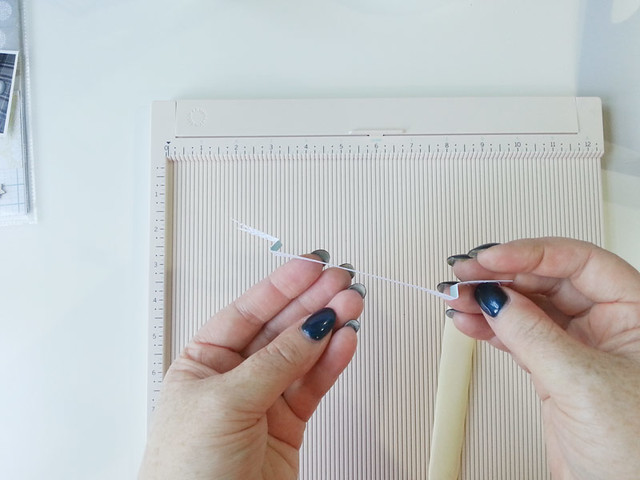
Next up, put your paper on the scoring board and mark 2 lines at each end. I came in 1 and 1.5 inches from each end.

20150215_CT-Tutorial_3

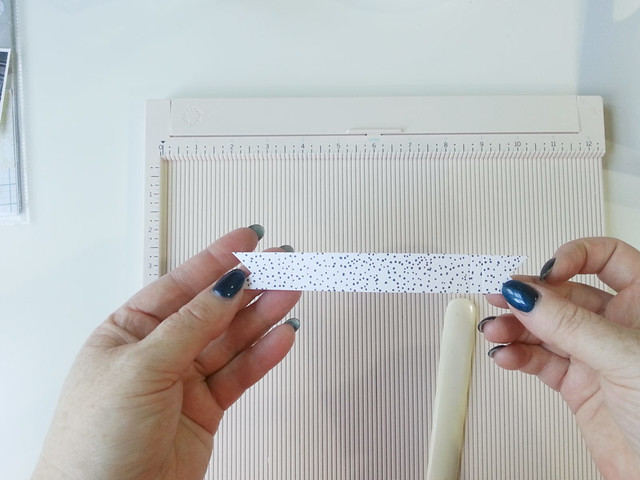
20150215_CT-Tutorial_4
 
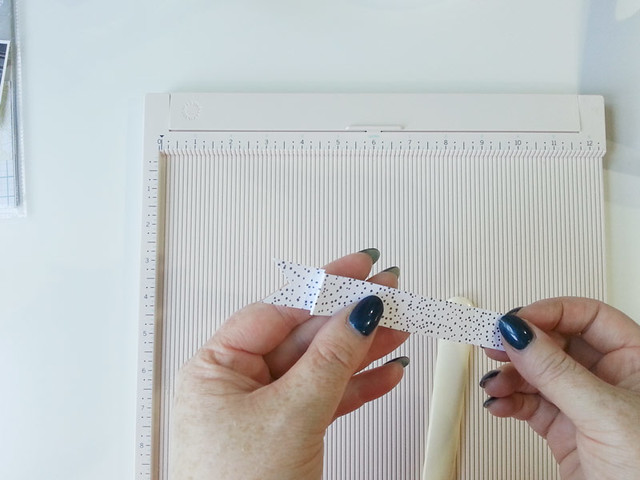
Once you have the lines scored just fold the paper to create the banner (fold upwards on the first score mark and downwards on the second which will ensure the "face" of the banner sits on top).

20150215_CT-Tutorial_5
20150215_CT-Tutorial_6

 Repeat until you have all the banners you want/need.

20150215_CT-Tutorial_7

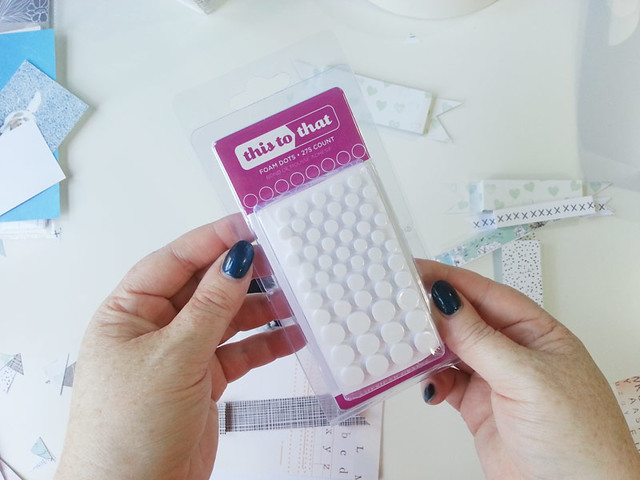
To give the banners some dimension I added some foam dots behind the "face" of each banner. I used these “This to That” foam dots which are available in the shop.

20150215_CT-Tutorial_8
20150215_CT-Tutorial_9

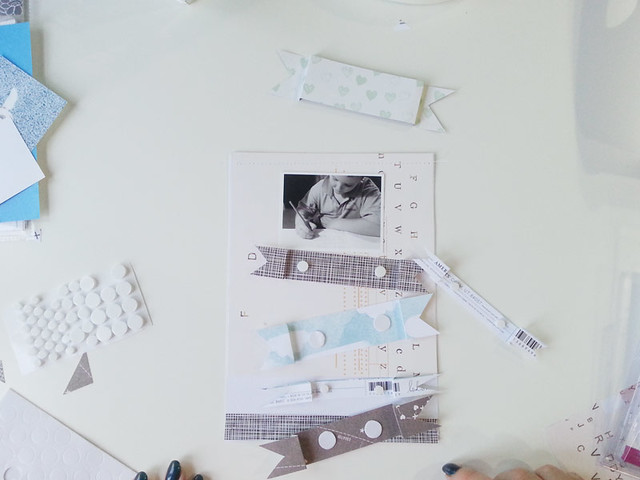
Once all the prep is done its time to start adding them to your page! For this layout I stuck with a central column for the banners and photo. Then add a title and all the fun bits and pieces and its done!

20150215_CT-Tutorial_10
20150215_CT-Tutorial_11

 Super fast and easy! Two of my favourite combo's when working on layouts ;)

20150515_CT-Love_MAIN-ONLY_Tutorial3
20150515_CT-Love_MAIN-ONLY_Tutorial4

If you have any questions, please let me know in the comments below and I'll get back to you :)

I really hope you'll give this a try and remember to post it in the gallery so we can all see!
Monday, February 16, 2015

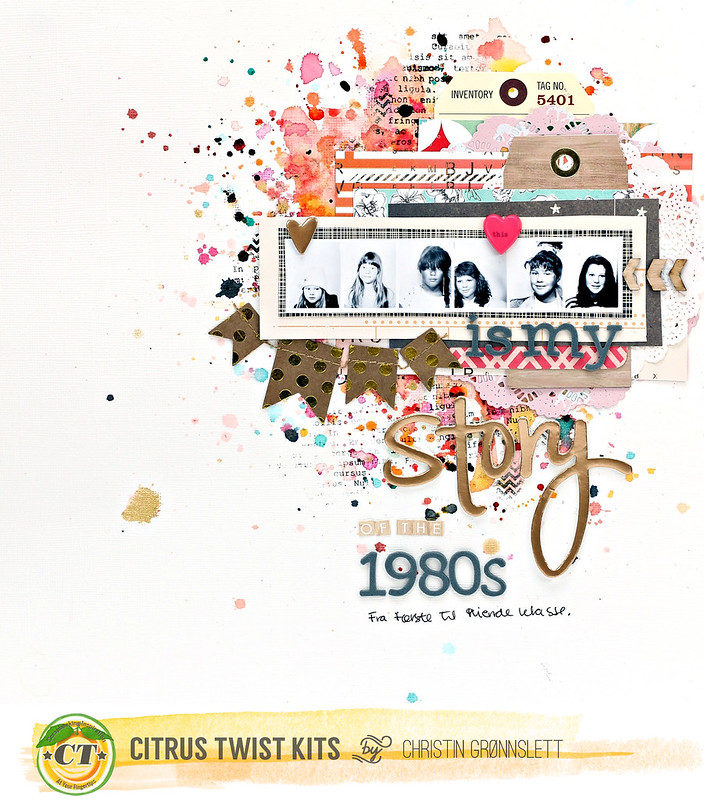
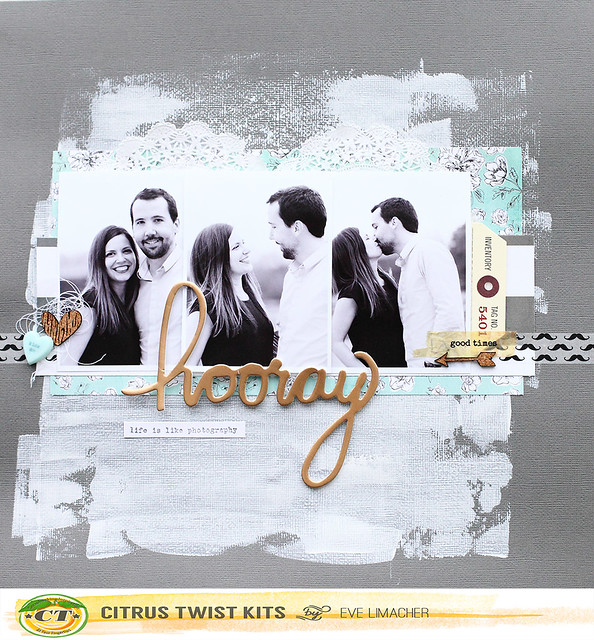
February main kit with Christin

Christin here to take you back to the 80s.... I was sorting through old stuff the other day and found a lot of old pictures of me.

Christin Gronnslett - CTK - Febr 16th

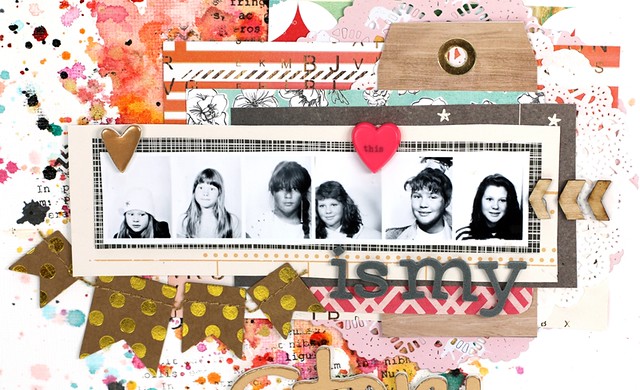
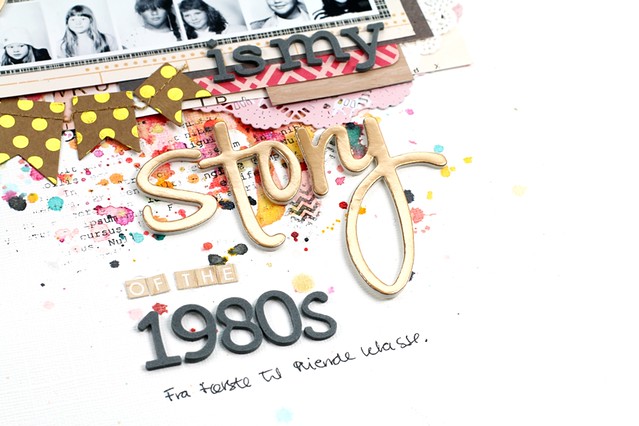
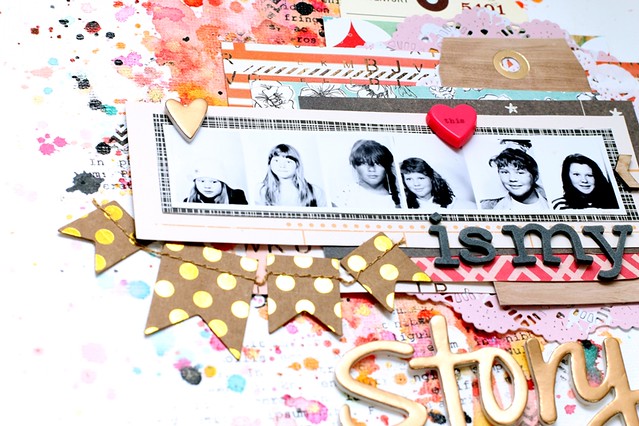
While I usually scrap my kids I rarely scrap myself and I thought it was kind of fun to combine several pictures to see the transition through the 80s. Starting from before first grade until I started "high school"  (I started first grade at the age of 7 in 1981.....)

I therefor challenge you to scrap an age transition which is NOT school related...)   I have used Photoscape to easily combine my photos.


Christin Gronnslett - CTK - Febr 16th 04

Christin Gronnslett - CTK - Febr 16th 03
Christin Gronnslett - CTK - Febr 16th 02

I have used the February Main kit on this layout, all I added was a little doily and the colors for the background and some letters from an earlier kit. 

Thanks for stopping by,  please take a look in our gallery and share your layouts with the kits with us. 

Wednesday, February 11, 2015

KIT LOVE with Lucia

Hello everyone!
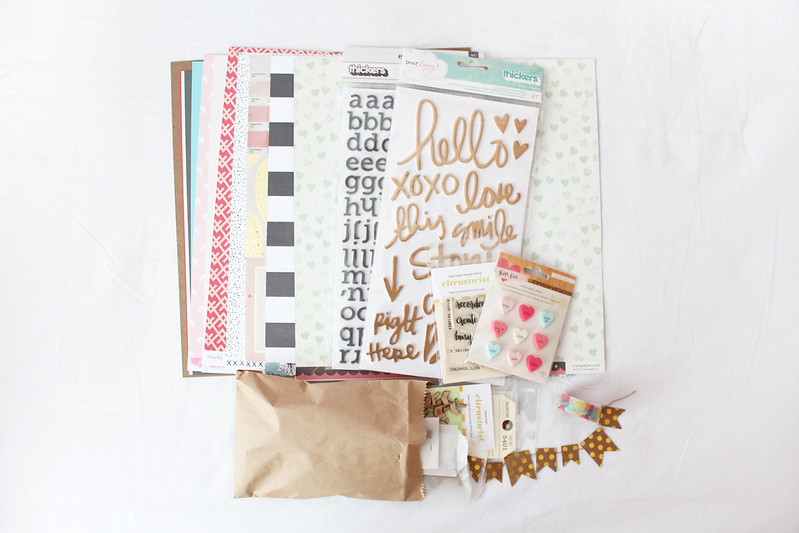
Lucia here today to share with you some love for the beautiful kits from Citrus Twist!
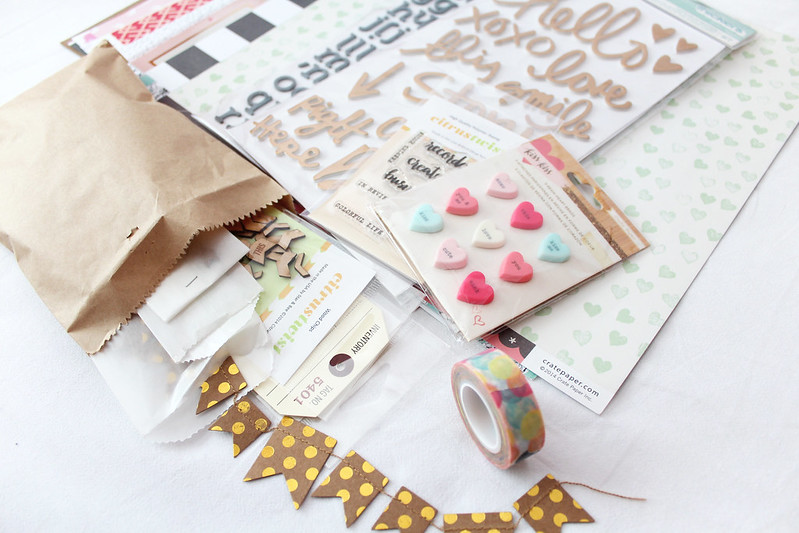
My kit was a little late this month and I literally couldn't wait to recieve it!

IMG_3262

I don't scrapbook as much as I used to last year (I'm concentrating more on my little design business), but that means that the excitement of recieveing the new kit doubles! lol
February kit is simply beautiful, full of my favourite pastel colors, various pinks, black and white and gold! Just PERFECT.


IMG_3280
IMG_3272

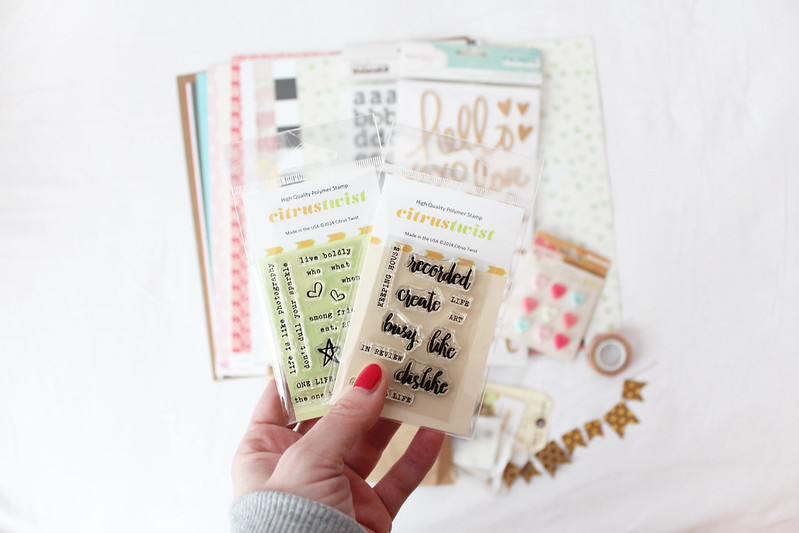
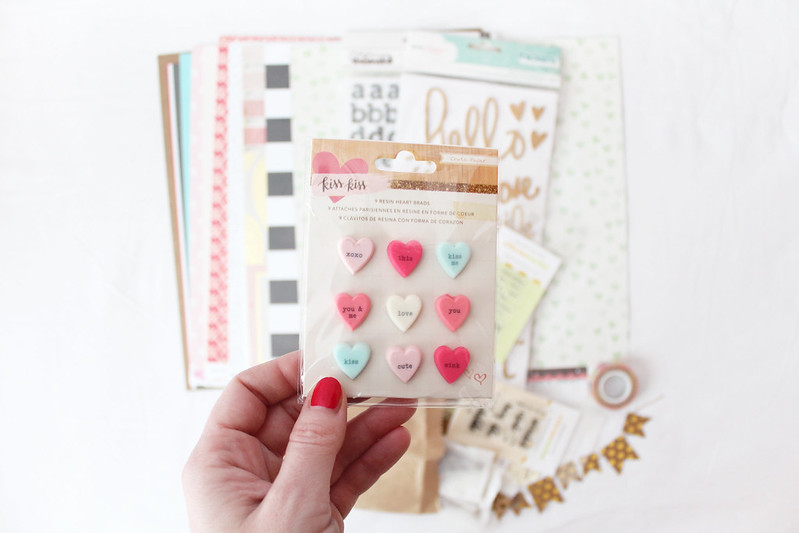
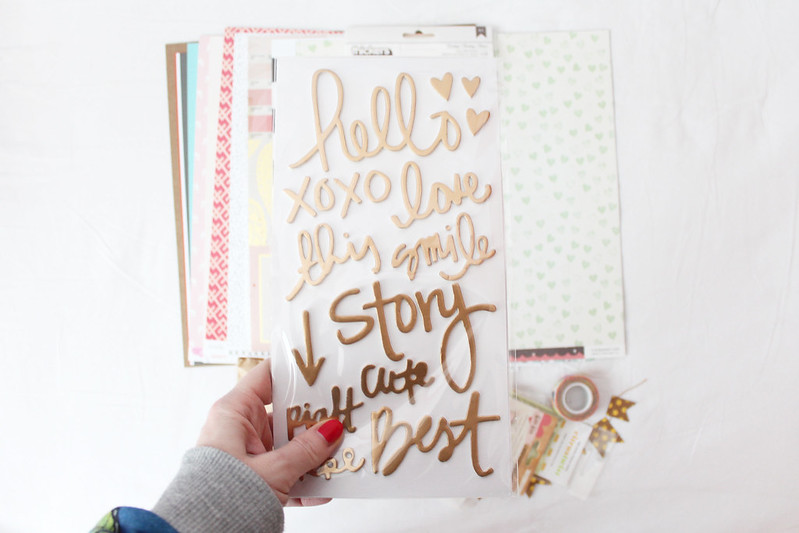
Here are some of my favourites from the Main Kit (the orange-backed stamp is this month's stamp add-on, available for purchase by itself):

IMG_3283 IMG_3285 IMG_3288

After opening my kit I always keep it on my desk - I first used to do that in order not to forget to create the layouts. Now it's more of a distraction! It's HARD to work (I work from home) and having these beautiful papers and goodies sitting on my table :-)

IMG_3311

Enjoy your kits and happy crafting!

Sunday, February 8, 2015

Sunday Sketch Challenge with Trina

Good morning Everyone.  I'm here today to share this week's Sketch Challenge with you. I hope you'll play along this week, take on the challenge and earn a chance to win a Citrus Twist Kits gift certificate. (See how to enter below.)

I used Kasia's inspiring sketch and converted it to 8.5 x 11 format and pulled products from the February Main, Pattern Paper and Add-On scrapbooking kits, that include some items from the beautiful Crate Paper Kiss Kiss line. I love mixing the elements from the different scrapbooking kits.

Here is this week's sketch.:


This is my take on the weekly sketch. To be honest, I struggled with this sketch a little, especially working in a smaller format, but decided to substitute patterned paper from this month's Main kit for the 2 smaller photos and it all came together. Here you go!


This is a close-up of a Kiss Kiss tag (cut from a 12 x 12 sheet of paper), tied with string.


I am loving the small charcoal alphabet and sprinkles of stars. I used Studio Calico Warm Calico Mr. Huey mist for the paint splatters:


Instead of a second title in the upper right hand corner of the sketch, I used some typewritten journaling:


Here is a close-up of layering, bent paper corners and roughed-up paper edges, with floating stars. I used Shimelle foam circles to pop my stars.


Now it's your turn to take on this week's sketch! We love to see what you do with our kits and sketches so please make sure to upload your projects to the Citrus Twist Gallery. And remember, by uploading your take on today's sketch to the gallery by 2/14, you will be entered to win a $5 Coupon to use on anything in the CTK StoreAlso add 2/8 to the title line.

Saturday, February 7, 2015

3 to Inspire Challenge


Hello and welcome to our 3 to Inspire challenges!  This is where we give you 3 fun ideas to try on your scrapbook pages.  I love challenges because it motivates me to scrap!

So here is the list:
1. Stripes of patterned paper behind your photos
2. side ways title
3. stamping

Here is my layout using these ideas.  I used the February Main Kit and Paper Add-on Kit.  I also used this fun ink called Aladine IZink.  You can find it in our store HERE.  This ink is so cool, it has a dropper to apply it.


Thanks for stopping by and checking out our fun ideas. Please share your takes in our gallery.