Showing posts with label Christin. Show all posts

Wednesday, January 13, 2016

Awesome adventure with Christin

Christin here today with a layout with the January 2016 Main "Verona" and Sprinkles Kits.

It's more or less been snowing here for the last week, but this picture were taken with the very first snow a few days after Christmas - just powedered snow - but enough to take the new sleds. My six year was was first a little scared but after a few tries she got as tough as her older brother.


When I make backgrounds for my backgrounds I choose a few colors from the papers and either do what I can to focus more on those colors, maybe even use stronger hues, or pick colors to soften the page.  Both I do to smoothen the edges between the cardstock and the layers of paper.


I hope you wiill create your own projects with the kits and share them with us here in the gallery and/or our Facebook Forum. I can't wait to see your pages!

Tuesday, December 22, 2015

Tuesday Tutorial with Christin

Good morning everyone. Christin here today. It's time for Tutorial Tuesday and I will be showing how I made this layout.


Usually when I make layouts I am all about layers - starting up with layers of mists/liquid watercolors and then adding layers of paper, but for this layout where I have multiple focal points I have reduced the number paper layers.   The reason why I use several layers of paper and several layers of color under usually only one photo is that I want to build up the focus to the picture, I always want the main thing about my layouts to be about the pictures, but having fun visual things around the picture without taking over.


My inspiration for this layout came in the shape of the die cuts in the December main kit.  I measured the circles and printed two photos and cut them out.


For my background I had already prepped my white cardstock with clear gesso and I just dropped lots of layers of mist and liquid watercolors and with a waterbrush I spread the colors around a little.  


Contrast is always good and I added that in two steps. Step one - black drops of mist.


Step two is stamping - here I used a grey inkpad for the contrast to be a little more subtle than the mist.

 For my one layer of paper I used my old Silhouette to cut out a few triangles.

And here is again the final layout with some closeups. I even added the text stamp from the main kit.


Thanks for stopping by! Happy Holidays

/Christin

Wednesday, November 18, 2015

Hello with Christin

Christin here today to share with you a layout on how to use a lot of small pieces of scraps for your layout (and maybe also a background you were not really happy about.......

Full layout


A long while ago I played with different yellow paints - including  Izink Pigment Ink. Unfortunately it felt a little too bright yellow so I let the whole page rest, but for this page where the purpose was to use scraps I wanted to think about reusing this page.


There are a few tips on how to tone down a very colored page; first you paint a thin layer of white paint, I used a rubber thingy with stripes to spread out the paint. This way you make sure the layer isn't completely even and thick.  To add more effect you add drops of mist and stamps. A second way is to add a thick layer of gesso/modeling paste with a stencils with small patterns.  Together you get a much softer look.


On to the layers of paper.  If you have lots of scraps of paper left a good idea is to cut them in different sizes. I measured the photo and made one size just a tad bigger than the photo and other the same size and a few a little bigger. To add contrast between the papers I added a thin black stripe near the edges.  Then I just spread the papers all over the middle part of the page.  The fun thing about layering the pages is that it's very easy to add small pieces here and there, like a piece of washi tape here and there and pieces of ephemera underneath here and there.


Hope I have inspired you to use your scraps. I have used the November Main kit " Happy Lane", the Sprinkles and the "Hello Tomorrow" Embellishment kit.


Wednesday, October 14, 2015

Fall cards with Christin

Christin here today to share two cards with you. I am not a big cardmaker, but every now and then I get inspired to make a few and this time I wanted to make a few fall cards.

For my first card I used a waterbrush and some distress ink with a stencil to make the background. I used the Main kit + Embellishment kit for the rest of the card.   I am using the ribbon as a normal layer for this card.


For my second card I wanted to get a kind of whimiscal feel and used different pens to make the drawn background. I used the thich black for contrast.  For this card I cut out leaves from the fabric. For this kit I used the Main kit and the pattern paper kit #2.


Sunday, September 20, 2015

Sunday Sketch with Christin

Christin here to share with you this week's sketch.


For my layout I only used one picture and I cut the paper in a triangle and moved a few pieces, but other than that I followed the sketch more than I usually do.


Now it's your turn. If you want to play along with this week's Sunday Sketch and be eligible to win a $5 gift certificate, create a project based off of the sketch and upload it to CTK Gallery by next Saturday. Remember to add "Sketch 9/20" to the title line :)

/Christin
Thursday, August 20, 2015

Whole lot of lovely with Christin

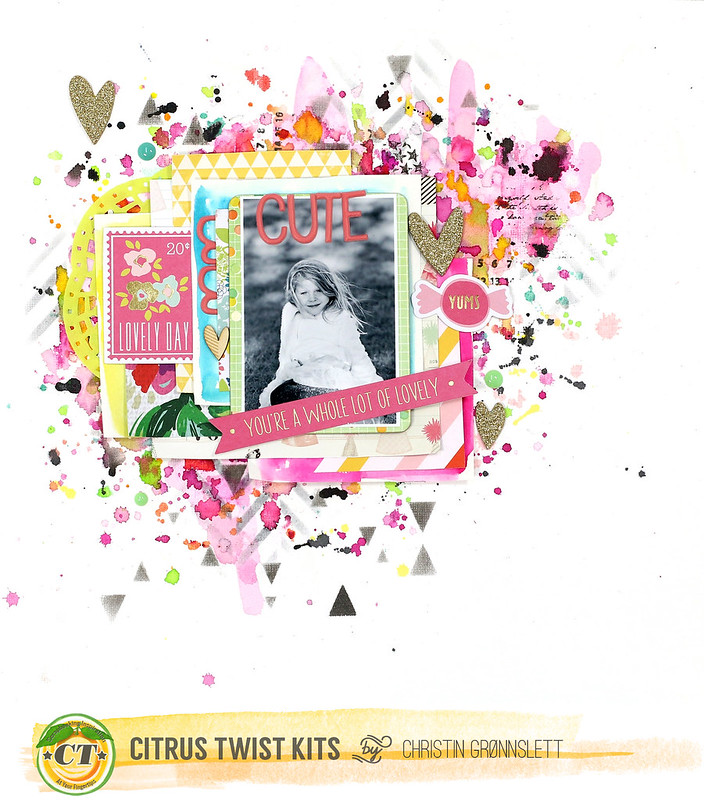
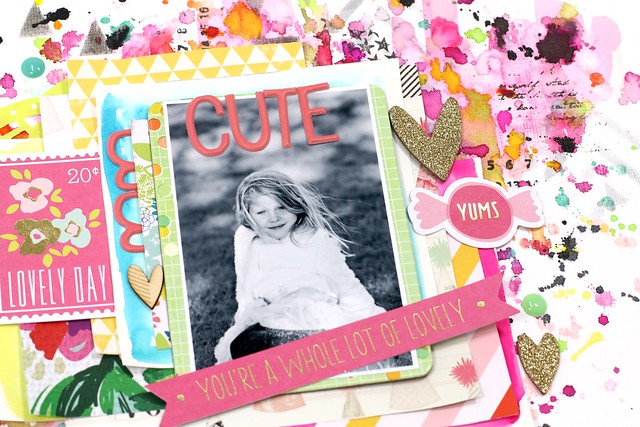
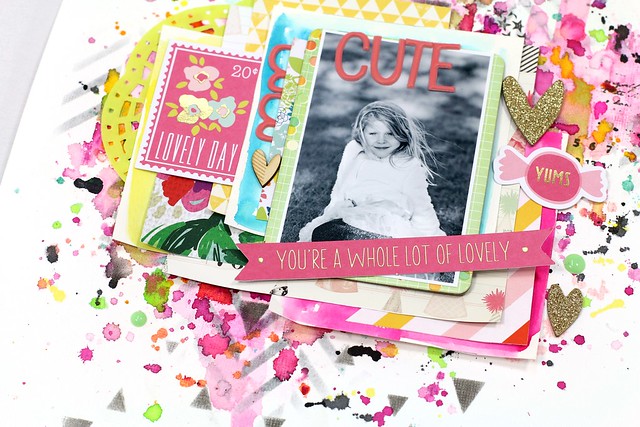
Christin here to share with you some ideas to add more color to your layers of paper. Sometimes when you feel like you don't have the right mix of colors or want to get that extra wowfeeling I have a suggestion to you. For this page I used a lot of colors on the background, but felt like I needed more colored layers.
CTK Aug Add-on - Christin Gronnslett Whole lot of lovely
Here I have painted three pieces of watercolor paper with watercolors. One in blue, one in yellow and one in hot pink to mix well with the papers chosen (I have worked with the Add-on kit and a few papers from the two Papern Pattern kits)  You can get watercolor paper in very small book of paper for this. (Also added a golden heart from the main kit)


CTK Aug Add-on - Christin Gronnslett Whole lot of lovely02
CTK Aug Add-on - Christin Gronnslett Whole lot of lovely03
CTK Aug Add-on - Christin Gronnslett Whole lot of lovely04
CTK Aug Add-on - Christin Gronnslett Whole lot of lovely05
Thursday, July 23, 2015

Delightful with Christin
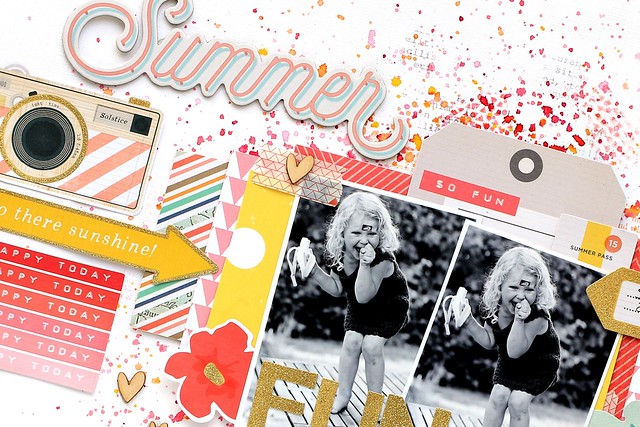
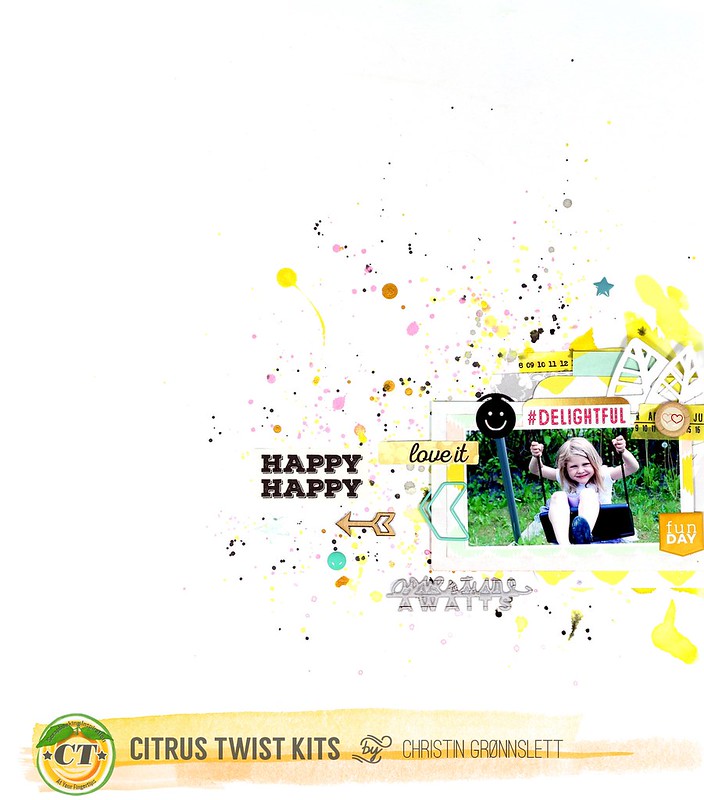
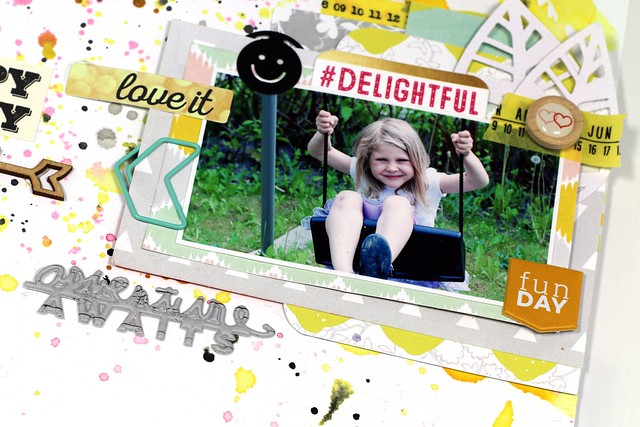
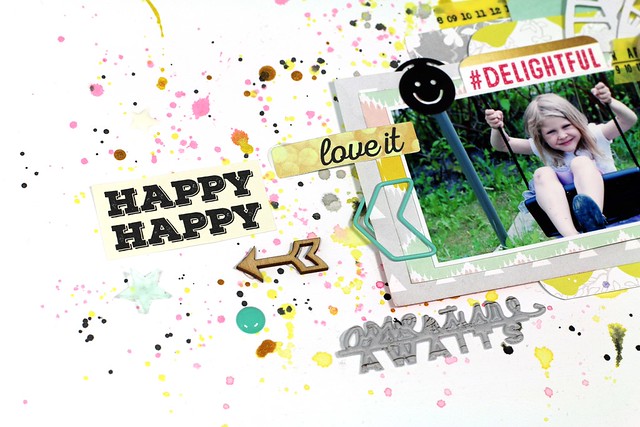
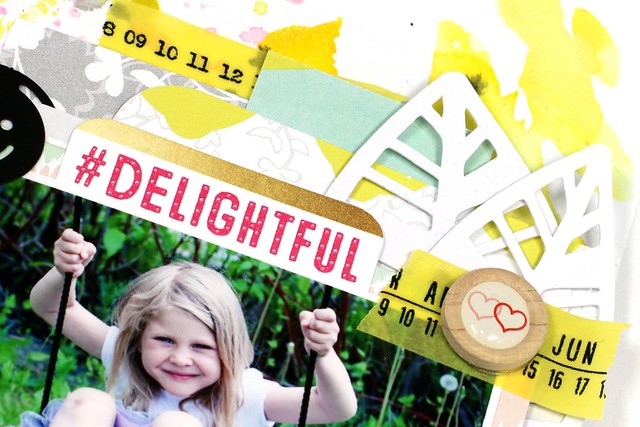
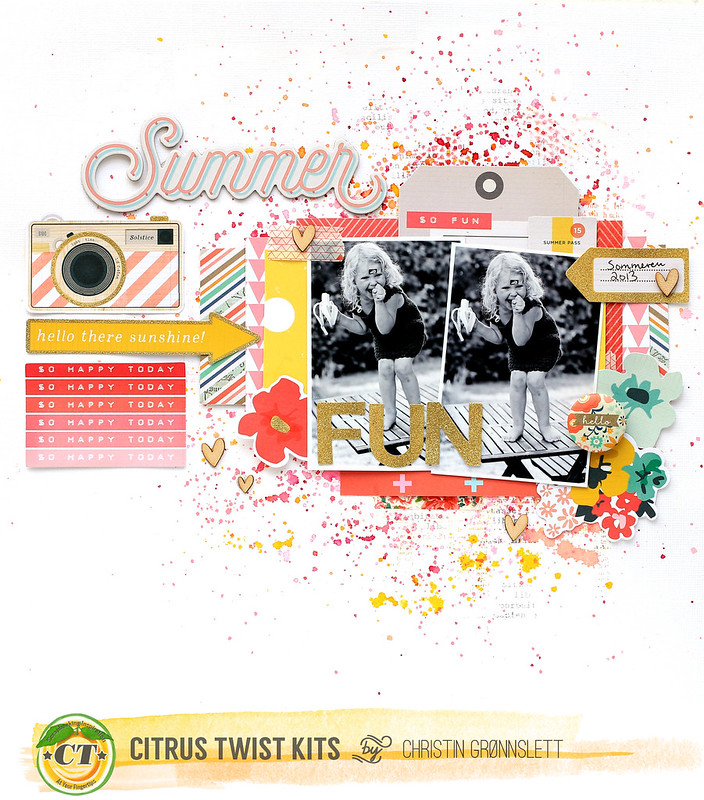
Christin here today to share one of my layouts with the July main kit + Sprinkles kit.


Christin G Delightful CTK 01
For my background I started dropping different colors of mists and Aladine iZink Pigment Inks (in Citronella, Rose and Gold found in the CTK store) I chose yellow as my main color to go with the Citrus Pink Paislee paper in the kit.  These pigment inks are have very rich pigments and are excellent if you want big drops with lots of color.


Christin G Delightful CTK 04
Christin G Delightful CTK 03
Christin G Delightful CTK 02

I hope you can find the time to go through and find the gems in the CTK shop waiting for the next kit.


Sunday, June 21, 2015

Sunday Sketch with Christin and Janine

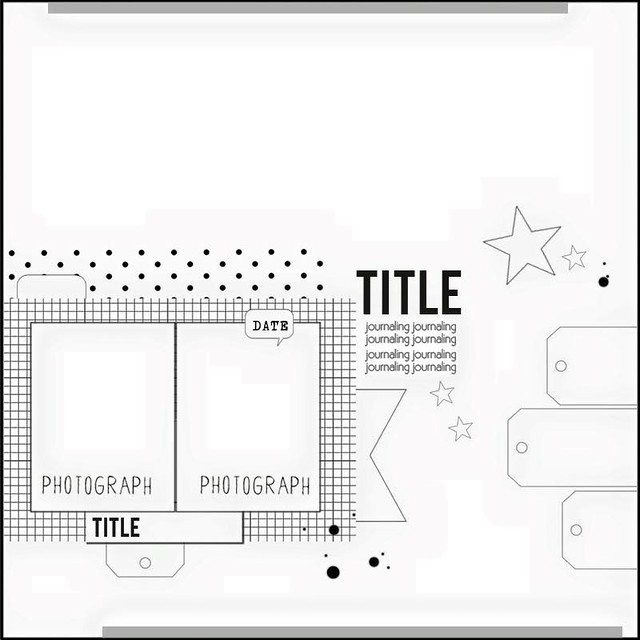
Today two members of our Citrus Twist Design Team are pairing up to give you two takes on this week's edition of our Sunday Sketch!  Before we introduce the girls and share their projects, lets first take a look at the multi-photo sketch:

Sunday sketch June 21st

Up first, we have Christin and here is what she has to say about the sketch: 

I love working with sketches and love how you can be inspired in different way by a sketch. Here is my take on the sketch that I made using the June "Splish Splash" Add-On Kit:


Summer fun with banner

And a closeup of Christin's amazing multi-media layout:

Summer fun closeup
 
 
Next up we have Design Team Member Janine! Here is what Janine has to say about this week's Sunday Sketch:
 
When I saw the sketch, I immediately fell in love with it and I knew I had to create a layout with it! And though at the end it doesn't look exactly as the sketch, the idea and inspiration from the sketch led me to the end result of the layout.
 
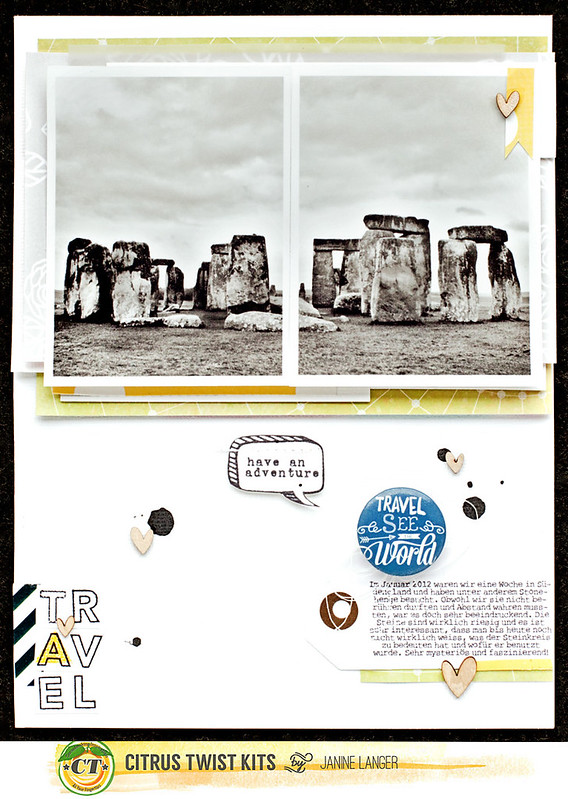
I decided to create a 6x8 layout. When I opened my kit box, my eyes fell on the flair buttons that came with the June "Splish Splash" Add-On Kit first, especially on the blue one. I knew I wanted to use it, no matter what. Then the photos that I took at Stonehenge came to mind. It fit so perfectly. As I took them with my mobile, the quality wasn't as good as it could be, so I printed it in a smaller scale which is why I chose to scrap a 6x8. I wanted the photo to be a big part of the design.
 
Untitled

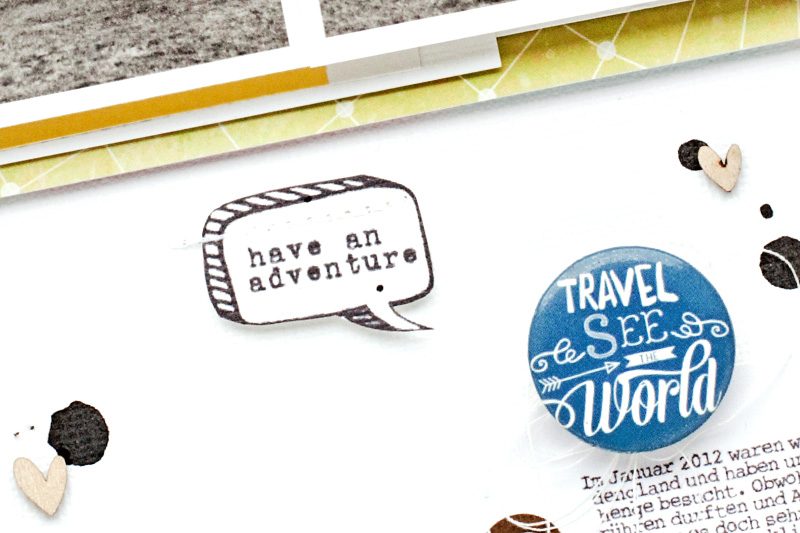
I built my layers with papers mainly from the Pattern Play 1 Add-On and vellum. To add my journaling, I decided to use a tag as shown in the sketch, from my stash. Next I added the flair button with some string underneath it. To create my title I used the Kelly Purkey Alphabet stamps which you can find in the shop! They aren't that big, but with the outline and "filler" for the "a" they are an eye catcher. I also decided to use the bubble speech and phrase stamp from the June Main Kit. To finish it off, I added some splatters here and there and some wood veneer hearts from the Add-On Kit.

Untitled

Wow! Two talented designers and two amazing takes on this week's sketch!

Now it's your turn! Remember, if you choose to play along with this week's Sunday Sketch, by uploading your project to our Gallery you will make yourself eligible to win a $5 Gift Certificate to use at the CTK Store! Please make sure to include the sketch date in the title of your project when uploading. Looking forward to seeing your take on this week's Sunday Sketch!

Tuesday, May 19, 2015

Tuesday tutorial with Christin

Christin here and todays topic is how to recover from a scrapblock. The reasons can be multiple, but what matters most is how to recover from it and be happy about the creative process again…  This month to be honest, my block has been caused by making this tutorial…… I have procrastinated it to the very last to come up with a great idea to share with you - so much that I haven’t really been able to scrap anything else….

In a way I am very lucky, deadlines actually helps my creative process, but I know that isn’t the case for most scrappers. I guess it’s a habit I have developed from a couple of years in the business.  Still I have to come up with an idea on what to do, and how to do it..    
When I want to be inspired to scrap I usually start with Pinterest and see if I can find a starting point, I look through different facebook groups for inspiration.  I can make many backgrounds that can be used later. Magazines are good. The Citrus Twist kits site is actually an excellent starting point. Here you find the Sunday sketches,  our 3 to Inspire posts,  moodboards and lots of other projects on the blog from the design team.  Today I decided to find my inspiration from the gallery ands scraplift.   Scraplifting is copying idea or designs from another page to use in your own project.  

This time I used one of my own layouts to scraplift, which I rarely do.  

Here is my own layout from the gallery with the March main kit. 

Make_it_happen_christing_0.14253300_1425772121.jpg

Here is my new layout with the May main kit and embellishment kit.


Christin Gronnslett May Tutorial CTK 05


 As you see my layout isn’t an exact copy of the inspiration layout, there are lots of ways to be inspired.  You can use the colors from the layout, the background, how the papers are layered.  You can use the theme of the pictures guide you or the just the design of the page.  Scraplifting is also a great way to try a new technique or style. When I made the first layout I went a little out of my usual comfort zone so I am forcing myself to take a little step further.  Your final page may not have to remotely resemble the original project, what is important is that you have created something and your scrapbook mojo may be returning. If your layout is a close copy, and you used the layout more as a sketch, I recommend you to write a little phrase in you blog the name of the layout and the name of the scrapbooker and a link to the original layout is also appreciated.

More about the creative process on this layout.

What I picked up on from my original layout was the small squares, so I started cutting out pieces in two sizes.


Christin Gronnslett May Tutorial CTK 01


I didn't want to use all four squares, but only three, and first I wanted them like this. I testlayered them.


Christin Gronnslett May Tutorial CTK 02

Then I decided to change it up a little.


Christin Gronnslett May Tutorial CTK 03

In the original layout I used watercolors as a layer behind the squares, this times I only dropped colors coordinating with the square.


Christin Gronnslett May Tutorial CTK 04

And again the final layout.

Christin Gronnslett May Tutorial CTK 05
And then a few closeups
Christin Gronnslett May Tutorial CTK 06
Christin Gronnslett May Tutorial CTK 07
Christin Gronnslett May Tutorial CTK 08
Don’t be afraid to look for inspiration in other projects than what you are thinking of doing. There are lots of cards or PL pieces that can make you find your inspiration too. Good luck.


Thursday, April 23, 2015

Words all over with Christin

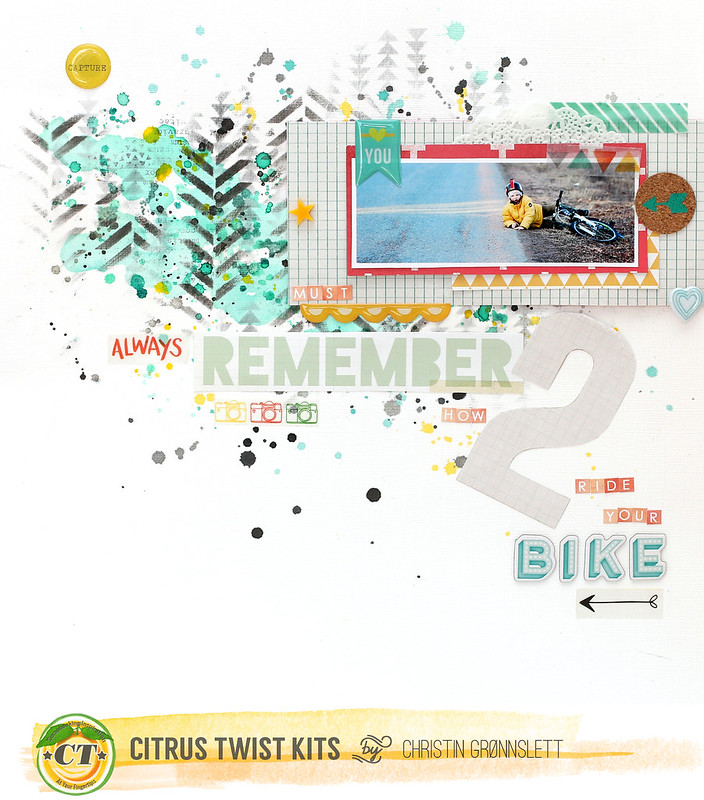
Christin here today to inspire you to mix the different letters and words in the April main kit + embellishment kit.

christin gronnslett always remember

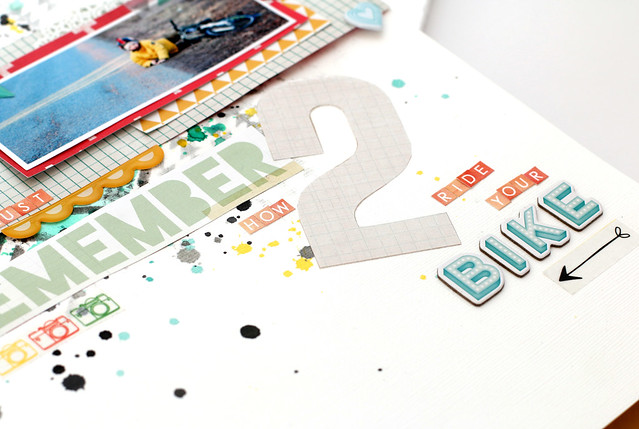
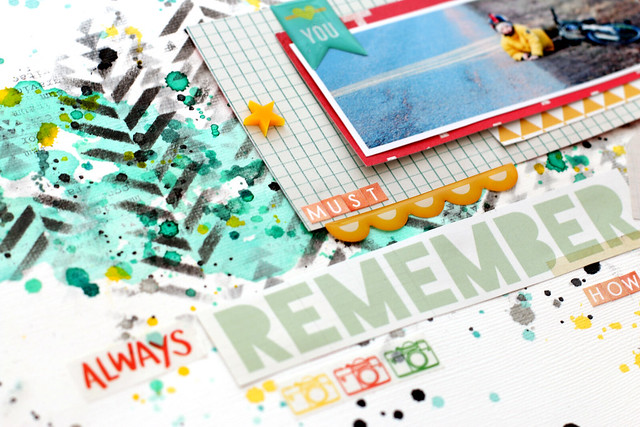
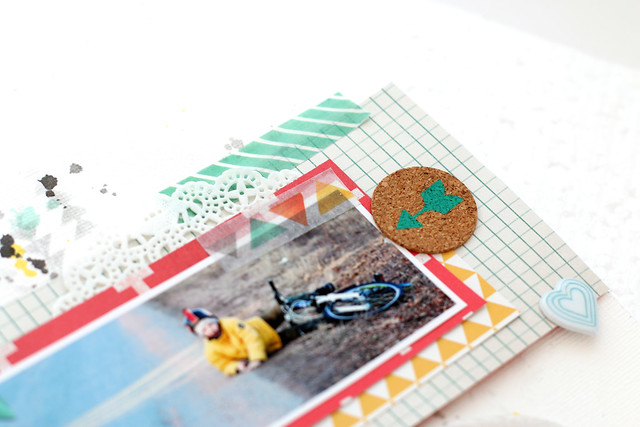
I started by cutting out the word remember from one of the papers in the kit and then fussy cutting the number 2 from the backside of the paper.  For the word YOU I chose a piece from the epoxy letters, the word Always is from the washi tape and the rest of the words are typed using the two alphabets in the kit.

always remember christin closeup 3
always remember christin closeup 1
always remember christin closeup 4

I would love to see how you use different kind of lettering in your layouts.