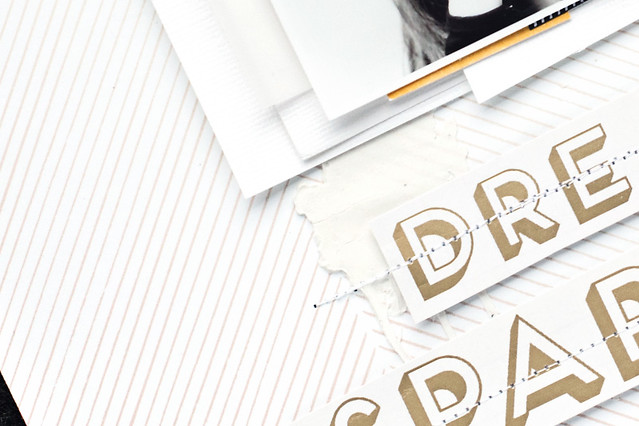
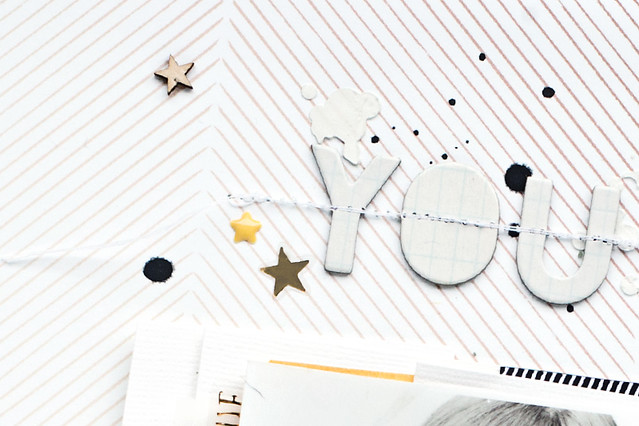
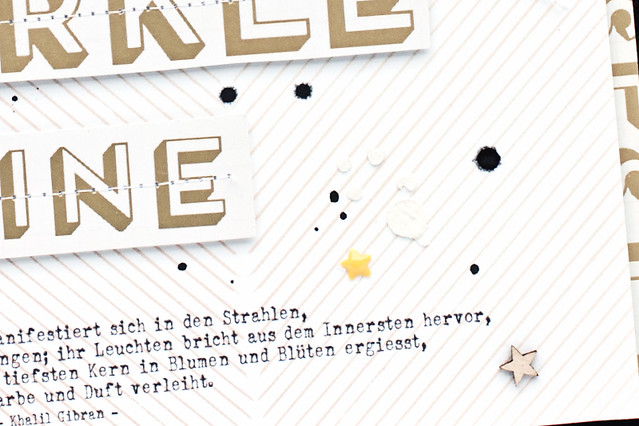
Showing posts with label Janine Langer. Show all posts

Monday, March 21, 2016

Add a personal touch to your projects with watercolors

Hello, it's Janine here and today I'd love to show you some ways to add your own personal touch to your projects! In this case it is all about using watercolors with Citrus Twist Kits' March Main Kit Sonoma.

I sometimes tend to add watercolors to my background, by painting or smudging it, but that's not what it's about today.

I am always looking for ways to make my layouts unique. Well, they are anyway, all of our projects are, because we do stuff the way we do it. But sometimes I just like to add an extra bit of myself. So I'd love to show you how to add embellishments or accents that are made by yourself only with a pencil and watercolors.


On this layout I am talking about one of my all time favorite books, 'The Passage' by Justin Cronin.

When I finished all the layering, adhering and embellishing, I had the feeling there was something missing. So I decided to add two bookshelves that I then drew in with a pencil. I watercolored them with my Derwent Inktense Pencils and the brush to tip technique, which means that you use your brush directly on the pencil tip to color your image. I really liked the soft and colorful look so I didn't outline the books and the shelf at the end.


Quick, simple and my own little touch to the project. I really do love the way it turned out. :)

Another way to add your personal touch is by creating your own watercolored embellishment! On the next layout I used a photo of my little sister, who was born when I was 15. I can't believe that I haven't scrapped about her being a baby before, because I was (and still am) amazed by her.


As I was journaling about her being a baby, I wanted to add some extra cuteness. So I drew a teddy bear with my pencil on watercolor paper, colored it again with the brush to tip technique and my Derwent Inktense Pencils, cut it out and added it to the layer cluster. I so enjoyed putting this layout together! :)


If this is too cute for your liking, what about adding some watercolor to your title? :)

The next layout (this one is 6x8 inches) is all about American Football and my son, who played for some time last year before he decided to stick with his beloved soccer. I have to say, I tried to add self-made watercolored embellishments, but it just didn't work out. It's a layout about American Football, I felt it didn't need some cuteness at all. So I decided to create my title with watercolors.


I sketched the title down with my pencil and colored it with my Peerless Watercolors that I love. They are so highly pigmented, it's a blast to color with them. To give the title some dimension I layered quite a bit of color, making sure that all the layers are dry before I add another one!


I hope I could inspire you to add some self-made watercolor embellishments or accents. I had tons of fun by playing around with different watercolor mediums and colors!

Have a wonderful week and take care! :)

Monday, December 14, 2015

Card making with Janine

Hey everyone, it's Janine here. I hope you are all well and can enjoy the wonderful time before Christmas!

Today I'd love to show you a quick card that I made using the two coffee cups from this month's printable that came with the Scrapbooking Kit.


When I saw the coffee cups I immediately fell in love, aren't they the cutest? I knew I had to incorporate them in a layout, but as I am no coffee drinker at all, I couldn't find a way to use them. So I decided to go with a card instead. I have to tell you, I am having quite a hard time when it comes to creating cards, I don't know why. But that card came together so easily and I am sure it was because of the cups that I love so much.

I do have some dies for my Big Shot here, because I always want to create cards, but as I said, I just fell like I am a total failure when it comes to this ...

Anyway, I decided to just jump right in and create a little scene. I quickly colored the cups with Copics, cut two green stripes with a stitched border die as well as a circle out of white cardstock. The scene came together rather quickly, lucky for me, so I just had to add a sentiment. The stamp set this month was perfect for it! I stamped it with Versamark and heat set it with some white embossing poweder. I felt there was still missing something and I had some little red hearts left from another project, so I added those and used my Wink of Stella pen to add some glitter.


To finish it, I added some patterned paper to the card base, adhered my scene on it and added a paper strip (from the same patterned paper that I used on my card base) as well as some string.

That's it, quick, easy and cute. I like it. :)

Thanks for stopping by and have a wonderful week!

Sunday, November 8, 2015

Sunday Sketch with Janine

Hey everyone, Janine here again to share this week's sketch with you!


I love working with sketches, they are so versatile! This time I decided to rotate it 90° counterclockwise and to scrap some photos that I took when we went to Berlin a few weeks ago.


We've been on our way to the Anne Frank Museum in Berlin when we came across some house walls that were painted gorgeously. Of course I had to take some snapshots of that colorful wall art!


But as the photos are so colorful and bright, I kept the rest of the design really simple and with a lot of white background, white layers as well as a lot of white space. To add a bit of dimension I used a dotted stencil and some Whipped Spackle by Faber Castell, love the subtle but interesting look. :)


How did this sketch inspire you? Now it's your turn! If you want to play along with this week's Sunday Sketch and have the chance to win a $5 gift certificate, create a project based off of the sketch and upload it to the CTK Gallery by next Saturday. Remember to add "Sketch 11/8" to the title line.

Thanks so much for stopping by and have a wonderful Sunday!

Saturday, October 17, 2015

3 To Inspire With Janine

Hi everyone, Janine here today to share this week's 3 to Inspire challenge!

Your take on this challenge can be by creating a layout or a PL spread and you'll want to include all 3 elements on your project. We offer this challenge every Saturday for those who need a little extra push and today it's my turn. Can't wait to share the prompts with you! 

3toinspire-ctk

Your prompts this week are:
1. Use a cut file or something hand cut.
2. Use fall colors. 
3. Use a fall photo.

It's fall here again, so I would love to see some fall photos and fall colors from you. :)

I know, it is not fall everywhere around the world, but if it isn't on your side of the earth, I am sure you have some great and special fall photos from last year to use. :)

I haven't had time to take some photos yet, so I went through my last year's pictures. And when I looked at them, a photo of my son trying not to smile caught my eye. I love this smile. It reaches his eyes, and besides that Gabriel has one of the most beautiful smiles in this world anyway, this special smile, when he tries not to, it just melts my heart every time. 

janinelanger-ctk-oct2015-banner-003

As I wanted to keep the focus on the photo and use fall colors, I then decided to just add a few color bits and use a white cut file - that I created by using autumn/fall words and a leave - on a white background. I love how it turned out, it looks so light and fun, just the way I imagined it.

I then added just some more red accents and some bits here and there, and it was done. So quick, but so fun to do!

janinelanger-ctk-oct2015-003b


Now it's your turn! Use the three prompts to create your own projects and share them with us in the CTK Gallery and/or on our Facebook Fan Page by Saturday, October 24th, for a chance to win. You can also upload to Instagram and tag us @citrustwistkits, or just leave a link to your project in the comment section. I hope this one will be challenging and most of all fun for you!

Thanks for taking the time to stop by today and have a wonderful weekend! :)
Monday, September 21, 2015

LET'S GET DIGITAL WITH JANINE, EMMA & TRINA


Hi everyone, it's Janine here with this month's edition of 'Let's Get Digital'!

I am always excited when I am doing a blog post, and this time I am even more so. Because we are going to show you three possibilities to use the files, I had the pleasure to create for this feature, as well as some additional journaling card cut files that Emma created!

I am going to start with the files and the layout that I created using them:

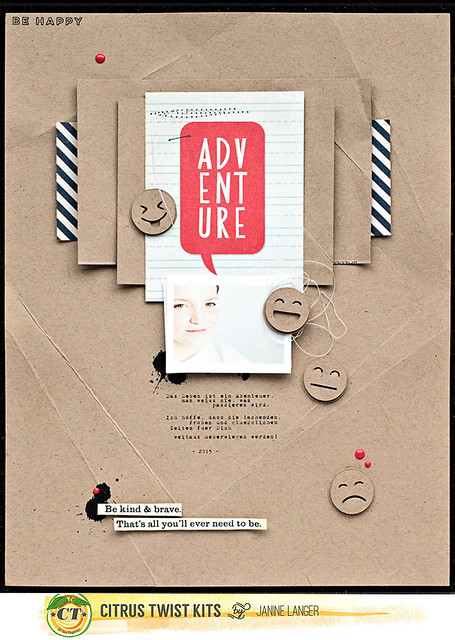
Normally the planning of my layouts starts with the photo and story I want to tell. This is one of the few layouts that started with an embellishment. And this embellishment was a sticker from this month's Embellishment Kit 'Little Old You'. Its colors are black and cream and it says 'Be kind and brave. That's all you'll ever need to be.' That's an amazing quote, isn't it?

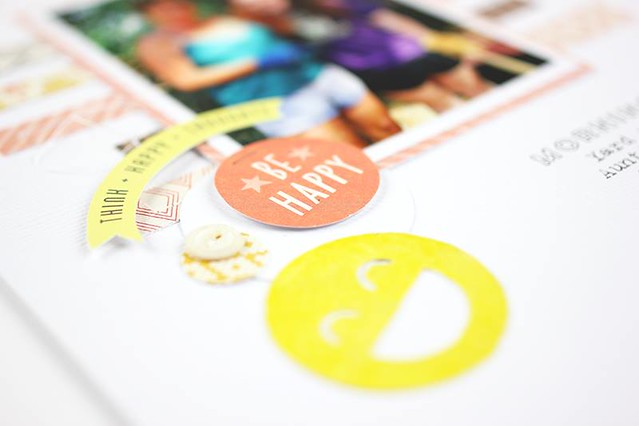
It somehow led me to the thought that my son is going to go through a lot of moods in his life. Neutral, happy, sad, cheeky, angry - all these and a lot of more. So I decided to create a layout, maybe giving him some advice, with this sticker. But I also wanted to emphasize all the different moods that he will be going through. What to do? My idea was then to create some different emojis, that could be used as digital stamp brushes and/or could be easily transformed into cut files ...

ctk-sept15-janinelanger-emoji-preview

Now I had the sticker and the emojis. But which photo to use?

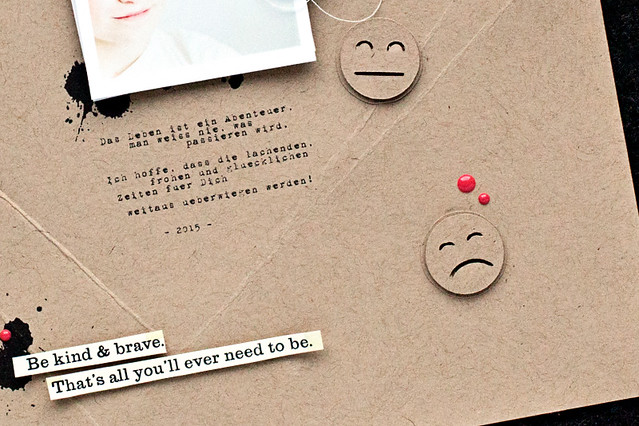
I already knew the journaling was going to be an advice and wishes for him and his future life that says:" Life is an adventure. You will never know what is going to happen. I hope and pray that the laughter and happy times will outweigh the sad times."

So I decided to go with a photo of my son laughing. Well - he is 12 and on most of the recent photos he is not laughing, not even smiling. He is cool.

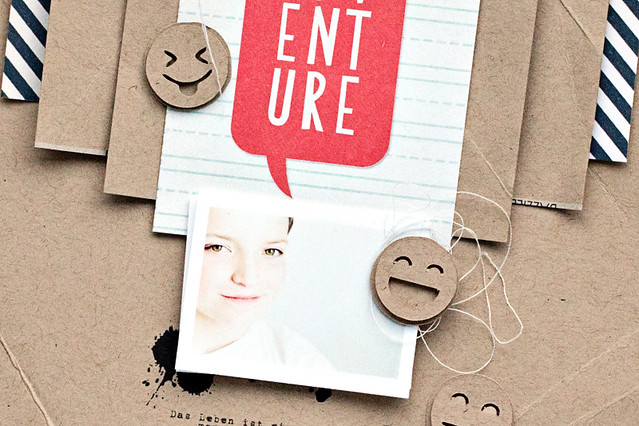
But then I found a photo I took about two weeks ago, when he asked me to take a picture of him sitting on his new couch in his room. And there he was smiling, yeah! I had to crop the photo, so only his face was showing, because I wanted his smile to be in focus, and not his room, and I really like the way it turned out. :)
janinelanger-ctk-sept2015-banner-005

The layout came together rather quickly, once I had the photo, the sticker and the emojis. The journaling I wanted to use led me to the journaling card of a cut apart patterned paper from this month's Main Kit that says 'Adventure' on it. That's a no brainer, it fit perfectly!

janinelanger-ctk-sept2015-005a

I turned the emojis into a cut file, cut them out of kraft cardstock and then again backed them up with another piece of kraft cardstock. 

As the layout is quite simple and needed a bit more interest and dimension, I folded the kraft cardstock (that I used for the background and for layering) a few times and then stuck them under a pile of books for an hour to get them really flat again.

I added some splatters, string, stitching and enamel dots … that's it!

janinelanger-ctk-sept2015-005b

But that's not it for today, because Trina also created a layout using the emoji files!
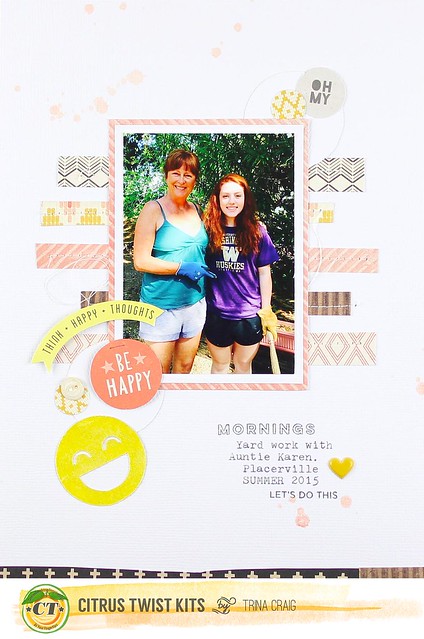
She also turned them into cut files and made a beautiful 6x8 layout, using this month's PL kit. 

ctk-sept15-trinastahlcraig-emjoylayout-001

Isn't it absolutely gorgeous with its paper strips, stitching, stamping and layering? Love it!
She also painted the emoji with Aladine iZink ink (yellow) and it really does pop! 

ctk-sept15-trinastahlcraig-emjoylayout-001a

And - there's even more! I'm so excited to show you Emma's layout and the cut-files she created. 

----------------------------------------------------------------------------------------------------------------------

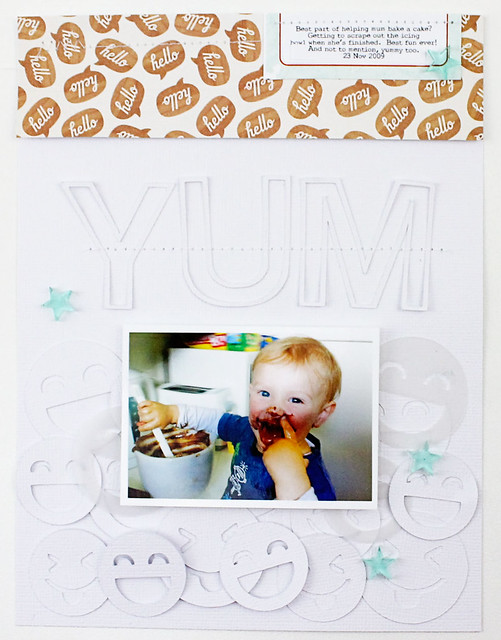
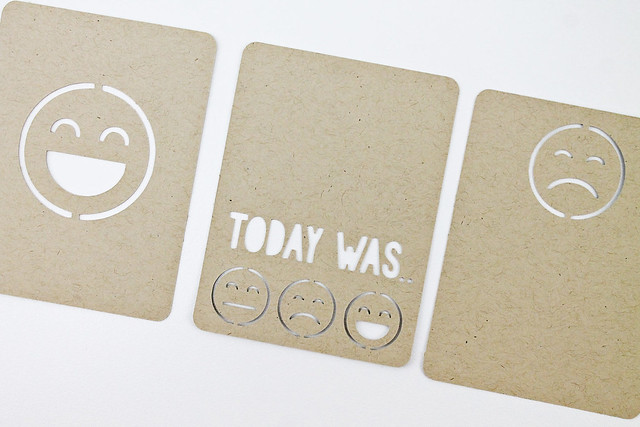
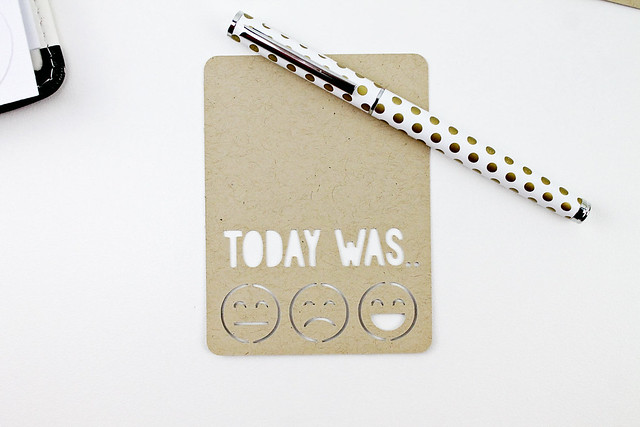
Hi everyone! Super excited to be joining Janine and Trina for today's blog post and working with the super cute emoji digital file Janine created!  How can you not love them?! :)  I thought it would be fun to try these in a couple ways; the first being the most obvious, a layout and the second, create some Pocket Life cards!
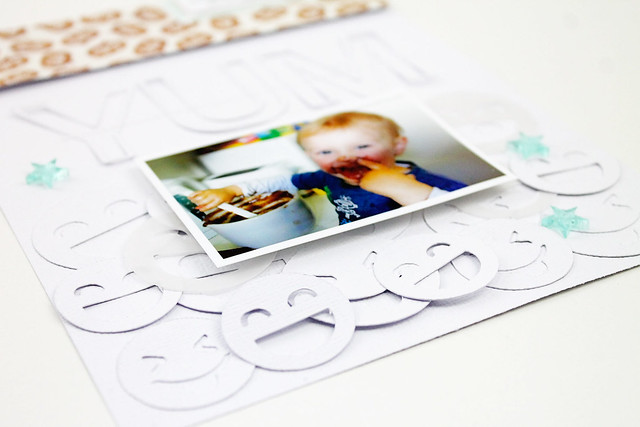
For my layout I wanted to have a bunch of them layered at the bottom of my page so I cut two of the faces at different sizes, think I ended up with around 10 of each - mostly cut out of white cardstock but a few out of vellum too.   

2015-09-19_CTK_Yum_1A

2015-09-19_CTK_Yum_4

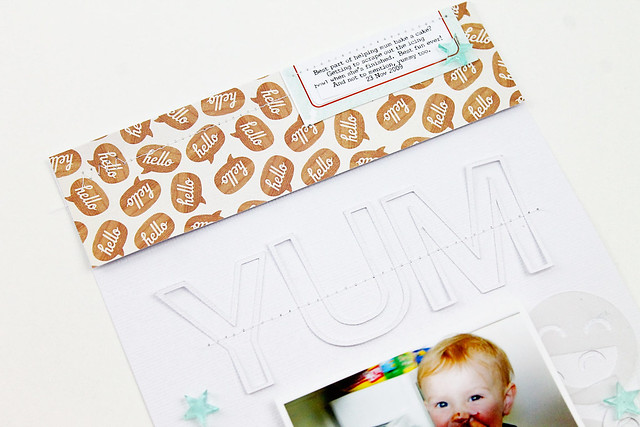
The title is also cut with the Cameo, it's a digital stamp (from Kellie Stamps) and I just traced it to create the cut file (super easy to do this in the Designer Edition with any PNG file).  For the top of my page I went with the "hello" talk bubble paper from the Pocket Life kit because with all those faces down the bottom, it seemed fitting :)
2015-09-19_CTK_Yum_2

The Pocket Life cards were simple too - just drew up a couple rectangles (went with rounded corners but you can easily just draw your own square cornered rectangles if that's your preference!) - added the faces and set some joins so the faces didn't fall out of the cards once cut. 

20150919_CTK_PL-Cards_2

20150919_CTK_PL-Cards_4

There are so many other options for using these cute little faces on your cards; I can definitely see myself going back and using them again (and again..).

-----------------------------------------------------------------------------------------------------------------------

Wow, isn't this great? Thanks so much for joining in with me, Trina and Emma! And I know I'm definitely going to use those adorable journaling cards on future projects. :)

To get your hands on the emojis and journaling card cut files, just join us on our Citrus Twist Kits Facebook Fan Page where you'll be able to find it as a download.

We hope you enjoy! And we would love to see how you use them, so be sure to link your project up in the gallery, in the comments or on the Fan FB page!

Tuesday, August 18, 2015

Tuesday tutorial with Janine

Hello everyone, it's Janine today. I'd love to invite you to join the following tutorial where I am going to print and cut some printables with my Silhouette.

printables-janinelanger-ctkaugust2015-preview

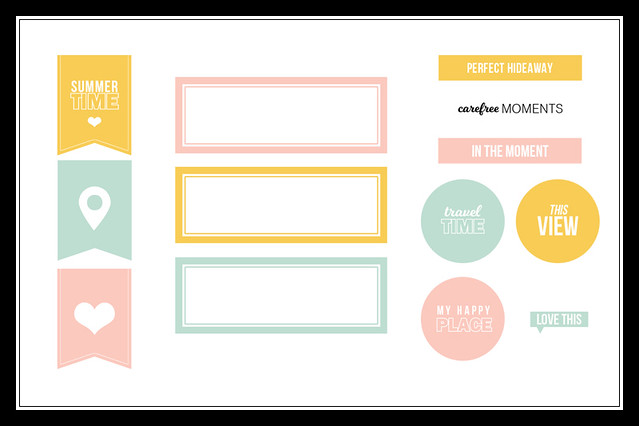
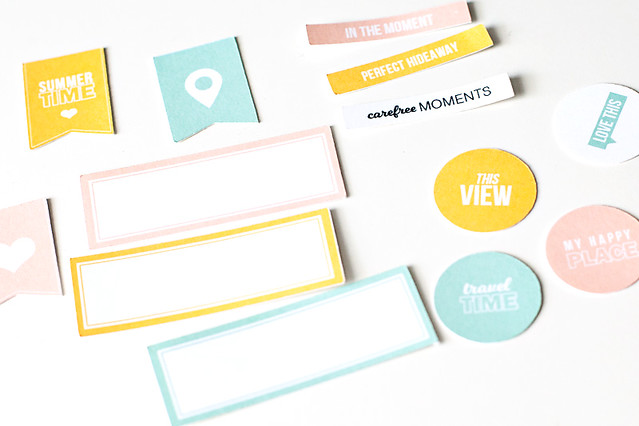
I created some printables that I used on a layout that I am going to share later. If you'd like to download them, you can of course use them, too! All you got to do is join our Citrus Twist Fan Page on Facebook and download the files.

But now on to the printing and cutting part. Of course you can also print and cut them by hand, but I have to admit that I am lazy when it comes to this. So I love the fact that it is possible to print and cut the files with the Silhouette!

I do have a Silhouette Portrait, but it works the same way with the 12x12 Silhouette. Also my Silhouette Studio program is in German, but I am going to do my best to translate everything for you.

janinelanger-ctk-august2015-tutorial-002

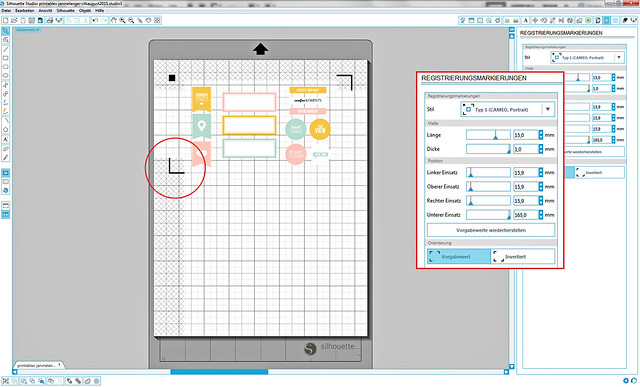
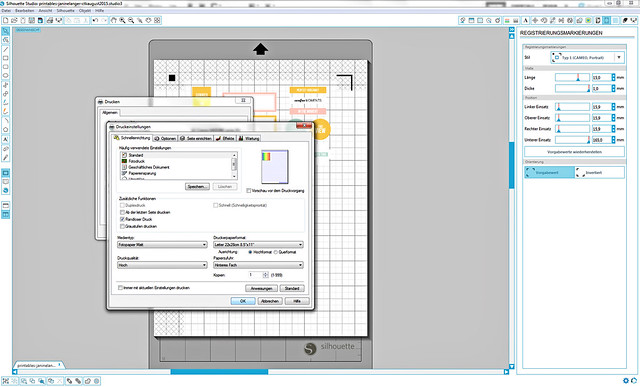
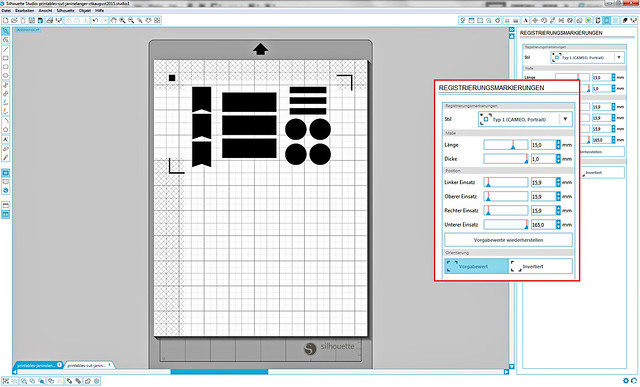
First you open your file. It is very important, that you don't move it around, just keep it as it is. If you do move it around and don't costumize the print file later, then the cut won't be perfect. Anyway, you open your file with the printables and go to your registration mark settings, as shown in the picture above. I don't like to waste paper and I don't want to print and cut a full sheet, so I customize the sliders as shown. In this case I've been looking for the bottom mark to be more on top, so I can cut off the sheet later and use what's left for another project.

janinelanger-ctk-august2015-tutorial-003

Then you print the sheet with the registration marks on it. Don't forget to  customize the settings for your printer first.

janinelanger-ctk-august2015-tutorial-004

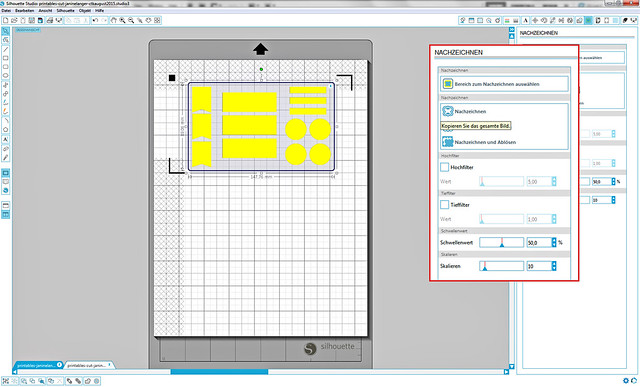
Now you open the cut file, that you can download at the Citrus Twist Fan Page, too. You want to set the registration marks the same way you did on your print file.

janinelanger-ctk-august2015-tutorial-005

Then you prepare your cut file for the cutting part. You open the trace settings, cklick on select trace area and select the cut files. You unmark the high pass filter and adjust the settings of the threshold settings to your liking. I like to keep it aroud 50, in my experience the cut is better then.
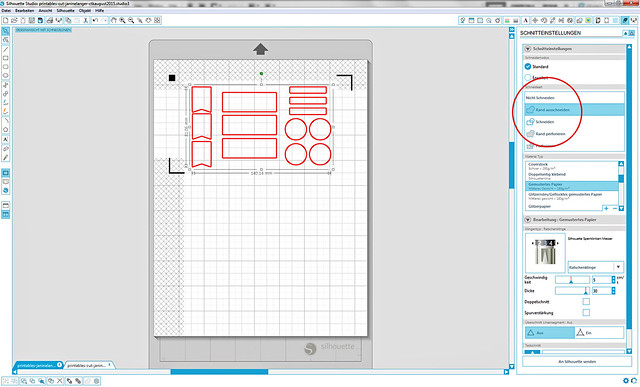
The next step is optional, but I personally like to delete the original cut file and just keep the traced red lines.

janinelanger-ctk-august2015-tutorial-006

Then mark the red cutting lines you created with a mouse click and go to your Silhouette cut settings. It is important that you click on cut edge and then of course adjust the other settings, depending on what paper you use.

If everything looks ok and has a red line showing where to cut, go ahead, line your paper up on your cutting mat and load it into your Silhouette. Then everything is ready to cut, just see the magic happen.

One last hint, try to have the lights on or good daylight, when you cut with registration marks, so the Silhouette can read them properly.

janinelanger-ctk-august2015-001c-tutorial

There are some other ways to do this with one file only, but from my experience this way you get the best cut. :)

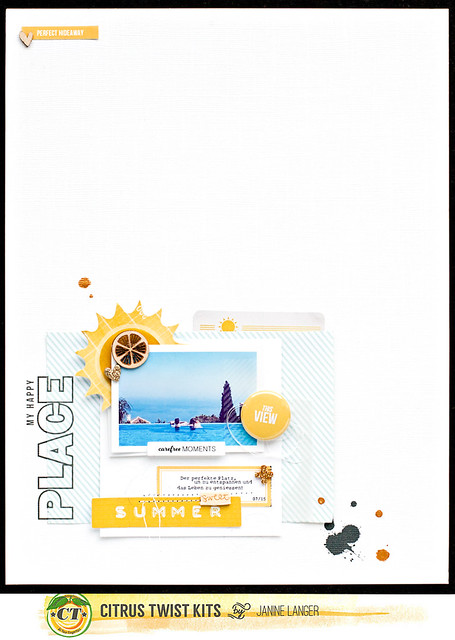
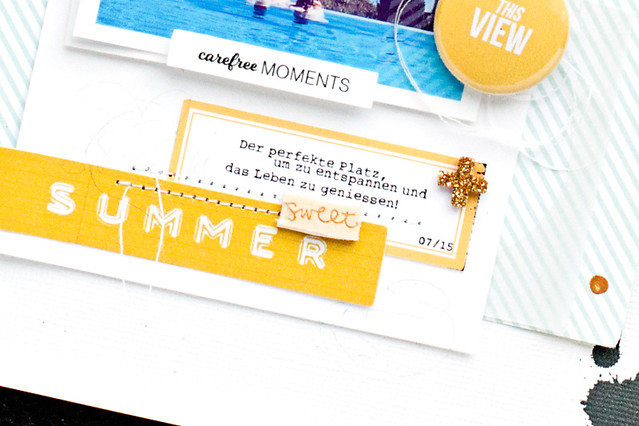
And here is the layout that I created, using some of the printables and supplies from various Citrus Twist Kits from the past. I also made a button with my button machine out of one of the circle printables.

janinelanger-ctk-august2015-001-tutorial-banner

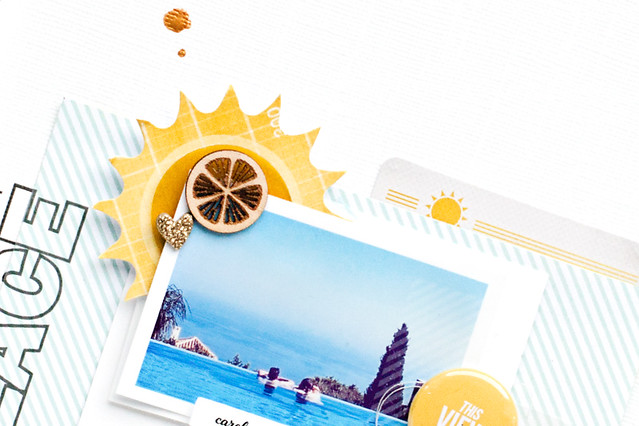
For this layout I used a photo that I took when we were in Spain this summer. It was so hot, that the pool was our best friend! The view we had from the pool was amazing, so relaxing.

janinelanger-ctk-august2015-001a-tutorial

janinelanger-ctk-august2015-001b-tutorial

That's it for today, thanks so much for joining me.

And if you like the printables, don't forget to download the files. I really can't wait to see what you are going to do with them!

Sunday, August 16, 2015

Sunday Sketch with Janine

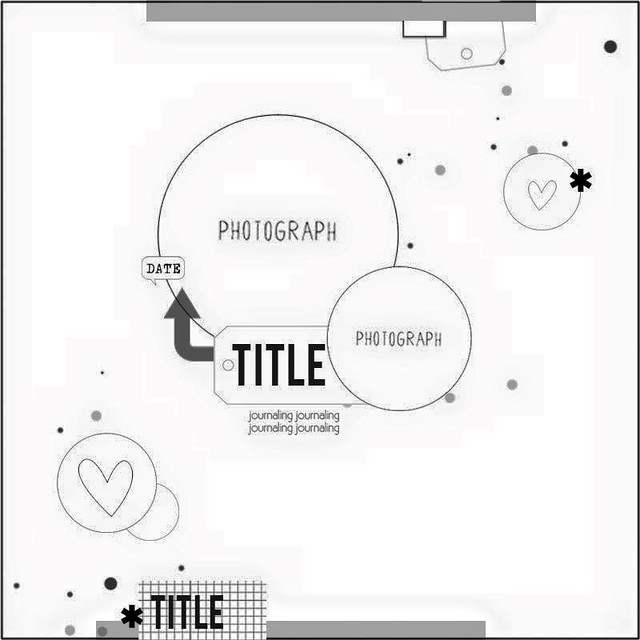
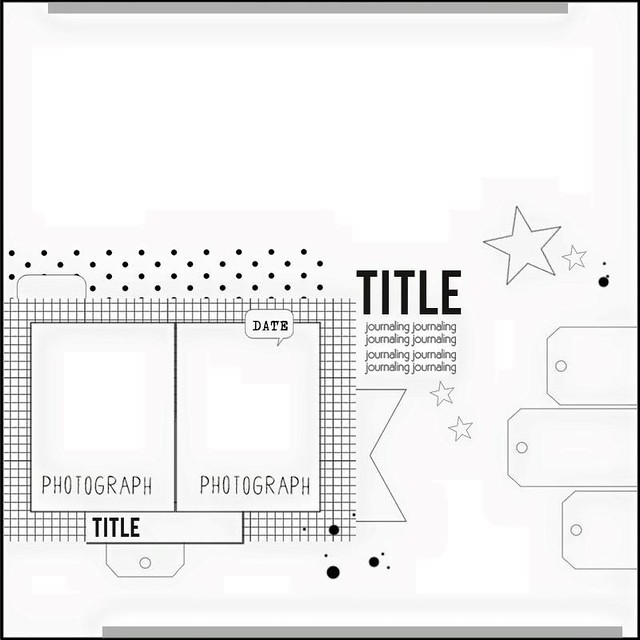
Hey everyone, Janine here to share my take on this week's great sketch! This time we have a two photo circle sketch that leaves so much room for your own interpretation!

Let's first take a look at the sketch:

sketch-august16th-ctk

Isn't it fun?

When I saw the sketch first, I was totally excited about the shaped photos, I love to use shaped photos on my scrapbook.

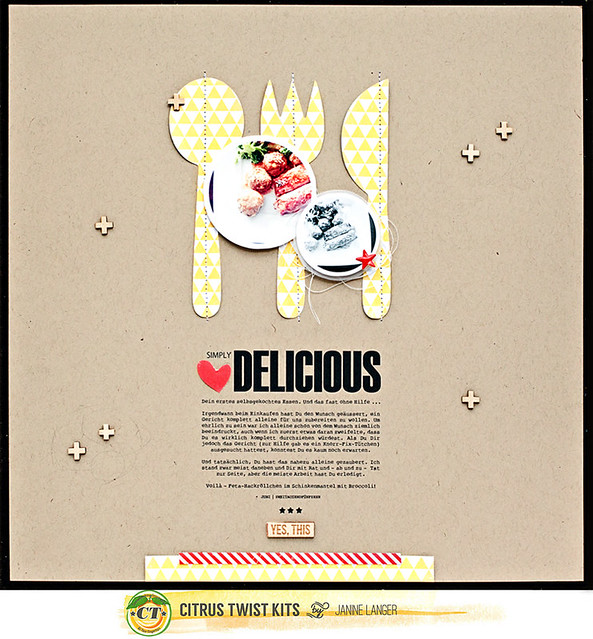
And I don't know why, but the pictures I took, when my son first cooked a meal all by himself, came to my mind. I knew immediately I wanted to place those photos on a set of silverware that I printed out with my silhouette. Just to give it a bit of a themed look, because that's another thing I love to do on my layouts.

janinelanger-ctk-august2015-banner-003-sketch

To give it a modern twist though, I decided to use kraft cardstock as a background and to keep it quite simple. I love that yellow paper that came with the Pattern Paper Add-On this month, and those wooden embellishments are so great to emphasize something positive!

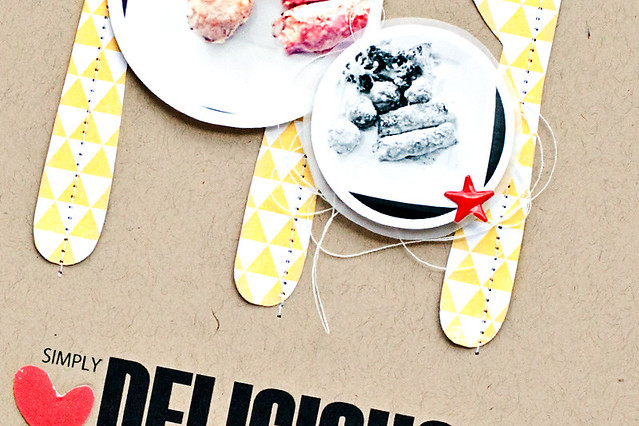
Here is a close-up:

janinelanger-ctk-august2015-003a-sketch

Now it's your turn. If you want to play along with this week's Sunday Sketch and be eligible to win a $5 gift certificate, create a project based off of the sketch and upload it to CTK Gallery by next Saturday. Please make sure to include the date of the sketch in the title of your project.

Thanks so much for stopping by and we are looking forward to see what your takes on the sketch will be! Have a wonderful Sunday. :)

Sunday, June 21, 2015

Sunday Sketch with Christin and Janine

Today two members of our Citrus Twist Design Team are pairing up to give you two takes on this week's edition of our Sunday Sketch!  Before we introduce the girls and share their projects, lets first take a look at the multi-photo sketch:

Sunday sketch June 21st

Up first, we have Christin and here is what she has to say about the sketch: 

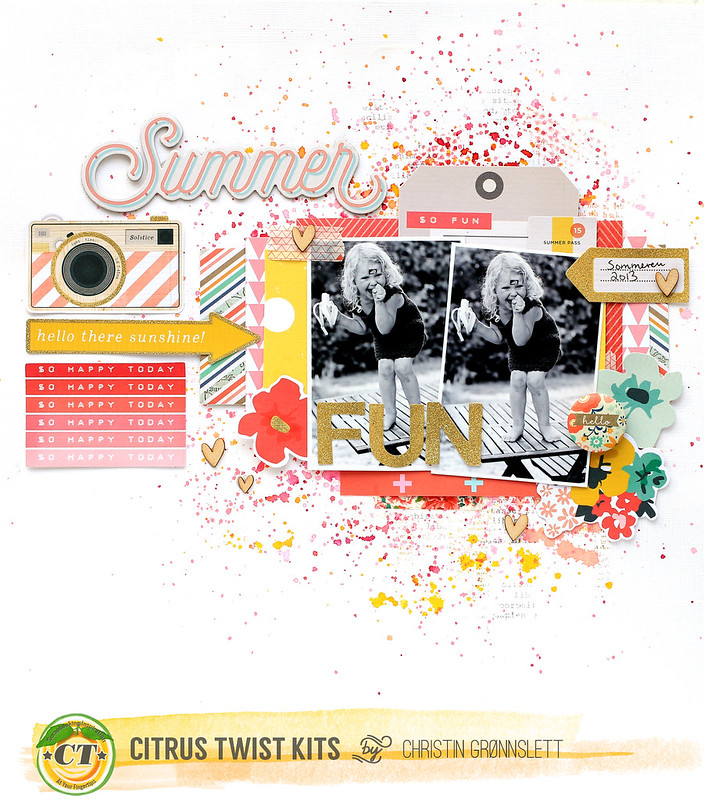
I love working with sketches and love how you can be inspired in different way by a sketch. Here is my take on the sketch that I made using the June "Splish Splash" Add-On Kit:


Summer fun with banner

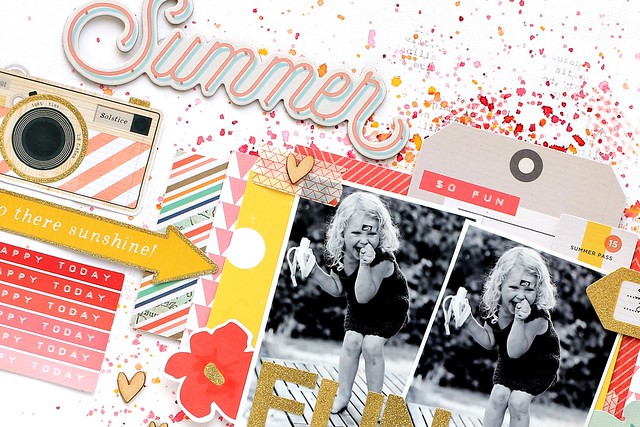
And a closeup of Christin's amazing multi-media layout:

Summer fun closeup
 
 
Next up we have Design Team Member Janine! Here is what Janine has to say about this week's Sunday Sketch:
 
When I saw the sketch, I immediately fell in love with it and I knew I had to create a layout with it! And though at the end it doesn't look exactly as the sketch, the idea and inspiration from the sketch led me to the end result of the layout.
 
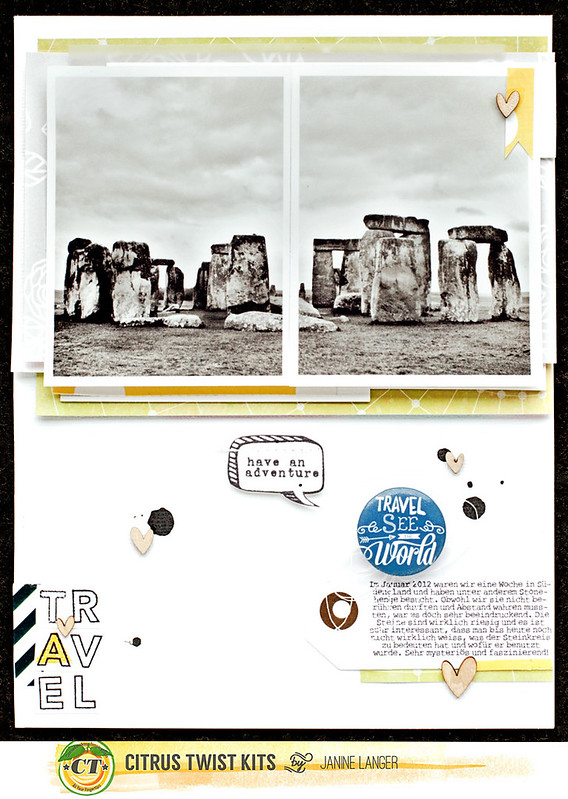
I decided to create a 6x8 layout. When I opened my kit box, my eyes fell on the flair buttons that came with the June "Splish Splash" Add-On Kit first, especially on the blue one. I knew I wanted to use it, no matter what. Then the photos that I took at Stonehenge came to mind. It fit so perfectly. As I took them with my mobile, the quality wasn't as good as it could be, so I printed it in a smaller scale which is why I chose to scrap a 6x8. I wanted the photo to be a big part of the design.
 
Untitled

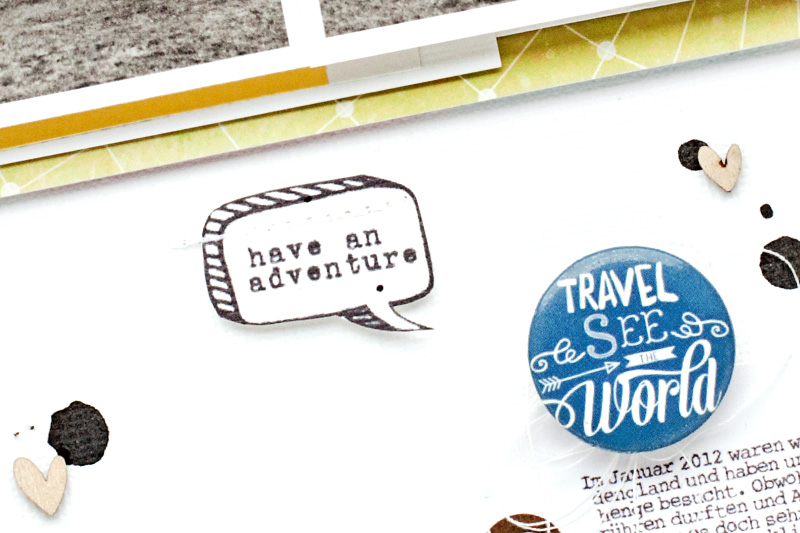
I built my layers with papers mainly from the Pattern Play 1 Add-On and vellum. To add my journaling, I decided to use a tag as shown in the sketch, from my stash. Next I added the flair button with some string underneath it. To create my title I used the Kelly Purkey Alphabet stamps which you can find in the shop! They aren't that big, but with the outline and "filler" for the "a" they are an eye catcher. I also decided to use the bubble speech and phrase stamp from the June Main Kit. To finish it off, I added some splatters here and there and some wood veneer hearts from the Add-On Kit.

Untitled

Wow! Two talented designers and two amazing takes on this week's sketch!

Now it's your turn! Remember, if you choose to play along with this week's Sunday Sketch, by uploading your project to our Gallery you will make yourself eligible to win a $5 Gift Certificate to use at the CTK Store! Please make sure to include the sketch date in the title of your project when uploading. Looking forward to seeing your take on this week's Sunday Sketch!

Tuesday, May 26, 2015

Tuesday Tutorial with Janine

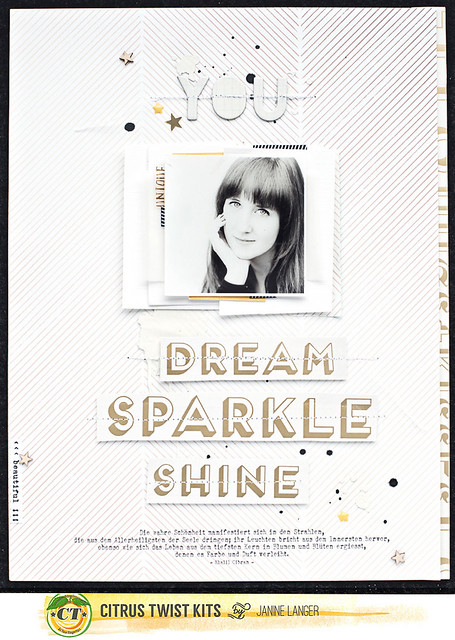
Hey everyone, Janine here today with a photo walk-through on how I created this layout using the wonderful and versatile May Kit. :)

janinelanger-tutorial-ctk-may2015-019

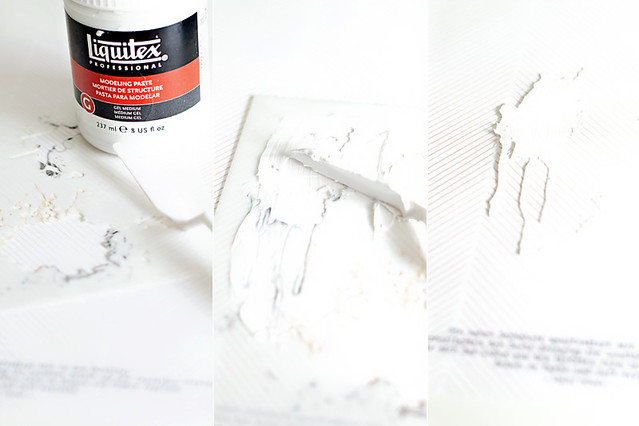
I wanted to create a layout with only gold, yellow, black and white as well as an interesting background that goes along with it. So I decided to finally use some modeling paste again.

janinelanger-tutorial-ctk-may2015-001

I really do love the way this turned out, just decide what stencil to use and play with modeling paste. It gives some structure to your background but it is not too distracting from the photo.

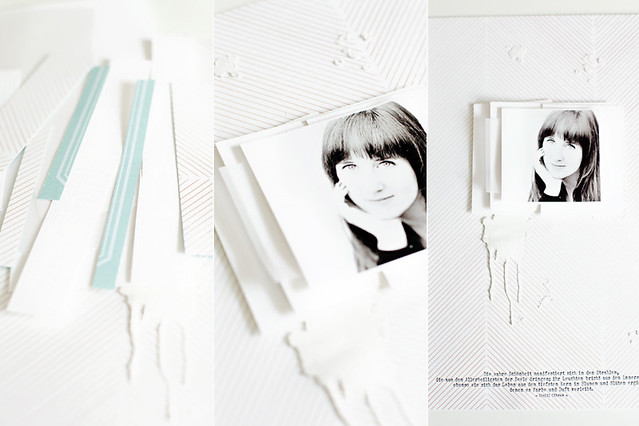
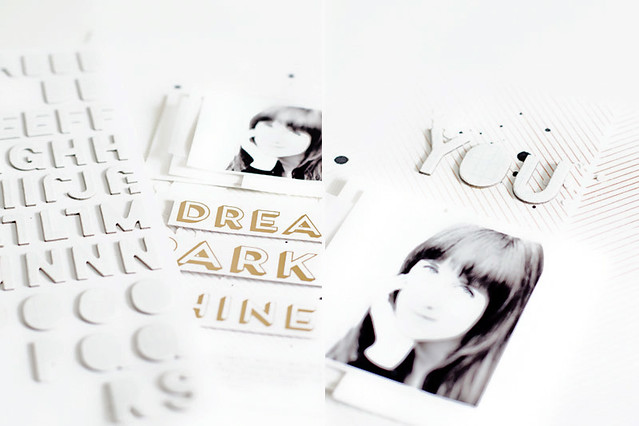
Next I grabbed some scraps that I had left from the kit and from the background paper as well as some white cardstock and vellum from my stash and layered everything behind the photo of my cute baby sister.

janinelanger-tutorial-ctk-may2015-002

On the photo on the right you can also see the effect the modeling paste gives. It's so great!

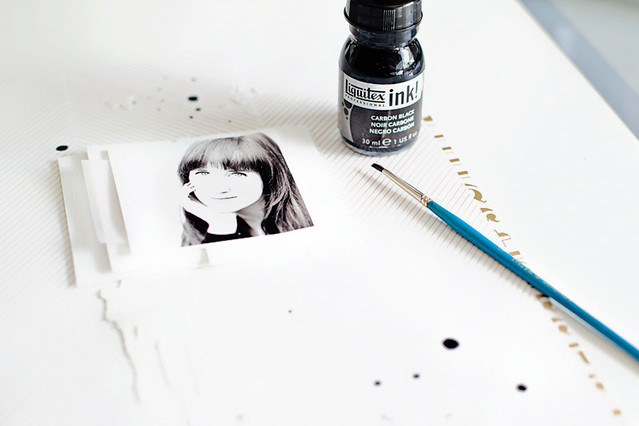
Then I added some splatters with my favorite black paint when it comes to adding splatters. You can either drop them directly from the pipette that comes with the bottle or if you want some smaller splatters you can use a small brush as I did here.

janinelanger-tutorial-ctk-may2015-003

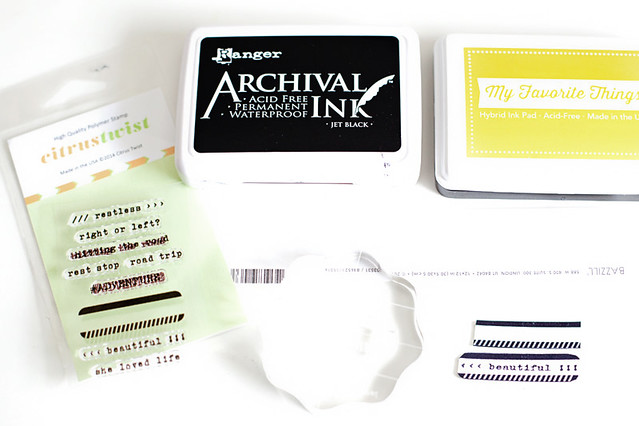
To add some of the stamps of this month's stamp set (love them!) I used some black and yellow ink, stamped on some left over white cardstock and cut it out. Though I ended up using only one black stamp image on the bottom left of this layout, I didn't want to skip this step.

janinelanger-tutorial-ctk-may2015-004

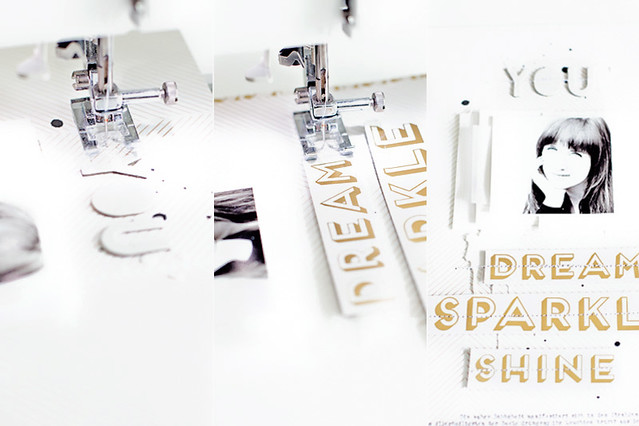
I used a quote as journaling and I wanted to add some words to highlight it. So I cut out three words of a patterned paper that came with the Main kit and added them as well as the title using the chipboard alphabet.

janinelanger-tutorial-ctk-may2015-005

To emphasize it a bit more and to make sure it doesn't fall off I used my sewing machine to stitch over it.

janinelanger-tutorial-ctk-may2015-006

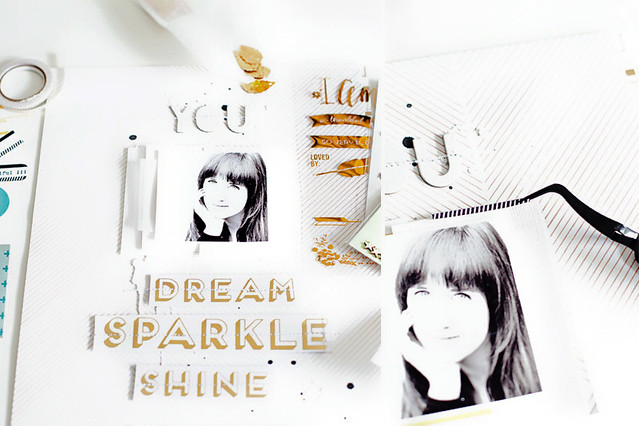
Last but not least I grabbed some embellishments from the Main and Sprinkles kit and added them here and there. I especially love those gold foil stickers, they make beautiful little accents!

janinelanger-tutorial-ctk-may2015-007

On the right picture you can see me sticking the top of one of the stamped images behind the photo. I cut it apart and used the black and white part for layering and I adhered the word stamp part on the bottom left of the layout.

And that's it for today, here you can see some close-ups of the finished layout:

janinelanger-tutorial-ctk-may2015-020

janinelanger-tutorial-ctk-may2015-021

janinelanger-tutorial-ctk-may2015-022

Thanks so much for stopping by and have a wonderful week! :)