
Laureen with you today with the Tuesday Tutorial.
I once made a décor letter to hang on my door with butterflies on it. Ever since then my sister has wanted one with her letter to hang in her room. When I was assigned with doing the tutorial for this week, I knew I would create her letter and again used lots of butterflies.

I used three of the Crate Paper patterned papers from the November "Emerson" Scrapbook Kit. You'll also need a piece of thick chipboard and of course-a pencil, scissors, or a craft knife, glue and either cut out a shape of your choice by hand or use your diecutting machine to do the work for you.

For the first step, I drew the letter of my choice-you can also do a large circle for a wreath or any shape you'd like-onto my chipboard and cut it out with my exacto knife.

After I cut it out, I didn't want to leave it plain, so I chose a patterned paper to cover up the greyish brown of the chipboard. I placed glue all over the A and then folded over the edges of the paper to make it look neat.
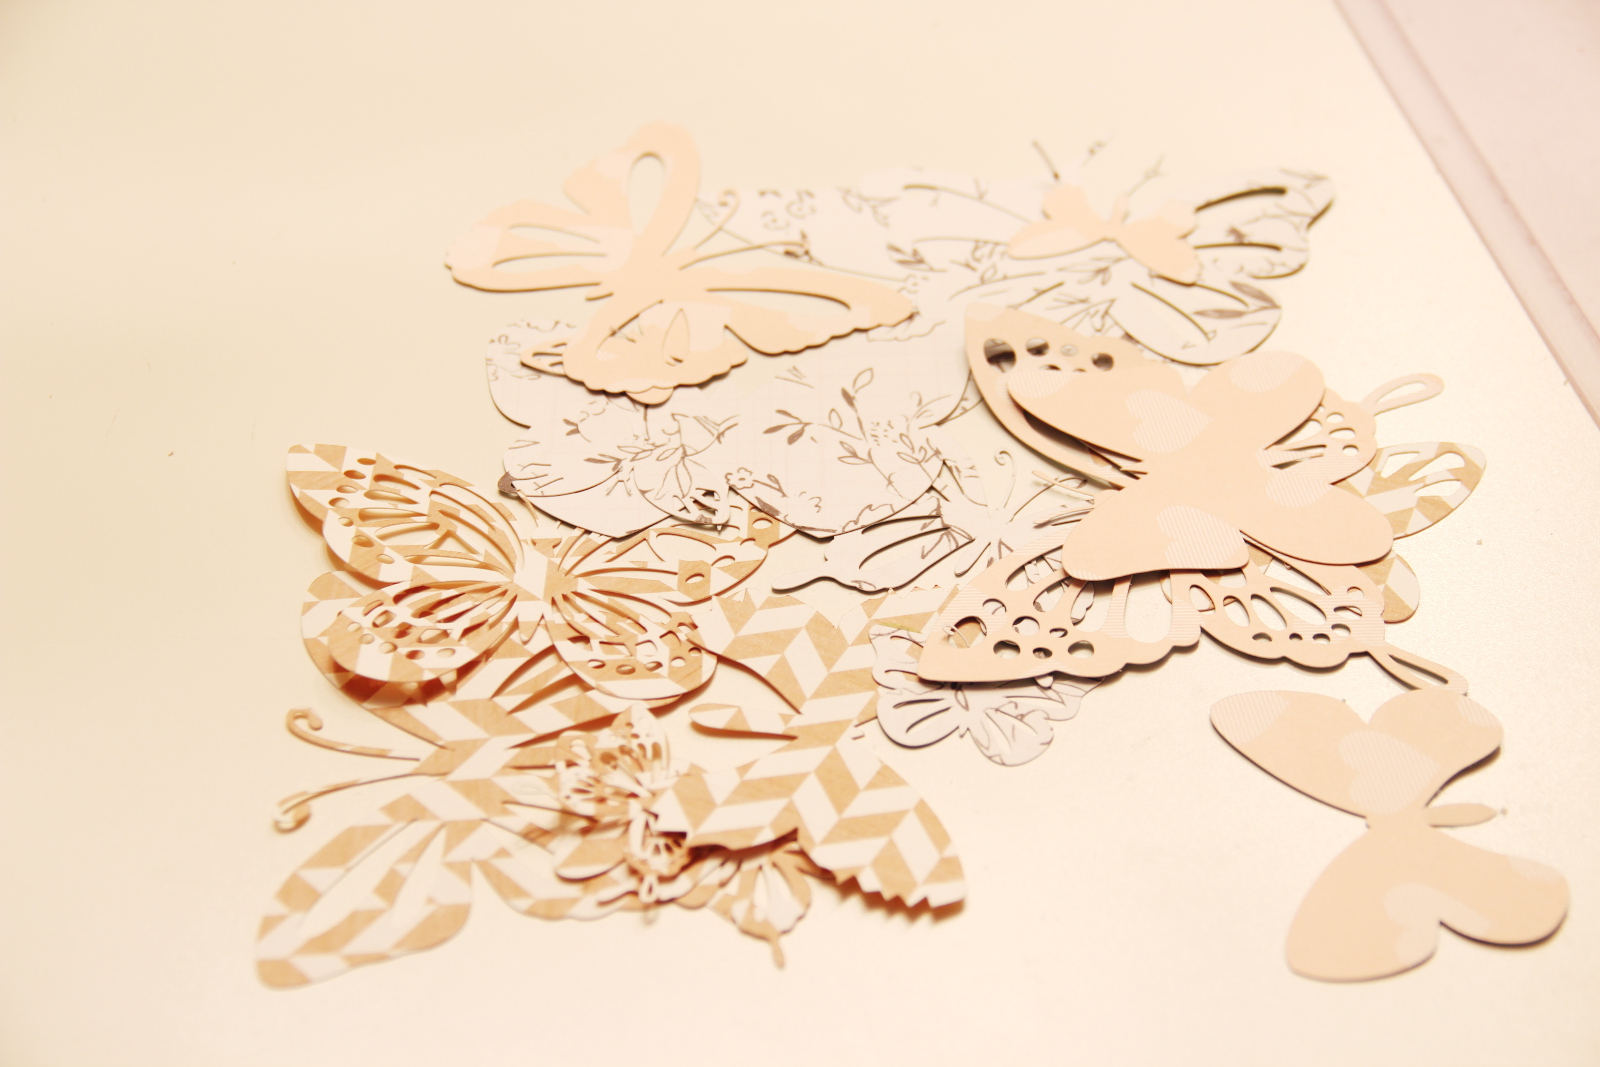
Now it was time to finish the piece with lots of paper butterflies. I used cut files and my Silhouette and cut out a bunch of cute little butterflies-the largest being four inches wide. I like using different shapes and sizes to layer them and to give a more textured look.

All you need to do with the butterflies is to adhere them onto the décor piece-I like to use just a tiny bit of glue on the middle and after I've attached all of them, fold up the wings so it looks more dimensional and like a real butterfly that is ready to fly away.

Now just grab your favorite pieces of embellishments from the kit-I used the wood hearts and the Golden Days enamel dots and sprinkled those around my letter to finish it up. Last you just need to thread some twine through the opening and you are ready to hang it!

I hope you could follow along nicely and that you enjoyed this post!
Have a great day-
Laureen
No comments:
Post a Comment