Showing posts with label Alphabet. Show all posts

Sunday, January 8, 2023

Sunday sketch with Alena


 Hey everyone!  It's Alena with  layout for Sunday Sketch.


Here's a look at the sketch this week:


I used this sketch for my first page of the new album 2023. I fell in love with this album and couldn't wait for the new year to start it.


I like the SLOW DAYS mini-kit palette. I layered pieces of patterned paper and floral Ephemera. All the words and title were glued with foam pads. I decided to group the small phrases.


To balance the composition, I added mini titles using tiny alphabet cardstock stickers.


Well, then it is time for you be inspired by the sketch to create a page of your own.  Remember to share your creations with us on the Citrus Twist Kits Friends page on Facebook or by using #CTK, @Citrustwistkits on social media.  I cannot wait to see what you create with this sketch.


Friday, November 3, 2017

Pocket Life Challenge: From Scratch!

Hey Everyone! This is Jennie with today's Pocket Life Challenge! IT'S NOVEMBER! Yikes! How did that happen?! If you are planning a major catch up make sure you check out the rest of the challenges this month. They can be a great way to get inspired!

My Challenge for this month is to create a filler card from scratch! I used the 6x8 papers to create 2 of the cards. If you are a simple scrapper you can start with just cutting a 3x4 card and adding one of the bigger die cuts from the ephemera pack.

I love to use the little bits of the ephemera pack on my photos. I also make extra tiny bits using heart dies and the 6x8 paper from the kit. I love the super cute colors of this month!

The puffy alphas of the November Pocket Life Kit are so perfect. And they have numbers! Yay! I kept my title card super simple because I liked the design from the 4x6 card and I din't want to alter it too much. Next to it I have a card with a little journaling about a drawing my daughter made.

Here you can really see the two filler cards I made. On the first card, I used the black and white stripes paper. I used the 3x4 stamp set that comes in the Pocket Life Kit to stamp all over the paper. The lines made it so easy. Then I layered die cuts, puffy stickers and the cork. You don't have to add everything and the kitchen sink like I do. If you want to go super simple I recommend using the rules of threes and try to vary the size of the items. On the second card, I used a circle stitched die to add a layer to the card instead of adding the circle on top. This creates an illusion of depth. This cat die is the cutest!

The 3x4 stamp is perfect if you've been wanting to stamp on your photos. They are small and they stamp perfectly. I stamped using Brilliance White on the grass and with Back StazOn on the photos of my daughters. I also did a little ghost stamping. 

I love the ephemera die cut pack! Besides being super cute they always have labels (a must for stamping dates on a  title card) and little words which I love to put on photos.
I hope you enjoyed these pages! I like to share some of my filler and title cards on Instagram if you want to check them I'm @jenniegarcian over there. 

Monday, January 27, 2014

{simple strategies with jen chapin}

Hi there! Jen here and today I'm sharing a layout with you using January's main scrapbook kit as well as the embellishment add-on.

My simple strategy for today is to use a whole sheet of alphas. For this page, I decided to use the alpha stickers from the add-on and cover them with a sheet of vellum on my backgound.

The result is a unique look that will make your page stand out! Hope you've been inspired today. Thanks for stopping by!

Monday, October 28, 2013

simple strategies with Gina

Hi everyone, Today I'm sharing my creations using the gorgeous October kits as well as a few little tips you might like to try out on your layouts..

Gina Oct kits..

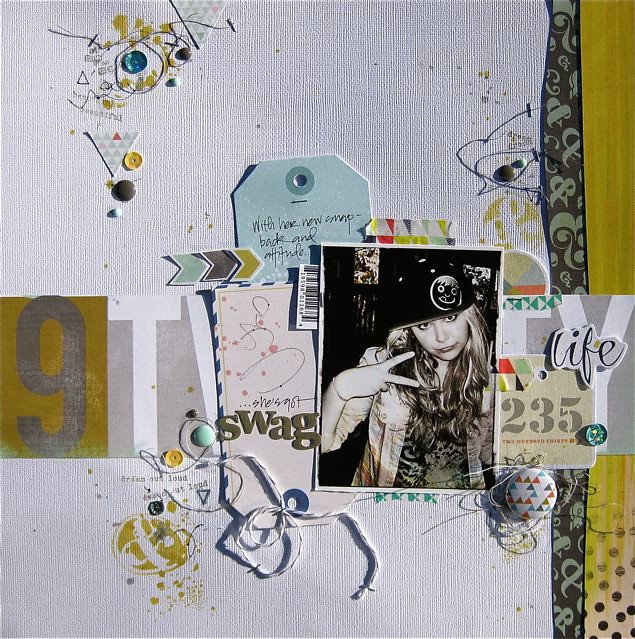
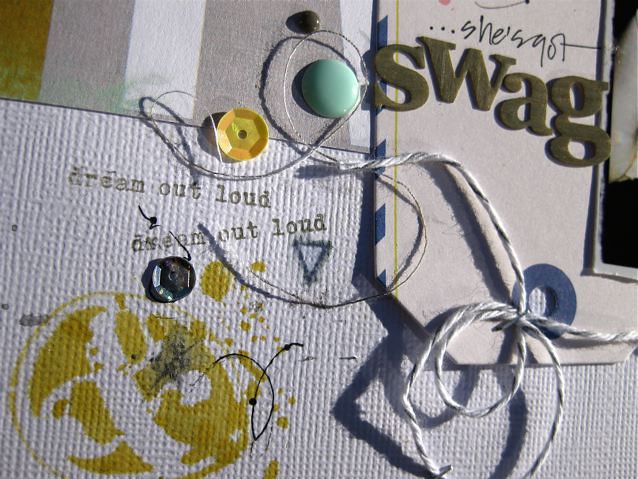
I've used some loose thread around the enamel dots and sequins and 'grunged' it up a bit with some hand drawn doodles and triangles. I've added also lighted touched the ink in places with a just wet fine paint brush. You will need a pen that bleeds a bit to do this

The Prima wood veneer alpha from the Add-On kit have been inked with Prima "Old Road" ink

Gina Oct kits..2


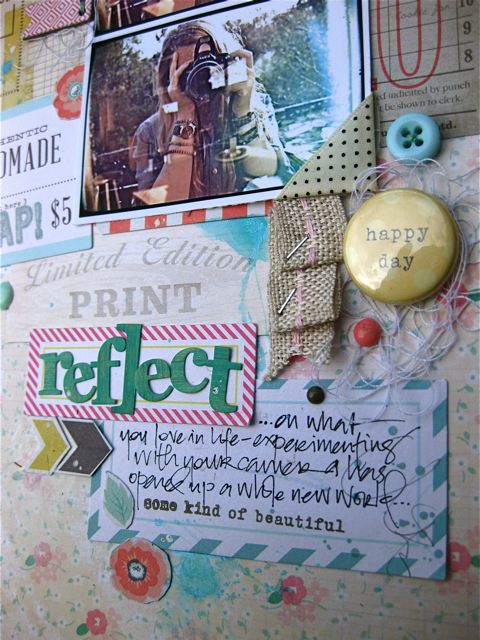
reflect_gina

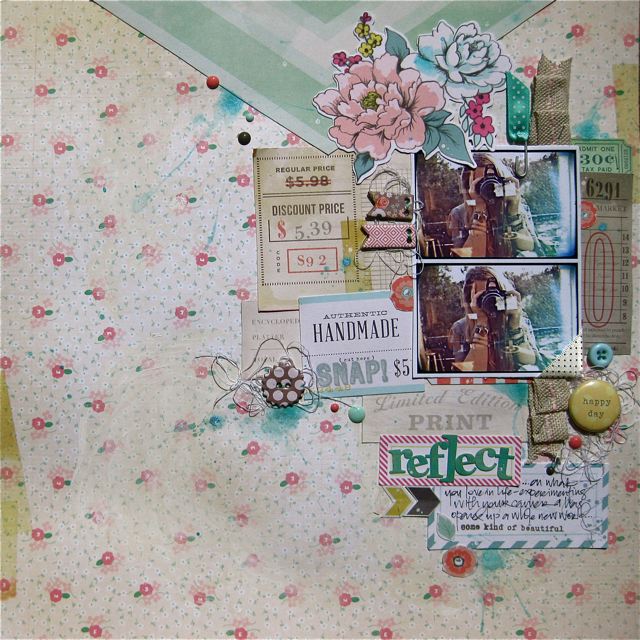
To add texture on this page, I've pleated a section of burlap ribbon and then secured with a Tim Holtz fastener. Once again I've inked up the wood veneer alpha with another chalk ink

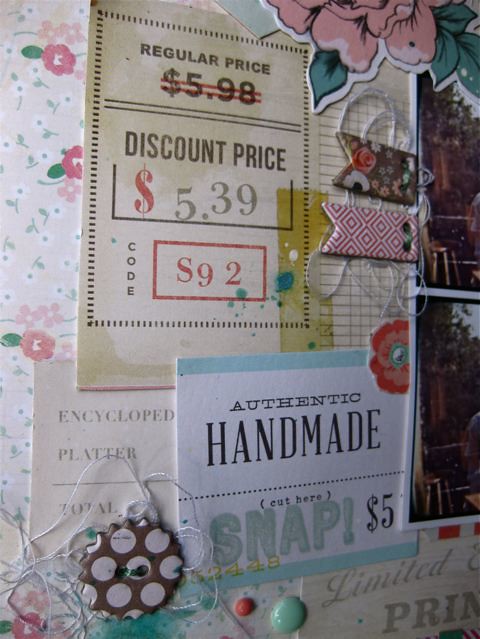
reflectR_gina


reflectL_gina

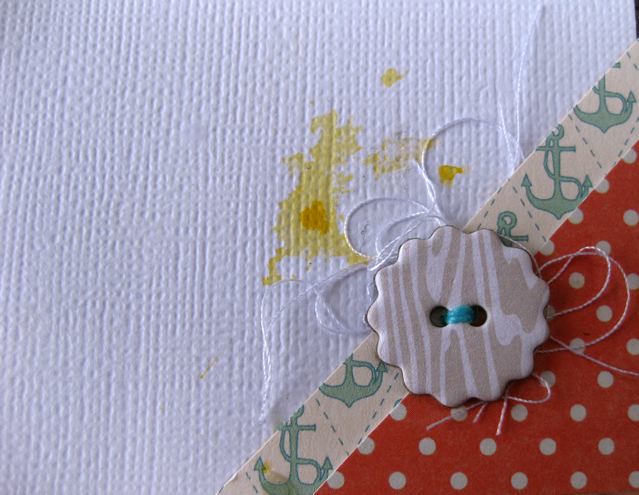
I've used some touches of yellow water colour and a splattering of charcoal mist

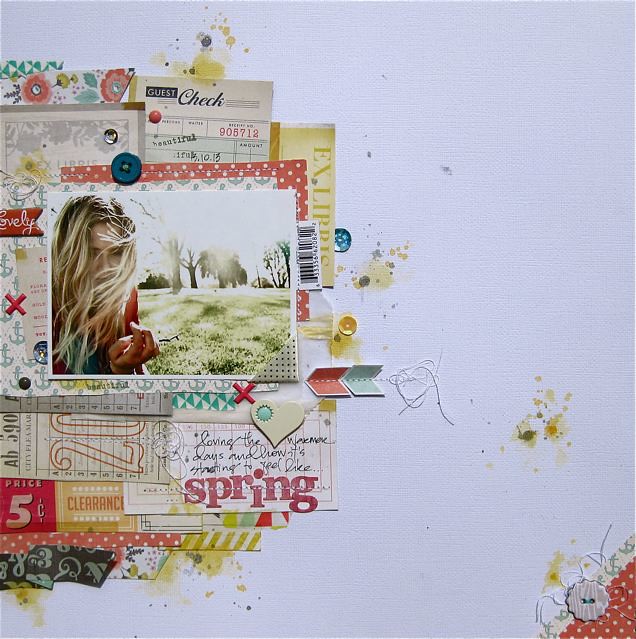
spring_gina

the extra, non alphabet thickers can also make a great embellishment on pages..such as these plus signs
and of course I had to use the wood veneer alpha again for the title!..this time inking in both red and white (I didn't have any pink).. I love how thin these alphabet are, and so easy to machine stitch through

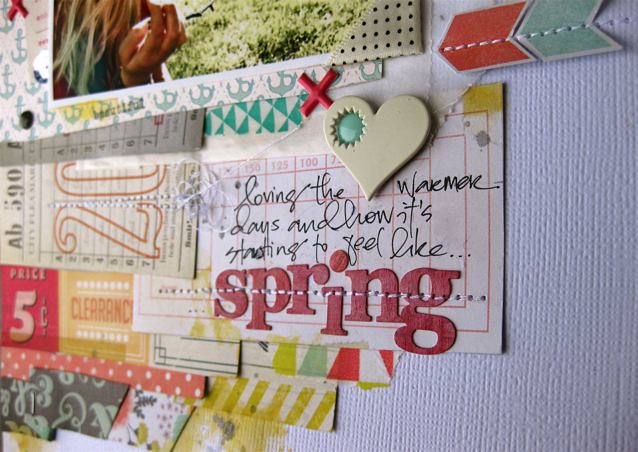
spring2_gina

..and finally, I thought I would share a simple way to balance out a left aligned layout by adding a corner piece. Just hand-cut a couple of corners off two left over papers and add an embellishment with a few scrap thread trims behind

spring3_gina

thanks for stopping by, wishing you a fun and creative week ahead!
Gina x