Wednesday, July 30, 2014

A View from Our Gallery with our Guest Designer

Today we are going to feature our guest designer's last project life page.  She did an amazing job with the July Pocket Life Kit!! 


Hi there! This is Rachel again - your July Guest Designer. Today I’m going to share with you my third PL spread using July Pocket Life kit – Sunkissed and PL Embellishment kit – Hello Sun.

My PL spread tends to contain lots of photos. And on top of that, we had a 3 days 2 nights staycation at our famous little island – Sentosa, celebrating the husband’s birthday. Gosh, it was such a challenge to keep the number of photos under control! And since I had no intention to create a mini album on this getaway of ours, Project Life works for me.  

After much planning and selection of photos, I decided to use the multiple flaps technique to increase the card space in order to accommodate the many photos.


Viola, here’s the full spread of my week 25 – displaying lots of blue, showcasing the sun, the sea and the sand. It was a fun-filled and wonderful week! I couldn’t say more at just how prefect the papers by Simple Stories were. Every piece of supplies goes so well together and I love this July kits to bits!

I had fun doing fuzzy cutting on the Simple Stories – Good Day Sunshine, Sn@p! Insta Squares and used the cutouts to create many card layouts of my own.

Here’s the left hand side of my PL spread:

And finally the right hand side of my PL spread. Are you able to spot the 6 flaps I made?
Here’s how it looks like when the top 2 flaps are flipped up:
And how the spread looks like when the 2 flaps at the middle row opened up:
Lastly, the bottom 2 flaps are flipped open and showcased more photos:


I hope my sharing had inspired you in one way or another. Thank you for stopping by and let’s continue to document our life through Project Life!

Tuesday, July 29, 2014

video tutorial by Lucia: minibook

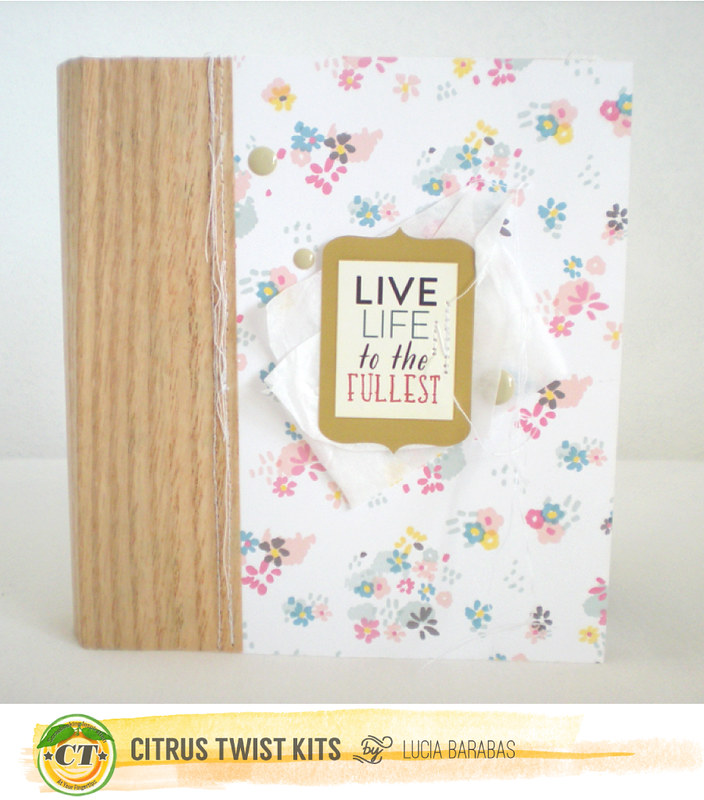
Hi everyone! It's my turn finally and I'm so excited to share with you a video tutorial I've made, using the July 2014 main and embellishment kit.
live-life-minibook

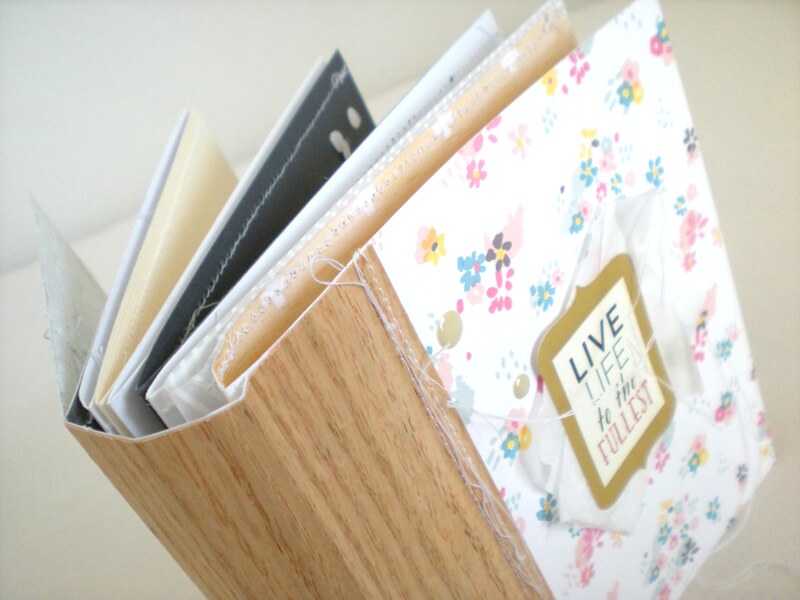
Join me while creating a sweet little minibook! It's really easy - all you need are some patterned papers, sewing machine and some cute little stickers or stamps to embellish the cover - or even the pages :)
DSCN9676
DSCN9684

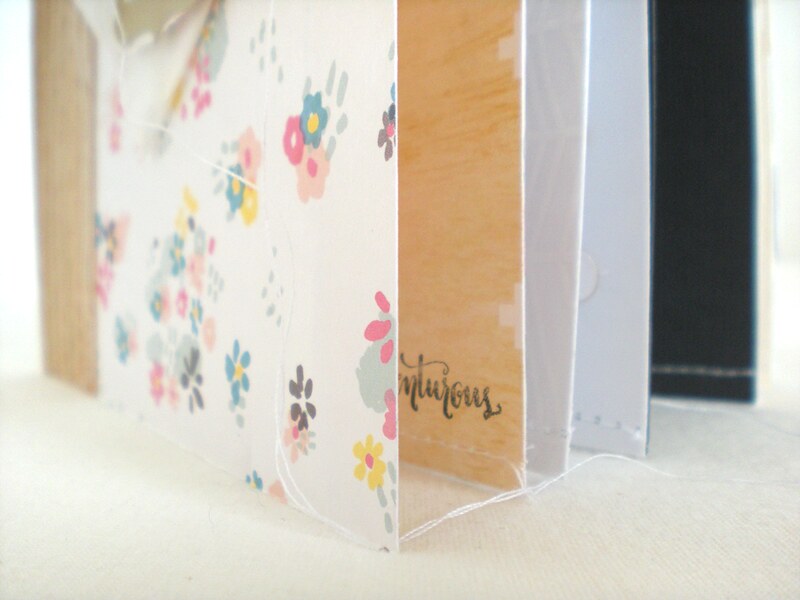
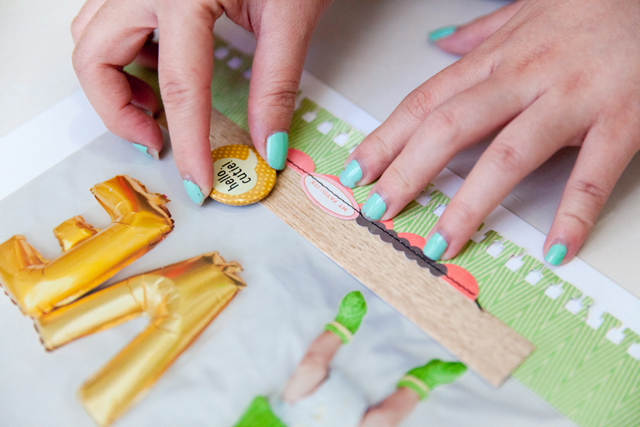
I LOVE to sew paper and I LOVE the messy look of the threads everywhere! The pages are sewn together on the upper and bottom edge - that gives you a space between the pages (creates a little pockets) where you can put photos, flaps or anything else. And the woodgrain sticker was just a perfect fit for the binding :)


Enjoy the tutorial (and the fun music!)
Lucia xxx

Monday, July 28, 2014

I Capture Photography

Each month we are going to share a fun photography tip or technique.  And then once we show you we would LOVE to see you do the same with your photos.  You can link us up in the comments. 

For this month I (Angie) want to share a fun tip on getting a photo.....Near and Far!  This can really be fun because not only are you seeing the BIG picture but you are also seeing the small details in the picture. 

Every year, we have a fun Christmas in July family reunion.  We go all out with presents, a tree, and decorations.  The kids make the decorations so I like to capture the whole tree (Far), but then also their creation on the tree(Near).


And I couldn't resist sharing another example with you.  Each year the kids make a candy Shish Kabob.  They load these with all kinds of yummy gummies.  Again get a fun close up of the candy (Near) and then a picture of the child creating his fun candy treat (Far).


I can't wait to see what you all come up with for your Near and Far photos!  And I hope you enjoyed this fun photography tip!

Sunday, July 27, 2014

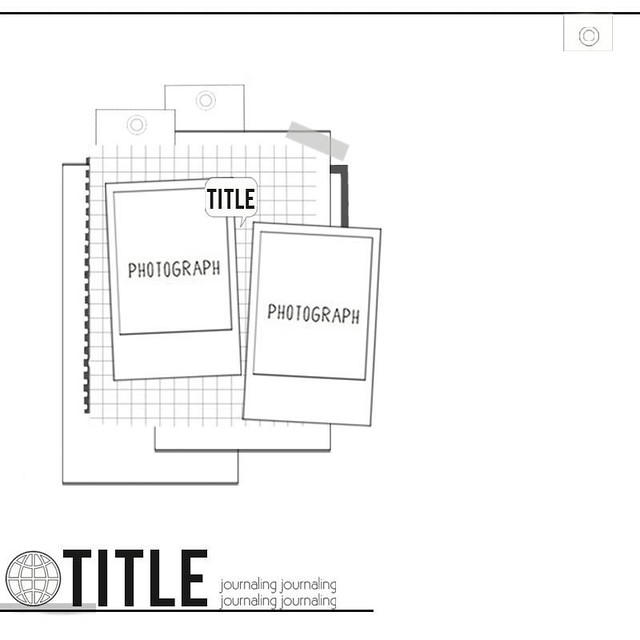
Sunday Sketch with Christin Grønnslett

Hello everybody. Christin here for my very first blog post. I have to use the opportunity to say how grateful I am to be a part of this team. I am here to show you my interpretation of the Sunday Sketch.


10376831_10201817508470863_8642937918638961659_n

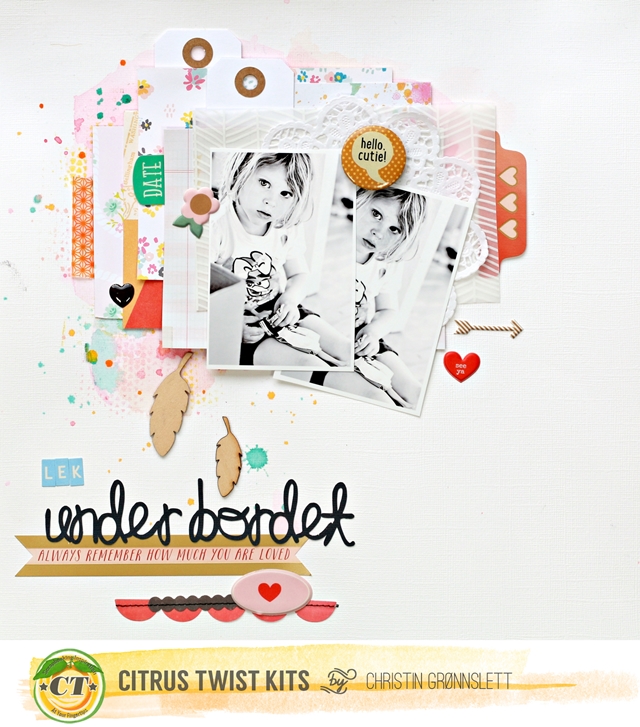
I have used two pictures that are not completely identical. I have edited and printed them in different sizes and color.  The title Lek Under Bordet is Norwegian for Playing under the table.

under bordet christin gronnslett ctk_main kit july July 27th

KIT USED: July Main kit
NON-KIT ITEMS: Paper doily, tags and blue alphabet

When I work with sketches I often take a quick glimpse and then put it away and then when I am halfway finished I take another look at the sketch to see if it resembles. Sometimes it does and sometimes it takes on another direction. This time you can se where I have gotten the inspiration from.

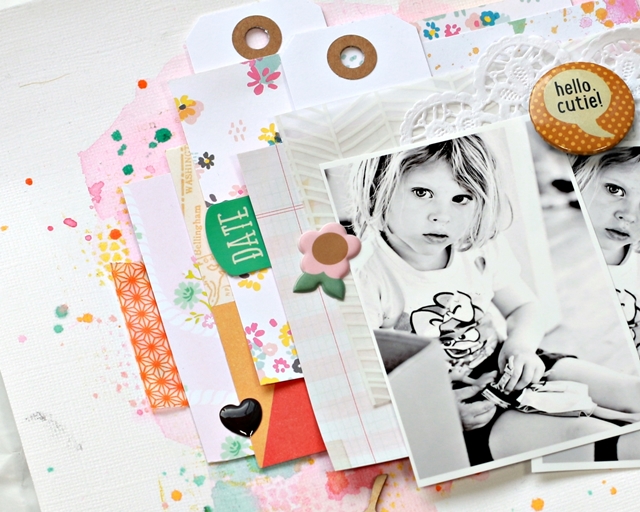
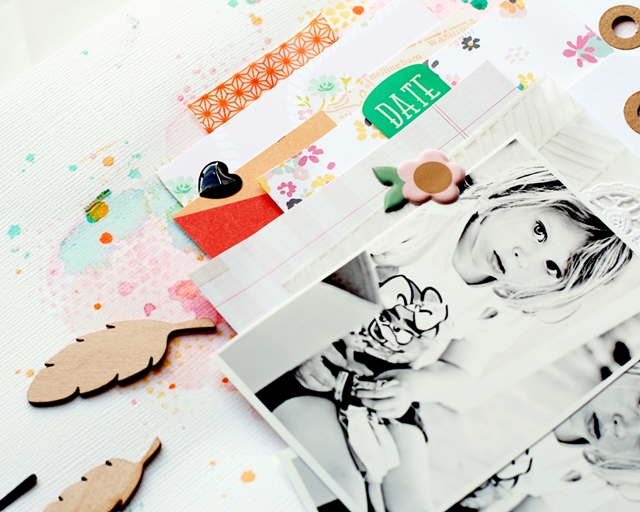
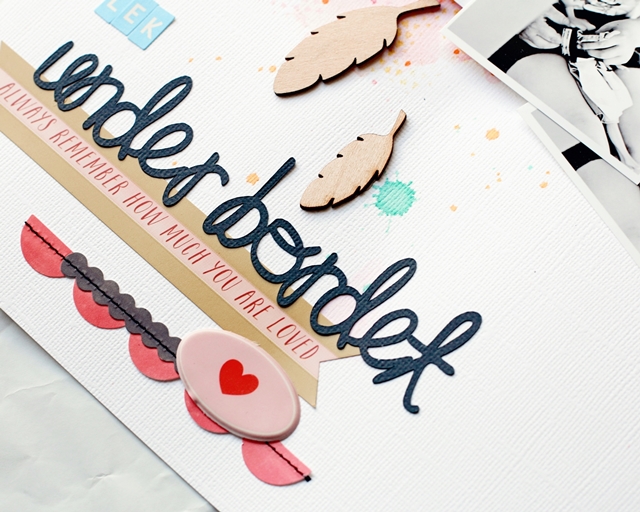
A few close ups

under bordet christin gronnslett ctk_main kit july July 27th 06

under bordet christin gronnslett ctk_main kit july July 27th 03

under bordet christin gronnslett ctk_main kit july July 27th  02

under bordet christin gronnslett ctk_main kit july July 27th  05


If you would like to play along, create a layout based on this sketch and post it in our gallery or link us on this post! Have a great week.

Saturday, July 26, 2014

Let's Get Digital with Jen Chapin + a free cut file!

jenchapin_ctk July kits (14)
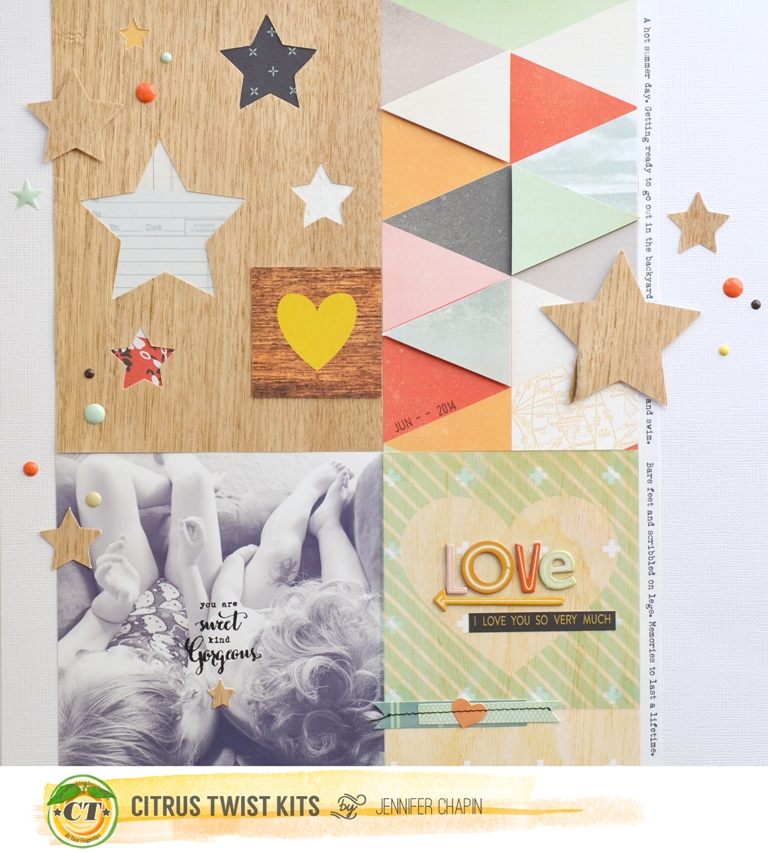
Hey everyone and happy Saturday! As soon as I saw the 5"x7" wood veneer sheet in July's main kit, I knew what I had to do. I had to cut it with my Cameo.

jenchapin_ctk July kits (11)
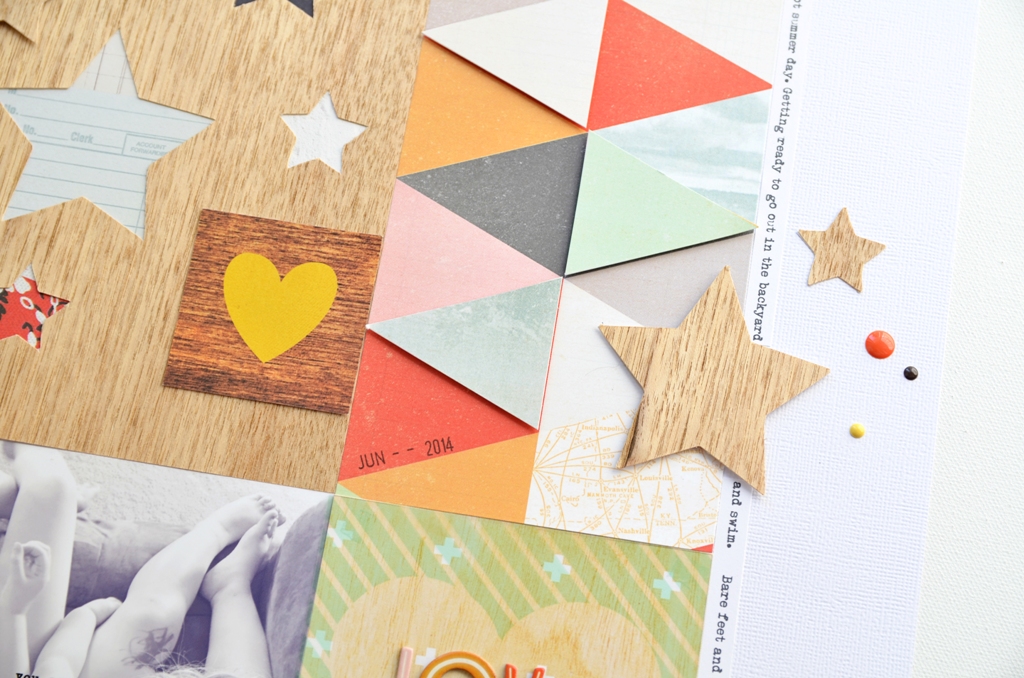
I decided to go with a star pattern because I wanted to use the negative as well as the positive space. You can actually download the cut file for your own star pattern here!

Some tips for cutting wood veneer in the Cameo:
  • Set your blade depth to 6 or 7. You will need to use the plastic ratchet to do this.
  • Set your cutting speed to low.
  • Use the double cut feature. This will have the blade cut each shape twice, ensuring a clean edge.
  • Make sure your mat is very sticky. If it's not, use some washi tape to hold the edges of the wood down before you cut.
See that heart piece of patterned paper up there? That's actually covering a spot where the Cameo didn't quite do it's job. I think the blade got caught in a section of the wood grain and there was a wonky star that ended up getting cut. It's ok. Just cover it up and move on. :)

jenchapin_ctk July kits (10)
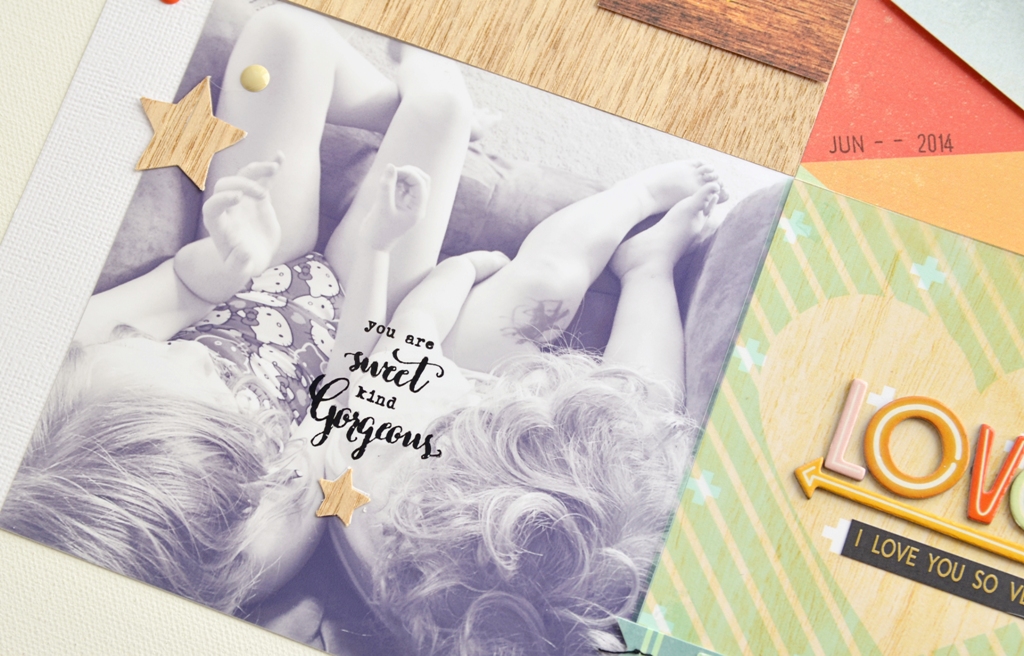
I also wanted to showcase the awesome July add-on stamp. April Joy helped design these with her fabulous calligraphy. I stamped directly on the photo with black ink. It almost looks like I added these words in photoshop but nope, it's a stamp! Love them.

Thanks for stopping by today! Hope you try this technique with your Cameo soon!

Friday, July 25, 2014

Playing with Pocket Life with Olya

Hello, Citrus Twist lovelies and happy Friday!
Today I'm sharing 3 Pocket Life layouts I did for Daisy's (my bunny) album. Yes, she has her own 6x8 album. She is my heart and soul, and knowing that, unfortunately, she won't live forever I'm trying to document her life as much I can now, so I can re-live the happy memories of her later.
Mushiness aside, here are my pages:
I used pocket page protectors by Simple Stories with different size pockets. The July PL embellishment Add-On had a variety of 2x2, 3x3 and 4x4 papers that I coordinated for these layouts. All the papers went nicely together because of their bright summer colors and light style, which made them easy to embellish with enamel dots, wood veneers and puffy stickers.
Here is a close up of the amazing stamp in the July PL kit designed by the lovely April Hill. Can we just take a moment to marvel in her beautiful calligraphy? I know I'll be using that stamp over and over in my pages.
The next two page layouts have similar story- more photos of my Daisy bunny being her cheeky self, more different size pockets, more fun little papers and embellishments from the July kits.
I wanted to match the pretty teal paper under "Like a Boss" photo with the journaling on the opposite page. I applied the alpha stickers from the Add-On kit on the paper, painted teal acrylic paint over them, waited impatiently for the paint to dry and when it did I carefully peeled the stickers off. So it ended up being a negative journaling showing through the missing paint.
Well, that's all for now, friends.
Happy summer weekend to you all, hope you can squeeze some crafting in there too!
xo

Thursday, July 24, 2014

The "2 Girls, 2 Perspectives" Mini Album Class

July's Mini Album class (optional class kit available) is underway here at Citrus Twist Kits. This is a self-paced class that features 2 different mini albums from 2 designers using the class kit. At just $10 this class is full of ideas to create your perfect sweet mini and will be delivered to your email inbox as a 48-page ebook.

Here are a couple of mini album shares from Citrus Twist Design Girl WaiSam Ho. WaiSam is playing with our class kit this month. She mixed in stamping from April Joy Hill's "Hello Sunshine" stamp (available in the Citrus Twist store):


Little baby Ivan is so adorable!


Here is the class kit, available here for $41 plus shipping:


In this class designers Mira Wlosinska and Trina Craig share their individual approached on creating a mini album, each album a different size and approach. We have a private Facebook forum that you will be invited to join as part of this class to share your album progress and ask questions.

Here is a sneak from Trina's album with a little stitching, a lot of layers and some stamping:


Here is another sneak from Mira's album:


Thank you for visiting our blog today. We hope to see you in the 2 Girls, 2 Perspectives class!

Wednesday, July 23, 2014

A View from Our Gallery

This week's View from Our Gallery comes out of Texas from subscriber Tina Feng. We love the beautiful simplicity of this layout using color, cut file, embellishments and a single photo. 

Your Challenge

Are you ready for a small challenge? This week create a layout using an entire sheet of patterned paper as your background with a light, solid paper backdrop over the patterned paper, 1 photo and 3 small embellishment clusters. Be sure to share your finished work in our Gallery!

Here is Tina's Together at Last layout:


Tina is here to share a little about her layout:

This layout was made with the Fireflies Main Kit from March.  This was already my fourth layout using this kit, and there were still so many wonderful things left! I love the variety of wood elements included in that month's kit and used several wood veneers along with the My Mind's Eye wooden enamel dots across this page.  I also love the bright yellow chevron background paper--it just screams "summer" and "fun" to me!  

I used my recently acquired Silhouette Cameo for the title work. Two different scraps of patterned paper were used to back the letters to make the title stand out more. I printed my journaling under the title using a typewriter font. I typically hand-write my journaling, but I wanted a more structured look to this layout.   

Thanks so much for visiting!!

Tina Feng

Tuesday, July 22, 2014

Fast Scrap Tutorial by Evelyn Pratiwi Yusuf


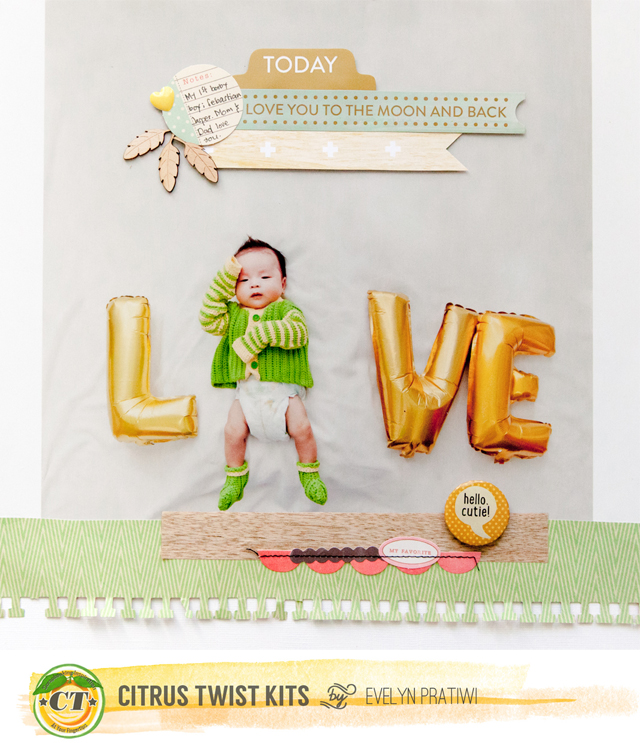
Hey everyone so glad that I can back here and share a tutorial with you. Today I’m going to share how I create a simple layout using big photo and Citrus Twist July Main Kit. Since I have a baby boy; Jasper, I have so many picture of him. Today I use a picture of him and print it into 30x30cm. I use white list to create a minimalist frame. This time I choose green and yellow as a main color theme, so I gather some supplies which has the same colors.


Love Jasper by Evelynpy

Step no 1: Paste the big photo. I choose to give some space in the bottom. My plane is to decorate it with cuty  little things.

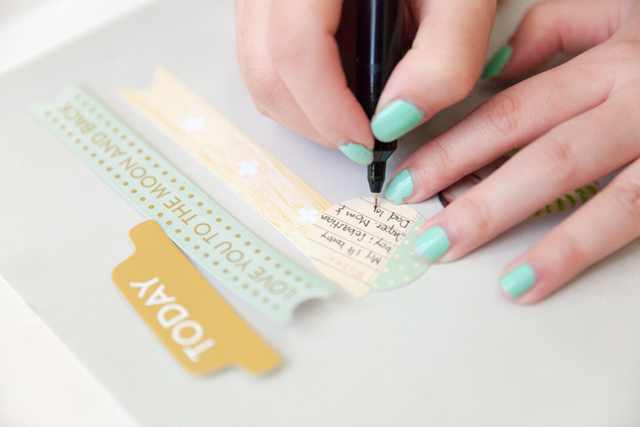
Step no 2: Journaling. I write down some word so my baby boy can read it one day. Again don’t judge my handwriting.

IMG_2494

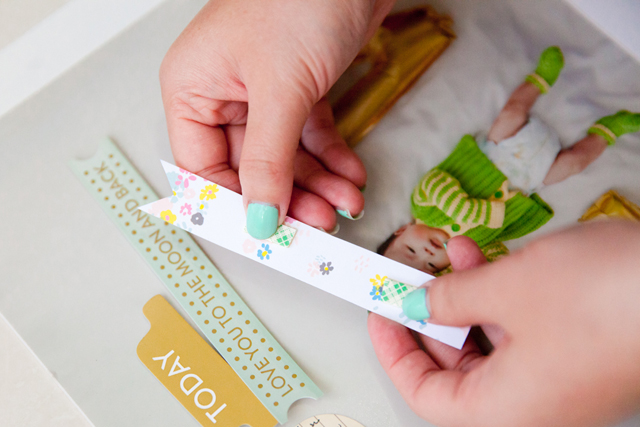
Step no 3: Pop it up. I try to give some dimension into my layout so I pop up some stickers and my journaling circle tag right in the middle top of the photo. I also do simple layer and paste some wood veneer to make it more cute.

IMG_2495

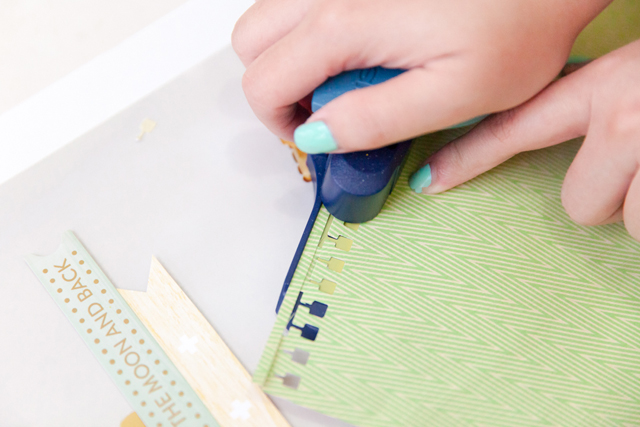
Step no 4: Maximize your puncher. I use puncher from Fiskar and try to create bottom list for my photo.

IMG_2499

Step no 5: Decorate the bottom page. I decorate the bottom page using flair, green paper, and wood pattern paper.


IMG_2500


Remember we still can create magical layout using big photo. Have fun with it and its time to try! See you in another post.

Love: Evelyn Pratiwi Yusuf @geekgalz

Monday, July 21, 2014

Instagram Love: July 2014

We're always so inspired to see your photos and projects using Citrus Twist Kits on Instagram! Here are just a few of our favorites that have been shared in the past couple of months:

citrus twist

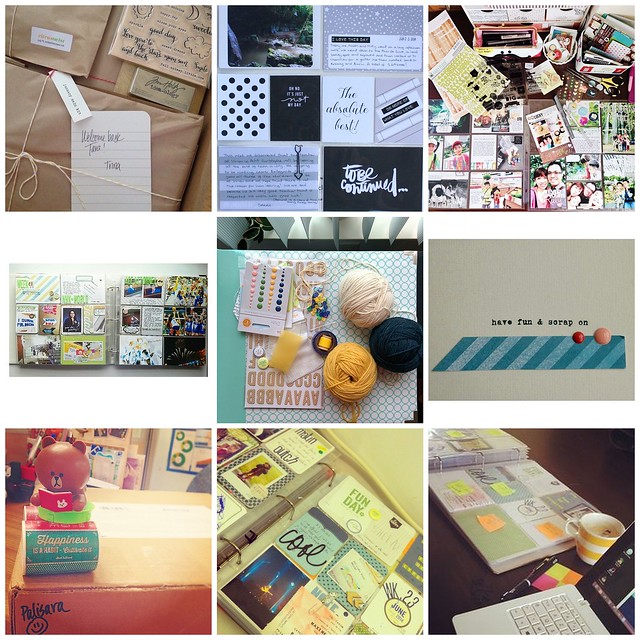
Images posted by: lovesweatsparkle (Tara) | sarahboirin | scrappinlove (Rachel L.) | pamllaguno_ (Pam Llaguno) | curlene (Kristin) | kelsterjean (Kelly Jean) | goftgoftgoft | solovescrap (Catherine Laguilliez Questroy) x2 - loved seeing her project in progress!

We want to see your photos, too! Simply use the hashtag #citrustwistkits next time you post a project or picture using our products. You can also follow the Citrus Twist account on Instagram for sneak peeks, announcements, and the occasional giveaway.

Sunday, July 20, 2014

Sunday Sketch with Jen Chapin

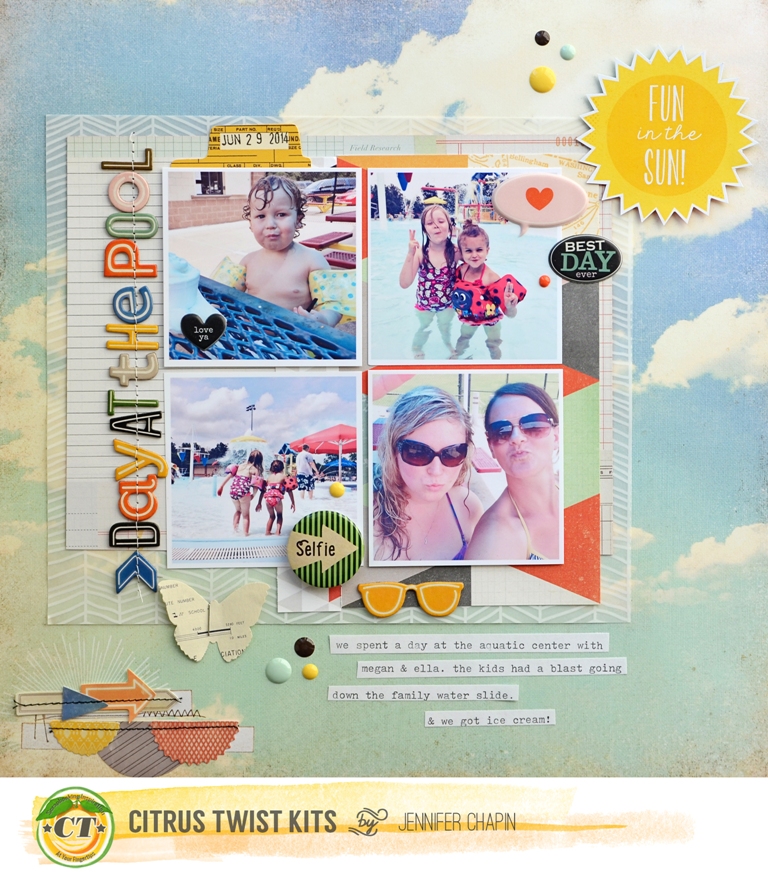
Hi everyone! It's time again for another sketch. I really had fun working with this one and loved the small photos.

jenchapin_ctk July kits (13)
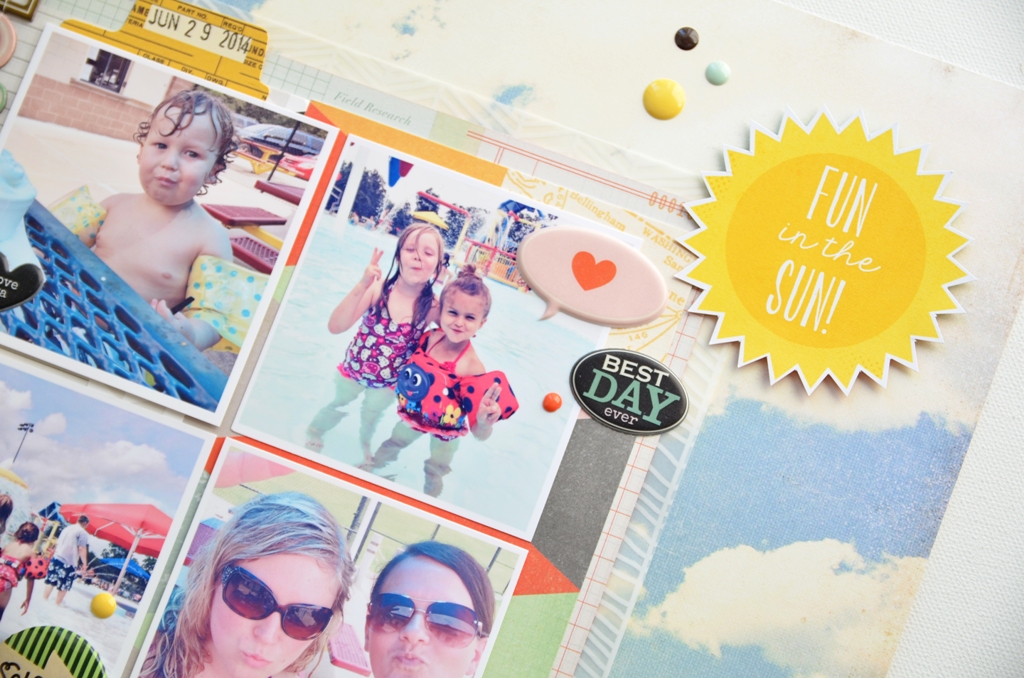
I decided to use this awesome cloud paper for my background which was really perfect for some pool photos. I stuck pretty close to the sketch except for adding that cute sun in the corner.

jenchapin_ctk July kits (8)
This month's embellishments were perfect for documenting a summer day. I cut the sun from the Simple Stories cards included in the PL add-on.

jenchapin_ctk July kits (7)
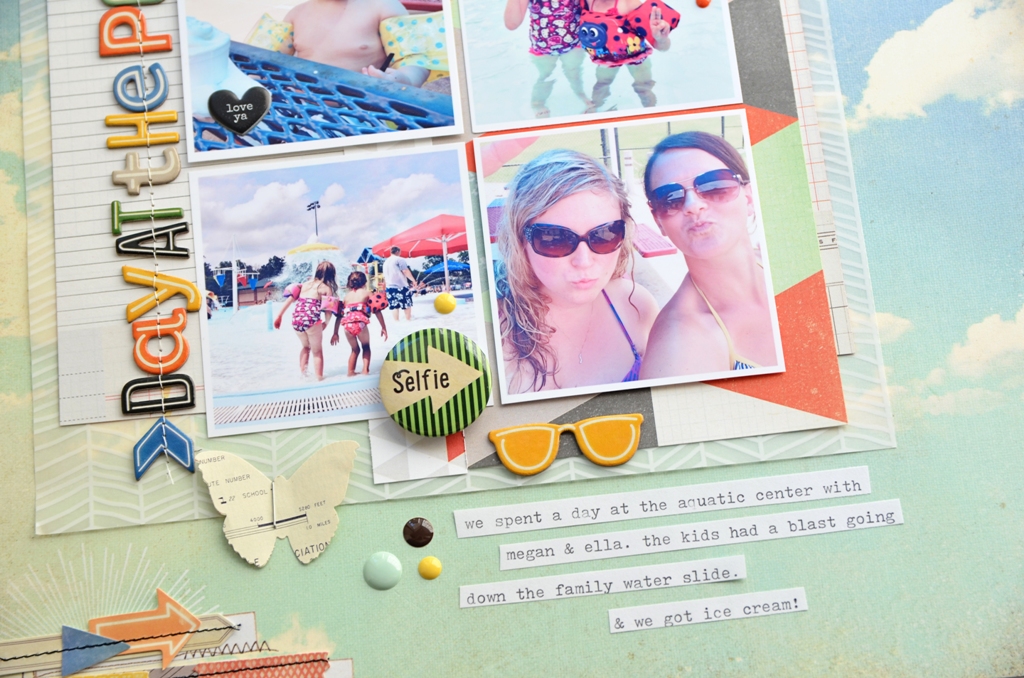
Of course I had to use the selfie flair in the main kit. I love typing my journaling on my typewriter and adding strips to my page.

If you would like to play along, create a layout based on this sketch and post it in our gallery or link us on this post! Have a great week.

Saturday, July 19, 2014

Sunshine in My Filofax

Hello there! If you follow me (Sam) on Instagram (@happiescrappie) you will see a lot of planner-related post popping up on your feed. Ah yes, I have gotten my very first planner - A medium sized Kikki K in mint / gold dots back in October 2013 and I am hooked ever since. And my humble collection is slowly growing. When Trina asked me if I could do a blog post about planner, I was so thrilled because I can finally share my obsession with all the CTK dubbers! So here I am, to kick start the very first planner/filofax-related post on CTK blog.

The picture below shows my humble collection of vintage typewriter and planners. And I have two more planners on my way (pre-ordering them from Amazon at really great price but the waiting period is 1-2 months). 


If you are interested in what are the planners that I am using now, watch the video here


This month Citrus Twist Kits has all the fun colours that go so well with Summer themed. It is summer all year long in Malaysia & Singapore but it is still fun to play with all the vibrant colours. I decided to use the leftover from my July Pocket Life kit to make some planner dividers for my Filofax original yellow.


I wanted the background of the divider to be really plain (so that the colour would pop), so I trimmed down 6 pieces of vellums into Personal sized (approximately 3.75 inch x 6.75inch).  I just add some mini cards from Simple Stories and Elle's Studio stickers on the vellum, then laminate the vellum. And it is really easy that I love how the elements look like they are floating on my planner.


You can actually see-thru what's behind the divider.


This divider is made using the die cut from Amy Tangerine dies (which is available at Citrus Twist Store).


Just in case you are wondering, why did I added a thin stripe of washi tapes to the edge. Its not for enforcement the dividers, thats because the stupid me, has forgotten to adjust the gap of the rings on my Rakuten punch, and punch them wrongly and I ended  up with 12 holes on each dividers after punched twice.


 I only spend 15-20 minutes making the dividers and I really like how easy and colourful they are. I hope this post inspires some of you (who are planner nerds) like me use the left over form your Citrus Twist Kits to make your own divider.

XoXo,
sam-sig