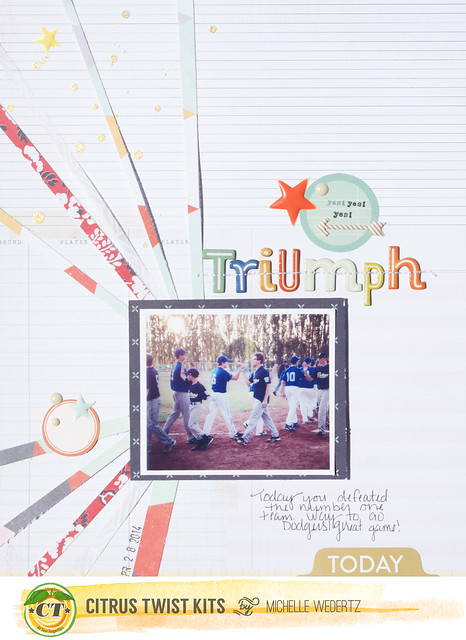
When designing layouts featuring my son, I tend to go a little bit more geometric. This time I chose to feature a starburst to bring the attention straight to an Instagram of my son at the end of a baseball game.

Starbursts can sometimes be a little time consuming, especially when you want to use multiple patterned papers. Luckily, I recently ran across some advice that simplified the process. The basics of this starburst technique is to staple strips of patterned paper together, making you able to then fan the papers out into a desired arrangement without having to painstakingly cut and piece them together. Since I wanted the starburst to radiate from the photo in two spots, I put together two bundles of paper strips using my standard stapler (I tried this with my Tiny Attacher, but found that the larger staple gave my strips more "mobility.")
To make this already easy technique even easier, I decided to staple my strips of paper directly onto my background paper where my photo would be placed. I then played around with the arrangment and placed a little bit of glue along the strips to hold them down. Here is what the final placement looked like:
I find that in most cases when layering paper and embellishment over staples, that staples can be a bit bulky. To offset this, I applied pop dots to the patterned paper that I matted my picture with.
Here are some closeups of the finished layout:


Thank you for sharing this cool technique Michelle! Your page is very inspiring :)
ReplyDelete