Anyone who has been following me will know that I'm not much into creating with mediums because I don't think I'm any good at being artsy and that I worry about messing things up. Well may be that's about to change because I've just found a simple and fool-proof method of creating water-colour backgrounds that doesn't require expansive tools or supplies. Everything needed can easily be found in your kitchen. Here is the soap bubble background technique :

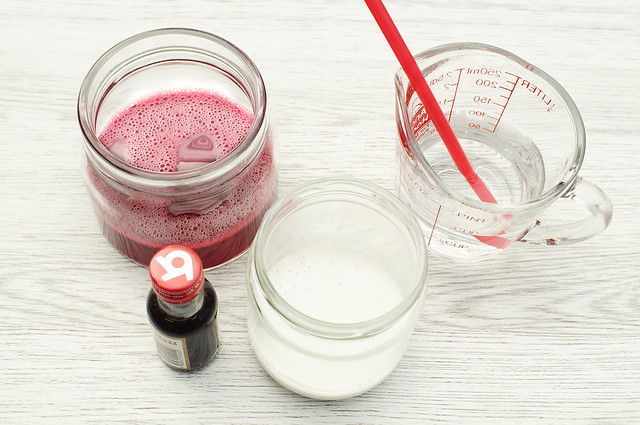
You will need :
- 1/2 cup of water
- 2 tbsp. of dish washing liquid
- 3 tbsp. of food colouring
- drinking straw
- white cardstock

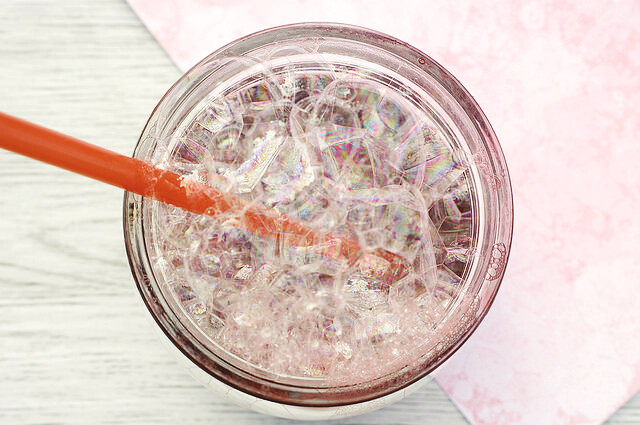
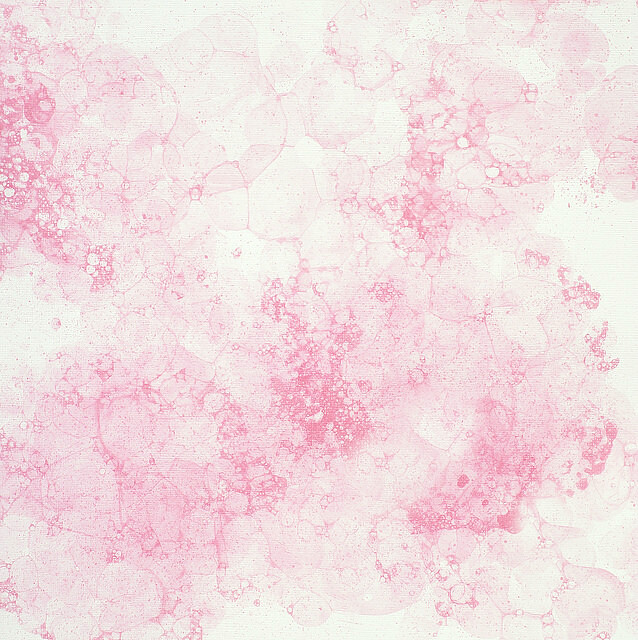
Mix all the ingredients together - don't worry if the colour seems too dark, it'll lighten up three or four shades after application. Insert the straw and blow in short bursts until layers of bubbles cover the surface. Large bubbles make widely spaced, octagonal-type imprints which are lighter in colour while lots of small bubbles create denser, more intensely coloured patterns.

Now lay the white cardstock across the layers of bubbles. This will cause the bubbles to pop, leaving prints on the paper. One advantage of this technique is that your cardstock doesn't have to be primed with gesso and will not warp because only a minimal amount of liquid from the bubbles is absorbed. If you like you can substitute food-colouring with reinkers, acrylic paint or spray mists, just play around with the proportion of water needed.
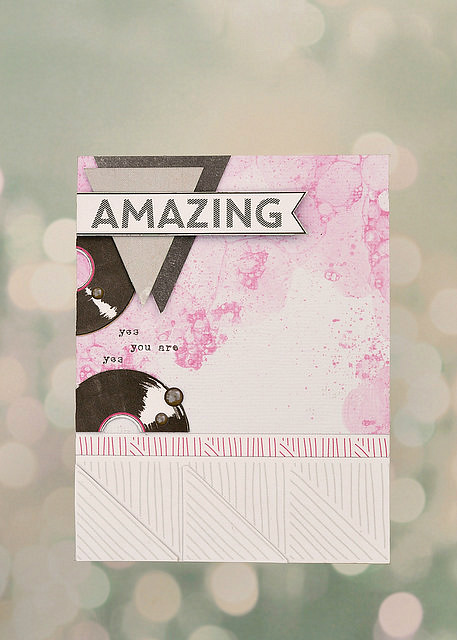
Here's a card I created featuring my soap bubble background using the Echo Park cut-apart sheet from the Oh My Heart Add On Kit, some enamel dots from the Are We There Yet? Main Kit and the July 2014 Happy Stamp.


Love it! Looks great & sounds simple.....tick, tick!!! Thanks for sharing:):)
ReplyDeletethanks Lizzy
DeleteI can't wait to try this!
ReplyDelete