Showing posts with label die cutting. Show all posts

Thursday, August 24, 2017

Love You

Hey everyone, it's Bea Valint here today, and I am so delighted to be this month's guest designer for Citrus Twist Kits! There are so many gorgeous products in this month kit that it was hard to choose what to use first! I love the colorful patterns, the feminine details, and the shiny ephemera pieces…

Tuesday, May 3, 2016

Tuesday Tutorial with Brenda

Good morning everyone.  Today I am sharing with you one of my favorite techniques for my simple pages.

Often I want to add more interest to my page but still want to keep things from being too over cluttered.  Plus the colors and patterns in the May kit are amazing.  I really wanted to use every paper for this first page.  Adding a cut file to the background and filling it with pretty papers usually does the trick.

Start with the cut file.  You can cut this on any size of paper and it doesn't have to be white.  White backgrounds are just my favorite.

I created this file in Illustrator just for this page,  If you want to use it, I have the PNG for you HERE.
Once you open it in your silhouette software all you need to do is resize, trace and cut.  Be sure to select "trace" or the inside of the letters won't cut out.


The hardest part was choosing the patterns I wanted to use.


Then I just hand cut a few pieces and laid them on the back of the background page.


 There wasn't enough room to glue them down so I just grabbed an old roll of washi and taped it all down.


See how pretty that is!


And here is the finished page.  Colorful, fun and still true to my simple style,


Happy scrapping all!

Brenda

Saturday, February 27, 2016

3 to Inspire with Missy


Hey, friends!  Missy here to share this week's "3 to Inspire" Challenge :)

You are welcome to create a layout or a PL spread, but you must include all 3 prompts on your project.   Here is what you need to use on your project:

1.  Use paint, ink or mist (as much or as little as you'd like...I used watercolor and Color Shine).
2.  Use hand stitching or machine stitching.
3.  Use something fussy cut from patterned paper.

Here is what I created using the 2016 February "Stories" Main Kit.  I mainly used pieces from the Maggie Holmes Bloom cut apart sheet and created a grid design.  I used watercolors on the background and added a large die cut butterfly.  I used lots of bits & pieces from the Pink Paislee collection, and I fussy cut those cute hearts from the Studio Calico paper.


I love these fun tab pieces from Pink Paislee!  They are perfect for layering and adding details to your layout.  This fun doilie gives such a feminine look to a page.  I used a blue colored gelato here to add a hint of blue to this side of the layout.  I also used my sewing machine here with some shiny gold thread.


I machine stitched through this black piece here, and I used one of those fussy cut hearts here.  I added even more gold thread just because I love it!  This fun cork piece was the perfect touch to add on top of the cute frame.


Hello adorable puffy stickers!  I am in love with this cluster...Pink Paislee knocked it out of the park with these gorgeous stickers!


I have a process video for you if you'd like to see how I created this layout...I hope you enjoy it!


Now it's your turn!  Use the 3 prompts to create your own project, share it with us here in the gallery, and you will be eligible to win a small prize from the CTK Store.  Make sure to include the date of the challenge in the title of your gallery submission.  I can't wait to see what you create!

Thanks for stopping by, and happy scrappin'!

Missy :)

Monday, August 11, 2014

Let's get digital with Jen Chapin

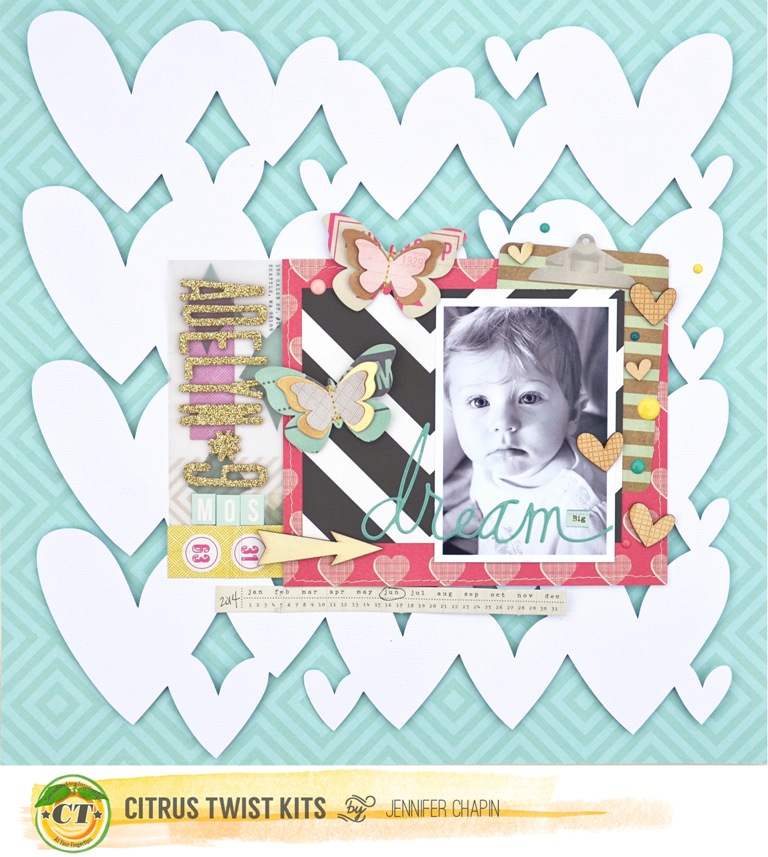
jenchapin ctk adelyn (1)
Hey there and happy Monday to you! Jen here and today I'm sharing a layout I created with the August kits, along with a free cut file. I was inspired by the heart wood veneers in the main kit this month, so I created a heart background for my layout. You can download that cut for free HERE.

jenchapin ctk adelyn (2)
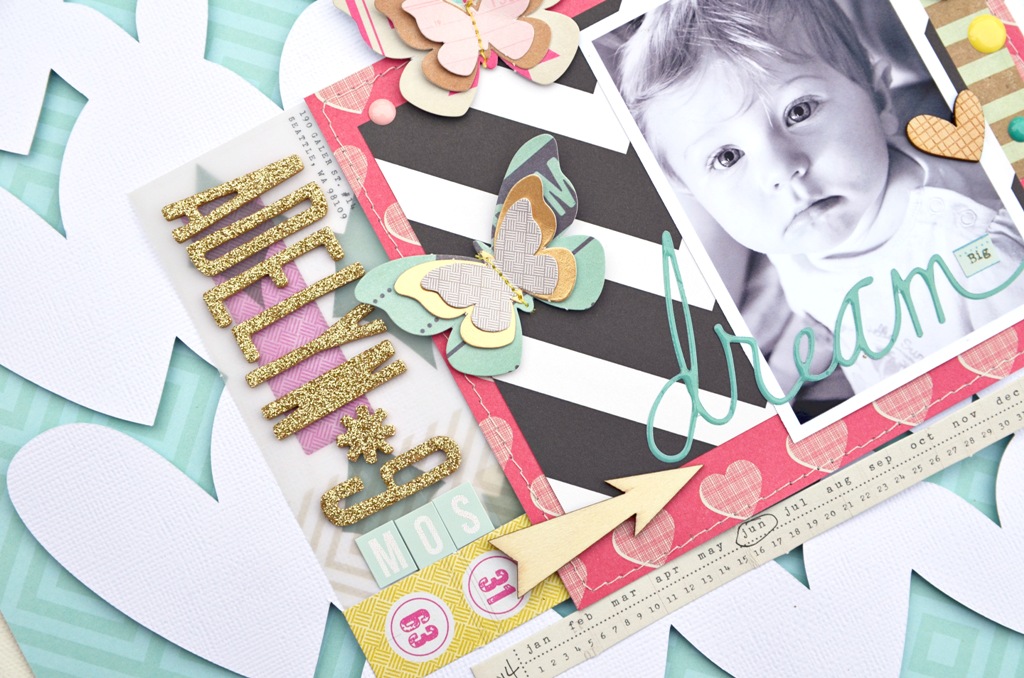
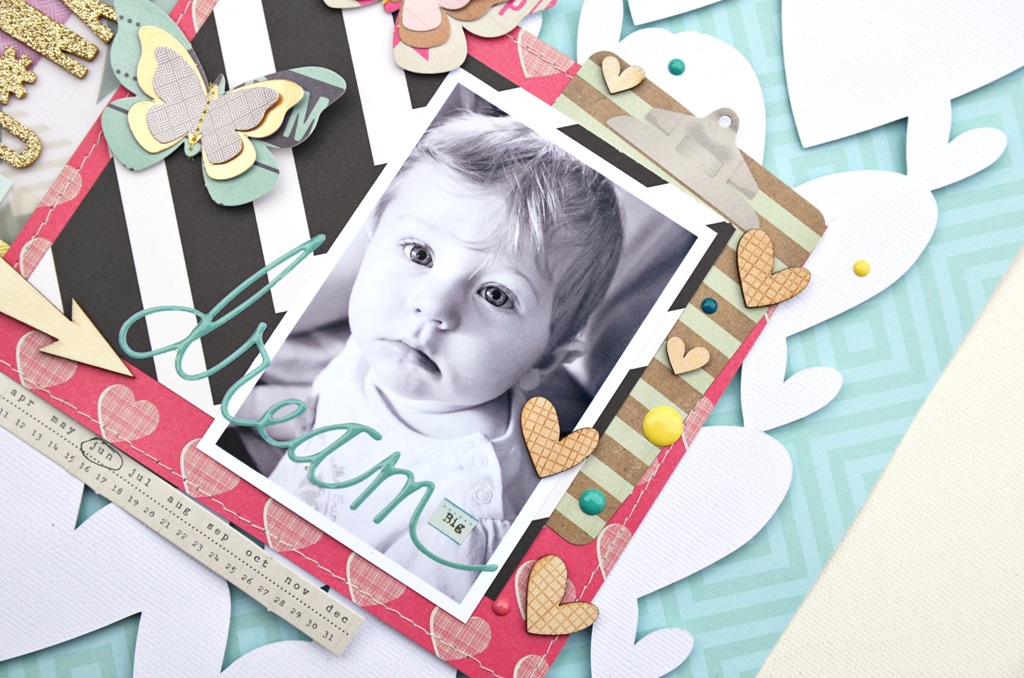
I used a ton of foam squares to pop the die cut off the background of the page. It is subtle, but it does give the layout great dimension. I used a few pieces from the Pocket Life kit, as well as those gorgeous gold thickers from the main.

jenchapin ctk adelyn (3)
The Heidi Swapp word stickers in the kit this month are great. I used quite a few on my projects! My other favorite item were the Crate Paper Notes and Things embellishments included in the Summer Dreaming add-on. Those butterflies are just gorgeous.

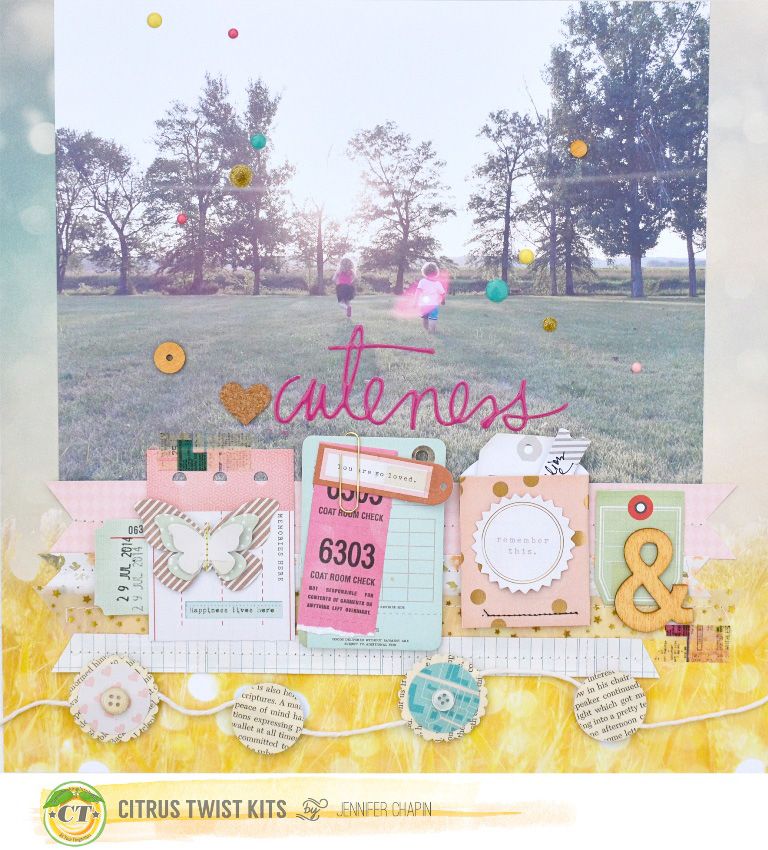
I have one more layout to share with you. This one was created using a large photo (8x10).

jenchapin cuteness ctk (5)
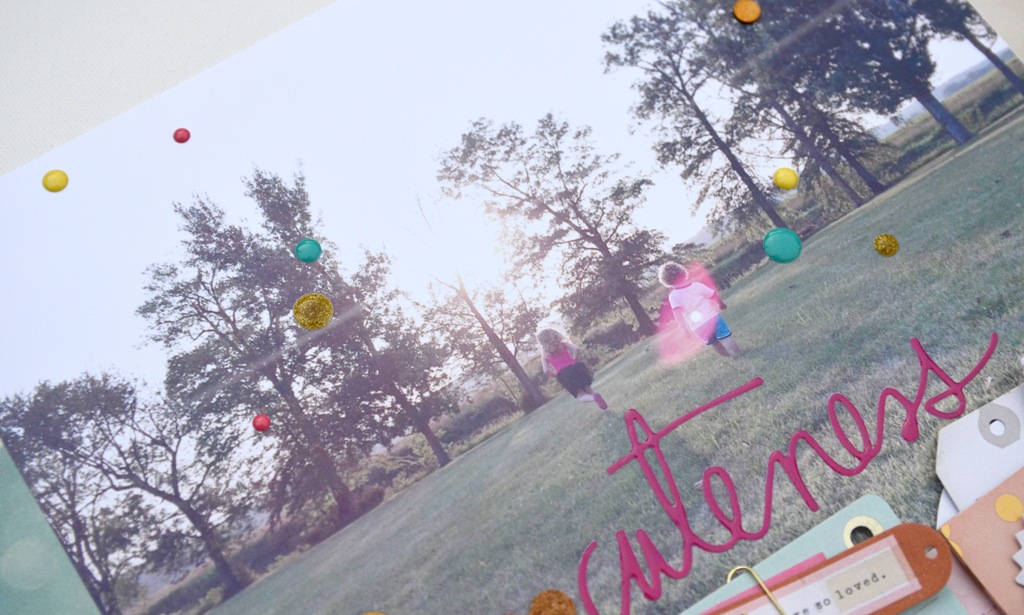
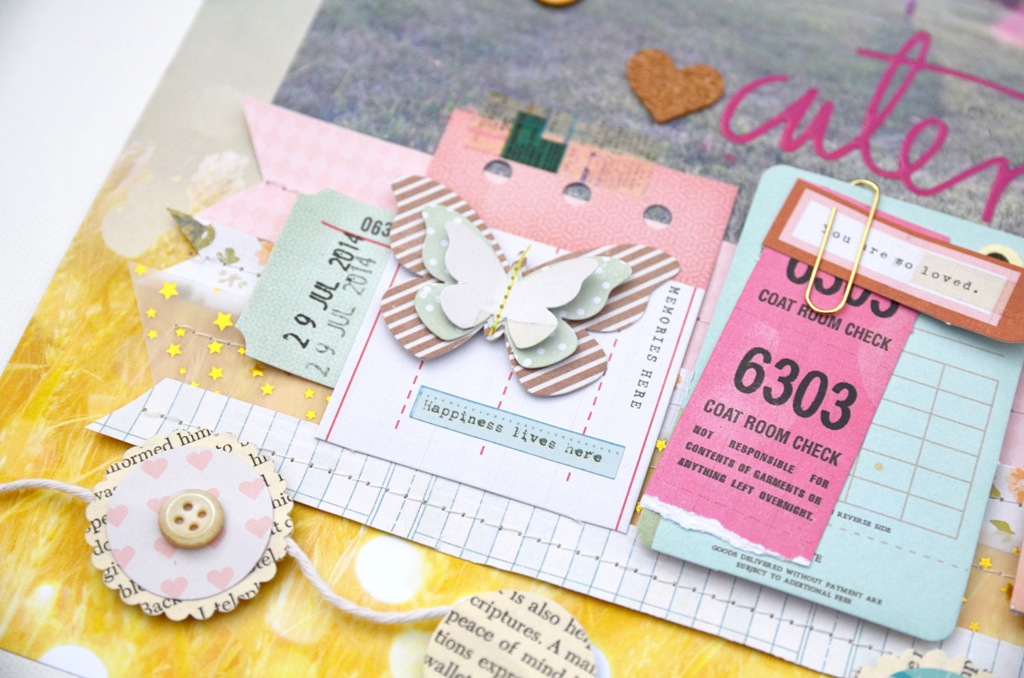
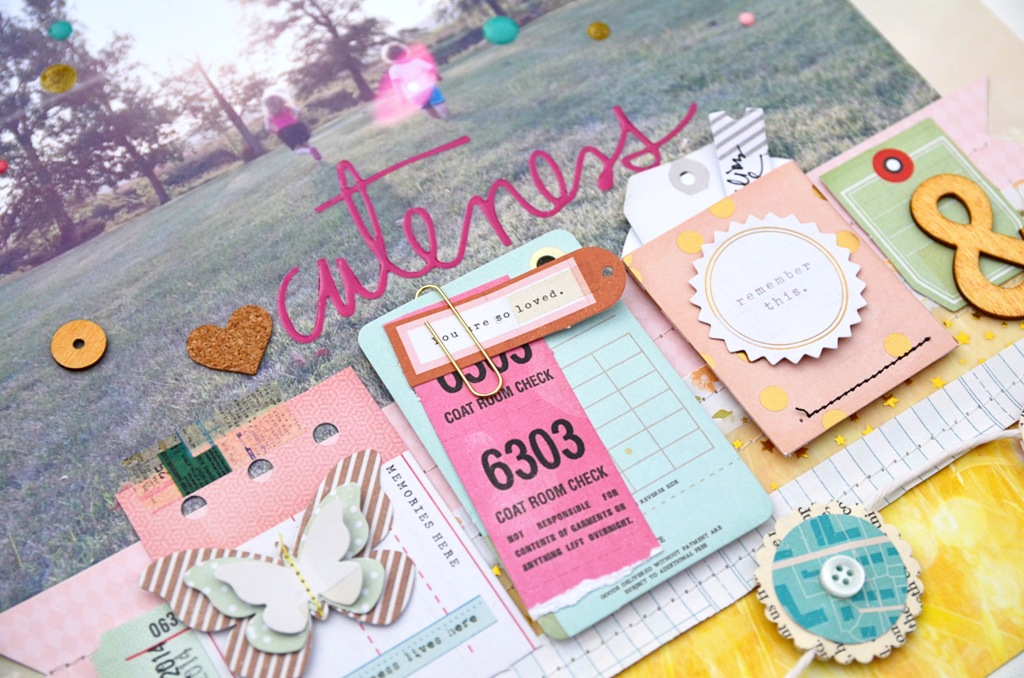
I started with this photo of my kids playing in the backyard. I knew as soon as I took it that I wanted to use it for an enlargement on one of my projects. After adhering the photo to patterned paper, I used the rest of the embellishments from the main kit and Summer Dreaming add on to layer up below.

jenchapin cuteness ctk (4)
I also added some enamel dots to the photo because, hello, I cannot make a page without them.

jenchapin cuteness ctk (3)
More layering and how awesome is that exclusive book paper garland!

jenchapin cuteness ctk (2)
Thanks so much for stopping by today! Have a great week.

Saturday, July 26, 2014

Let's Get Digital with Jen Chapin + a free cut file!

jenchapin_ctk July kits (14)
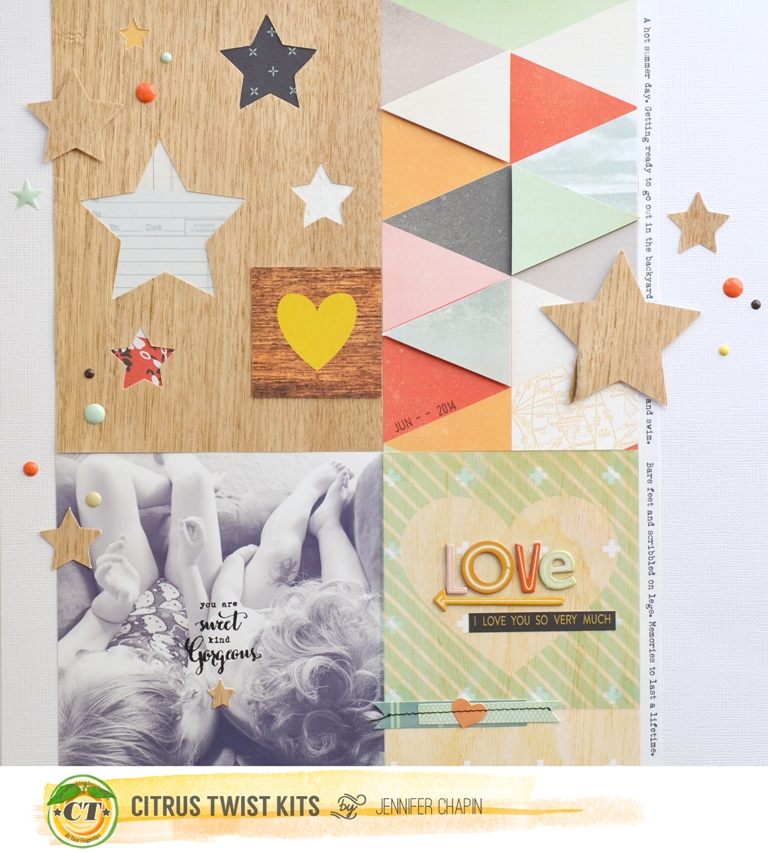
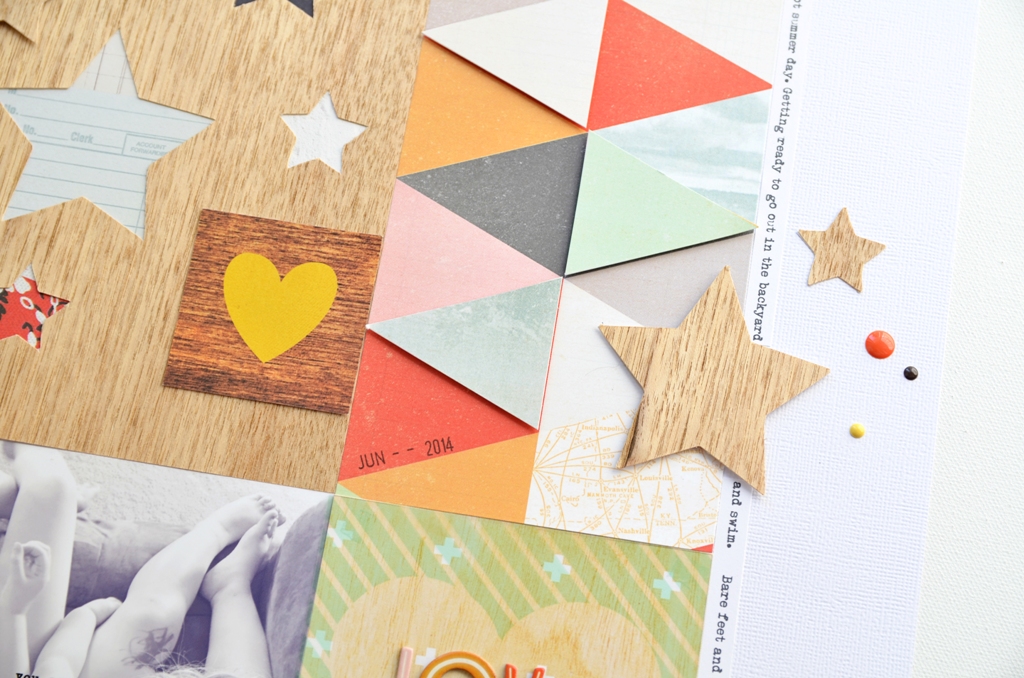
Hey everyone and happy Saturday! As soon as I saw the 5"x7" wood veneer sheet in July's main kit, I knew what I had to do. I had to cut it with my Cameo.

jenchapin_ctk July kits (11)
I decided to go with a star pattern because I wanted to use the negative as well as the positive space. You can actually download the cut file for your own star pattern here!

Some tips for cutting wood veneer in the Cameo:
  • Set your blade depth to 6 or 7. You will need to use the plastic ratchet to do this.
  • Set your cutting speed to low.
  • Use the double cut feature. This will have the blade cut each shape twice, ensuring a clean edge.
  • Make sure your mat is very sticky. If it's not, use some washi tape to hold the edges of the wood down before you cut.
See that heart piece of patterned paper up there? That's actually covering a spot where the Cameo didn't quite do it's job. I think the blade got caught in a section of the wood grain and there was a wonky star that ended up getting cut. It's ok. Just cover it up and move on. :)

jenchapin_ctk July kits (10)
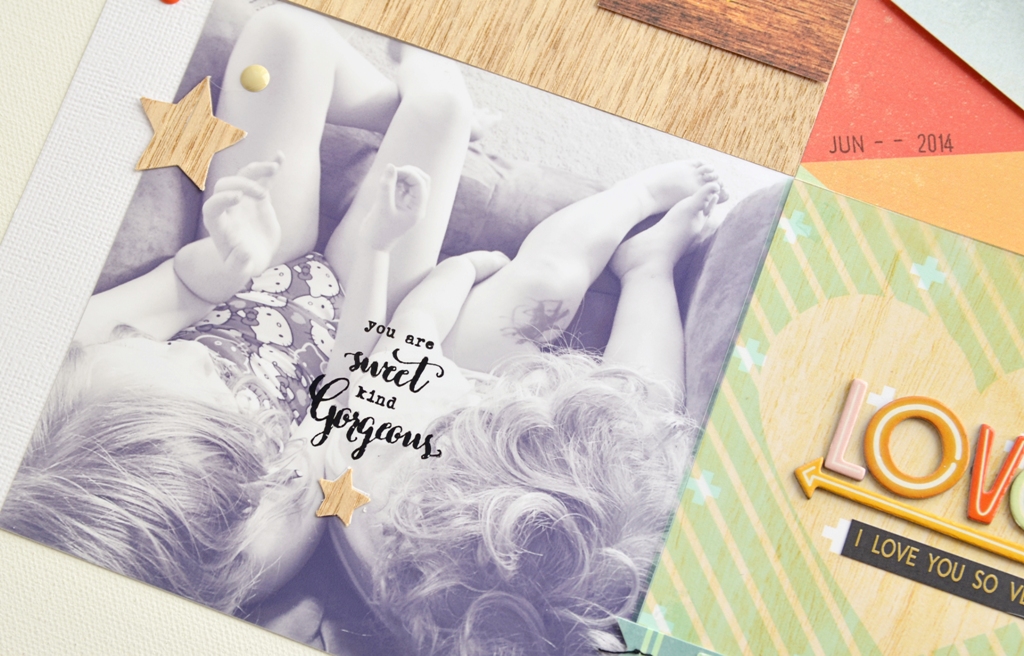
I also wanted to showcase the awesome July add-on stamp. April Joy helped design these with her fabulous calligraphy. I stamped directly on the photo with black ink. It almost looks like I added these words in photoshop but nope, it's a stamp! Love them.

Thanks for stopping by today! Hope you try this technique with your Cameo soon!