Friday, December 16, 2022

LIFE CRAFTED INSPIRATION WITH MARINA


Hi there!
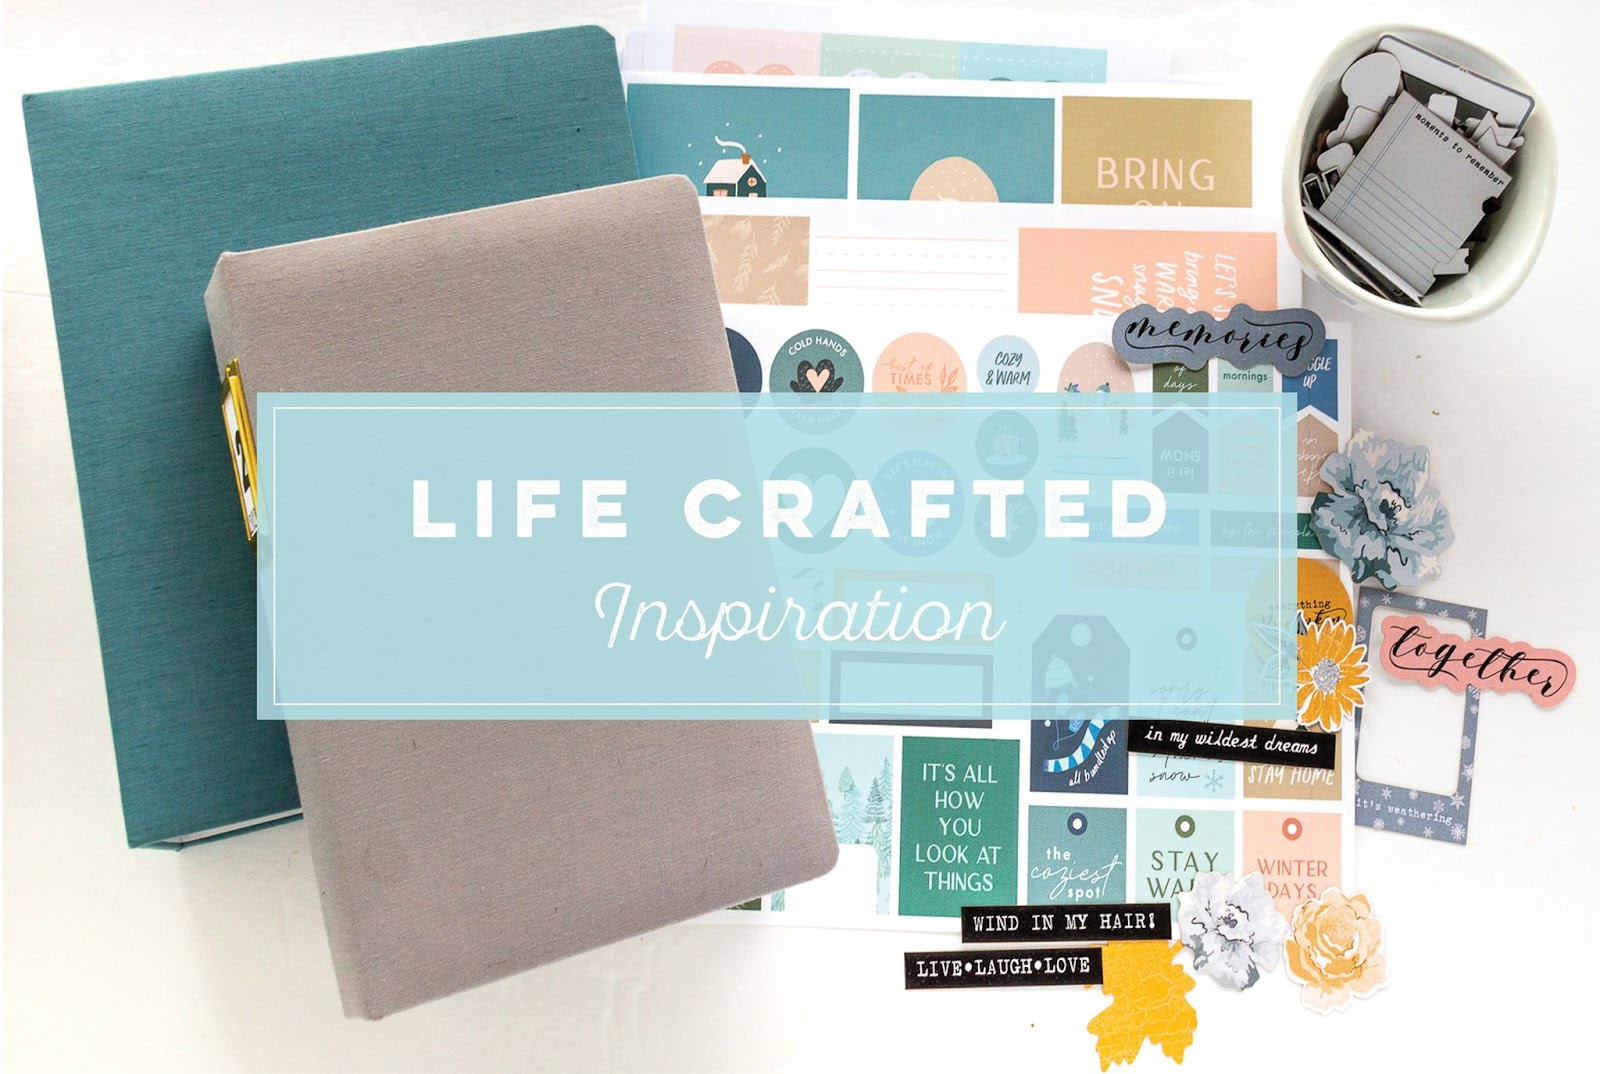
Marina with you today to share a bit of Life Crafted Inspiration featuring our new WINTER MAGIC ephemera and digital files.

I'm just in love with the palette of this beautiful kit, so I wanted to create a spread in these very shades. I used the google app to highlight the main colors and find the right photos to match.

I decided to use the bottom row of colors as a base, and make the top rows and black accent colors, adding some light pink and our gorgeous Sunshine puffy alphabet to the header:
What a beautiful combination of cool and warm hues, isn't it? :)
On this page, I added a blue digital card to dilute the pale color scheme, as well as some yellow and pink to create an overall color triangle throughout the spread:
I love "snow globes," it's my little New Year's weakness, so I wanted to add the second of our Winter Magic digital elements here by adding a flip card.
By the way, the little yellow accent is also present in this photo, and I'm very happy with how harmonious my spread turned out thanks to this beautiful palette!
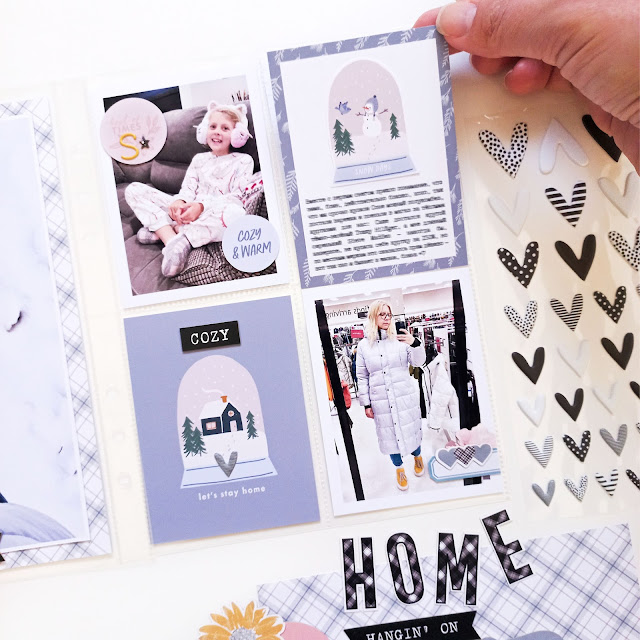
Do you use the "palette method" for your photos? Do you edit them influenced by the paper or embellishments you like? I'll be honest - I do! :)
I hope my first November snow in these photos inspires you to create something beautiful and light with our beautiful winter kit!

Thanks for stopping by!
See you in the New Year! ;))
XO


Sunday, December 11, 2022

SUNDAY SKETCH with Patricia


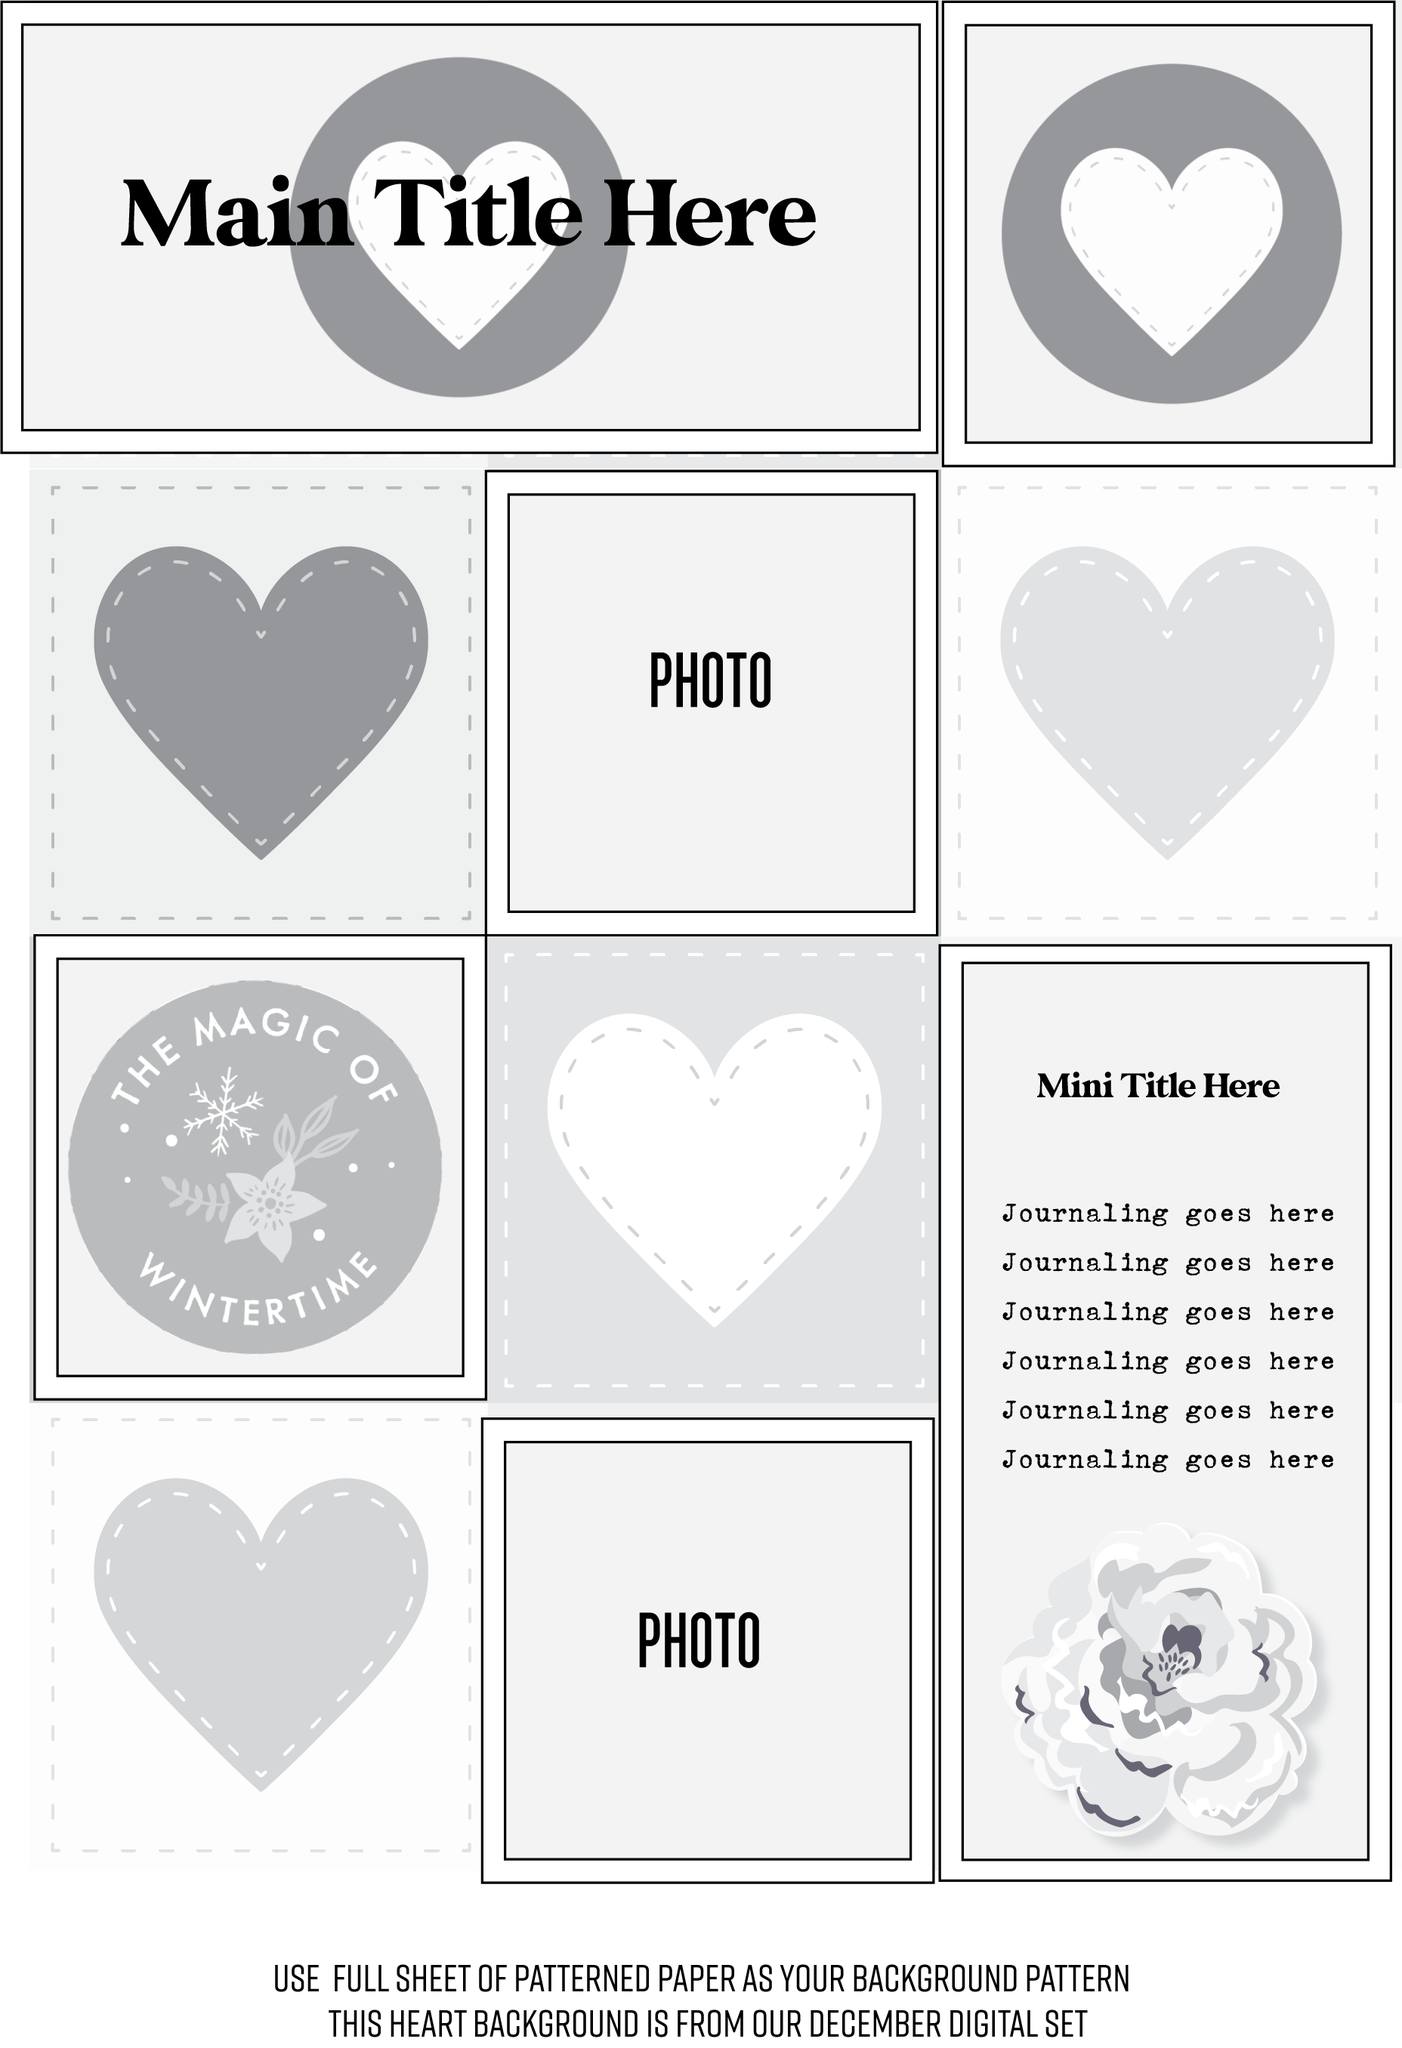
Hello and welcome to another Sunday sketch.   I usually take inspiration and make it my own, but for this project, I was inspired to recreate the sketch.


The description of the sketch, says to use the Heart Background from Winter Magic December Digital  paper, and that is exactly what I did.  I did the majority of the work on the computer in Photoshop. 


I inserted my photos, altered some of the hearts to add the journaling, and the gingerbread cut file.  The cut files come in PNG files, so I was able to change the color and add color behind it to add to an altered heart square.  Once everything was finished I printed this on matte photo paper.


All that was left to do was add the physical product.  I used a combination of the new Winter Magic die cuts, enamels from Parasol kit (they are sold separately here), and a sticker from the Jingle All the Way kit (sold separately as well here).  The photo frae is from the Gather die cut ephemera pack.


Because of the sketch, the grid of the paper, this came together quickly.  If you don't have Photoshop to layer photos and PNG images on top, you could always print the digital paper, then measure and cut the pieces you need to go on top.  


Either way, this is a great start to put together a quick and easy layout!  


Saturday, December 10, 2022

3-TO-INSPIRE WITH KATARINA


Hey CTK friends, 

Katarina here with my last post this year. Today, with the 3-to-inspire challenge. I used the beautiful new Winter Magic collection.

Here are my three prompts for this week:


1. Use multiple photos or photos of different formats

2. Create pockets for your hidden journaling

3. Use your numbers (puffies, stamps, stickers).


And here is my project.


I created a double page layout in my 6x8 Life Crafted album, where I documented how we created Christmas decorations together with my son and our preparations for St. Nicolaus. Children in our country clean their shoes and put them on the window the evening before St. Nicolaus day and in the morning they find them full of treats and small surprises. My son always cleans two pairs, because you know – more shoes, more treats :-)


I used a full page photo of my son washing his rubber shoes and added my title with the Rose Gold Puffy Alpha Stickers, a little black banner from the Winter Magic Ephemera and a couple of Puffy Hearts.


For the left side of my spread I printed three smaller photos and placed them on top of three pockets that I created for my journaling. I used the beautiful Winter Magic Digital Papers both for my background and for the pockets.


I inserted three cream tags inside the pockets to add some thoughts about that evening. I used the same Rose Gold Puffy Stickers to number my photos and added a black tab from the Winter Magic Ephemera to each of my photos.


To keep both my pages cohesive I added a three white puffy hearts and called my layout done.


Thanks for stopping by today, friends! Hope you feel inspired and try creating something beautiful using my three prompts and some of your favorite Citrus Twist goodies.


Friday, December 9, 2022

LIFE CRAFTED FRIDAY WITH ALENA


Hello friends! Here is Alena and a little Christmas inspiration for you!

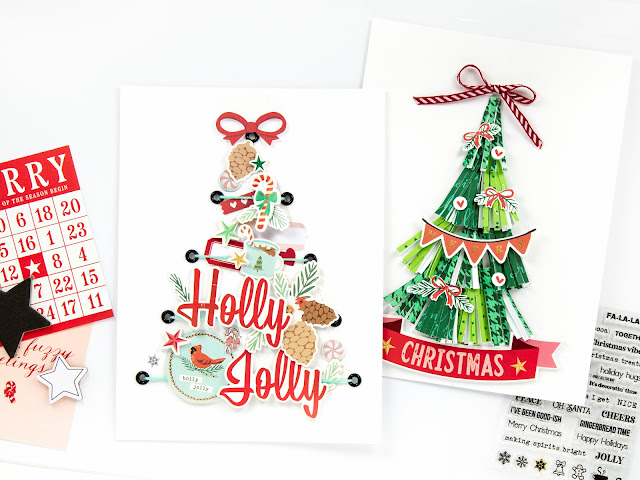
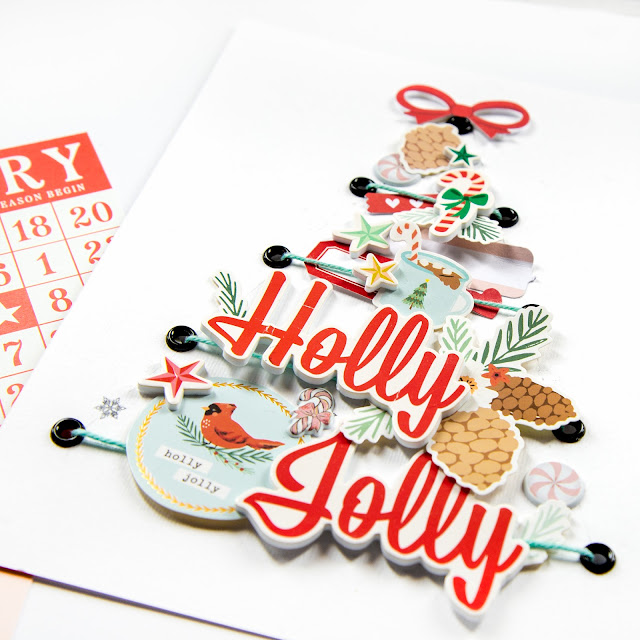
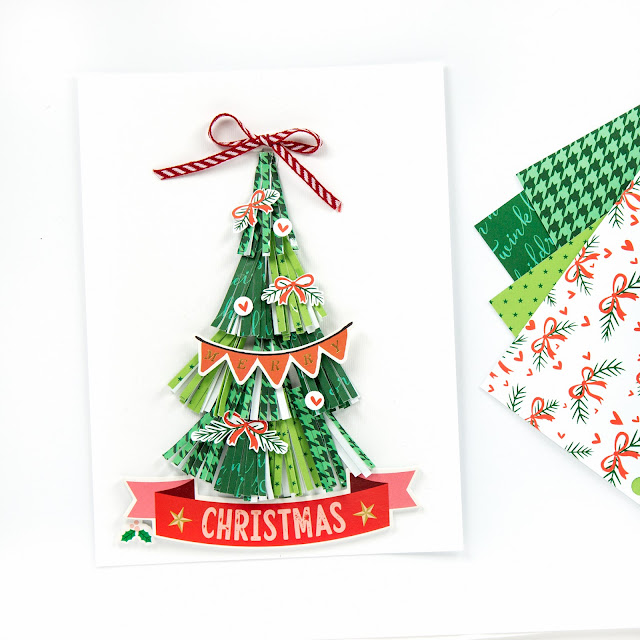
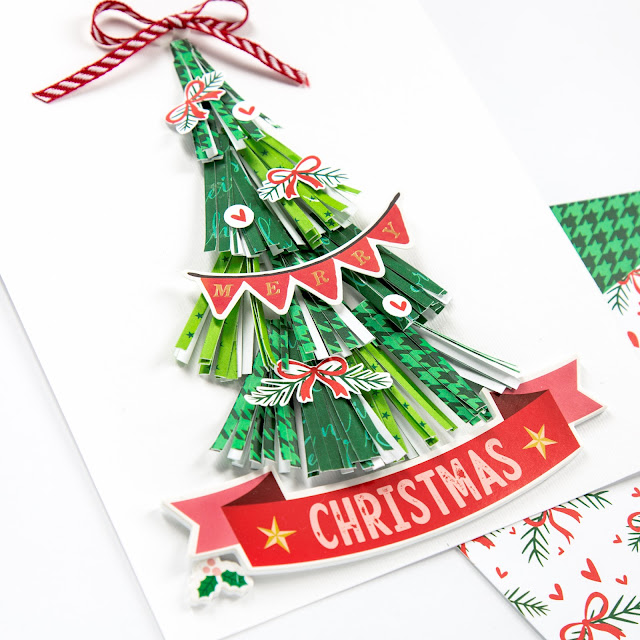
If you will keep your memory in your album about the Christmas tree, then I suggest you be inspired by my options for spread about it using JINGLE ALL THE WAY CHRISTMAS 2022 KIT


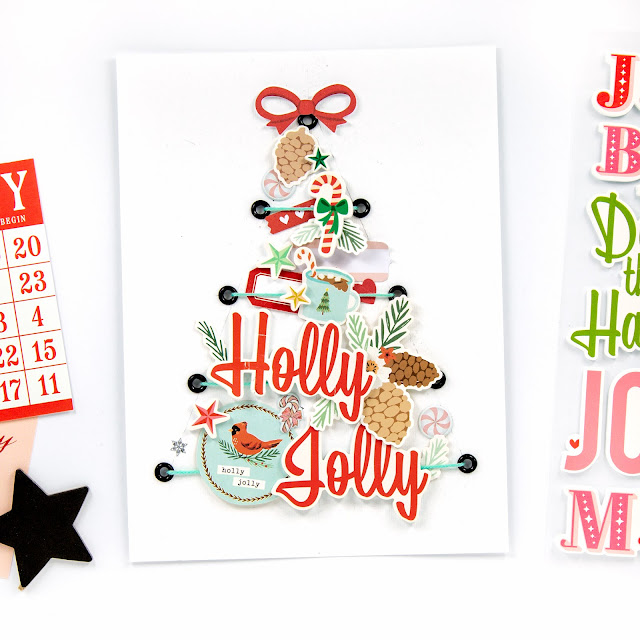
I made the first Christmas tree out of incredible embellishments that are included in the Christmas Kit. I stretched out 4 laces, which were secured with eyelets, and placed embellishments on top of them.


For the second Christmas tree, I chose several shades of green patterned paper and made paper tassels. The tassels were placed in the shape of a Christmas tree.


Later I plan to add a photo of our family to the whole page.

I hope you liked my ideas! 

Remember to share your creations with us on the Citrus Twist Kits Friends page on Facebook or by using #CTK, @Citrustwistkits on social media.


Sunday, December 4, 2022

SUNDAY SKETCH with Ashley


Happy December CTK friends!! I hope you have had a great year using your CTK Kits, and today I'm here to share some inspiration with you for the Sunday Sketch! It's always nice to have a starting point for your layout, to take some of the guess work out of the design. Here's a look at today's sketch.


This sketch is in an 8.5x11 format, but the great thing about a sketch, is that it can be changed up to fit your needs. I work in the Life Crafted albums, so my pages are Traveler's Notebook size. I decided to rotate the sketch clockwise to create a vertical look for my photos and the title.


I wanted to use the Winter Magic Digital Kit for this layout, with the Hello Winter cut file that I designed for the month of December. Since the colors in the photos didn't coordinate with the Winter Magic Digital collection, I decided to turn them black & white. I love the contrast of the black & white photos with the color scheme from the kit.


For the journaling area on the sketch, I used one of the journaling cards from the Winter Magic digitals. I typed my journaling directly onto the card in Adobe Illustrator and printed it out. I wanted to give the card a tag look, so I snipped off the top two corners and punched a hole at the top, so I could add in some twine.


I really liked the idea of using the Cut File for the title area of the sketch. It was a perfect title to go along with my photos. I printed two of the patterned papers from the Winter Magic digitals and used my Silhouette Cameo to cut out the design. Once I had the cut file adhered to my layout, I added in some machine stitching to give it a bit of texture. 


I hope you've had a chance to pick up the new Digital Kit for this month, as well as the new cut files, and that you've found some inspiration today for using them on your projects.


Saturday, December 3, 2022

3-TO-INSPIRE with Amy


Happy December everyone! For my 3-to-Inspire this week, I am working with the Jingle All the Way kit, with its whimsical variety of colors and textures.  Here are the three things I focused on:

1.  Circles

2.  6x8 pattern paper from the Jingle All the Way kit

3.  Foam stickers


I love working with circles in my layouts, and I especially like it when they are cut off the page.  I find it very visually engaging. In this layout decided I wanted to include separate photos from our walk in the partial circles that were overlaid on top of the full-page photo.  To create some visual separation between the smaller photos and the larger one, I used my Silhouette to cut circle outlines.  I put these on the edges of my circular photos, which gave me nice visual space.  

I typed my journaling directly onto my photo in Photoshop before printing, but you could easily type your journaling separately, cut it out, and adhere it to your photo.  I cut the circle of pattern paper on my Silhouette, but you could also die-cut it, use a circle punch, or fussy cut.  I punched a small hole at the top, used a number brad from my stash, and attached the circle overtop the journaling.  I then added a puffy sticker to the top of my spinning element for extra texture. 


This layout is sized outside a 6x8 page protector because of its interactive elements.  Pro-tip, if you try this, be sure to punch your holes before you add your spinning circle, mine only *just* fit.  

I hope this inspired you to play with your holiday products a bit today!  If you try this layout, be sure to tag me on Instagram @alphins_little_corner , I would love to see what you make!


Friday, December 2, 2022

Life Crafted Friday with Diane


Hi Everyone and happy Friday! Today I am sharing a Life Crafted 6x8 layout I made using the Crave Mini Kit. This was one of my favorite kits that was offered this year and I knew it would be perfect for this layout about an afternoon tea adventure with my sister-in-law!


I used a mixture of the digitals that were offered with the kit and the physical ephemera from the kit (the large tag was not part of the kit). The colors went perfectly with my photos! I used the digital 3x4 journal cards in the top left and right corners, the teal card being the perfect spot for my journaling.


I had a lot of fun using the gorgeous ephemera to create my title on the tag in the middle. I even did a little blending on the flowers in the background to bring some pink in. This afternoon really was a "Good Thing" and much needed!

Thanks so much for stopping by and I hope you were able to find some inspiration to document the Good Things in your life!

Have a great weekend!

Diane