Showing posts with label digital files. Show all posts

Saturday, September 10, 2022

3-to-INSPIRE with Nathalie


Hi there!

Nathalie with you today to bring you this week's 3-to-Inspire challenge.   And this time around we have three fun prompts to  help you get your next project created in no time.  Here are this week's prompts:

  1. Multiple Photos
  2. Go Hybrid
  3. Hidden Journaling
And here is what I have created using this month's Retro Mini Kit and Digital collection, and the Beautiful Things 6x8 Add-on kit for my 6x8 Life Crafted Album


Yes! We love Nutella!  I had so many pictures of the kids and their customized spread bottles, and this gave the perfect way to add a few of them to a spread.


I started with  one of the Retro  Digital Patterned papers as the background for this spread.  I sized the photos to 2x3 in, and framed each if it with a patterned paper from the Beautiful Things add on kit.


I added a few embellishments to each of the pictures using pieces from both the Add on kit (cardstock stickers), and Chipboard stickers (Retro mini kit).


I added one large photo of some of the Nutella bottles to the left page of the spread.  The soft pattern of the Retro Digital Patterned paper makes the color of  the photos stand out. Once again, I added a small piece of the Digital Cut Apart page as embellishment to the top of the page, then combined puffy alphas ( Add on Kit), and  chipboard stickers ( Retro mini kit) to complete the title of the spread.


I added my journaling using a Retro Digital Journal Card ( I used Photoshop to size it to the photo, added the journaling before printing it).  I used one of the photos to create a flap on top of the journaling card. The paper clips in the add-on kit helped to bring attention to that corner of the page.  That little piece of ephemera from the Retro kit was just perfect  to complete this spread.


I hope you use the prompts to inspire a new project of your own. Remember to share your projects with us #citrustwistkits.  We love to see what you create

XO


Sunday, April 10, 2022

SUNDAY SKETCH with NATHALIE


Hi there!

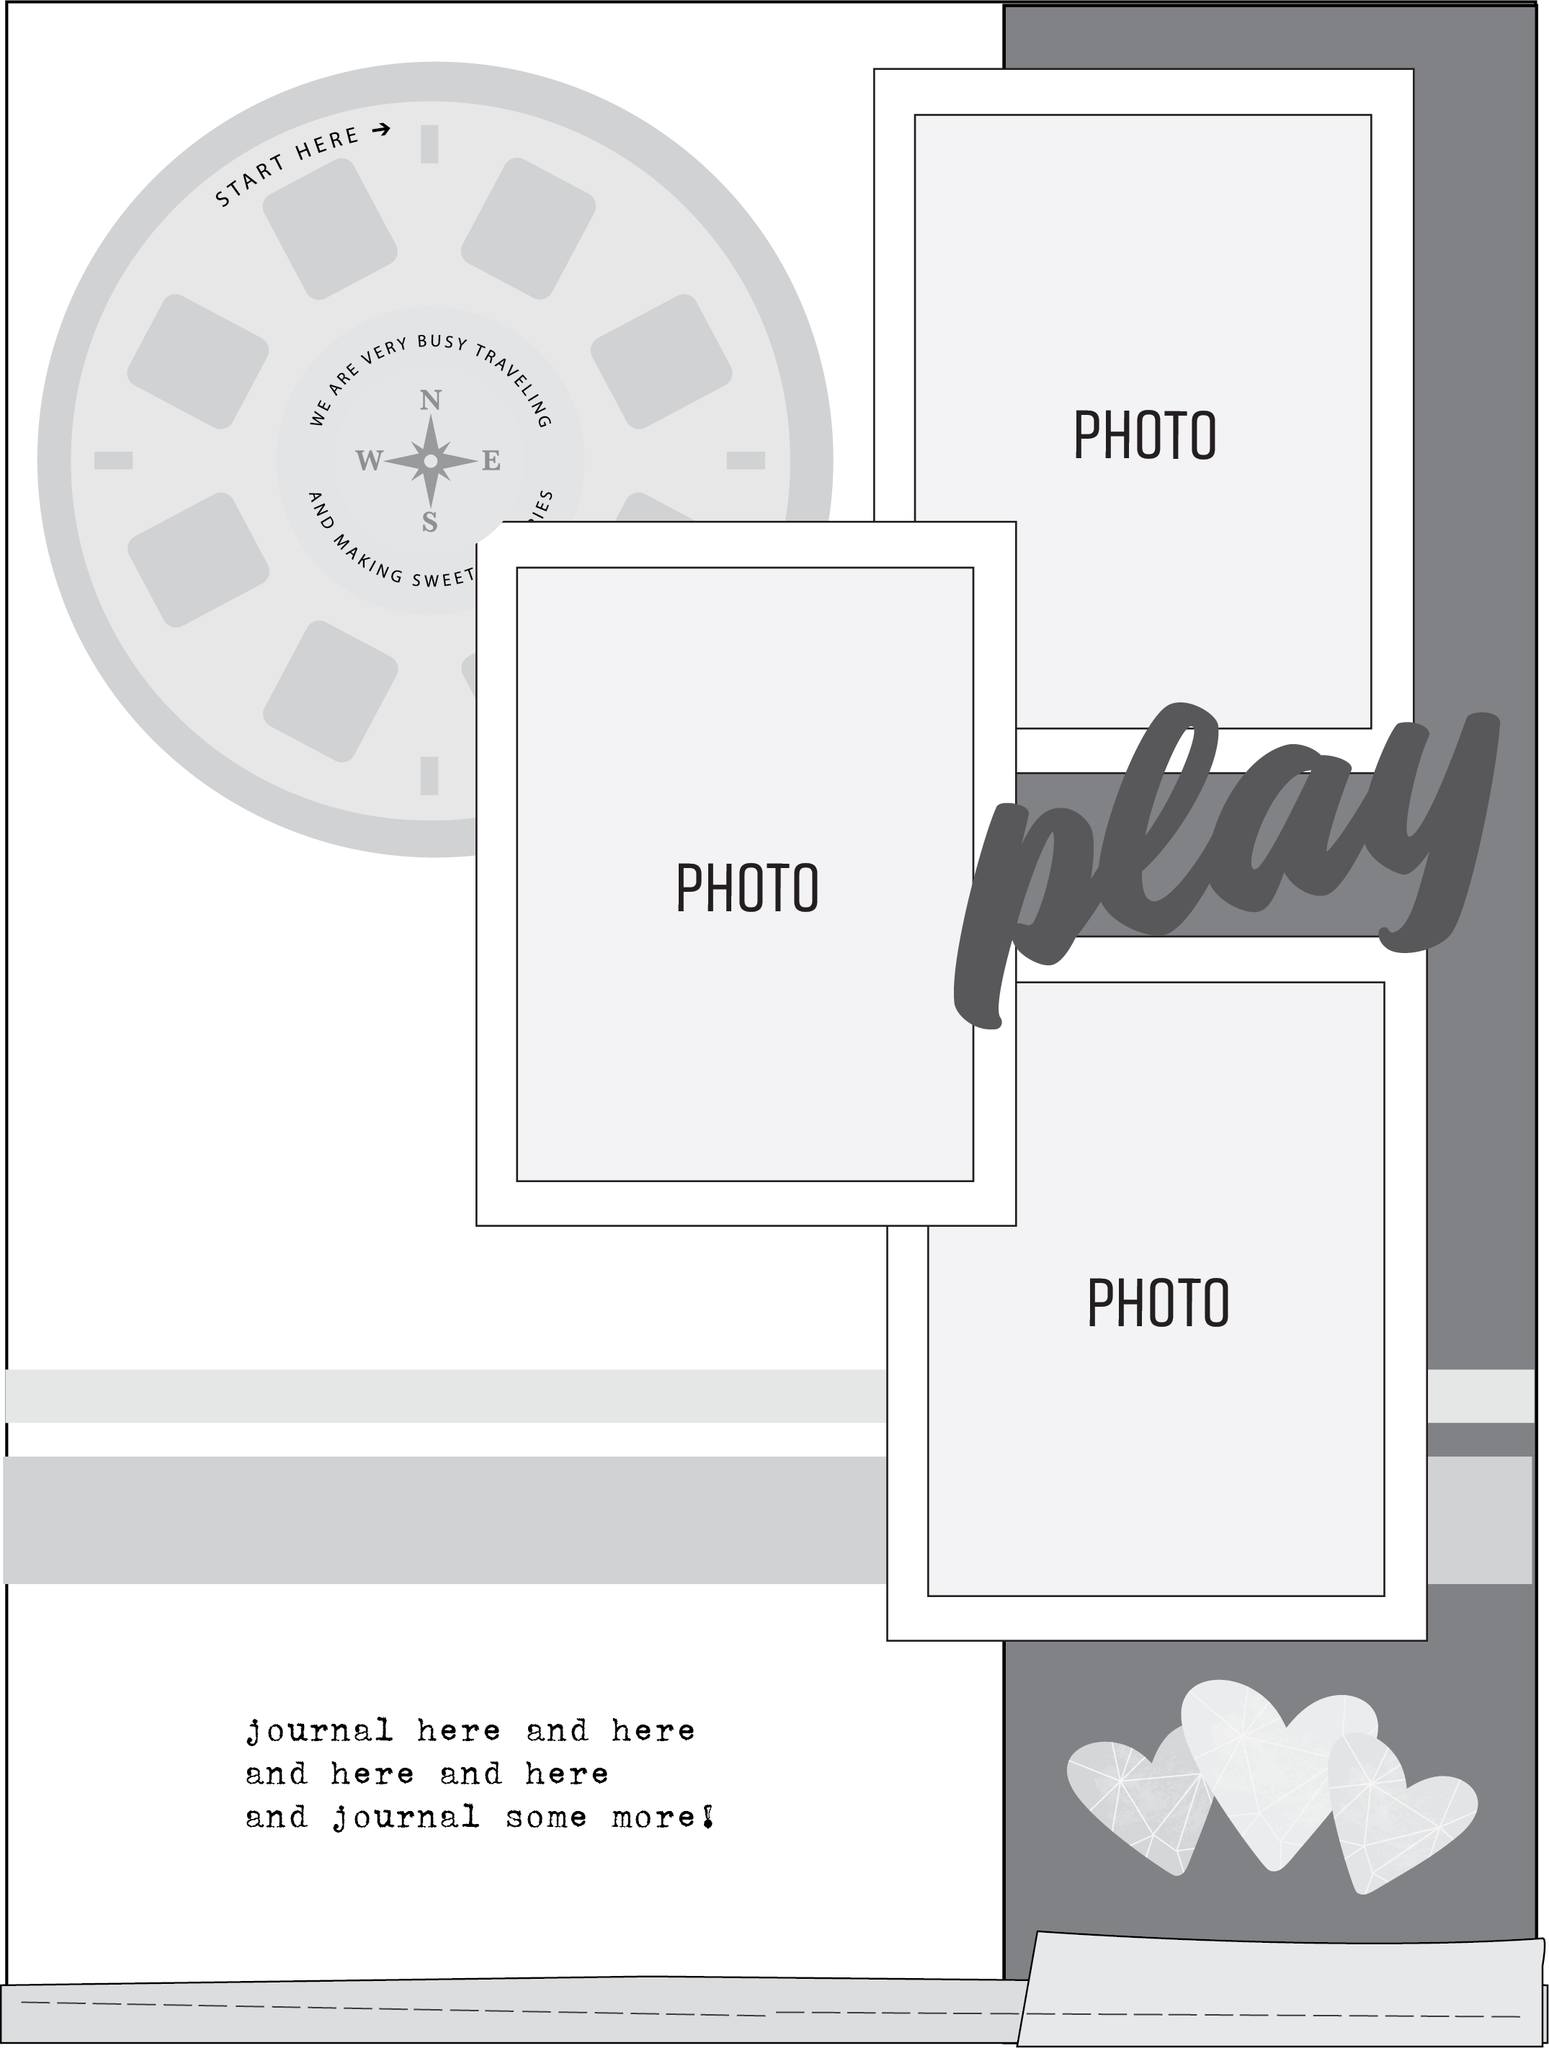
Nathalie with you today to share this week's Sunday Sketch Inspiration.   I think sketches are a memory keeper's best friend.   They are like blue prints to a successful project, which means you can get your memories documented in a flash.  Let's take a look at this week's sketch:


How fun is that design!  Multiple pictures and paper layers.   Here is what I created with the sketch and this month's TRAVELOGUE Kit for my new Sunshine 6x8 Life Crafted Album...


I love the new 6x8 Life Crafted albums, they are perfect for all sorts of documenting, and ideal to hold your vacation memories.  I combined a large photo with my version of the sketch as a complementary page.


I love the three picture aspect of the sketch;  so, I am using the new VACATION MEMORIES cut file  to create the column of photo frames. I cut this from white cardstock and back the spaces with a few pictures of the trip.  


I am using a combination of papers from the TRAVELOGUE kit, and Travelogue Digital papers to create the paper layers behind the photos ( these are inspired by the sketch).   I love all the embellishments in this month's kit, they were perfect to add more sentiment to the page ( and I need a few more train puffy stickers!!)


I decided to change the large embellishment at the top of the page for the round puffy sticker.  This help to keep the focus on the photos.   To finish, I  am using the sentiment from the ENDLESS SUNSHINE Ephemera pack to add the title on this page.


There are so many details in the large photo of this spread, that  going simple with the title was a must.  I am using one of  the chipboard stickers and Puffy Stickers from the TRAVELOGUE kit,  and adding  a small cut apart element from the SUMMER FUN digital Elements page- July 2021 as a title.


I love how easily this spread came together, using the sketch as inspiration for the spread.   Be sure to check all the new products in the CTK shop, and then use the sketch as inspiration for a project of your own!


XO


Saturday, March 26, 2022

3-to-Inspire with Nathalie


Hi there!

Nathalie with you today bringing you a new idea using this week's 3-to-Inspire prompts.   Here are this week's prompts:

  1. Use multiple photos
  2. Create a List
  3. Stamp your Title

And here is what I have created with the Back-to-Basics release, digital files, and the soon to be release This Month 6x8 Stamp set.


I started by using one of the TN papers from this month's digital collection to create the background of the page.   


I sized my photos to Instax size ones, and set them on a grid patterned in the right side of the spread. Here I have added a few embellishments from the Back-to-Basics Floral Ephemera.  IN addition, I added  the small puffy circle numbers to the corner of each photo.


I matched the numbers in the photos with the ones in the Digital Elements cut apart  page.  I set them on the left of the page, and then added my journaling to the right of each number.  

For the title, I am using the soon to be released (April 1st) This Month Stamp set to create my title on top of the list


I hope this inspires you to check the prompts and used them to create a project of your own.  Remember to share your projects with us;  we love to see what you create!


XO


Sunday, December 5, 2021

SUNDAY SKETCH with Nathalie


Hi there!

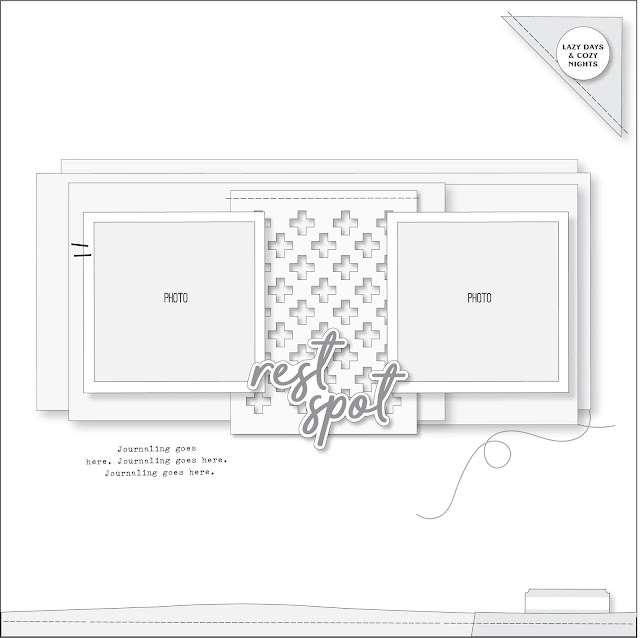
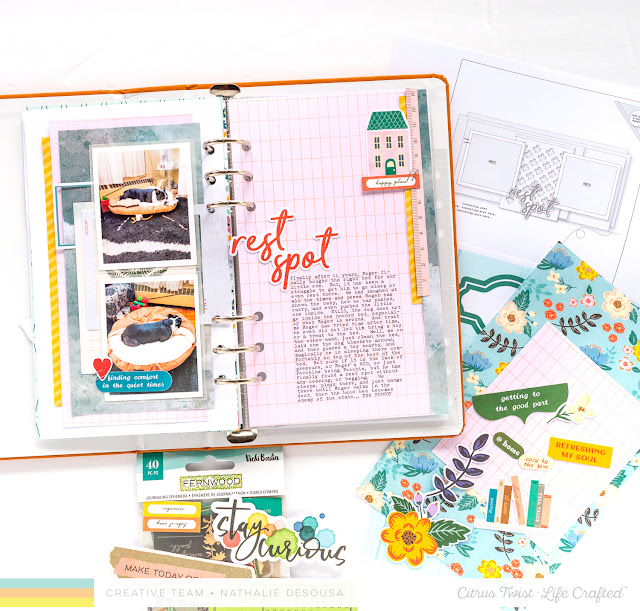
Nathalie with you today to bring you some inspiration featuring this week's sketch and a mix of new products from this month's release.  I am sure that you (as many of us) are looking at easy and quick ways to document your memories.  Well, sketches are a great help when it comes to documenting in style in a short amount of time.  They are like a blueprint to your page, the rest is up to you! Let me show you this week's sketch:


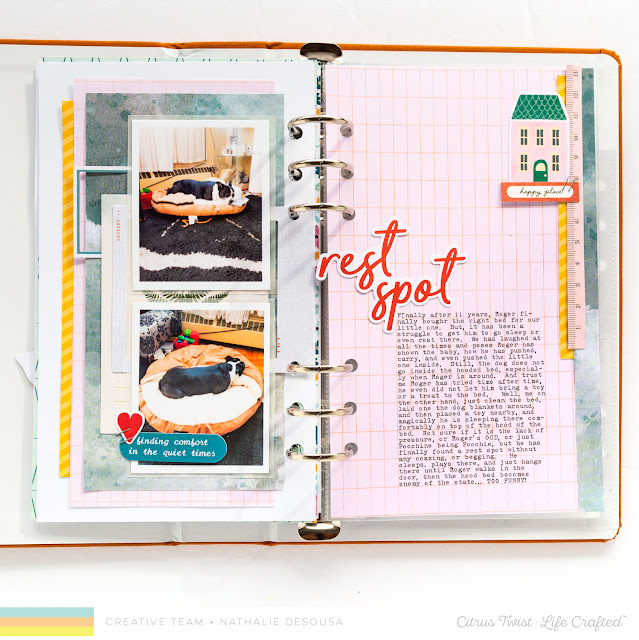
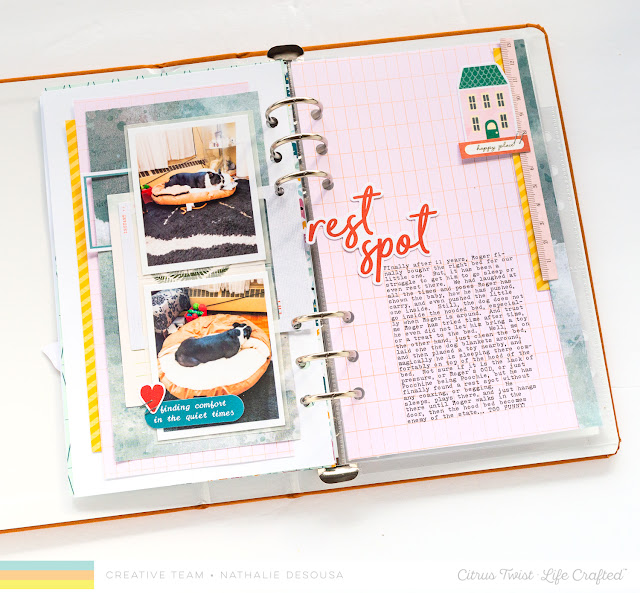
And here  is my project, inspired by the sketch:


I chose to use the sketch  for a Life Crafted album layout.    First, I had to decide on the orientation of the sketch so that it work for my album.  This meant, rotating the sketch 90 degrees counterclock wise.


I chose to place my photos and all the paper layers ( Fernwood Add -on kit and December Digital Files) on the left side of the album.  I followed the layering on the sketch to build the layers behind the photos, and replace the cut file mat with ephemera pieces from the Fernwood add on kit,


I decided to switch the background paper of the other side of the layout to one of the Digital papers from the December release ( this was also used as a layer behind the  photos.  I used Photoshop to add my journaling before printing.  


I added the small strips of paper to the right of the layout, just like in the sketch.  I repeated some of the patterned papers -Fernwood Add on kit-  so that it ties the two sides together; then switched the small label for CTK exclusive TAKE IT INSIDE ephemera pieces.   


I hope this inspires you to use the sketch to document your memories... Remember to have fun with it!!

XO


Sunday, June 13, 2021

Sunday Sketch with Nathalie


Hi there!

Nathalie with you today to bring you this week's sketch challenge.   Sketches are a simple and easy way to get your pages done in a short amount of time.  A good sketch will provide a blue print for your page, the rest is up to you.  Let me show you this week's sketch:


Here is what I have created -inspired by the sketch- using a combination of the June "Sunkissed" Add-on kit, May Digital files, and our exclusive products.


My choice was to keep the center design of the layout as set on the sketch, and played around this focal cluster.


I replaced the small strip of paper on the right of the sketch  with strips of paper ( Sunkissed Add-on kit).  My choice to soften the straight edges of papers.  So, using a border die ( Pinkfresh Studio), I created the soft rounded edges.    These were set on the right edge of the layout.


I mixed papers from the Add-on kit ( Amy Tangerine - Brave and Bold collection, Maggie Holmes - Magical Garden collection ) with papers from Fancy Pants 6x8 Peachy Keep paper pad, and digital files (May 2020 release) to create the paper layers just  as shown in the sketch.


To embellish the page, I pulled ephemera from our June and April release, and decided to replace the washi tape in the sketch with tiny leaf die cuts ( Pinkfresh Studio - Curvy Leaves die set) .  The large butterfly replaces all the small ones in the original sketch!


I love how this layout turned out! Plus, it took little time to put it together using the sketch as a reference!  Remember to share with us any project created with the sketch; use #ctksketch, @citrustwistkits, #ctklifecrafted. We love to be inspired by you, too!


Monday, October 26, 2020

More with our Guest Designer - Ashley Rodgers

Hi there!

We are so excited to welcome Ashley to our blog with a new beautiful project featuring our Flourish kit...  


Hello! It’s Ashley back again with a layout in my Life Crafted album. With Fall finally in full swing, I was inspired to document the leaves changing colors where I live.


 On the left is a photo I snapped while walking around my neighborhood. On the right is a transparency I created using one of the Fall digital cut files, and my journaling is underneath it. I just love the look of a full-sized photo, and the TN page from the basics digital collection balances it out well.


 I had a lot of fun playing with the digital cut files this month. Here, I used a leaf from one of the Fall cut files to make a repeated pattern on transparency. First, I isolated the leaf image and repeated it multiple times while alternating the direction of it. Then, I re-colored the leaves green, orange, and red to represent the way the leaves change in the Fall. Finally, I printed the pattern on a transparency sheet and cut it down to fit in the album.


When using a basic Inkjet printer, I recommend changing the printer settings from plain paper to glossy/transparency film. Also, printing a fast draft will reduce the output of ink and prevent smudging.


The great thing about digital files is that they can be used over and over again. I’ve been using this TN basics page throughout my album to make it more cohesive.


I typed all my journaling in the center of the page and left some room for embellishments before printing it out. For the title, I stamped the word “change” on a label from the kit and popped it up with foam tape to add some dimension.


At the bottom, I numbered the page with a puffy sticker and stamped one of the sentiments from the October 2020 Life Crafted Traveler’s Notebook stamp set to sum up my journaling. I then layered a die-cut underneath another puffy sticker to finish the page.

 Thank you all for joining me today! I hope you found a bit of inspiration, and I can’t wait to share more projects with you in November. 


We love Ashley's soft and delicate Life Crafted layouts, and have asked her to join us throughout November, so she can continue inspiring you with her designs.  You can see more of her work on Instagram...  https://www.instagram.com/sweetashleyann/  

XO

Monday, October 19, 2020

Fall Documenting with Erica


Hey crafty friends! Today I am sharing a page out of my 2018 travel album using the October Digital Tags, which had a great Halloween vibe! I was inspired by all the pieces that talked about witches brew. It immediately made me think of the cider tastings we did in the Fall on our trip to Oregon.


Most of the cards I used on this layout came from the digital Bonus 3x4 Cards. Layered up with some digital ephemera and a handy helping of enamel dots from the Life Crafted kit.


I used the beautiful Blue/Green Puffy Alphas in the kit to create a title on my photo.


In the center of my layout I added in a popcorn bag from the brewery. It was the perfect height to pop into the album!


I adhered it using one of the Adhesive Page Strips. This is my favorite way to add brochures and maps in a travel album. So easy! I created a mini layout on the back for an extra photo spot.


On the second page I used one of the Digital TN pages and resized it for a 3x4 card. I cut out the sentiment at the bottom of the page to use as a tiny phrase sticker.


A few more sprinkles of enamel dots and the whole thing came together!


Thanks for stopping by the blog today. I hope this have given you a little inspiration to use the digital files this month!