Showing posts with label "citrus twist". Show all posts

Friday, July 1, 2022

Life Crafted Inspiration with Kira


Hey there! It’s Kira and I am back with another Life Crafted TN sized layout. I thought it would be fun to show y’all my process when making a layout, start to finish. Here’s a look at my finished layout:


I always start out my layouts with a story. I jot stories or quotes from my children in my notes app on
my phone. I usually just keep a running log, noting the date something was said. In this case, I had a
separate note started for our vacation we took in June since I also wanted to keep track of the places we visited or ate. I came across this sweet quote from my son while I was choosing which story to tell.


Once I chose this quote, I then select my photo. I don’t try and find a photo I took in the exact moment,
but one that will work for the situation. Since this was said while we were in Washington, I wanted a
photo of him in WA where the scenery behind him was indeed “beautiful”. I thought this one of him in
front of the Space Needle was perfect. It was a gorgeous sunny day, and we are clearly in Seattle.


After I settle on my photo, I go ahead and print it out. Sometimes I want a full-page photo or multiple
small photos so I would normally resize at this point. But I just went ahead and printed the photo at a
standard size of 2"x3".

Then it’s time to choose my embellishments. When using a kit, I still find myself overwhelmed if I have
too many choices, so I like to narrow everything down before getting started. I loved the green in this
kit and thought it worked well with my photo. And originally, I thought of pulling in some blues, but I
thought that seemed too “predictable” for a Seattle layout, so I opted for pops of yellow instead since
the sun was shining in this particular photo. I pulled out all the papers and embellishments that fit my
color scheme and theme of the page.


And finally, it was time to put together my page. I started by matting my photo with this green leaf
paper and used the lace trim as an accent piece on top.


I built a cute little embellishment with this rabbit die cut, which has nothing to do with the story, but I
thought gave it a whimsical feel.


At this point, I needed to decide if I wanted my journaling (quote) on this page or make this a two page
spread. Since this was just a quote, I thought one page would work fine. And I loved the idea of having
the journaling “hanging” on the tag.


I finished the page off with some stamping using the new stamps. And that’s it! I hope you enjoyed
hearing more about my process and I can’t wait to see how you use this kit.


xo, Kira


Sunday, May 1, 2022

Sunday Sketch with Kira


Hey there!  It's Kira and I am back with another Sunday Sketch using the May Craving kit.  First, here's a look at the sketch I will be using today:


And here's a look at my take on the sketch:

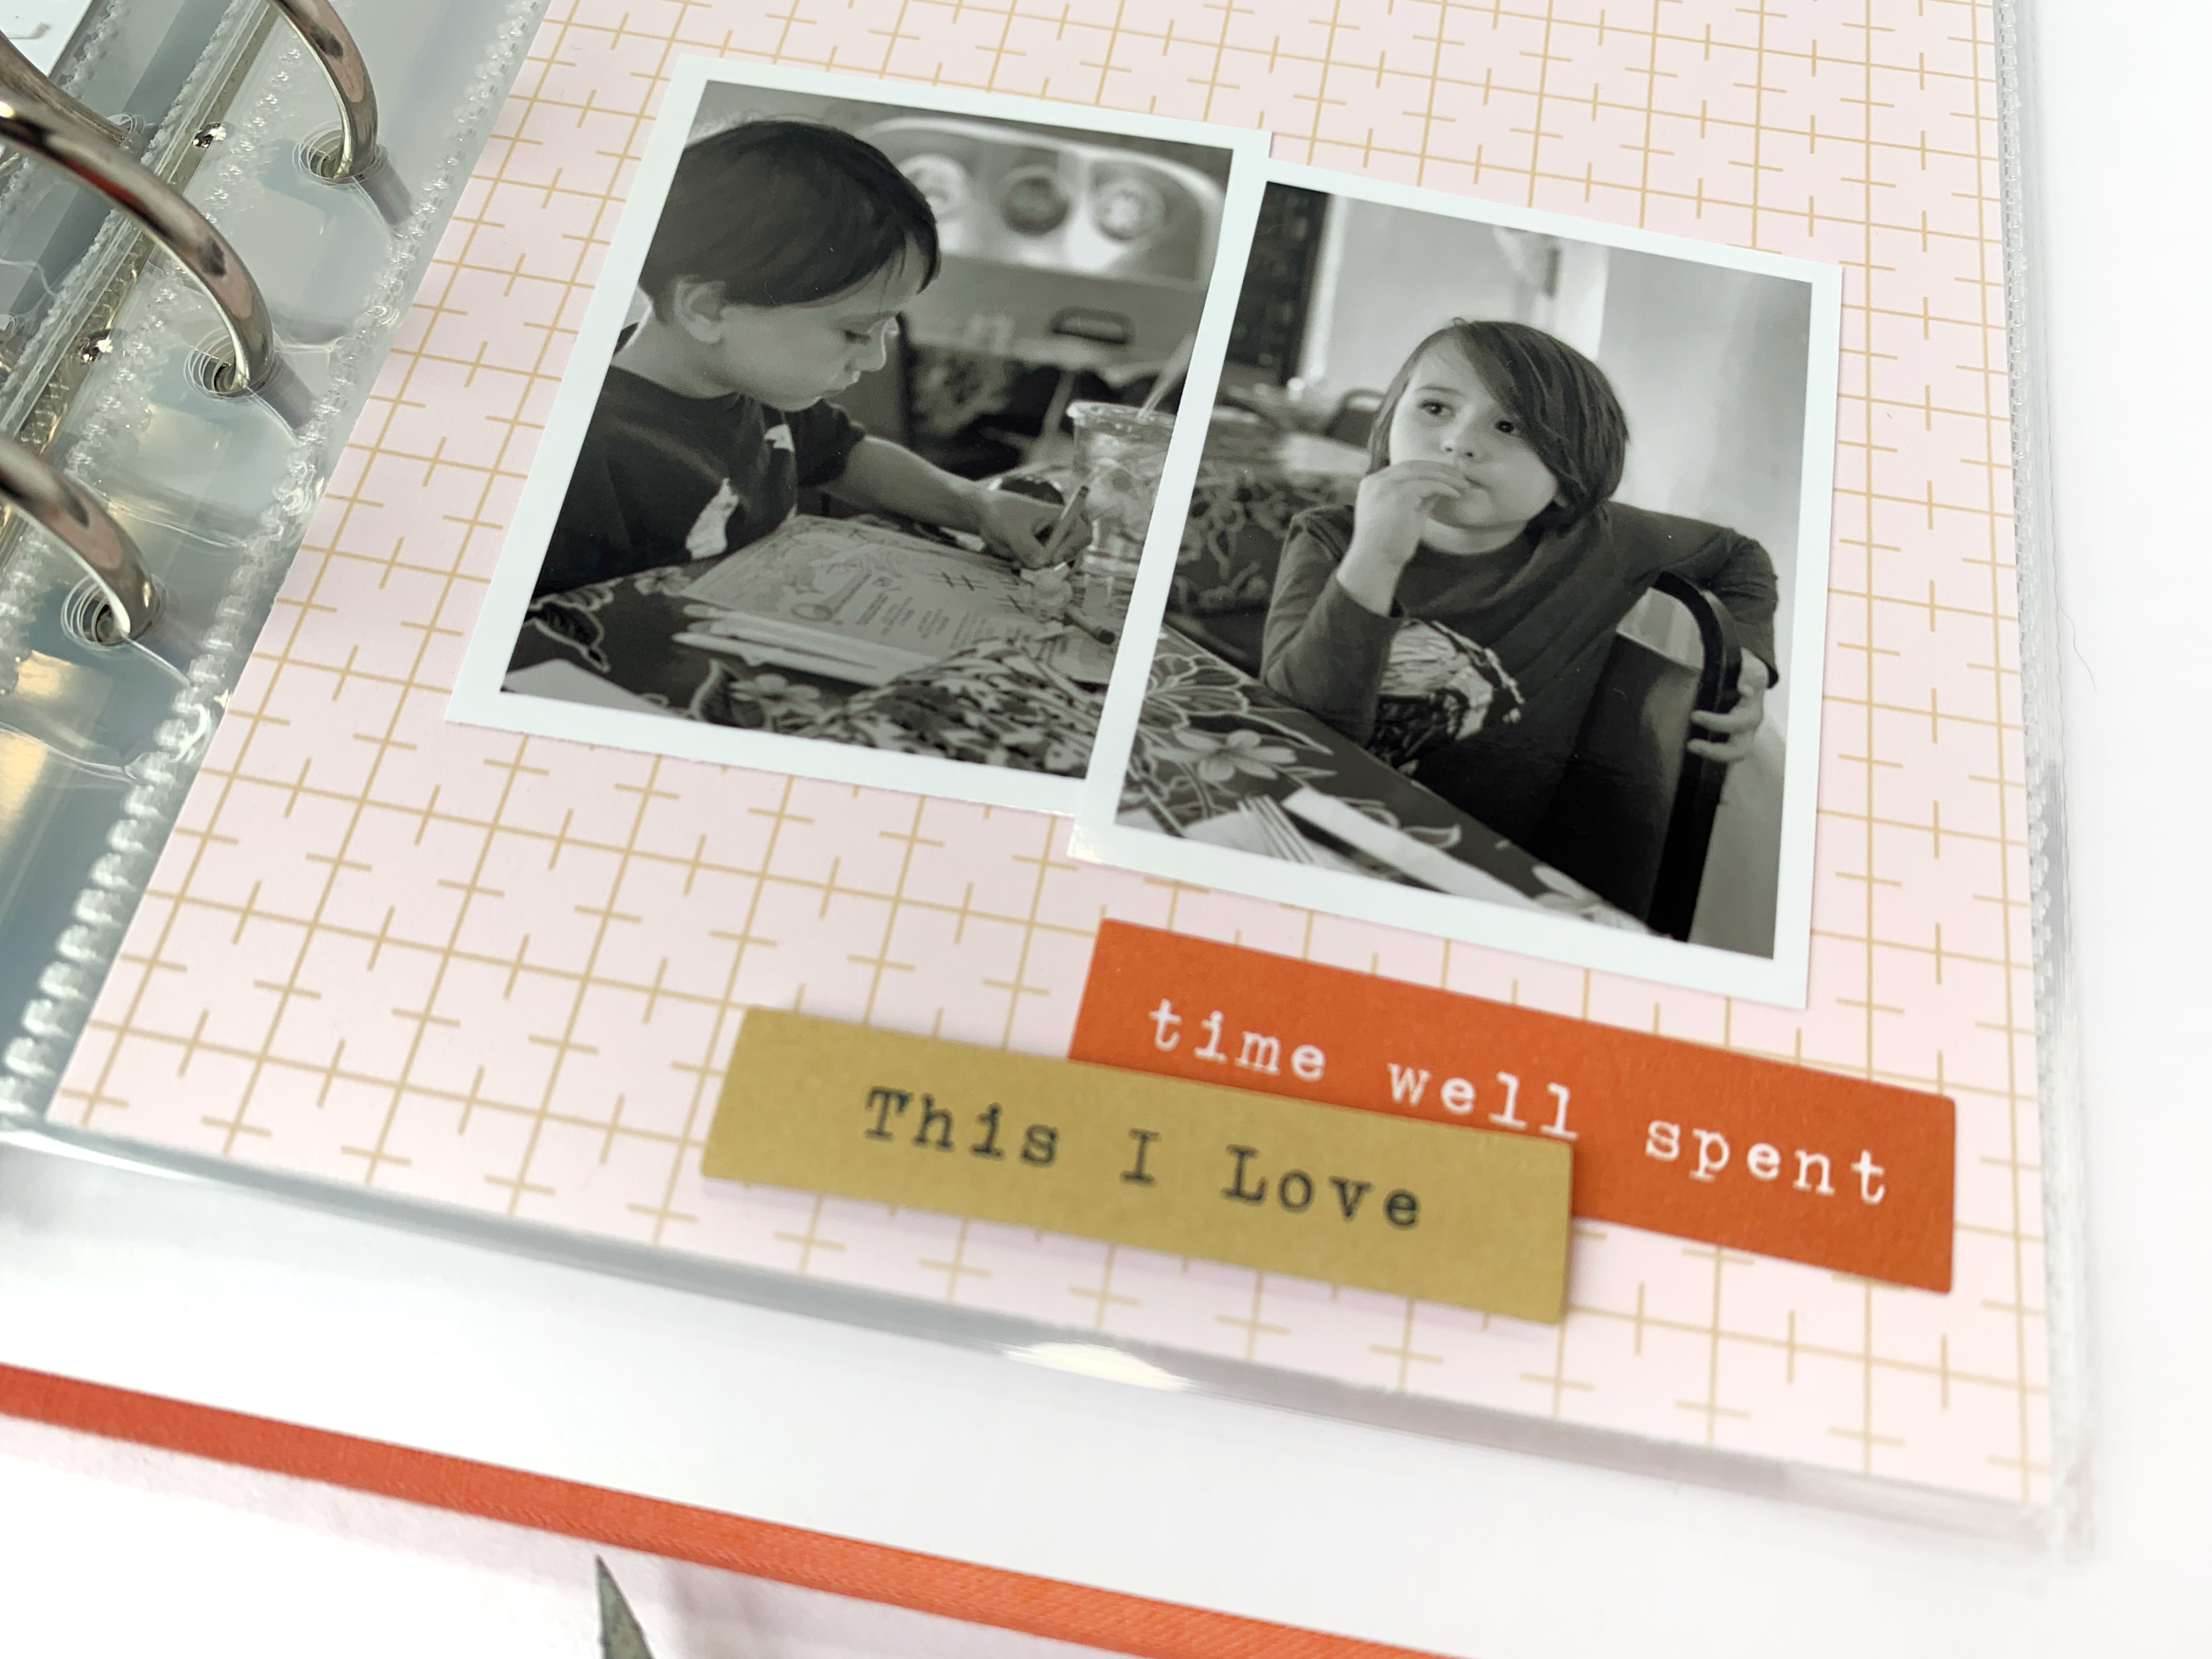
My family and I recently took a road trip to Las Cruces, NM.  My late father-in-law went to school here and my husband was looking for a way to connect with some of the memories he had when he was a child.  So, it seemed only natural that we visit my father-in-law's favorite restaurant while we were in town.  Since the sketch included a single landscape photo, and I usually only take portrait style, I decided to print out a larger photo of my husband and two smaller photos of our children.  

The colors on my husband's shirt worked well with the kit colors, but my children's clothing did not, so I decided to print their photos in black and white.  I decided to keep one side of the layout with a white background and the opposite using some of the papers from the kit.  

But once I started placing my photo and embellishments on the white background, it felt a little flat to me.  Which gave me the idea to add fork cut files to my white background and stitch over the top of them.  This gave just enough texture and interest to not feel so boring.  

I typed up my journaling on one of the other digital papers (which I turned the opacity up on, so you might notice the color is a little more subtle than it looks in the shop).  I cut the journaling out, roughed up the edges and added a little stitching for texture.  

I felt like the right side was missing some white, so I brought in one of the forks to add just a little pop of the white.  I finished off the whole layout with die cuts, chipboard stickers and puffy stickers from the May kit.  And done!

Thanks for stopping by!  I can't wait to see how you use this week's sketch!

xo, Kira 


Sunday, February 6, 2022

Sunday Sketch with Kira

 Hey there!  It's Kira and I am back with today's Sunday Sketch!  Here's a look at the sketch I am using today:


And here's my take on the sketch:

 Movie nights are a big deal in our house.  My kids each have a basket that I decorate to coordinate with whatever movie we are watching.  Of course when Encanto came out, we needed to do a movie night.  Since I hadn't seen the movie yet before movie night, I gathered most of my inspiration for decorating from our local Fiesta celebration with lots of bright colors and flowers.  


So when I saw the flowers in the Handcrafted mini kit, I knew I wanted to scrapbook the photos of our Encanto movie night.  I started by printing out my three photos as 2" squares.  


I layered the three photos on papers from the Happy Heart kit.  And built an embellishment cluster with a flower die cut and puffy phrase sticker  from the Handcrafted kit and a puffy heart from the Happy Heart kit.  

On the opposite page I used the ombre alpha stickers for my title, which I stitched over the top of and layered with a puffy sticker from the Happy Heart kit.  Under the title I added a phrase sticker and a flower puffy sticker.  


For my journaling, I typed on top of the pink grid paper from the Happy Heart kit and used a washi puffy sticker so it looked like a note was stuck to my page.  I added the cactus puffy sticker as a nod to Isabella from Encanto.  


Thank you for stopping by!  I can't wait to see how you use this sketch!


xo, Kira 


Sunday, November 14, 2021

Sunday Sketch


Hey there!  It's Kira and I am back with this week's Sunday Sketch.  Here's a look at the sketch we will be using today:


And here's my, slightly unconventional, take on the sketch:


I am currently working on some foundation pages for my December Daily.  So, when I saw the cute wreath die cuts in the Warm Wishes add on kit, I knew they had to be featured in my album somehow.  I have been loving all things interactive in my Life Crafted albums lately and I thought a door, with a wreath hanging from it, would make the cutest flip out.  


I started by creating my door in Cricut Design space.  I sized a rectangle to 5"x8.25" and cut out "windows" near the top.  I added two vertical rectangles below the window to look like door panels.  And created a doorknob and key hole with cardstock.  I backed the window with vellum and some light patterned paper.  The left side of the door is scored at about 1/2" in to create the fold out. 

The "inside" of the door I tried to stick closely to the sketch.  I chose a grid paper for future journaling and added my title at the bottom. 


On the reverse page I added a chipboard frame.  I removed the adhesive from the top so a picture can slide right in.  


Thanks for stopping by and I hope you are able to find some crafty time to play along this week!

xo, Kira 


Monday, November 16, 2020

Stamping with Kira


Hey there!  It's Kira and I am back with another layout in my life crafted album.  Today I wanted to focus on one of my favorite Citrus Twist products:  the stamps!  Here's a look at the layout I made today:

I started this layout with a story:  a story about my youngest son and what he says around our new puppy.  I didn't have any pictures that necessarily ~fit~ the story, so I found one of my favorites from Halloween and decided to use that. The colors in the photo are very autumn-ish:  browns, yellows, reds, so I pulled out a few ink pads from my stash that I thought would work well wish the photo. 


Before stamping, I printed out the paper I wanted to use as my background.  Typically when I am looking for a background paper with a subtle print, I opt for a grid pattern.  But while searching through my CTK digital files, I stumbled upon this polka dot from October.  Since I knew I wanted to stamp on one side and type on the reverse, I changed the opacity so it was more of a grey dot than the original black dot.   


Then I started my stamping!  I grabbed the three stamp sets from this month:  This is Life stamp set, Travelers Notebook stamp set and the Life Crafted stamp set.  I chose a few stamps from each set that I thought would work well with this story, and stamped in a 2"x3" area on my paper, using four different colors.  The stars worked well to fill in any gaps I had in my design.  

On the reverse page, I typed out my journaling before I printed my background paper.  Then I backed my photo with some patterned paper from the add-on kit, which coordinated with the colors of ink I had chosen.  I placed a cut apart on some foam tape and added it between my photo and my journaling.  

To tie the pages together, I took a strip of the orange patterned paper and adhered it to the bottom of the stamped page.  I added some stitching with my sewing machine.  And finished it off with my title, using the white foam alphas from the Life Crafted kit.  

Thanks for stopping by!

xo, Kira 


Sunday, November 8, 2020

Sunday Sketch with Kira

Hey there!  It's Kira and I am back with another layout in my life crafted album.  Today I am using this week's sketch, paired with the November add-on kit.  Here's a look at the sketch:


 And here's my layout:

I started by choosing my photos for this layout.  Since this sketch calls for multiple photos, I reached for some of our new puppy, Rainier.  I have about a million photos of him so far, and it's near impossible to narrow them down.  I sized one photo to 2.5x3.5, and the smaller photos to 1.75x1.75.  

 Since I was adjusting this sketch from a 12x12 layout to a LC layout, I had to get creative with the placement of my photos.  I wanted to give continuity to the layout, so I placed one of the photos so it would spread to both pages.  But I didn't want to cut all of my photos in half, so I placed all of the smaller photos on one side or the other.  

 I used die cuts from the add on kit to embellish around the page, adding embellishment clusters in a grid-like pattern.  I also pulled in some of the foam thickers and chipboard as well.  


 I finished my page off by adding some gold paint splatters around my page.  


Thanks for stopping by!

xo, Kira