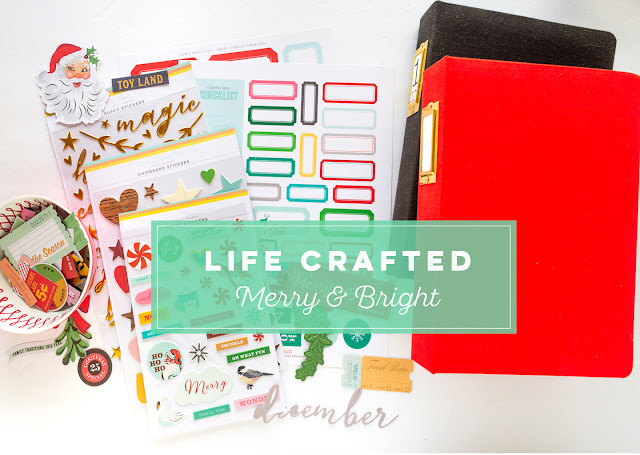
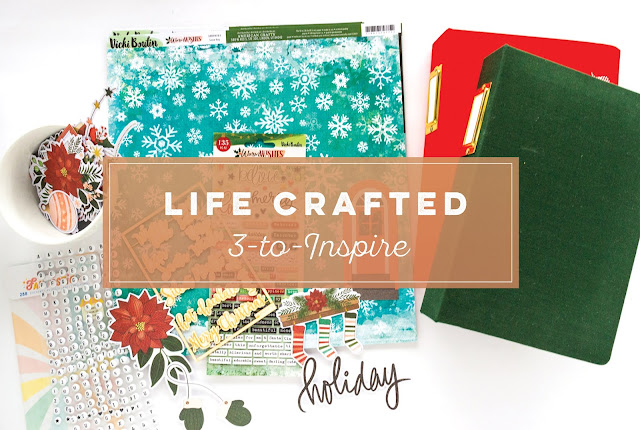
Hello and happy holidays friends! I am so happy to be joining you for this week's 3-to-inspire challenge. Of course, I had to do this challenge in my December album. Let's take a look at the picks for the week so you can play along.
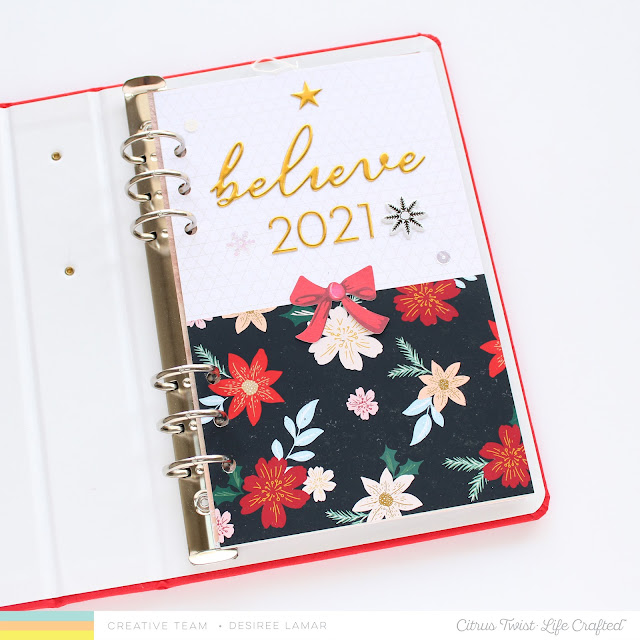
I started with my cover page. I used this simple, white patterned paper from the Coming Home 6x8 Ledger Digital Papers for the base of my page. Then, I used a 4x6 journal card from the Merry and Bright Digital Journal Cards to cover the bottom half of my page. I love the rich details that this floral design brought to my cover. I completed this page with the gold puffy alpha Stickers and gold puffy phrase stickers from the Merry and Bright Kit.
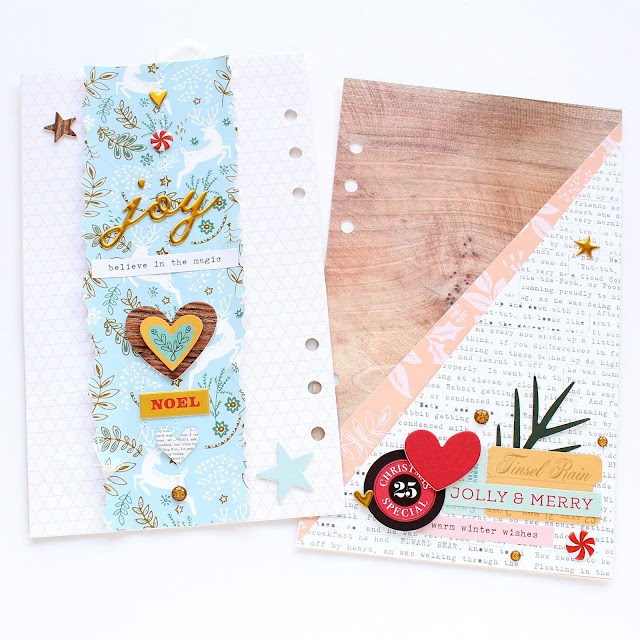
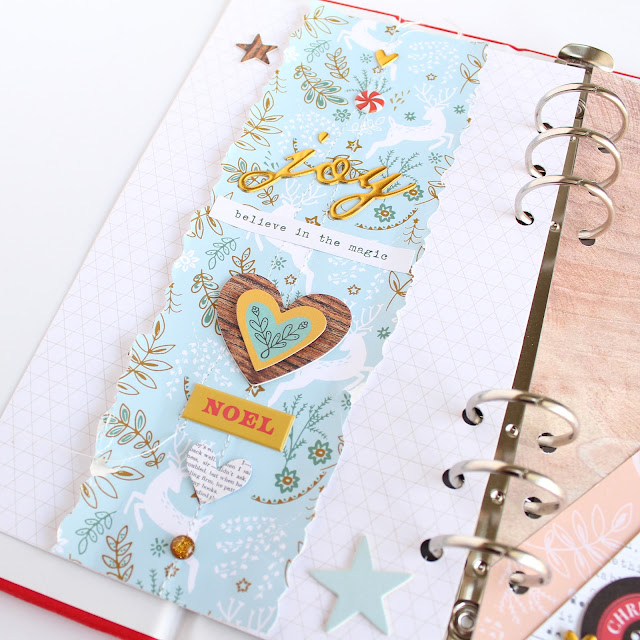
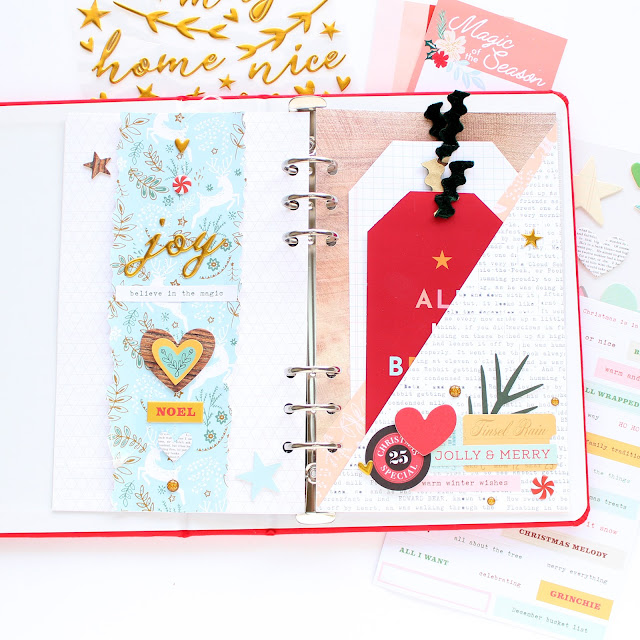
I wanted to record my hopes for the month. So I used more digitals from the Merry and Bright Digitals and Coming Home 6x8 Ledger Paper Digitals to make these pages. On my left page, I used this beautiful, blue reindeer patterned paper from the Merry and Bright Digitals Travelers Notebook Papers to make a stitched strip down the center of my page. I adorned the page with ephemera, puffy stickers, and chipboard stickers all from the Merry and Bright kit.
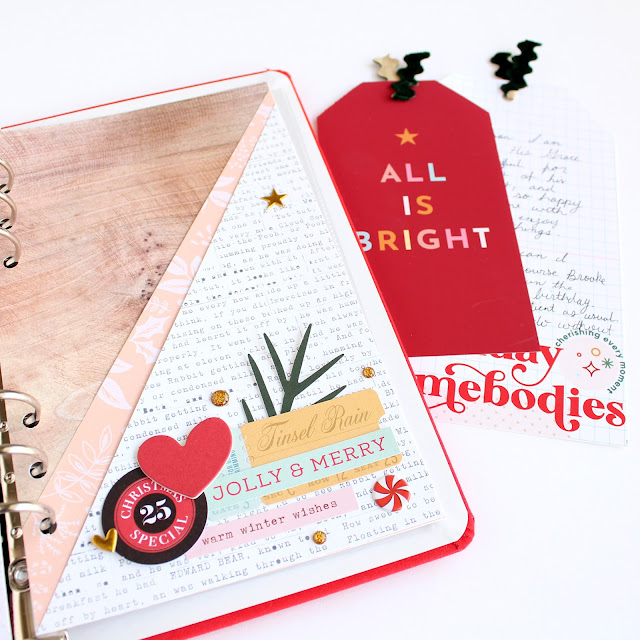
Using all Merry and Bright Digital papers and Coming Home Digital Papers, I decided to make the page on the right a double pocket style page.
Once I adhered my uneven triangle pockets, I started working on my tags. For my smaller tags, I made this "all is bright" bookmark from the Merry and Bright Digital Journal Cards into a tag. I printed out this "holiday homebodies" digital TN paper to make into my larger tag. Once I handwrote my intentions and added ribbon, I was done with this part.
I completed my pages by loading them up with embellishments from the Merry and Bright Kit. This included enamel dots, chipboard stickers, and puffy stickers.
Just like that, my pages were complete. I hope you enjoyed following along as much as I enjoyed making these pages. Happy December documenting!
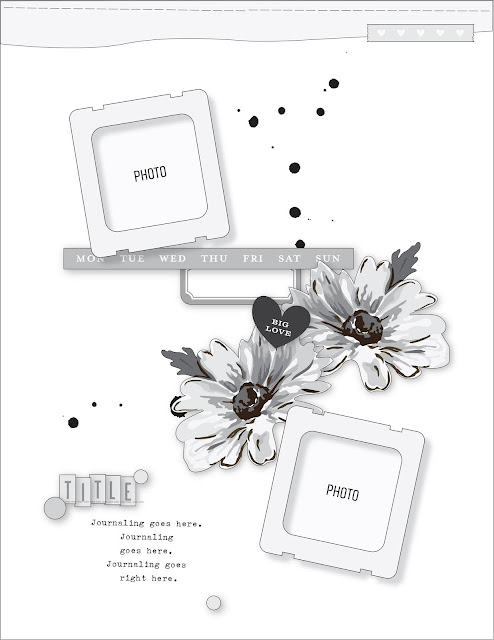
Happy Sunday crafty friends! Today, I am sharing this week's sketch. I also got a chance to work with the lovely November Warm Wishes add-on kit. Let's take a look at the sketch.
I was excited once I saw this sketch. Even more so when I got the chance to do a Christmas Edition of the sketch. So let's take a look at my version.
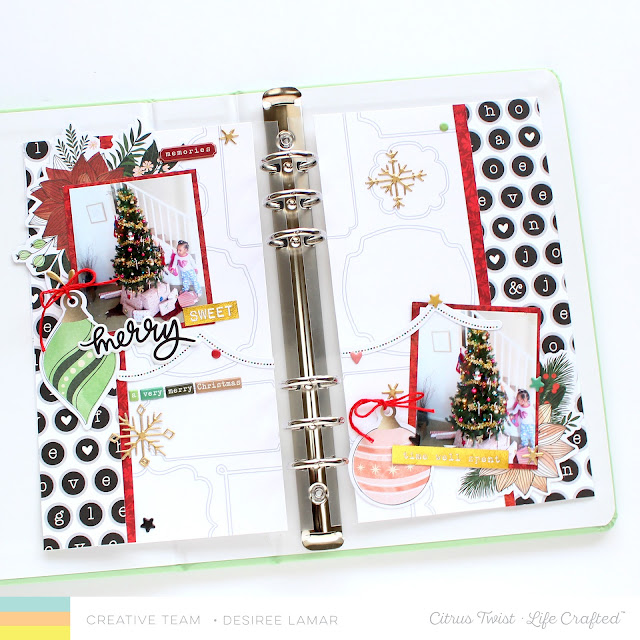
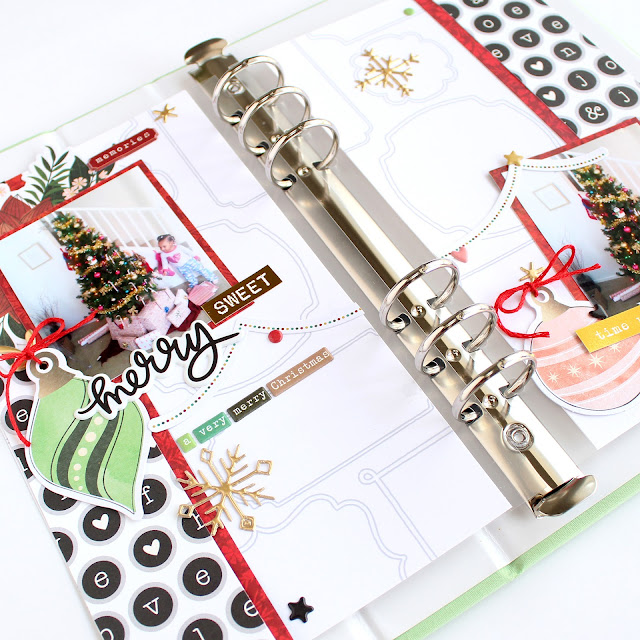
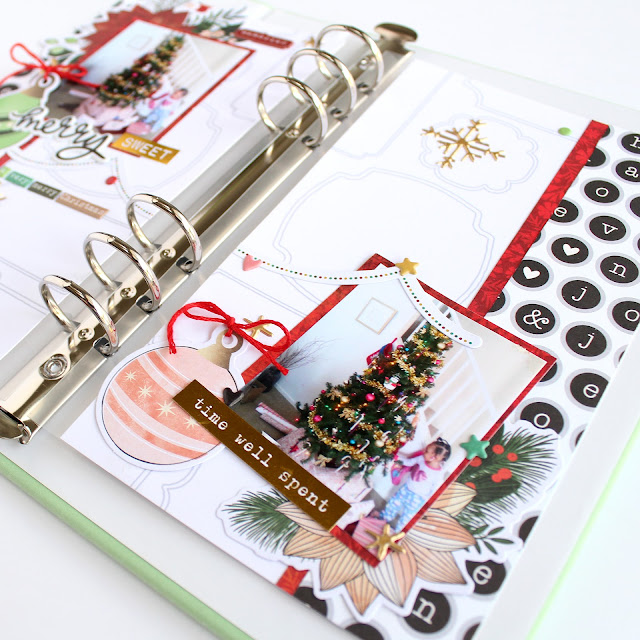
Next, I added a cluster to each page. One at the top left and bottom right. I used the Warm Wishes ephemera from the Warm Wishes add-on kit and Warm Wishes Puffy Stickers. I used the lovely ornaments and poinsettia florals from the ephemera pack to accent my pictures. I used the garland ephemera to connect my photos like the sketch.
Today I am super happy to share with you an idea I had for my December Daily: an advent calendar as a starting page, a resume of the December stories as well and as something beautiful to open and close all the times you want. It's something magic to me, to can open a little door for each day and find a little story or a surprise or just a quote! I'm thinking to so the same thing for my DD2020.
How did I create it? It's so simple and you will have a lot of fun for sure!
First of all cut 24 squares using the 6x8 papers of Sparkle & Joy kit, size 5x5 cm. Add the number s from the beautiful CountDown cut files, Then I have cut other rectangles of white papers of 5x7 cm folded at 2 cm. On the little stripe you have just created folded the rettangole glue the square with the numbers.
I played a lot with the embellishments of the ki, so puffy stickers, clipboard circles, ephemera. I just added also pictures, 7 pictures of 4,5x4,5 cm and some stories written in squares as well of 4,5 x4,5 cm. Just mix everything don't overthink about how to place things just play and have fun!
Here you find how it turns out. I have used three page protectors 2x2. I glue one to another to create something like an accordion using the part of the page protetto where you find the holes.
Here you find a video about the creative process about the advent calendar.
Hope you will be inspired to create yours ad have fun.
I have really enjoyed using the non-Christmas themed items for my December documenting! To begin my page, I trimmed a striped paper from the add-on kit to fit in the LC album. I printed my photo and added it to the page, using a cut apart element and ephemera from the Life Crafted kit and add-on kit to embellish. I recently purchased a mini tag punch and was excited to use it on the page. I punched out the tag using one of the elements from the cut apart sheet from this month. Next, I added some stamping to the tag using the 2x3 Stamp Add-on. I added a bit of repeat stamping under the photo using the Life Crafted Kit Stamp.
For the other side of the layout, I used one of the 3x4 pocket pages for the LC album. Using Photoshop, I opened the heart digital journaling card. Because I needed more space than the journaling lines would allow, I deleted them from the card. I typed my journaling, following the heart shape. It's not perfect, but I am really happy with the results! I trimmed the card slightly and layered a patterned paper behind.
For the other pocket, I opened one of the cards from the December Days digital journaling cards in Photoshop. I deleted the highlighted "25," because I knew I wanted to include today's number in that spot. I printed out the card and added a white puffy number sticker from a previous LC kit. I also used the same alpha stickers for part of the title. I stamped the word "PHOTO" using the Typewriter Alpha Stamp onto vellum and added it to the card. To finish off the layout, I added some machine stitching to several areas on the page.
Thank you for stopping by today! Be sure to check out the amazing kits this month in the Citrus Twist Kits shop!
Hi everyone, this is Krystal, and I'm here today to share the first three days in my December Daily album. I'm using a Life Crafted album for my December Daily this year, along with the Christmas Stories kit, the December "Hustle and Heart" Life Crafted Kit, and a few extra bits and pieces from the Citrus Twist Kits shop.
Earlier this fall I created really simple foundation pages in my album. (You can see that post here.) That meant I had a good jumping off point for each day, which makes keeping up with a project like this so much easier. For day one I had a plaid journal card from the Christmas Stories kit and one of the Pink Paislee cut apart numbers that I used throughout the album to number my days.
I added my photo, as well as a few embellishments from the kit and a couple lines of handwritten journaling, and that day's page was finished! I decided to use a punch to cut the number into a circle instead of a square. This helped break up all of the blocky, straight lines that I had on the page. I added a couple additional circles from the Pink Paislee cardstock stickers to add even more soft lines.
To embellish my photo, I chose a vellum ticket from the Heidi Swapp ephemera pack and backed it with a scrap of paper from the kit. I added some gold staples and a gold chipboard star from the "Hustle and Heart" kit to finish off the page.
On day two I wanted to document my first red cup of the season. Since I had used the only photo I had for day one, I decided to use the cup itself instead. I used an older cut file from Citrus Twist to create a template for my cup, then traced it onto the Starbucks cup. I cut it out by hand, then backed it with one of the papers from the kit and a scrap of glitter paper from my stash.
I also punched a circle from the cup to add behind my number. I backed both with one of the journal cards from the "Hustle and Heart" kit and stapled everything in place to make sure that it was all secure. The number two was from the same Pink Paislee cut apart paper, and once again, I chose to use a punch to make the number a bit smaller so that it would fit on the page.
I added my journaling to the 3x4 paper I had as part of my foundation page, then used the Heidi Swapp Winter Wonderland stamp set (available in the Citrus Twist Kits shop) to add a title to the page.
I kept the cup itself very simple, and only added a single gold sticker to the front. To add it to the album, I created a tab from patterned paper and sandwiched it between the layers of the cup. I used my six-hole punch to punch the holes that line up with the album, then just added it to the rings.
To number day three, I used a tag from the "Hustle and Heart" die cut pack and backed it with glitter paper. I attached it to the back of the cup I created and added a bit of twine from the Christmas Stories kit.
My photo for day three documented this year's wrapping paper, so I added a tag from the Pebbles cut apart paper that had a cute little stack of presents on it. I layered my photo with another scrap of paper left from my kit and added two phrase stickers from the Pink Paislee cardstock sticker sheet.
I typed my journaling directly on one of the 2x5 journal cards included in the "Hustle and Heart" digital cards before printing it out. I added a date stamp in red and a few paper hearts that were left over from a previous project.
You can watch all three days come together in the process video below.
I hope you found some inspiration for working on your holiday projects today. Thanks for stopping by!
Hey friends! It's Marsha here today with this week's Sunday Sketch Challenge. This is such a fun challenge and a really great way to jump-start your creativity.
For this project, I chose to add a layout to my 2019 December Daily album- I am using the Life Crafted Album. I LOVE the size of this album...so perfect for this project!
To begin the spread, I rotated the sketch so that the photo and number would be on the right side of the page. I trimmed two pieces of white cardstock to use as the base for my pages. Next, I enlarged one of the journaling cards from the December Days digital collection, and I used it along with a couple of the patterned papers from the LC kit to layer behind my photo and day number. Using the This Is Life "Born For This" Stamp, I stamped a frame for my number. I added another stamp from the Traveler's Notebook Stamp to a label and added it to the side of the number. I used ephemera, chipboard pieces, and stickers from the kits to embellish the page, also adding some machine stitching.
For the other side of the spread, I layered a few strips of patterned paper along the edge of the page. I stamped a sentiment from the Christmas Stories Stamp onto a label and used some of the puffy alpha stickers from the Add-on kit for the title.
I stamped some stars, using a CTK TN Stamp from a previous month, around the page and used ephemera and enamel dots to embellish. I also added some Crate Paper Snowflake Stickers (that can be found in the CTK shop). To finish off the page, I added a bit more machine stitching to the edge of the page.
Here's a final look at the layout:
Thank you for stopping by today! I hope you will join in on the challenge and share your creations with us on the Facebook Fan Page or on Instagram using #citrustwistkits.
Hey there! It's Kira and I am back with a look at a layout I made for my December Daily album, using the December add-on kit from Citrus Twist Kits.
My kids received some Amazon toy catalogs this year and it didn't take my five year old long before he was filling up the "holiday wish list" page with all of the presents he wants Santa to bring him. I caught this photo of him diligently writing it up while we were on a walk one day. And then after his list was complete, I took a photo of it (he won't let me have the list yet, but when he tires of carrying it around, I'll stick it in my album too.
I started by printing my photos. I am working in a 6x8 album, so the photos are around 2" wide. I printed them in black and white since the colors in the photos would've clashed with each other and with my kit.
Then I spent a bit of time fussy cutting all of the stars out of the specialty paper included in the kit. I created an envelope with my envelope punch board, and created a layout where it looked like the stars and photos were floating out of the envelope. Some things are adhered with foam adhesive for added dimension.
I used the foam thickers to create the title "Wish List" and used some of the gold thicker stars to embellish the page.