Showing posts with label This is Life stamps. Show all posts

Wednesday, July 1, 2020

Life Crafted with Marsha


Hey friends!  Marsha here today, and I'm excited to share my first project using the NEW July Life Crafted "Wild at Heart" Kit that just released!  It is so bright and gorgeous!  I also used the Bailey Stamp, this month's Add On stamps, and a variety of digital files.

Here's a look at my Life Crafted layout:


I began my spread by choosing two recent photos of my youngest son.  He loves all things outdoors, and I thought this kit would be perfect for documenting this memory.  I printed one of the TN Basics Digital Papers, recoloring the labels at the top of the page so that they would coordinate with the other elements I planned to use on the spread.  I layered my photo over a dark blue journaling card and used some labels, chipboard stickers, and enamel dots to embellish.  Next,  I added some stamping to the printed labels at the top of the page with the Life Crafted Stamp and the Traveler's Notebook Stamp.


I stamped the date using the Bailey Stamp onto a label from the Printable Cut Apart Elements and stapled it to the bottom of the page.  This alphabet stamp is my new FAVORITE!  I absolutely love the font, and it is the perfect size for using on Life Crafted layouts!


For the right side of the spread, I used a Life Crafted Page Protector #2.  I added a tab from this month's Printable Digital Tags, along with an ephemera label and heart, to add a bit more interest to the top of the photo.  Then, I created a flip-up by layering the photo over a journaling card from the LC Kit.  I stamped a sentiment with the LC kit stamp and a leaf from the This Is Life "Wild at Heart" Stamp.  I typed my journaling onto a piece of white cardstock and embellished with an ephemera piece.  Finally, I used a piece of cardstock to attach the photo and journaling cards, creating the flip-up.  I love using interactive elements on my LC layouts!


I chose another journaling card from the kit and used the black puffy alphabet stickers and the Bailey Stamp to create the title.  To complete the page, I added a chipboard sticker and a few of the bright enamel dots- another favorite from this month's kit!


I hope I have inspired you to document some of your memories using this month's amazing Life Crafted Kit, stamps, and digitals!  I'm excited to see what you create!

xo,

Thursday, April 16, 2020

Let's Get Hybrid with Shannon


Hey there, crafty friends! Shannon here with a fun double-sided 6x8 hybrid spread. I absolutely love working in the hybrid format. It opens up a whole new world of opportunities! Did you know that Citrus Twist offers a variety of free digital files to subscribers each month? Cut files, bonus 3x4 cards, and a sheet of printable elements can all be found under Shop > Subscriber Digital Files. There are also more digital files that you can purchase and use over and over again. Let me show you how I used them on my spread.


I love the Night & Day Traveler's Notebook Basics Digital Papers. I opted to use one on the right side of my spread as a place for my photo and journaling. Since it's digital, I was able to type my journaling directly on the page before printing. I mentioned that it's a TN paper and this spread is 6x8. Working in Photoshop, I created a 6x8 rectangle and clipped the TN page to it. It cut off a little of the top and bottom but, as you can see, it didn't affect the overall design. To fill in the rest of the right page, I "cut" 3 of the Night & Day Digital Traveler's Notebook Papers into strips in Photoshop and lined them up along the right side of the TN Basic paper.


Next, I moved on to the left side of my spread. This side was so much fun to put together! I used a lot of April 2020 Printable Cut Apart Elements mixed with ephemera and chipboard that was included with the April 2020 Night & Day Life Crafted Kit. I lined up the elements before adhering anything. I wanted to make sure that I had a good spread of color across the page.


To make my spread of embellishments look more put together I paid close attention to lines. I use a ruler to line up the edges on the left and right sides. I also made sure the embellishments on the top and bottom touched the edges of the paper. It makes everything look more intentional. I tried to create a couple of visual triangles with chipboard pieces and then again with stars. Again, it adds cohesiveness to a splatter of embellishments.


My finishing touch was to add some stamps. I don't think a project of mine is ever complete without at least one stamp! I used all of the stamps available this month - April 2020 Life Crafted Traveler's Notebook Stamp, April 2020 This is Life AM/PM Stamp, and the stamp included in the April 2020 Night & Day Life Crafted Kit.


This was such a fun page to put together - and the majority of it is hybrid! I hope I've inspired you to dip your toe into the hybrid pool. I bet that you'll love the options it opens up to you. If you have questions about working in the hybrid format, give us a shout out on the CTK Fan Page on Facebook so we can help you out. I can't wait to see what you create!

Sunday, March 8, 2020

Sunday Sketch with Marsha


Hey friends!  It's Marsha here with you today sharing this week's Sunday Sketch Challenge.  My project came together so quickly using the sketch and the gorgeous Scrapbooking Add-on Kit and This Is Life "Weekend Life" Stamp!

Here's a look at the sketch:


Here's the layout I created:


For my project today, I chose to create a spread in my Life Crafted Album, instead of doing a traditional 12x12 or 8.5x11 page.  To begin, I trimmed some white cardstock to 5x8.25 inches to serve as base pages for my project.  Following the sketch, I trimmed two patterned papers to span across both sides of the album.  I typed my journaling on a piece of white cardstock and used the This Is Life "Weekend Life" Stamp to add a bit of stamping above and below the journaling. Next, I used the Magical Forest Copper Alphabet Stickers to add the word "good."  I used a black and white striped paper from this month's Life Crafted kit to add a hand-cut pennant banner above the journaling block.  This little detail was found in the sketch and I love the extra interest and texture it adds to the page!


For the other side of the layout, I fussy cut a large floral piece from a patterned paper in the Add-on kit.  Then, I layered my photo over a "remember" card I trimmed from a cut apart sheet in the kit.  To embellish, I added some gold polka dot washi tape, a puffy butterfly sticker, and an ephemera tab and label.


For the top portion of the spread, I followed the sketch and added a strip of patterned paper across the top of the layout.  I tucked another fussy cut floral behind the strip.


For the title, I stamped the word "weekend" using the Weekend Life stamp and black ink.  I used the copper alpha stickers to complete the title and added an ephemera tab to the edge of the page.  As a final finishing touch, I added some machine stitching to several areas of the layout.


Thank you for stopping by today!  I hope you will join in on this week's Sunday Sketch Challenge and share your project with us on the CTK Facebook Fan Page or on Instagram using #citrustwistkits.  I will see you again soon!

xo,


Saturday, February 29, 2020

3-TO-INSPIRE WITH ERICA


Hey Guys! It's Erica here with your last 3-to-Inspire challenge for the month.

This week's prompts are:

1. Use multiple photos
2. Stamp on your background
3. Use the leftover bits from your puffy sticker sheet creatively


Here's my take on the challenge using this month's Life Crafted Possibilities kit and the Good Vibes add on Stamp


Your first challenge is to use multiple photos on your spread. I used a full TN page on the right side, and on the left I used one of the 4x6 + Journal Spot Page Protectors to highlight my favourite photo.


Your second challenge is stamp on your background. I used this prompt to create texture on my background with the rays of sunshine from the Good Vibes add on Stamp.


I also used the sunburst from the same stamp set to highlight this cute sign on the hot dog cart. I took a photograph of the sign and then cut it out to use as a sentiment sticker.


Your third prompt is to use all the leftover bits on your puffy sticker sheet that you normally wouldn't even consider! That's all the insides of your stars and even the middle of your puffy alphas. I used the triangle shapes to mimic the sunbursts on all my circle embellishments, and the centers of your stars as enamel dots to sprinkle around.


I hope I've inspired you to try out these prompts in your projects. Have a crafty week!


Wednesday, January 1, 2020

You Are My Favorite with Krystal


Hi everyone! Krystal here with a layout featuring the Add-On Kit for January. This kit is so gorgeous! It's full of bits and pieces from Dear Lizzy's She's Magic as well as the new Lucky Us collection from Pink Paislee. I love every bit of it, and I was so excited to use it on a page.


I started with Paper 4 from Lucky Us and decided to use that as a border for my page. I trimmed down a sheet of white cardstock from my stash to be 11" x 11" then added it to the B-side of Paper 4. I love the graphic nature of this black and white print, and I knew it would go really well with my photo.


I also added some stitching along the border of the page for added texture and stability. Then I moved on to backing my photo. I added a thin border of white paper, then layered the Imagine paper from She's Magic behind that. I loved that the floral pattern had lots of blue in it, so it worked well with my photo. It also set the color scheme for this page. 


For my title, I decided to fussy cut a phrase from Paper 3 from Lucky Us. I finished the title by adding some of the little Pinkfresh Studio alphas that were included in the kit. I love the combination of these two fonts. 


I added lots of pieces of ephemera from the Dear Lizzy pack that was in the kit, including a spot for my journaling. Once those were in place, it was time to add the finishing touches. I chose a couple of hearts from the She's Magic puffy stickers and a couple of enamel hearts from the Lucky Us set as well and sprinkled them around the page. 


I also added a couple of phrases from the She's Magic Confetti Stickers in blue and pink to bring some additional color to my embellishment clusters. Then I added some stamping using the January This is Life stamp set. I used black ink to tie in the paper I used as a border for the page. 


And that's it! A pretty simple page, but I love how it turned out. You can see the entire process in the video below.


Thanks so much for stopping by. I hope you found some inspiration for using your January Kits, and I hope to see you back here soon!


Thursday, December 26, 2019

December Documented with Nathalie


Hi there!
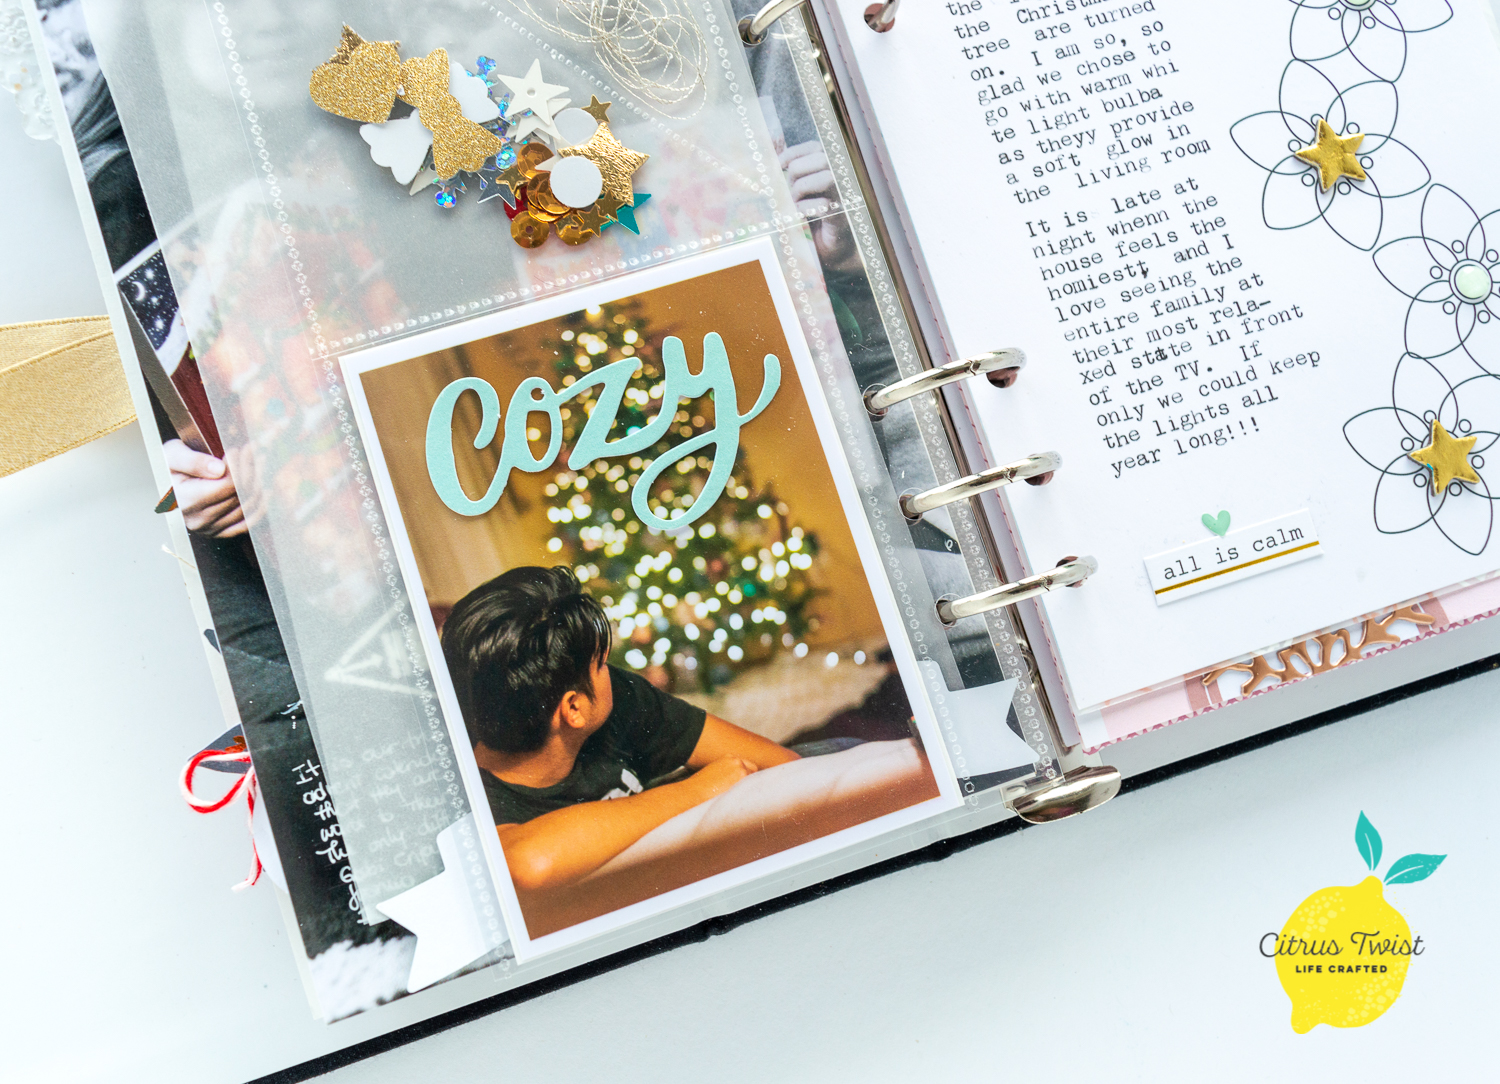
Nathalie with you today to share with you a few more entries of my December Life Crafted album.  I hope you all spent a peaceful Christmas, and have lots of memories to document.  Our December is filled with lots of activities, so lots to document.   Having the Life Crafted and all the kits and stamps has come in so handy - I have added a few extras from my stash,too- but i am loving putting it all together.  Let me show you:


The cute little ephemera bear came in handy to complete this page about my kids advent calendars.   Plus the shaker pocket was a great way to tie in the two sides of the spread.


 I chose a hybrid approach for this entry, and used this month's THIS IS LIFE Digital Stamp set to create the journal page of this layout.


 I used the This is Life:HUSTLE & HEART stamp to create the small star in the shaker pocket, and then trimmed one of the word stickers to complete the sentiment.  Then used one of the embellishments from the Pink Paislee  Together for Christmas (available at the CTK shop) to add the sentiment to the picture.


The beautiful chipboard stars from this month's Life Crafted kit were the perfect size to embellish the snowflakes on this page.  I used an older This is Life stamp set to create the title and added a few more embellishments from my stash to complete the page.


For my next page, once again, i used a hybrid approach by creating my large journal page by printing the same card together (December PL Digital cards).


I used the This is Life Stamp set to create the background of this page.  I heat embossed with white powder the frame image so that it formed a pattern on the piece of vellum.  Then, i used the snowflake image to heat embossed -with rose gold embossing powder- the design in the center of each frame.  All that was left to do was add the picture and a few embellishments ( Life Crafted kit and Add On kit)


For the other side of the page, i used a combination of embellishments from both kits to decorate the page.   The small doggie embellishment comes from the Heidi Swapp's Honey and Spice collection ephemera pack -available at the CTK shop-.


This year,i have created lots of pages with pockets in them as i have lots of pictures to document. 


I used ephemera from the Add On Kit to embellish the large pocket in this page, plus used one of the MME's Yuletide collection card -available at the shop- to create the journal for the page.


To create this pocket, i used a cut file from last year's Christmas kit and cut the bow design from white cardstock  a bit smaller than the entire width of the page.   The bows were backed with vellum, then i glued just the outer edge of the cut file -not the bows- to  a patterned paper from the add-on kit  to form my pocket.


I used  a paper from the November Add on kit to create the backgrounds for the layouts, then added the pictures and embellished them with cut aparts from this month's Life Crafted kit and enamel dots from the Christmas kits.    All that was left to do was add a title -used puffy stickers from the Add-on kit- to finish this page.


I hope these give you a few ideas for your December memories documenting.  I still have a few more days to document before i can put my album away.


Have a Happy New Year!