Showing posts with label CTK exclusives. Show all posts

Sunday, August 13, 2023

SUNDAY SKETCH WITH DESIREE


Hi crafty friends! I am really happy to be here with you and share today's sketch. Let's take a look at it below.


When I saw this sketch, I knew I wanted to use the Sunshine Mini-Kit. It is a fun, bright kit that's perfect for Summer time.


I started by layering my Sunshine digital papers at the bottom of my pages. This was to mimic to band at the bottom of the sketch. 


Next, I layered my photos on the left page on using the Flea Marketing Findings Chipboard Frames.  I let bits of the Sunshine Ephemera peek from under my photos. 


Some of the florals were left to wander onto the right page to let my cluster take up more space. 


To make my title I used my favorite Retro Puffy Word Stickers. I also used some of the extra bits from the stickers to decorate my page. 

This sketch made it fun and easy to capture my Summer memories. Thank you for following along.

 Happy crafting!


Sunday, July 16, 2023


Happy Sunday to everyone! It is Marci with you today. We have another amazing sketch for you this week.


I loved that this sketch has a place for multiple pictures. I did end up replacing one of the journaling spots for even another picture. When I first looked at this sketch I saw an 8.5in x 11in layout. I choose to resize it to 7in x8.25in which will fit into one of the 6x8 life crafted albums. I also knew that I wanted this on the right side of my album based on where I had space for a one page layout. Although, I could have left the sketch as is, knowing that it would be on the right side, I decided to rotate the sketch 180 degrees. This puts the large paper stripe on the right side of the layout. 


I used three of the digital papers from the GOING PLACES digital collection. I loved the bright and cheery orange and yellow paper. I also used a green and blue paper to tie in with the colors of my photos. With the smaller layout size and keeping my photos larger, I choose to move the title vertically and onto the stripe of paper. 

I used three of this month's cut files on this layout. First, was the title HAPPY CAMPER. Next, I resized two of the other cut files, the LOVE arrow and the LET'S Go arrow, to make two smaller embellishments. I wanted some dimension to these cut files so I cut each one three times and layered them together. Now each one has the thickness of chipboard and is elevated a little off the page. I love the esthetic. 


Similar to the sketch, I wanted to add my journaling onto a tag behind the lower picture. I used double sided tape along three sides to make a pocket behind the picture. My pictures are about 3.25in wide and 2.5in tall. I made my tag 4in x 2in so it would fit inside the pocket I created. 


To finish off the spread I pulled some items from my Citrus Twist stash. These Puffy Word Phrase Stickers matched the colors in the GOING PLACES collection perfectly, so did these Cardstock stickers. Lastly, I added a heart and arrow from this Chipboard Arrow Sticker Set. They round out my third cluster of embellishments and match the denim and wood colors in my photos. 

Thank you for visiting the blog today. I would love to see how you use this sketch in your crafting!


Sunday, March 13, 2022

SUNDAY SKETCH WITH ETTIENE


Hello friends.  I'm here today with a page based on this beautiful sketch. 


I used the sketch to create a spread in my life crafted album by splitting the sketch in between the photos.  


For this layout I used the Back to Basics Mini Kit, Skylands Mini Kit and Back to Basics Digital Papers


I used the sketch to create a spread in my life crafted album buy splitting the sketch in between the photos.


I decided to change the orientation of the first picture to vertical mimicking the space on the sketch for the photo and journaling.  I decided to add my journaling behind the photo on the tag because I thought adding the journaling below the photo as in the sketch would throw off the balance when I used the larger photo.  


I then added a couple of clusters around the page and my title. I love how the Back to Basics kit mixes beautifully with my other supplies to create this project. If I inspired you to try this sketch I would love to see your projects.


Sunday, March 6, 2022

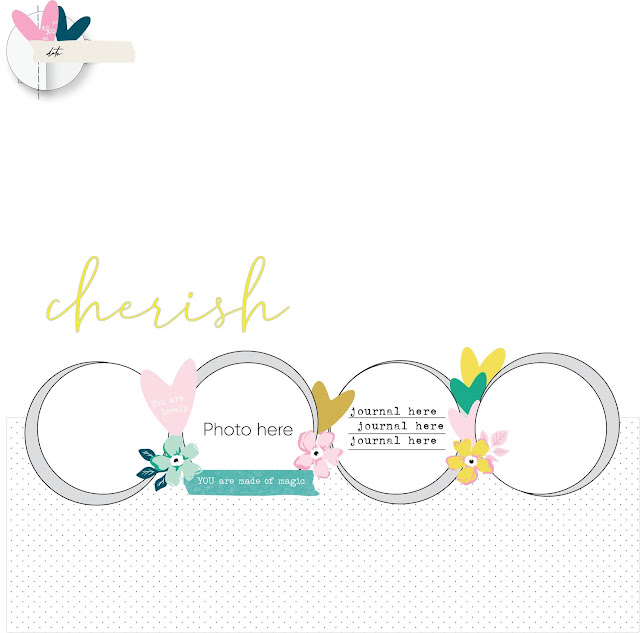
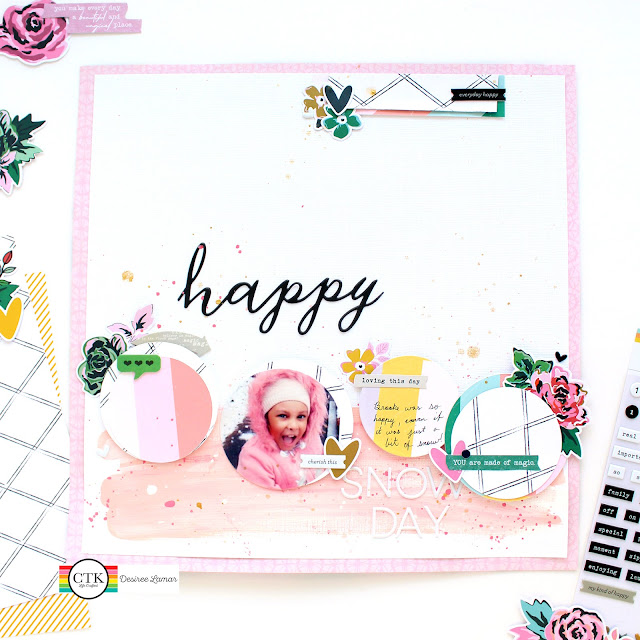
Sunday Sketch with Desiree


Hello CTK friends! Today I am here to share a sketch that I could not wait to get started on. Let's take a look at the sketch.


The sketch is lovely on its own but the Citrus Twist Kits March exclusives made me really excited to bring this sketch to life.


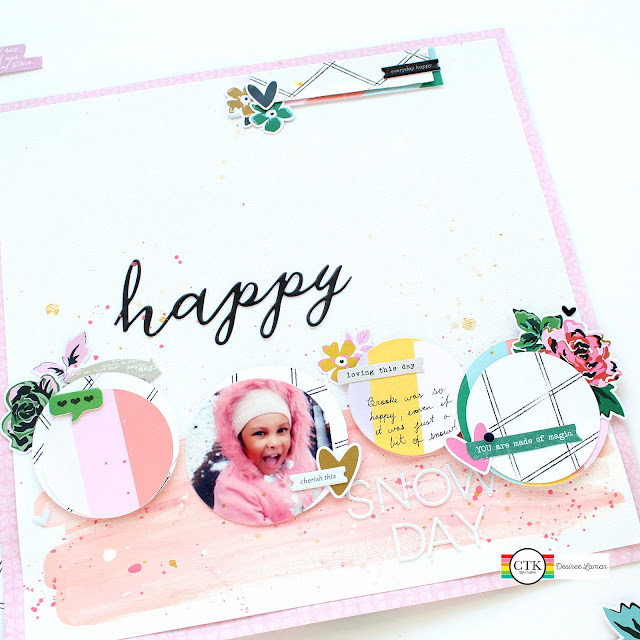
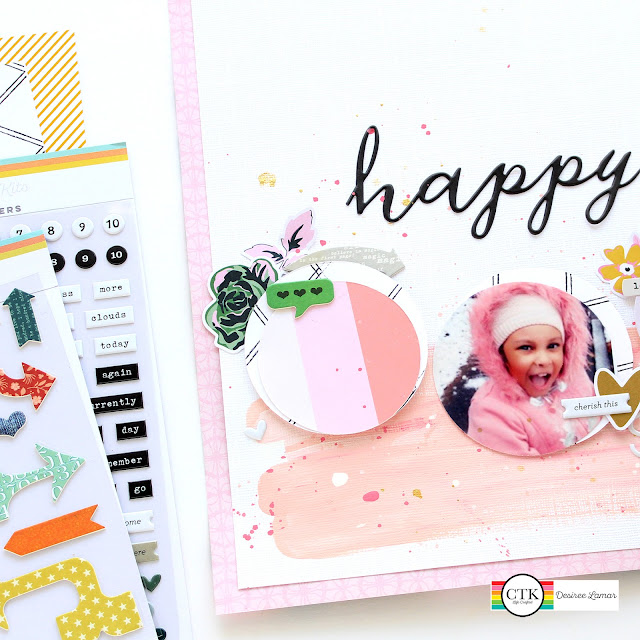
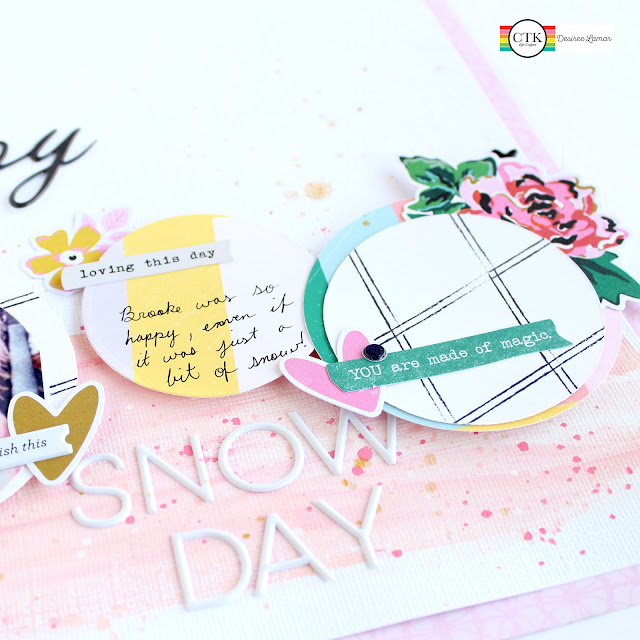
I started with white textured cardstock on a pink pattern background. In place of the pattern at the bottom of the sketch, I opted for a few brushes of pink acrylic paint and splatters. 


To create my circles, I used two papers from the Back to Basics TN Paper Digitals. To create interest, I cut several larger and smaller circle sizes to layer on each other.


Next, I layered the Back to Basics Florals throughout my circles. The Back to Basics Puffy Word Phrase and Number Stickers were perfect to continue the black and white theme throughout my layout. To create the smaller cluster at the top of my page, I layered on a few paper pieces, and florals.


I continued to layer more Back to Basics Ephemera and Back to Basics Chipboard  Stickers to the page. Once my layout was ready to be completed, I added two titles to my page. I used the "Happy" phrase from the Fresh Starts Puffy Phrase Stickers and Back to Basics Puffy White Alphas to make my "Snow Day" title.

I am truly loving the simplicity and versatility of the Back to Basics Mini Kit. I can't wait to create more projects with it.


Friday, March 4, 2022

Life Crafted Inspiration With Aimee


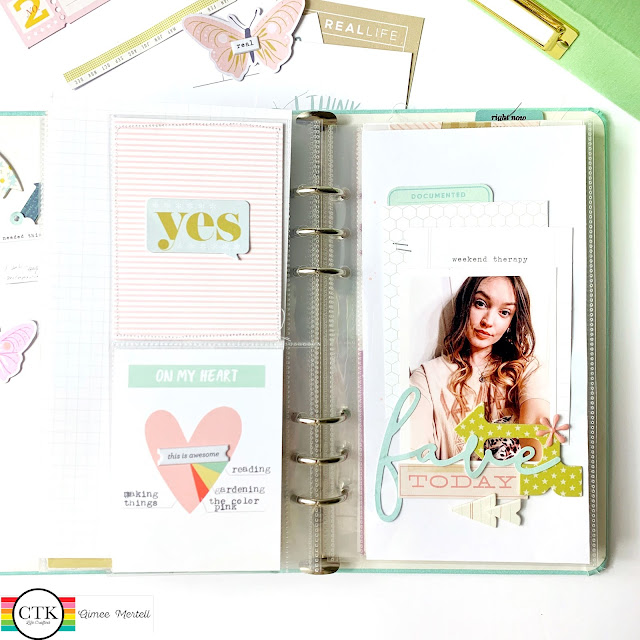
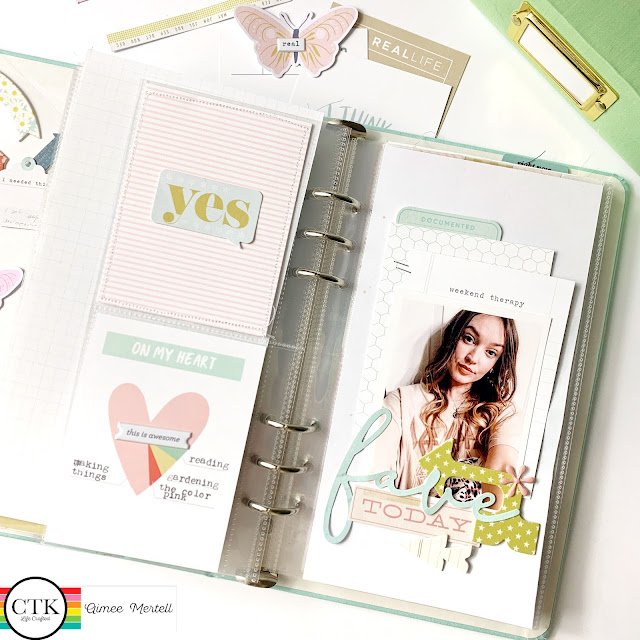
Hello there my Citrus Twist Kit friends! It's Aimee here with you today for this week's Life Crafted inspiration! This week I combined the new Back to Basics kit with a bunch of older citrus twist exclusives and stash products to make my own curated kit! It was so much fun to do— so let's take a look at what I came up with! 


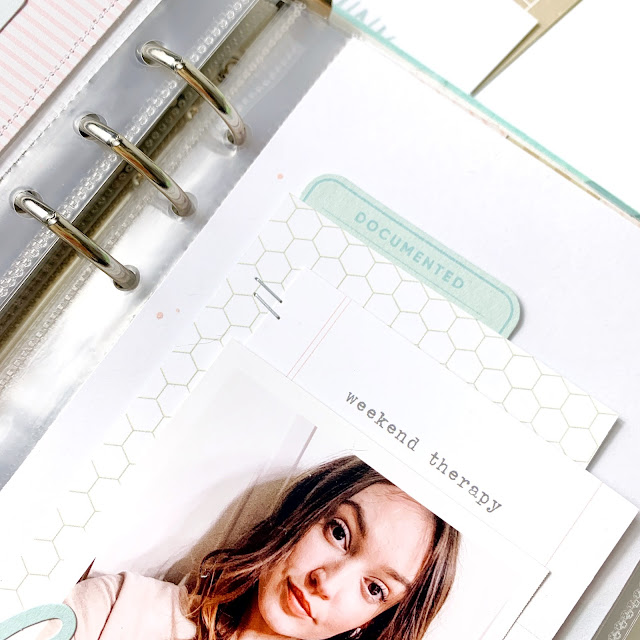
I just love how easy it is to combine different Citrus Twist products and releases. All the products and colors just seem to go together without effort— this makes setting up your own "kit" a breeze. On the right side of the layout I pulled 3x4 Inch cards from the Everyday Life journaling card set to use as layers behind my photo and then got to embellishing.


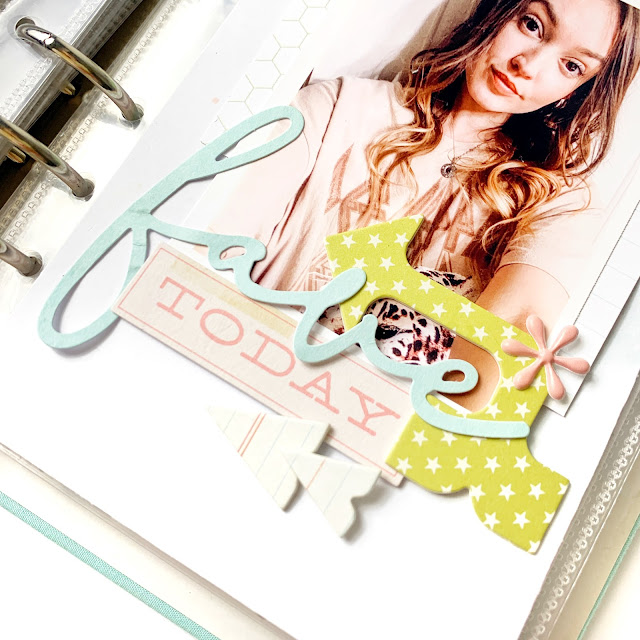
 I am a sucker for a blue, pink and yellow color palette so I did just that— pulling pieces from different collections that would work together. I combined chipboard arrows from the Back to Basics arrows, hearts and clouds chipboard sticker set with die cuts from the Butterflies and Tags die cut ephemera pack to create a cluster under my photo. The scripty die cut  word gives the page just the right amount of whimsy. 


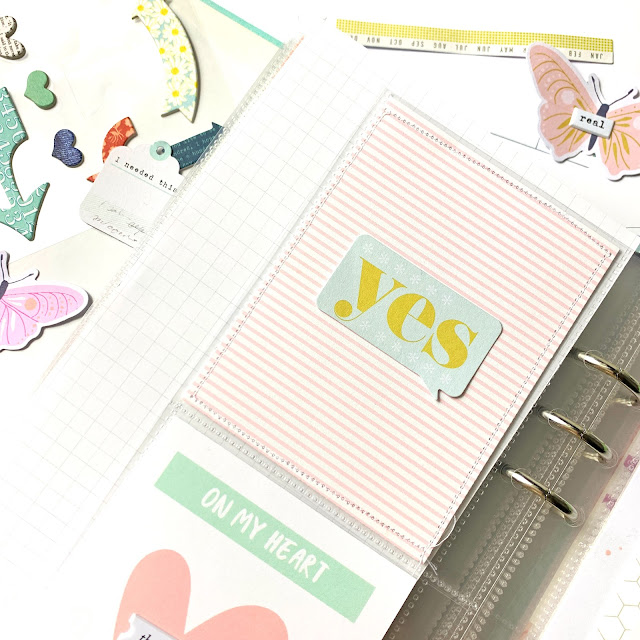
I dug deep for additions to the left side of the page and settled on pieces from an older collection called, "Little Things" that some of you may remember. I used a beautiful pink paper from the Little Things 6x8 inch paper stack to create my own 3x4 filler card. I machine stitched around the edges and topped it with a die cut piece from the Butterflies and Tags ephemera pack. 


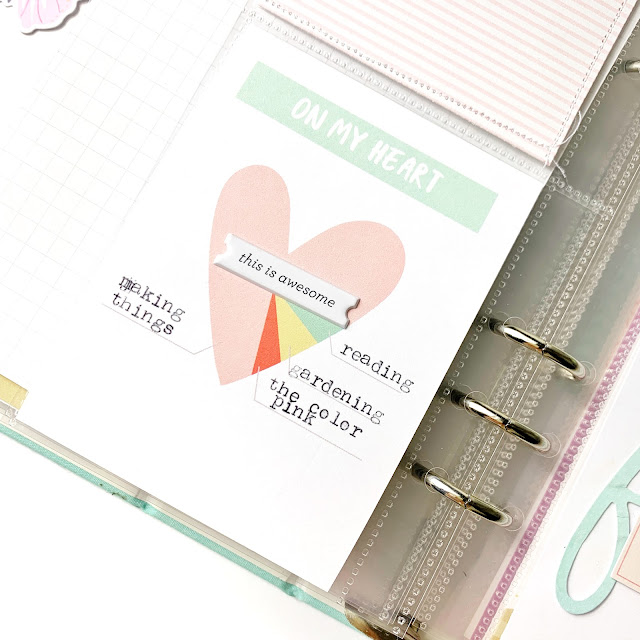
Then, I found the perfect journaling card in the Little Things 3x4inch journaling card pack that invited me to label all the pieces of my heart! I added a fun puffy sticker from the Back to Basics Puffy Word Phrase and Number Snippets sheet right on top and it's absolute perfection! 


I just love how easily this layout came together using all my beloved Citrus Twist products! I hope this inspires you to dig deep into your stash and maybe make your own kit, too! Mixing and matching products is not only a ton of fun but also helps us to use what we have— which can be hard to do when there is always something new being released! So, let's get back to the basics! 


Affectionately, 


Sunday, August 15, 2021

Sunday Sketch With Aimee


    Hey there Citrus Twist friends!  It's Aimee here with you today with another Sunday Sketch. Like most, I love using sketches when I am feeling less than creative but also just as a jumping off point. Many times the finished product does not look like the sketch at all while other times I follow it rather closely. Let's take a look at this weeks sketch: 


I absolutely love all the details in this sketch and what I love most about Citrus Twist Kit sketches in particular is that they show detailed embellishment arrangements! It really takes the guess work out of putting your page together when you receive your new products. Today, I have decided to follow the sketch pretty closely but I will modify it to fit inside my Life Crafted album. 


 I love the plus sign die cuts from the Here We Go die cut pack, they reminded me of a hospital insignia and so they are actually what  inspired me to document this particular story— a story about a spell of appendicitis I had in June. To start this page off I noticed that the sketch seemed to have some splatter in the background. I used a Faber Castell Gelato stick in the color Amber and a wet paint brush to add some beautiful droplets to my page. Next, I laid out a large 4x8 inch cream tag as my base that will span  across both pages. I layered up bits and scraps of paper from the Jen Hadfield paper pad on top of my tag in a similar fashion to what is shown on the sketch. I'm really leaning into those warm orange, yellow and red tones right now!


Now, obviously in the sketch the die cuts shown are ones with rather upbeat sentiments on them and my photo obviously tells a not so great story. That's totally okay though because I was easily able to swap them out for more fitting embellishments from the pack. I exchanged, "It's a good day" for "you got this" and "my happy place" with "I'm done" and so on. 


I simply adore how the sketch calls for scattered plus signs and added machine stitching. So many fun details that add so much interest and texture! I went ahead and added stitching where I could and a little black puffy sticker from the Stars and Hearts sticker sheet that I could not pass up. So fitting! 


 On the right-hand side under my photo I added a chipboard sticker from The Good Life chipboard sticker sheet and typed in my journaling. 


 At last, I trimmed the whole layout in half so that it could fit into each page protector.  I love that this sketch is still relatively intact and still feels like it is one piece— despite being cut into two separate halves. Sketches can absolutely be shrunken down in scale to fit whatever format you're working with. I encourage you to give it a try and see what you come up with! 

Affectionately, 


Friday, November 27, 2020

3-to-inspire with Marivi


Another Saturday with a new 3-to-Inspire challenge, for today this is my challenge:
1.Project life covers
2.Ephemeras
3.Two photos


I haven't used pocket cards for a long time, I have taken advantage of the new size of sleeves, instax, which I really liked, this way I break a bit with the aesthetics of my Life Crafted Album.


On the first page I have placed a photo with a couple of cards that I had to cut out for this measure, and in another pocket a flower and an ephemera phrase.On one of the cards I have used a stamp.


On the other page I have placed the photo in the lower right pocket.
In the other pockets I have also placed ephemera and a card that I made with one of the papers from the kit.

Here you can see in detail the ephemera that I have used and the photo.

As I love them and they cannot be missing in my projects, I have glued some enamel dots.
When I use pocked cards, I always glue the ornaments with volume above the pocket, so that it does not bulge them.


I hope you like this challenge, as always thanks for stopping by.

See you soon!