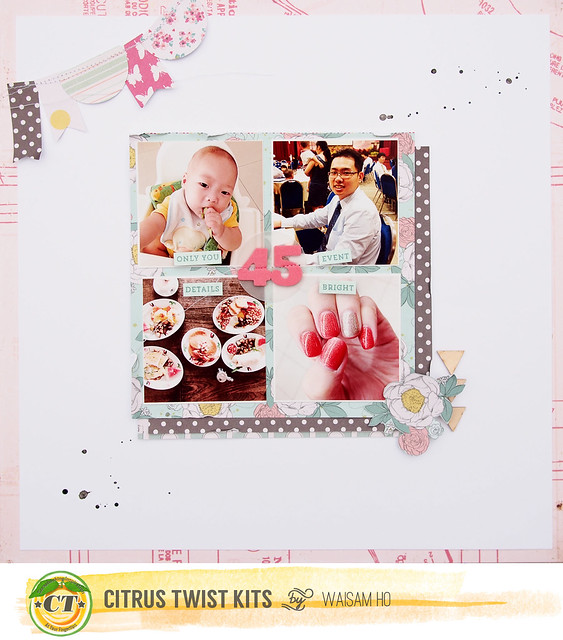
Hello there! It's Wednesday and Sam is sharing a layout - cum - project life spread using the 6x6 paper pad. Just a quick note: this month I made total 4 weeks Project Life spread + a layout using just the PL kit + PL embellies kit. Cant believe that? I only sneak in 2~3 pieces of 12x12 patterned papers, white card stocks, Thickers and gelatos (which are my staples whenever I work on my projects) and ta-dah! 4 PL pages and 1 layout is done.
I total spent 35 minutes on this simple layout (which doesn't include the time I print and edit photo).
30 minutes - looking for the Dear Lizzy 6x6 pad
5 minutes - on a layout
Gentle reminder to self: Keep my supplies organised so that I would spend more time scrapping than looking for stuff ;) Since I only spent 5 minutes working on the layout, I would share with you how I did it. This is actually the left page of my PL week 45.
Do go to my blog to check out the full spread. I decided to make it in a 12x12 layout this week simply because I am lazy to work on each individual pocket. Don't get me wrong. I love decorating each and every pocket but sometimes I do have time constraint in keeping my PL up to date and I found this 5-minute layout works extremely well for me.
Steps:
1. Print 4 photos of 2.5'x2.5'. Gotta be smaller than 3 inch each so that we could fit 4 photos on a piece of 6x6 paper.
2. I just work on my routine - laying white card stock on a piece of 12x12 paper from my stash. These are my staples that I breath, eat, drink my white cardstocks. It shows how important they are to me.
3. Once background done, I tear 3 pieces of 6x6 papers from the paper pad. Ok, these ar emu last 3 pieces so I have no choice at all! *LOL*
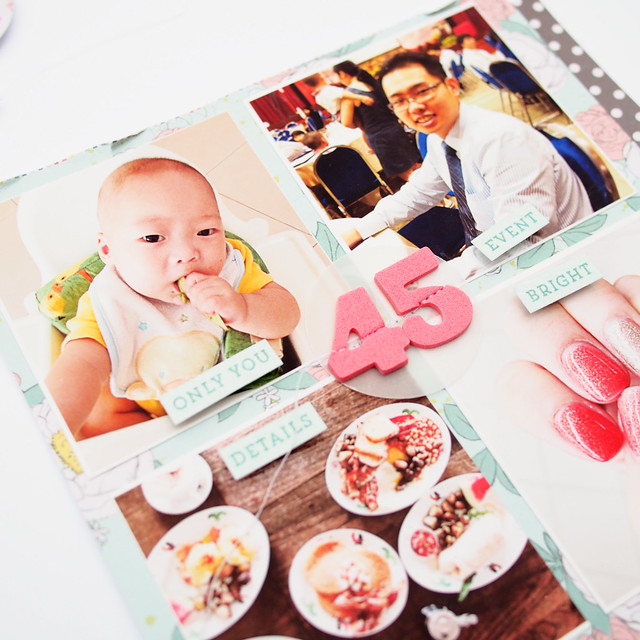
4. Layer the 3 pieces of papers as photo mat, then arrange the printed photos in grid style. You can never go wrong with a grid layout right?
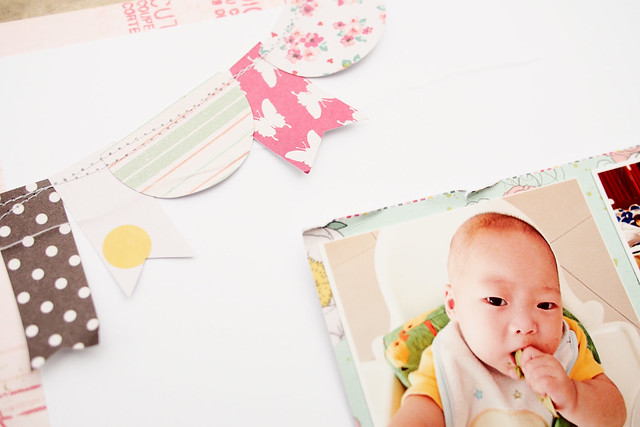
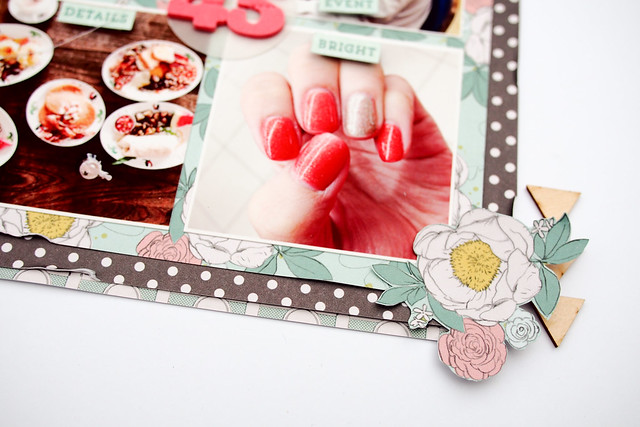
5. I didn't have much embellies on hand, so I hand cut and punch out some shapes to create my own banner. And also added a fussy cut flowers from the paper pad at the bottom right to create a cluster.
6. Can never call it done without some mist splatter right?
Note: the title '45' is from the June/July CTK kit.
Making your own banner is always easy. Cut some square, triangles and rectangle, punch out some half-circle then stitch them down. You have your own cute little banners. Easy way to perk up any page!
Fussy cut flowers and exclusive wood chips to create a simple cluster.
Thanks for looking! Do share with me once you have created a 5 minute layout!


Sam.. ohmygoodness, you are SO good to be able to do a layout in 5 minutes!! I need your talent! :D
ReplyDeleteI can't believe you just create this in 5 minutes!!! (but I can relate in the 20 minutes looking for something :P) - Love the grid of square photos.
ReplyDeleteCute layout!! And what a great idea to use up your 6x6 papers!
ReplyDeleteWow you're really fast! Love this :) Simple to learn & love it that it's so clean :)
ReplyDeleteGreat idea with the 6x6 papers love it x
ReplyDeleteSo pretty! I just think your baby is so very cute and I enjoy seeing your work!
ReplyDeleteSuper cute Sam! Love the description on how much time you took! Happy day!
ReplyDeleteWell you just rock to get it done in 5 minutes!!
ReplyDeleteWonderful! I love how you went with decisions about photo size and paper due to necessity and then made it fabulous with your banner, stitching and fussy-cutting! TFS!
ReplyDelete