Monday, January 20, 2014

Simple Stratégie with Amélie

Hi! Here is Amélie and today, I am going to share with you my new layout with January Add-On kit. On this layout, I created my own embellishments using my kit supplies.
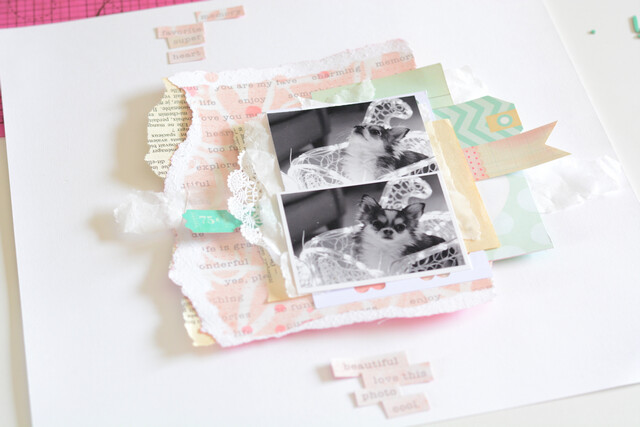
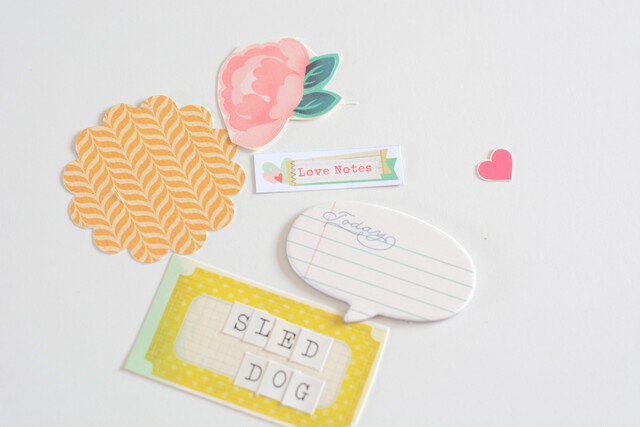
I just layered some chipboards with papers, stickers, brads...
And this is what it looks like:

ss3

 
ss1


ss2

And now this is my layout:


 Some supplies like cork shapes and enamel dots come from previous kits.
 I hope this will give you some ideas!
See you soon.
Amélie

Sunday, January 19, 2014

SUNDAY SKETCH WITH EVE

Hello,

It's Eve, new DT member from France :)

For my first layout, i use this beautiful sketch :

1479526_10200888910256488_722878694_n

I used the main kit and the embellishment kit to do this layout :

  Page a day at the beach banniere

Page a Day at the beach zoom 2

Page A Day at the beach zoom 1

Hope you love it :) Thanks again Trina to invite me to this fabulous team !

To play along with our sketch challenge, upload your layouts to the gallery by 01/25 to get your name in a drawing to win a $5 GC to the store. When uploading to the gallery you can name it as you would normally but please include "Sketch 01/19".

Saturday, January 18, 2014

My Approach to Pocket Life 2014

Hi everyone! It's April again.  I'm back to share my approach to pocket life for 2014 as well as share my first week using the January PL, PL Embellie, and Main Embellie kits!

I had been getting bored with my current 2013 format as of late, so like many others, I was considering switching it up for 2014.  There are just so many options when it comes to size, format, etc, that would make it different (and therefore, a little more "fun") for me, but when it came down to it, I needed to stick with a system that would work consistently for me.

That being said, I decided to stick with my 2013 approach.  It's just what works for me.  I'll be doing a 12"x12" format with a two page spread for each week using Design F page protectors.  The small differences in 2014 are:
  • I definitely won't be doing a "week in review" card like I did in 2013 - I always dreaded writing those out.
  • I'm going to try to incorporate more fun elements like stitching and die cuts.
  • Hopefully, I'll be able to incorporate more of my husband's voice on my spreads.
I still haven't finished my 2013 album (slowly but surely.. I will finish it), but I'm planning to keep up with 2014 while I finish up 2013, so here's my week 1!

DSCN4101_800_CTK

I'm actually not sure what I was thinking when I planned this page and when I actually started putting it all together.  I meant for this first week to be a short week: Jan 1-5.  I even stamped my week card Jan 1 - Jan 5!  But somehow, I incorporated the full week (which included Dec 30 and 31)... and I didn't even realize I did this until after the spread was complete!  (I may go back and re-do this spread completely, but we'll see!)

DSCN4103_800

DSCN4105_800

Some close-up shots:

DSCN4108_800


In case you were wondering, I haven't done a title page for my 2014 album yet. It'll most likely be the last thing I do for my album (I still don't even have any title/end pages for my 2013 albums)!

Thanks for stopping by!

Friday, January 17, 2014

Playing with Pocket Life with Jen

Happy Pocket Life Friday!I'm sharing my Week 42 today...yes, from 2013! I'm still playing a bit of catch up with last year's album and that's okay. As it turned out, some of the prints and colors in the January kits? Absolutely perfect for my autumn throwback week. Those adorable little toadstools? Yes! I think it's safe to say the SC Print Shop is my new favorite paper collection.

JenB_Jan14PL2_1
This week I took my boys on a visit to a local pumpkin patch, indulged in a Pumpkin Spice Latte, hung a new fall wreath and attended my oldest son's first preschool field trip. Packed with fun activities!

JenB_Jan14PL2_2
The biggest news of this week was making an offer on a new house and having that offer accepted the next day! After a 2.5 year search, we finally found our home. I combined a digital brush with the large Daily Flash stickers to make that simple, yet powerful statement with just one word.  For the bottom left split photo, I combined iPhone shots of each of our boys from the day we submitted the offer, added a two digital brushes and accented it with one of the heart/geotag wood veneers from the PL kit.

JenB_Jan14PL2_3

I wanted to keep my weekly card light and bright for such a happy week. The white and taupe sketchy print is so pretty was easily embellished by punching out a few holes and adding three separate punched patterns in their place, layering labels and using one of the PL kit stamps.

JenB_Jan14PL2_4
The story of finding our new house and how we knew it was "the one" is slipped in this fabulous SC clear, stitched pocket that was in the PL Embellishment kit this month.

JenB_Jan14PL2_6
I print my photos at home and, when using Instagrams, print two to a 4x6. This week I tried trimming them to look like mini polaroids to allow for journaling.

JenB_Jan14PL2_5
The chalkboard bubble stickers in the PL Embellishment kit are too fun! I use my white Sharpie poster paint pen to add text and an outline to this one, quoting my younger son.

JenB_Jan14PL2_7
And here are your sketches for the week:

JenB_Jan14PL2_Sketches

Thursday, January 16, 2014

Be Inspired with Amélie

Hi there! Do you need some inspiration today because I have a new inspiration for you! Do you like doilies?? As far as I'm concerned.. yes, I love them!
So, this is a part of my inspiration for you. Look at this!


 This one come from Pretty Little Studio's blog:

And now, my layout inspired by these pictures:

remember1b1

Some details:

remember4


remember3


remember5

For this layout, I used January Add-On Kit. Some doilies come from my stash, one is cutting with my Silhouette Cameo.You can also find some embellishments from previous kits like enamel dots, washi tape, sequins and transparency arrows. Crochet doily and wood stars come from my Citrus Twist Christmas kit.

I hope this will inspire you!
See you soon,
Amélie

Wednesday, January 15, 2014

6x6 Paper Play with April

Hi CTKer's! :) April here to share a penpal mini book that I made using the 6x6 paper pad from the January PL kit, the PL Embellie Kit, and the Main Embellie Kit.

Late last year, I picked up a new hobby of penpalling.  I love being able to connect with other girls from all over the world who have the same interests as me, who appreciate the time and effort put into crafting and pretty packaging, and who reciprocates the same time and effort to make something pretty for me.  It's also a plus getting a pretty package in the mail that isn't a bill! ;)

Often times, I get stuck with a bunch of leftover sheets from my 6x6 pads, so I had an idea of using the leftover sheets to make a mini book that I could write my penpal letters in.  I constructed the mini book using techniques I learned in making mini albums which was to adhere two sheets back to back, then bind them together using washi tape!  I make my pages different sizes and I like to add pockets to add interest and interaction to my books.  Then I embellish with leftover scraps, alphas, and stickers that I have laying around.

Here's a look at the completed (blank) book that I made for my penpal, Lily:


DSCN4066_800

DSCN4067_800

DSCN4068_800

DSCN4070_800

DSCN4071_800


Here's a small peak at what the book looks like after I've written in it and added some extras to my pockets. (Sorry for the small photo, but I did it intentionally in order to maintain some privacy with what I've written in the letter.)

photo

Thanks for stopping by! :)

PS.  The library card pocket is from my stash!

Tuesday, January 14, 2014

Tuesday Tutorial

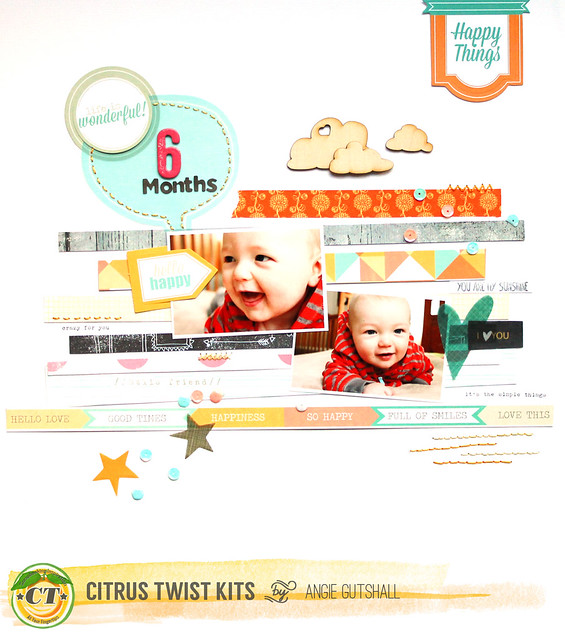
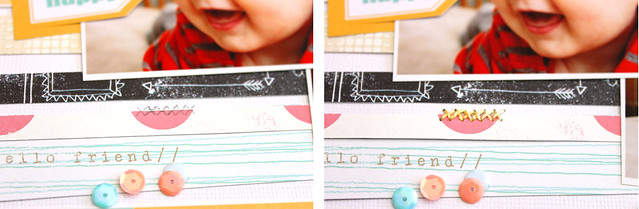
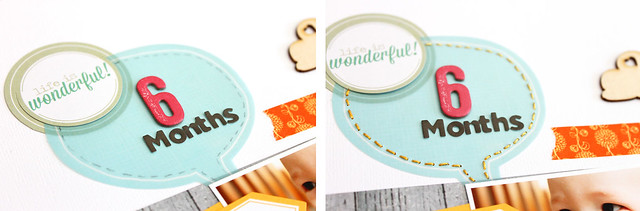
Hello Angie here to share a fun, yet simple tutorial with you today.  I know a lot of us (including me) don't have "extra" time to add all those little extra details to layouts but if we did here is a simple technique that took an extra 15 min. *Layout is main kit only except the mini brown alphas are from my stash)*

January Main Only

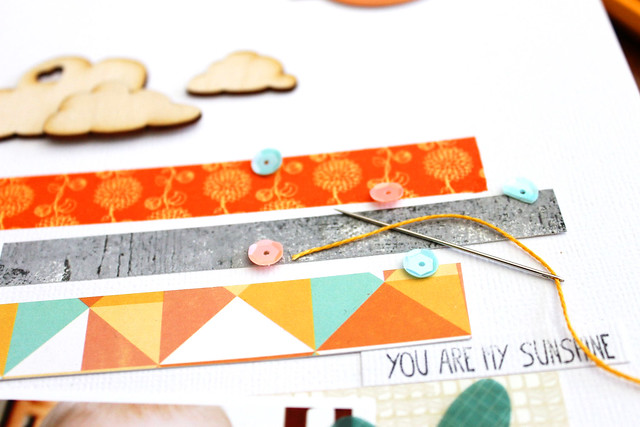
First, I strung my needle with the thread that came in the January Main Kit. 

Tutorial
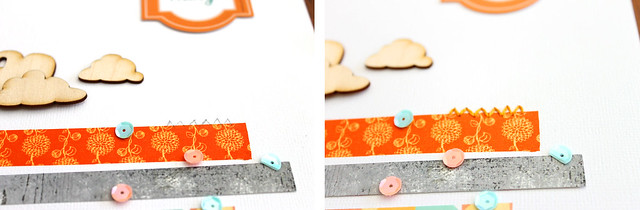
Next I took a pencil and made stitch marks on my layout.  And I hand sewed the layout.  Super simple and in my opinion is kinda relaxing.

Here are some different stitches you could do:

Zig Zag: Tutorial 1

Cross Stitch:

Tutorial 3

Straight Stitch:

Tutorial 2

Straight Stitch around the bubble:

Tutorial 4

I hope this little sewing tutorial inspired you to sew on your next layout. If you do I would love to see them in gallery!