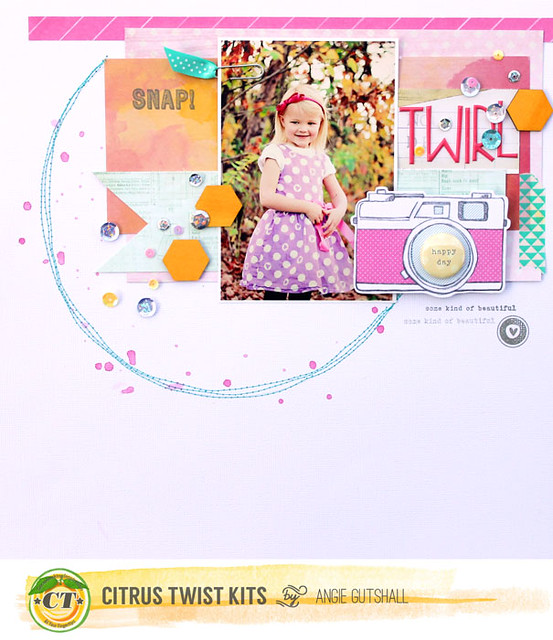
Some patterned papers are so hard to use because they can be so busy or just too much going on. Well, most of you probably know I mainly use white for my backgrounds. That being said I flipped over the one paper in the September main kit and thought "oh my I have picture that would work perfectly for this paper". I didn't like that the sand was so low and my picture would be way at the bottom do after sorting through the kit I figure out a way to make this work.
So I first pulled out the main paper I was using, a fun cork like paper (I think it looks like sand too), and the piece of crape paper you get in your kit.
I cut the papers and attached under the main paper. I gain an inch+ on the bottom by doing this.
But to do this I had to cut an inch+ off the top.
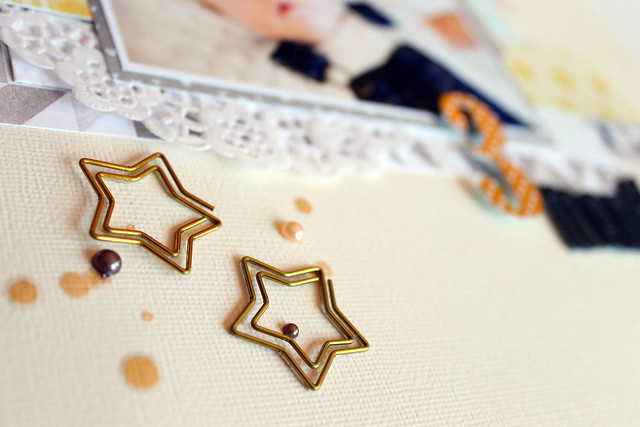
Since I was adding so much in one corner I need to offset the top. I used some of the pretty sequence that come in the kit. I literally just sprinkled them on and LOVE where they fell! Love when things work out!
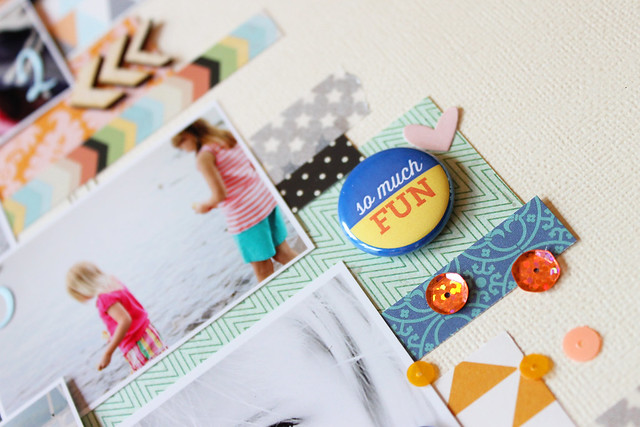
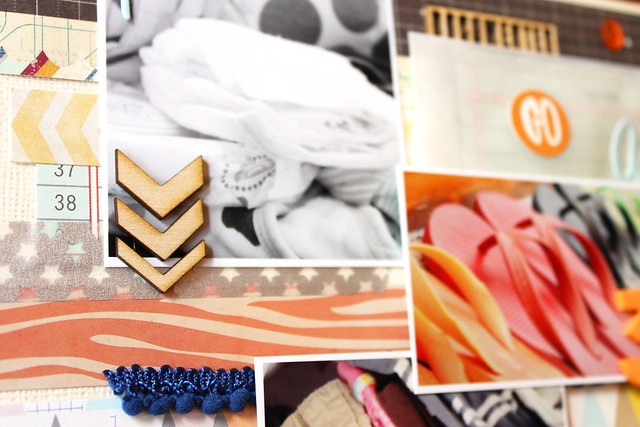
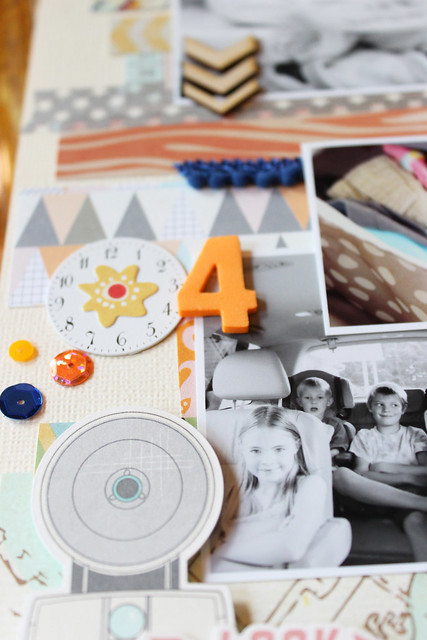
Then I started adding all the little embellishments to help make this page just the way I wanted it to look. I took the string and rounded it up and placed one of the wood veneers through it. I used the tiny stickers to get the date.
Here is the full layout. I had fun going out of my norm for once :)
I hope this inspires you to try the same!
Showing posts with label Angie. Show all posts
Saturday, September 13, 2014
Sunday, April 6, 2014
Sunday Sketch
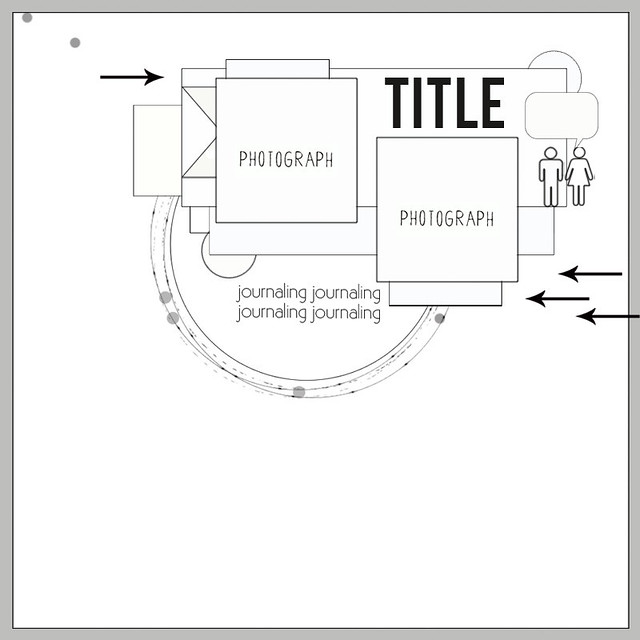
Today I have another fun sketch challenge for you to try. To play along with our sketch challenge, upload your layouts to the gallery by April. 12th to get your name in a drawing to win a $5 GC to the store. When uploading to the gallery you can name it as you would normally but please include "Sketch 4/6".
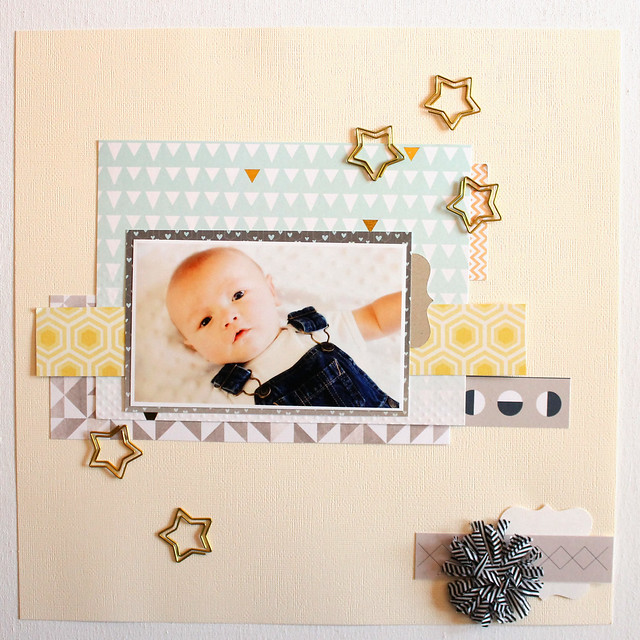
Here is your sketch:
Here is my take on the sketch using the April Main Kit. I really love the colors in this months kit! And the exclusive wood veneers are so cute and a must have!!!
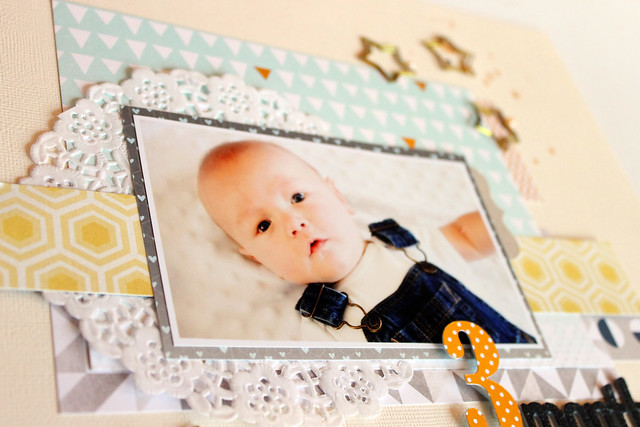
Here is a close up for you.
Thanks so much for stopping by! I can't wait to see what you create!
Here is your sketch:
Here is my take on the sketch using the April Main Kit. I really love the colors in this months kit! And the exclusive wood veneers are so cute and a must have!!!
Here is a close up for you.
Thanks so much for stopping by! I can't wait to see what you create!
Sunday, January 26, 2014
Sunday Sketch
Hello and welcome to another sketch challenge. I love sketches and Kasia's are amazing!
Here is your sketch for this week:
Here is my take using the January Main Kit and Embellie Kit. I really love the bright colors in this kit!
To play along with our sketch challenge, upload your layouts to the gallery by Feb. 1st to get your name in a drawing to win a $5 GC to the store. When uploading to the gallery you can name it as you would normally but please include "Sketch 01/26".
Here is your sketch for this week:
Here is my take using the January Main Kit and Embellie Kit. I really love the bright colors in this kit!
To play along with our sketch challenge, upload your layouts to the gallery by Feb. 1st to get your name in a drawing to win a $5 GC to the store. When uploading to the gallery you can name it as you would normally but please include "Sketch 01/26".
Tuesday, January 14, 2014
Tuesday Tutorial
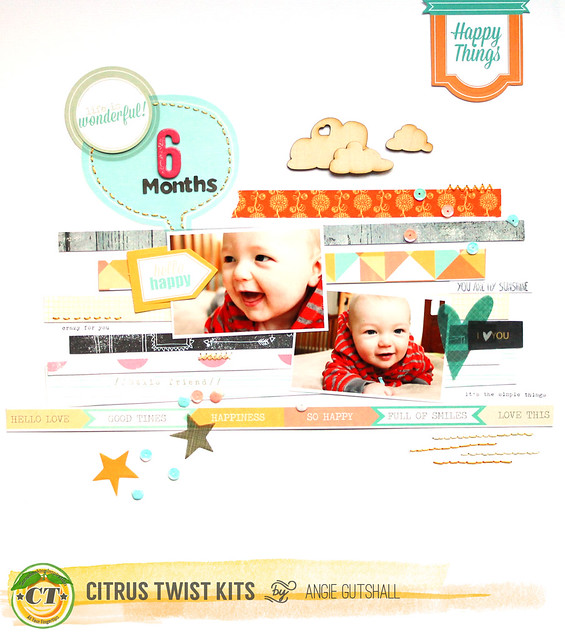
Hello Angie here to share a fun, yet simple tutorial with you today. I know a lot of us (including me) don't have "extra" time to add all those little extra details to layouts but if we did here is a simple technique that took an extra 15 min. *Layout is main kit only except the mini brown alphas are from my stash)*
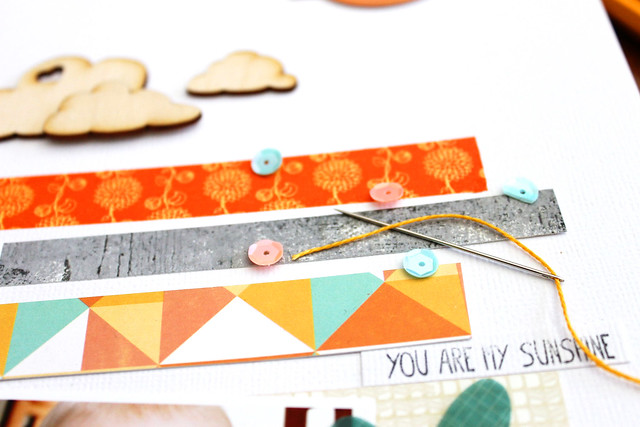
First, I strung my needle with the thread that came in the January Main Kit.
Next I took a pencil and made stitch marks on my layout. And I hand sewed the layout. Super simple and in my opinion is kinda relaxing.
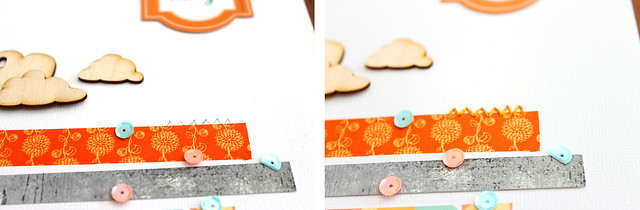
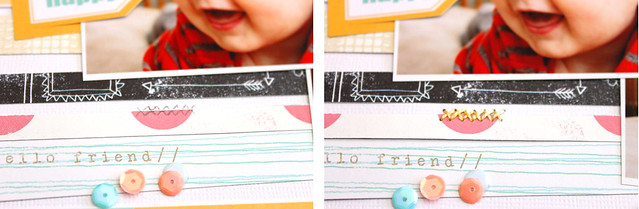
Here are some different stitches you could do:
Zig Zag:
Cross Stitch:
Straight Stitch:
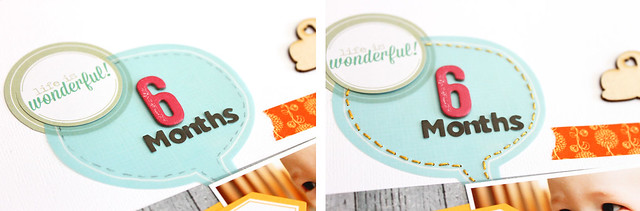
Straight Stitch around the bubble:
I hope this little sewing tutorial inspired you to sew on your next layout. If you do I would love to see them in gallery!
First, I strung my needle with the thread that came in the January Main Kit.
Next I took a pencil and made stitch marks on my layout. And I hand sewed the layout. Super simple and in my opinion is kinda relaxing.
Here are some different stitches you could do:
Zig Zag:
Cross Stitch:
Straight Stitch:
Straight Stitch around the bubble:
I hope this little sewing tutorial inspired you to sew on your next layout. If you do I would love to see them in gallery!
Monday, November 4, 2013
Guessing Game #5 Simple Stratgies
Hello Angie here to share a little Simple Strategy with you today. Before I forget I just wanted to remind you all that our reveal day is now the 5th of every month which means TOMORROW is reveal day!! You will love these beautiful kits ( I know I do)!
Also we are still playing our guessing game so be sure to leave your guesses below for a chance to win a $5 Gift Certificate to Citrus Twist Kits.
For this layout I used the November Kit add-on only. I also used Heidi Swapp's Gold Color Shine.
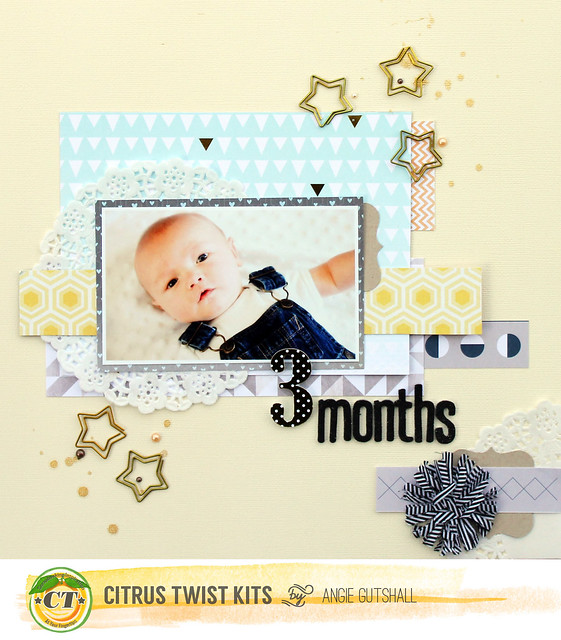
Now for the details. I first cut my patterned papers and layered them under the picture. I'm one who loves adding accents to my layouts to make them pop. So here is a picture of my basic layout.
All I did was added a doily (which comes in the Kit Add-on) behind the picture, added part of a doily to the corner, add some gems, and splattered some mist. Isn't it amazing how just adding some so simple as doily can change the look of a layout?!!
Thanks for stopping by and make sure to check back tomorrow for our November Kit Reveal!
Also we are still playing our guessing game so be sure to leave your guesses below for a chance to win a $5 Gift Certificate to Citrus Twist Kits.
For this layout I used the November Kit add-on only. I also used Heidi Swapp's Gold Color Shine.
Now for the details. I first cut my patterned papers and layered them under the picture. I'm one who loves adding accents to my layouts to make them pop. So here is a picture of my basic layout.
All I did was added a doily (which comes in the Kit Add-on) behind the picture, added part of a doily to the corner, add some gems, and splattered some mist. Isn't it amazing how just adding some so simple as doily can change the look of a layout?!!
Thanks for stopping by and make sure to check back tomorrow for our November Kit Reveal!
Tuesday, October 29, 2013
Tuesday Tutorial
Hello and welcome to another Tuesday Tutorial. Today I wanted to show you how fun it can be to take a plain tag and make it fun and then add it to a layout.
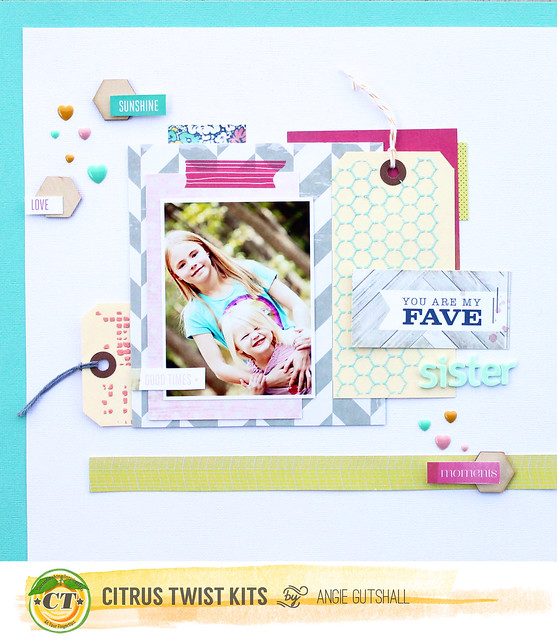
So first I want to share my layout with you. I used the October kits which is by far my ALL time favorite kit! The only thing I add was the tags for my stash.
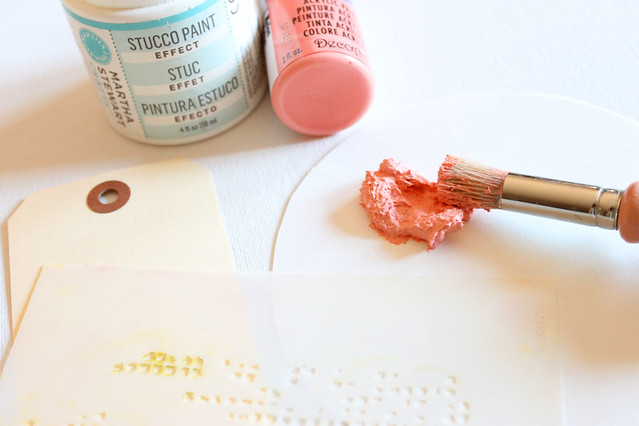
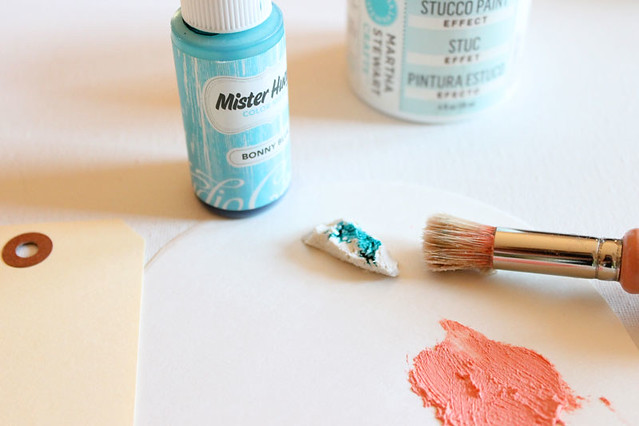
Now for the tutorial. First I mixed some simple acrylic paint with some molding paste.
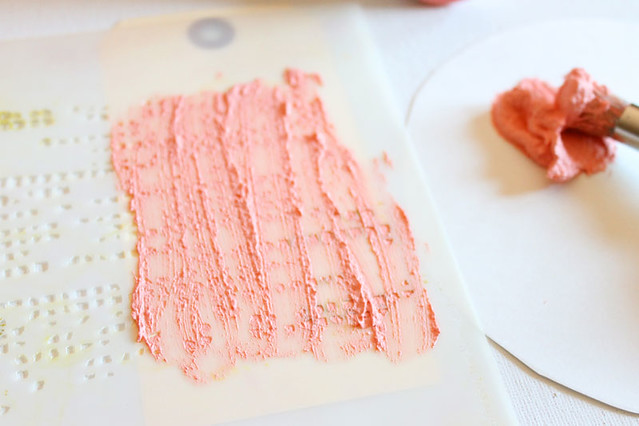
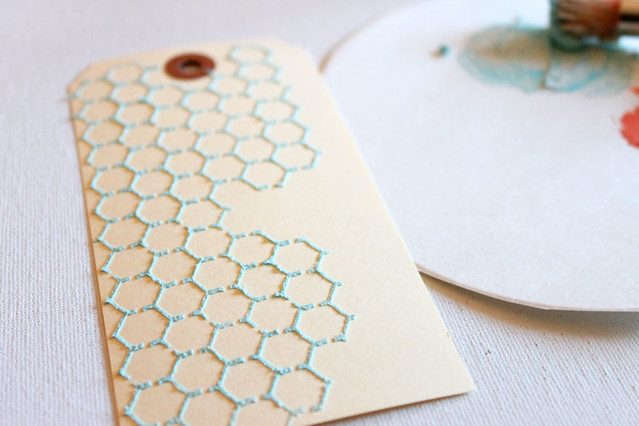
Then I applied the paste over a mask on the tag.
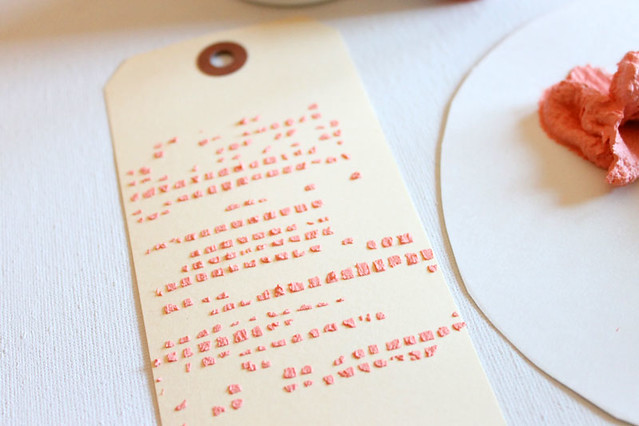
Here is what it looks like finished.
I then took some more molding paste and mixed some mist in to the paste.
Here is the finished tag.

Thanks for stopping by and I hope this has inspired you to create some fun tags. *Hint: there just might be one coming in your November kit.*
So first I want to share my layout with you. I used the October kits which is by far my ALL time favorite kit! The only thing I add was the tags for my stash.
Now for the tutorial. First I mixed some simple acrylic paint with some molding paste.
Then I applied the paste over a mask on the tag.
Here is what it looks like finished.
I then took some more molding paste and mixed some mist in to the paste.
Here is the finished tag.

Thanks for stopping by and I hope this has inspired you to create some fun tags. *Hint: there just might be one coming in your November kit.*
Sunday, October 6, 2013
Guessing Game #6 Sunday Sketch
Hello Angie here to share your Sunday Sketch with you. Here is your sketch from Kasia:
Here is my take using the October Kit Main Kit and the Embelli Kit. I used one bigger picture instead of two. I absolutely love the colors in this kit and can't wait to see what you think.
To play along with our sketch challenge, upload your layouts to the gallery by October 12th to be entered in a drawing to win a $5 gift certificate to the store. When uploading to the gallery, please include "Sketch 10/6" along with your layout title.
Here is my take using the October Kit Main Kit and the Embelli Kit. I used one bigger picture instead of two. I absolutely love the colors in this kit and can't wait to see what you think.
To play along with our sketch challenge, upload your layouts to the gallery by October 12th to be entered in a drawing to win a $5 gift certificate to the store. When uploading to the gallery, please include "Sketch 10/6" along with your layout title.
Tuesday, August 13, 2013
Tuesday Tutorial
Angie here sharing this weeks tutorial with you. After I completed my layout I realized it would make a good tutorial so I'm going to do a picture tutorial of the completed layout.
This layout was created using the August Main and Embellie Add-on Kits. The main kits is great for scrapping those everyday travels around.
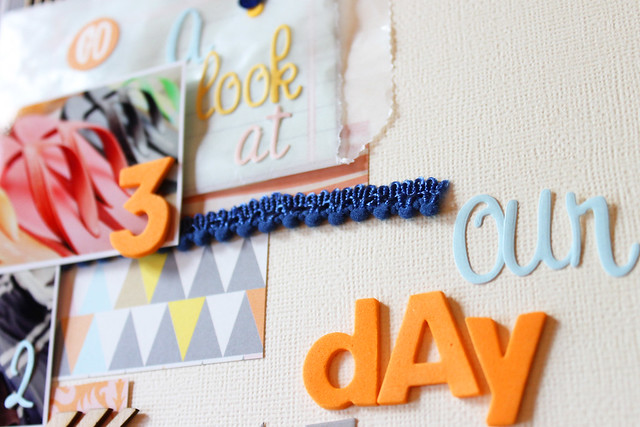
Here is the layout "A Look at Our Day".
So to create this layout I first added stripes of paper from each of the pieces that came in the kit. I made them all different sizes. I also added some washi tape.
And here you see I even added the ribbon as part of my strips.
Then I added some fun embellishments.
I took one of the little bags and added my title to the top of the bag and my journaling to the inside of the bag.

I hope you will be inspired to scrap an every day layout.
This layout was created using the August Main and Embellie Add-on Kits. The main kits is great for scrapping those everyday travels around.
Here is the layout "A Look at Our Day".
So to create this layout I first added stripes of paper from each of the pieces that came in the kit. I made them all different sizes. I also added some washi tape.
And here you see I even added the ribbon as part of my strips.
Then I added some fun embellishments.
I took one of the little bags and added my title to the top of the bag and my journaling to the inside of the bag.

I hope you will be inspired to scrap an every day layout.
Subscribe to:
Posts (Atom)