Showing posts with label October 2014 Kits. Show all posts

Tuesday, October 28, 2014

Fast Scrap Tutorial With Evelyn Pratiwi Yusuf


Hey everyone, today I’m going to share how to do fast scrap using CTK Main Kit (Creative Space) and Autumn Embellishment Kit. I gather my supply and I add Acrylic Dabber Aqua Color. Because I really wanna play with acrylic paint which very popular these day but wanna use it in simple way.

IMG_9896


First of all I use my brush and draw circle in white card stock. I draw two circles; the big one and the small one right in the middle of the page. I just do it without over think. I didn’t use water because I want to pop up the texture of the acrylic it self.

IMG_9897 IMG_9899 IMG_9900 IMG_9901


Yes I hate to wait until the Acrylic dry but trust me it doesn’t take any longer than you think. The next step is I decorate the photo. Do layering put some buttons and wood veneers randomly. 

IMG_9902 


The last step is using the CTK clear stamp that you will find it in the kit. I mix 3 type of the fonts of the stamp as a mini tittle.

IMG_9904

Enjoy the final result and have fun to try it at home! See you in another post love Evelyn Pratiwi Yusuf

Fantabulous


Sunday, October 26, 2014

Sunday Sketch with Nathalie

Hi there! Nathalie here to share a new fantastic Sunday Sketch with you as well as a page based on it:


As soon as I saw this sketch, I thought it had a great potential to become an 8.5x11 page. So I grabbed my gorgeous October kits and got to work:

Nathalie_nothingistoowonderfulwithbanner

KITS USED: "Creative Space" Main kit, "Autumn" embellishment kit
NON-KIT ITEMS: Office tag, enamel dots

The main kit has the most gorgeous turquoise shell buttons. I used all three on my page. 
nathalie_nothingistoowonderfulcloseup_CTKoct2014

I then went on to make a card because I thought this sketch would work just as well for a smaller format:
nathalie_youarefabulouscardwithbanner_CTKoct2014

I hope you feel inspired to create a 12x12 or a 8.5x11 page (or even a card!) with this sketch.

To play along this week and for a chance to win $5 to spend at CTK store, upload your projects based on this week sketch to the CTK gallery. You have until November 1st and please include "Sketch 10/26" in the description.

Saturday, October 25, 2014

How to use leftovers with Lucia

Hello girls! I hope you're all having a great weekend!
I'm so excited today to share with you a cool technique that I came up with! No pinterest or any other inspiration, I can proudly tell you that this idea was born in my own head, which doesn't happen very often, lol.
It's all about leftovers ...


...  and all those scraps that you don't want to throw away because they are too pretty. What I did was that I grabbed some glue and scissors and started to glue them on a piece of paper (it was a thin 12x12 paper that you find in a page protector of a new album).


I've started with larger pieces and kept layering. I was using a brush and Aleene's Tacky Glue that I watered up a bit cause it was too thick.


The smallest pieces came in the end.


Eventually I machine stitched everything.


What I got was something like a little artwork :) I was planning to use it for layering so even if the 12x12 page looked gorgeous, I've cut it into smaller pieces:


And they are just lovely. I used some of them to embellish the page I've created after, but you can use them as pages for a mini album, for layering or even as a decoration or wall art :)


And the best part is that I filmed the proces! :)
You can watch it here:


Thanx for reading/watching and I hope this will inspire you to recycle and use up the bits of pretty paper :)
Have an awesome weekend!

Friday, October 24, 2014

Pocket Life with April

Hi CTKers!  April here to share my Pocket Life Week 34.

To be honest, the colors from this month's kit were out of my comfort zone, but I have to say, I ended up really LOVING the kit.  I think part of it has to do with the fact that I don't typically gravitate toward such warmer colors like oranges, but I thought this kit was very nicely coordinated.  Thanks Trina!

And just as a weird coincidence, the tint of my photos this week ended up being more orange-y than usual because of the lighting at the restaurants we were at, so I thought most of my photos matched the kit well!

DSCN5130_800_CTK

Left side - This week, I had dinner with my girlfriends and I found out that I failed my one hour glucose test and had to take the three hour test later in the week.  Luckily, I passed the three hour test!

DSCN5134_800

Detail shots:

DSCN5137_800

DSCN5136_800

Right side - A birthday dinner for my cousin and the hubs going to the beer fest with some friends.

DSCN5139_800

Detail shots:

DSCN5141_800

I made a simple flip-up pocket this week by just adding washi tape across the top of the pocket!

DSCN5142_800

DSCN5143_800

Oh, and before I forget, here are your sketches:


Thank you for stopping by!  Have a great weekend!

Monday, October 20, 2014

Let's Get Digital with Jen Chapin

Hello and happy Monday to you! Jen here and today I am sharing another cut file. I was inpsired by the addition symbols that were placed throughout the main kit and created a file to go with them. You can download this file HERE. This file is sized at 12x12, but as you will see I trimmed mine and used portions of it.

I used the negative spaces in the cut and backed them with various patterned paper. I love the vibrant colors in this kit! So great for fall photos.

If you use this file on a project I would love to see your work! Be sure to post a link in the comments. Thanks for stopping by and have a great week!

Thursday, October 16, 2014

Layout with Die cuts

Hello :)

Today I will show you a layout made with die cuts only.

First, I worked on my cardstock with my Colorshine, and then added some stamps.

Secondly, I cut the word remember from one paper of the main kit, and pasted it on the left.

I made 2 collages from our last photo shoot. I arranged the die cuts around my photos. I used 3 different alphabets to make my title, sewing part of it.


a beautiful day


a beautiful day zoom

Tuesday, October 14, 2014

Tuesday Tutorial with our Guest Designer, Christine Newman

This week we have Christine Newman (U.S.) bringing you a tutorial on how to create a mini folder as part of a geometric layout. We'd love to see what you do with her folder tutorial and how you will use this technique on your own layouts.

Christine Newman

I love the simplicity of a grid layout, but I wanted to include more photos and embellishments.  I decided to make a layout with two folders on it so I could include more photos and embellishments.  I'll take you through the steps to create the folders.

1.  Cut your paper to 4" tall and 7" across.  Score or fold the paper in half, or at the 3.5" line.


2.  I'm using a We R Memory Keepers envelope punch board to create my folders.  You could definitely just cut it by hand.  Line up the short edge of the paper so that the left corner is in the middle of the opening "hole" of the punch board.  Press down on the punch. 


3.  Flip the paper over and align the left side of the paper with the 2" ruler on the punch board.  Punch again. 


4.  Repeat the process on the other short side of the paper.  You'll end up with tabs on each side of the paper, one on top and one on bottom. 


5.  Trim off the non-tabbed part of both sides of the paper.  You end up with a folder with a top tab and a bottom tab.

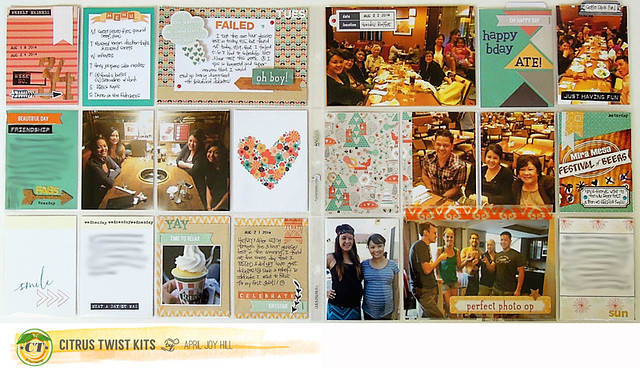
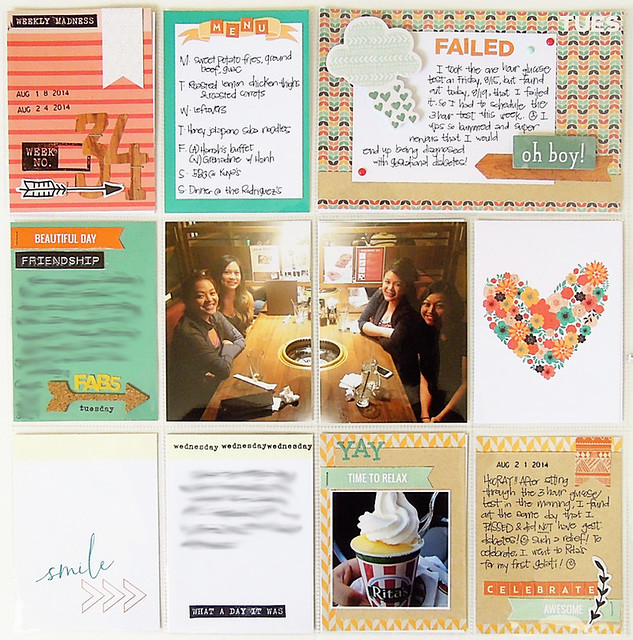
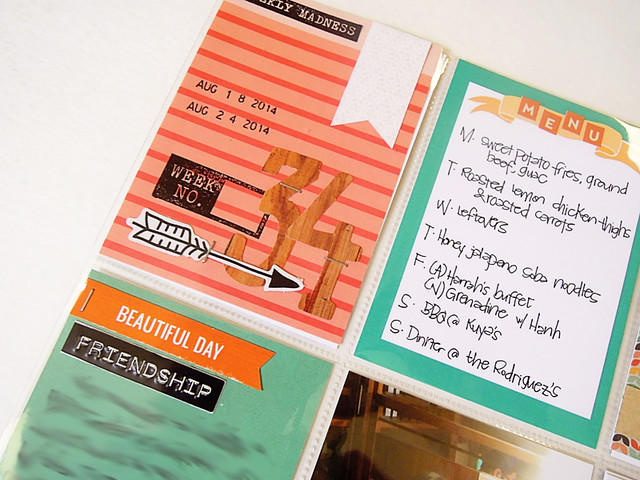
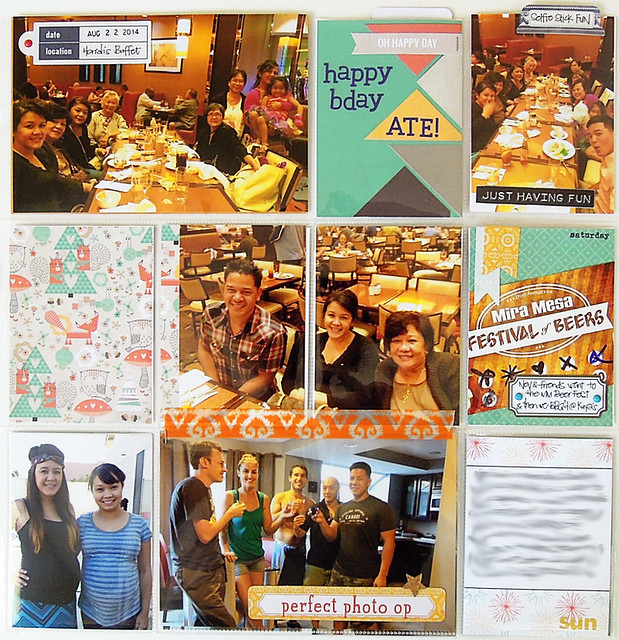
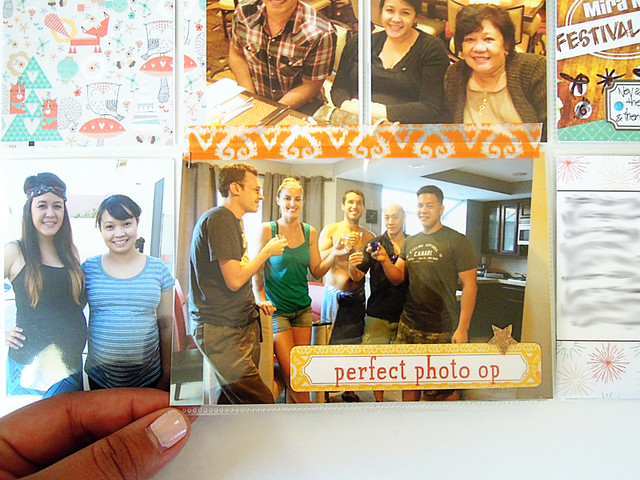
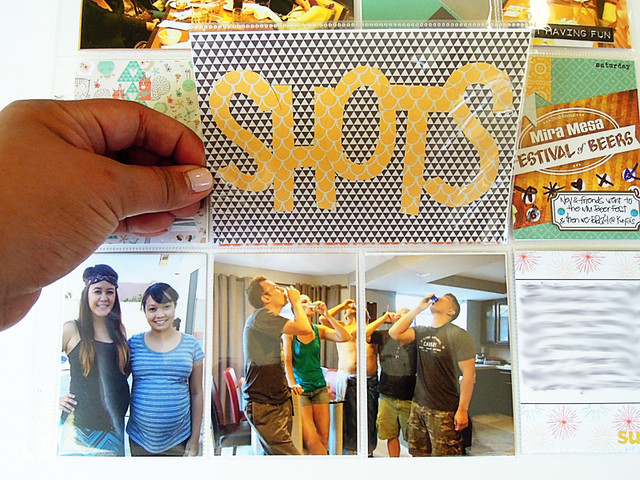
Here's my grid-style layout with the two folders in the upper left and lower right side of the layout.  I used a couple of little clothespines from my stash to keep the folders closed.  In the other spaces I added 3x4 photos and 3x4 patterned papers. 


I embellished the outside of the upper left folder with stamps and diecuts from the Shimelle line in the October kit. 

When you open that folder, you see an extra photo of my husband enjoying his ice cream.  On the right side I added some more diecuts to embellish the inside of the folder.  On the tab of the folder I stamped "good day" from the CTK "Hello Sunshine" stamp set designed by calligrapher April Joy Hill. 


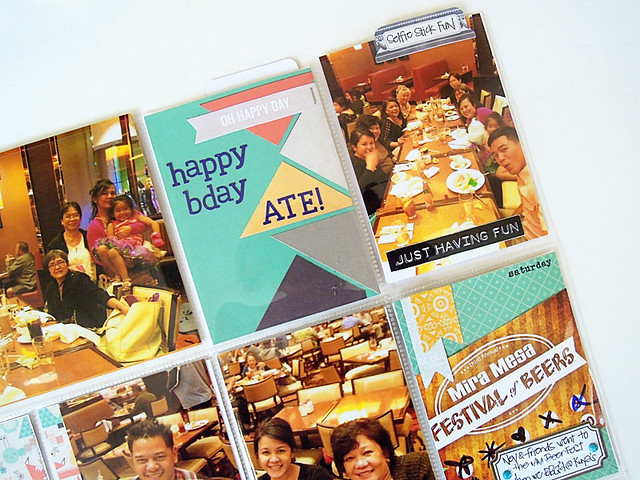
I also embellished the outside of the lower right folder with diecuts, stamps, and sequins from my stash. 

When you open that folder, you can see the photo of my fresh mint patty ice cream on the right and more diecut embellishments on the left side. 


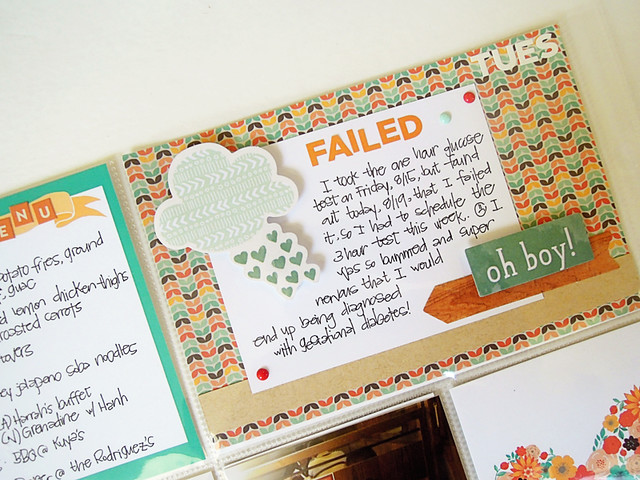
I love including interactive elements on scrapbook pages, especially if it means I can add more photos or journaling on the page!