
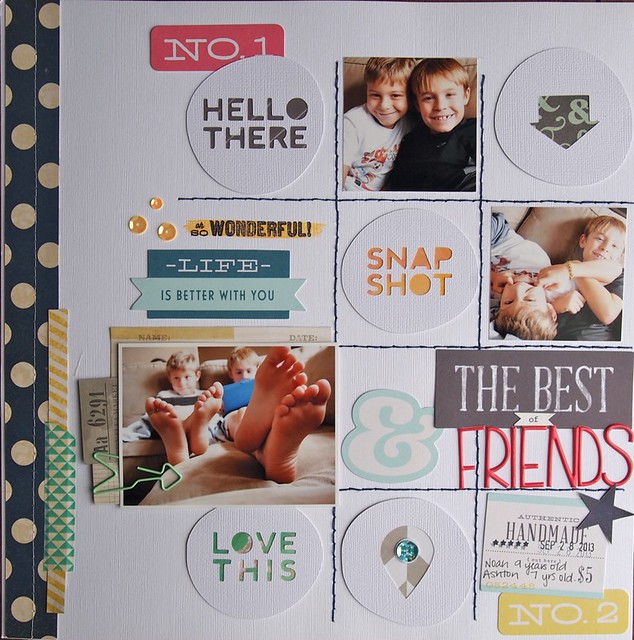
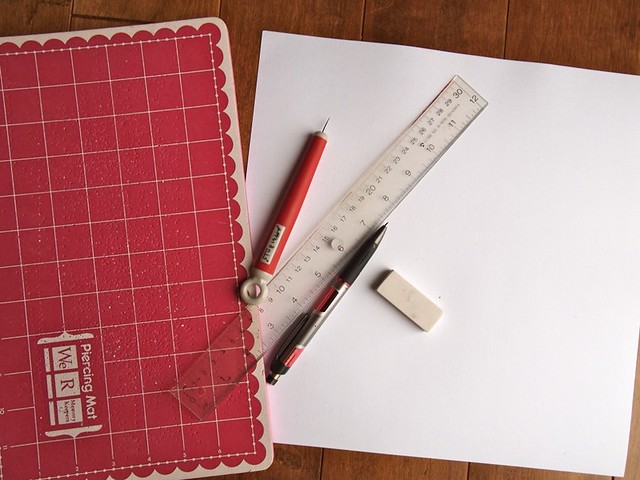
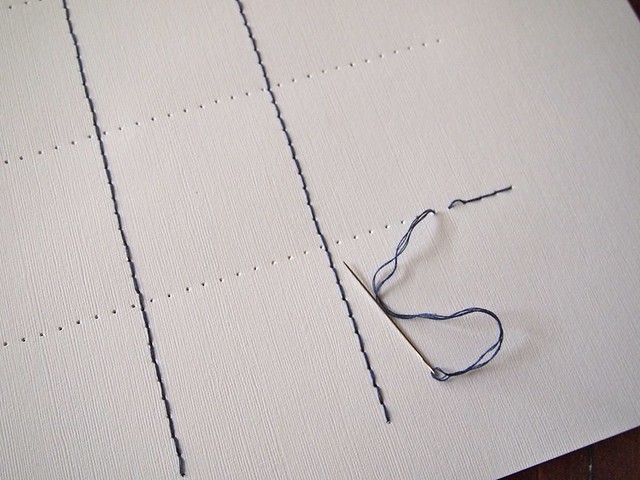
Though I used the Main Kit only for this layout, I added some die cut card stock circles that I made on my Silhouette. There are a few tools that I keep handy when I am making straight hand stitched lines: a ruler, foam pad, paper piercing tool, pencil and GOOD eraser.
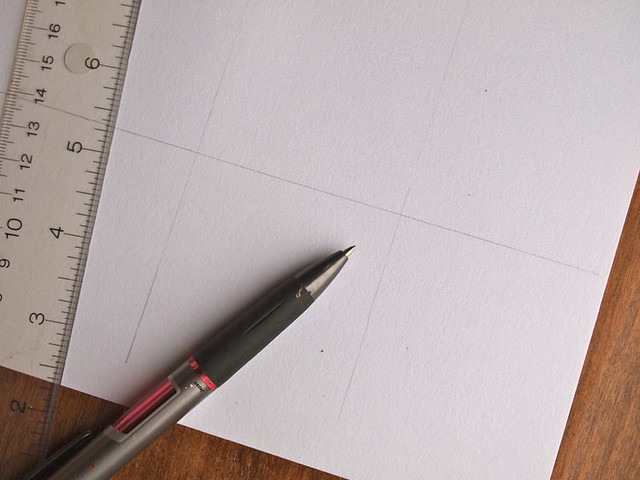
Use the ruler to plan the spacing of the grid you want to make. Very lightly, draw with pencil along side the ruler so that you have the grid in light pencil on your card stock.
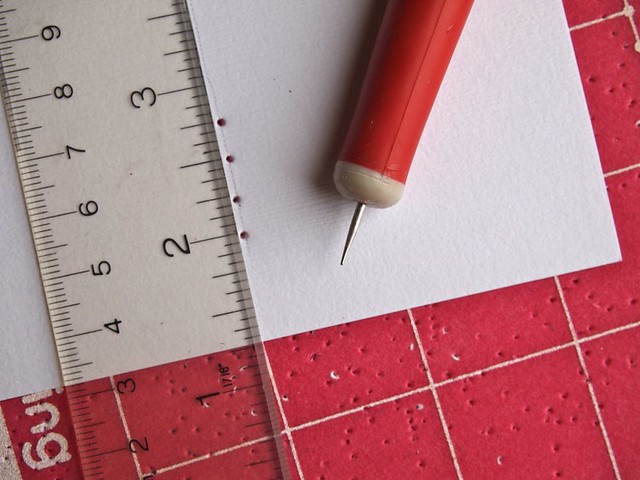
With the foam pad underneath your card stock, follow the penciled grid with the paper piercer. I like to use my ruler again here to help me keep the holes spaced approximately the same distance apart. I don't worry too much if my holes are a little out of line. That gives it the hand stitched look that I am aiming for.
When all the holes have been pierced, go back with your very good eraser and get rid of the light pencil lines.

Now you have the guide ready for your hand stitching grid. Follow along the guide using a needle and embroidery floss (I usually use two strands of floss) doing a back stitch.
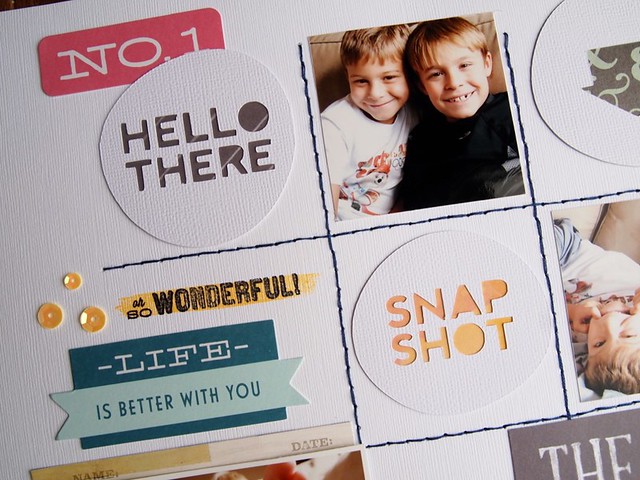
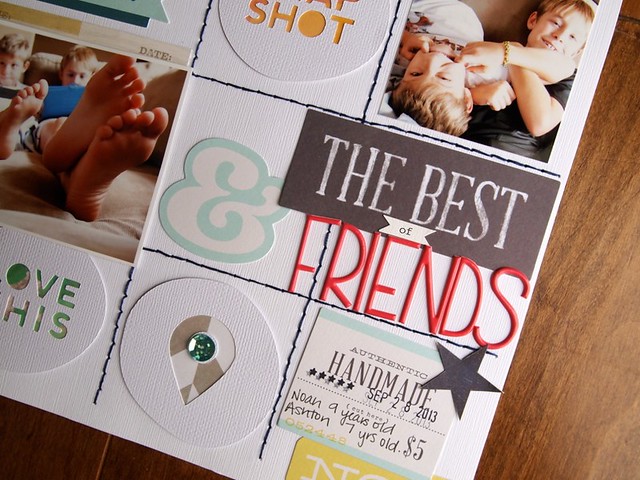
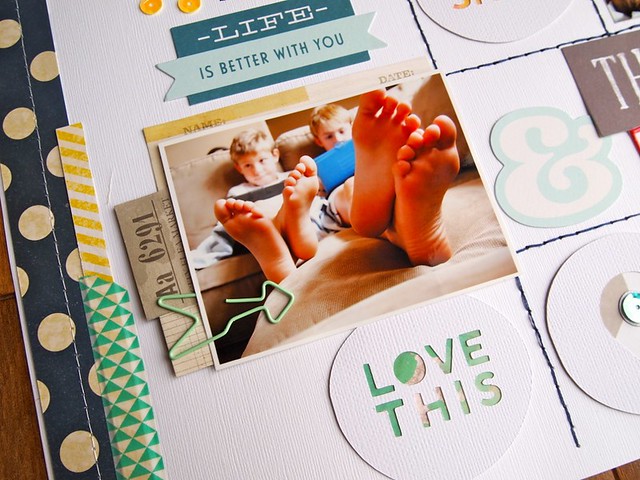
 Now that the grid is complete, it is time for the fun part…. embellishing!
love this Malika! grid layout is the best!
ReplyDeleteSuper cute!! I think I might have to give this a try!
ReplyDeleteThis comment has been removed by the author.
ReplyDeletevery cute! I can't wait to lift this LO.
ReplyDeleteMalika, this is a gorgeous layout!!
ReplyDeleteThank you! Can't wait to see how yours comes together!
ReplyDelete