Sunday, December 12, 2021

Sunday Sketch with Nathalie


Hello there!

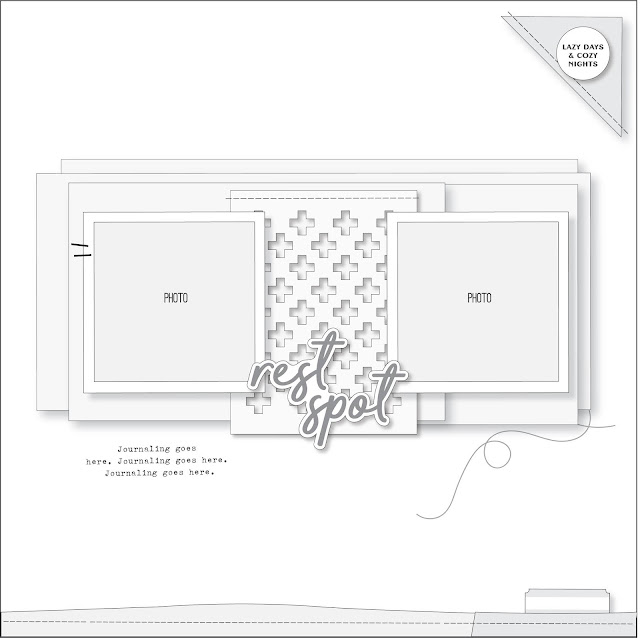
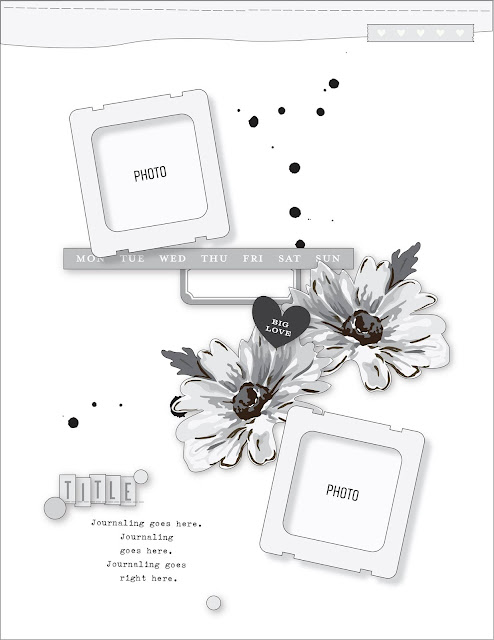
Nathalie back with you to share a bit of inspiration featuring this week's sketch.   There are those times when you have an idea and need to find a way to share it.  Well, the sketch was the perfect way to bring my idea to live in a short amount of time.   Let's start with the sketch:


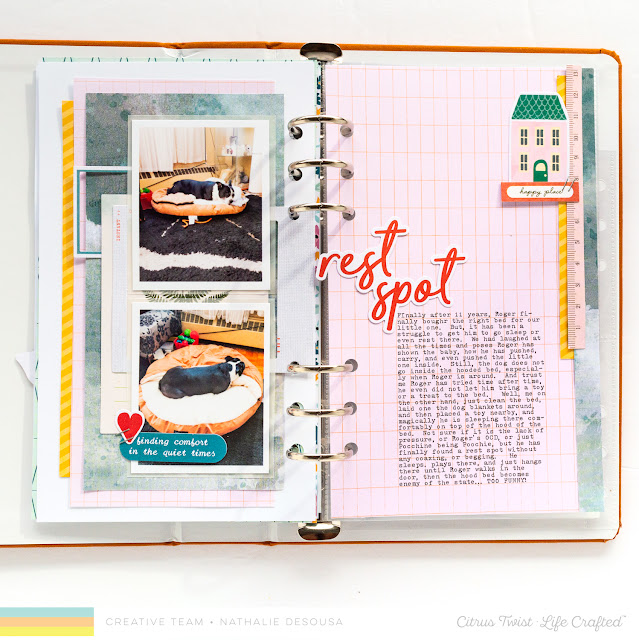
The sketch might look a bit challenging, but when you deconstructed it becomes a simple grid with a diagonal line of embellishments.   So here is what I created using the sketch as inspiration.


The main feature of the sketch is the 4 chipboard frames in each quadrant of the page. So, I pulled the Flea Market Findings kit's chipboard frames to build my page.


I chose to focus just on the center part of the sketch.   So, I changed the two paper layers for a large picture of a bubblegum sky (as seen from my balcony) so that it fit the entire Life Crafted spread. I added the small strip of paper ( Market Square Add on kit) to ground my page.


I had a few more pictures from that morning.  So, I sized them to fit inside the chipboard frames, and decided to glue each to a diagonally opposite quadrant.  Since the photo had lots of dark shadows in the bottom of the page, I decided to add larger pieces there. I changed one of the chipboard frames for a pocket.  I added my journal card, and then added pieces from the December ephemera and Chipboard stickers.


I did not want to cover the beautiful sky, so I chose the smaller frames for the top of the page.  I combined the chipboard frame and the diagonal elements at the very top of the page. The last element was to add enamel dots to replace the ink splatters on the sketch.


I hope this inspires you to take a look at the sketch and use it in your projects.  Cannot wait to see what you create!


XO


Saturday, December 11, 2021

3-to-Inspire with Ingunn


Happy Saturday, Twisties! We're a third of the way through December! Have I finished LAST year's December album yet? No. Am I panicking about this? No! Scrapbooking is supposed to be fun, and to me, December scrapbooking is the funnest. Is that a word? No. Do I care? No! 

Anyhoo, for my post this week I decided to go back to one of my favorite moments of December 2020. It was obviously a tough season for most of us, but on this particular night, a church in our town adjusted to the social distancing rules by setting up a drive-through light show. It felt so magical, and on the drive back to our house, our oldest daughter told us that she secretly thinks coronavirus is kind of nice, because her dad is always home and we have so many special occasions. Well melt my heart why don't you!

My three elements this time were:

1) an imperfect photo

2) digital journaling cards

3) stars!


One thing I've learned to embrace with December scrapbooking is blurry photos. It's dark all the freaking time, colors are all weird from Christmas lights, and kids are hopped up on sugar so they never stop moving. But there's no way I'm not going to use a photo that shows this much joy and emotion! 


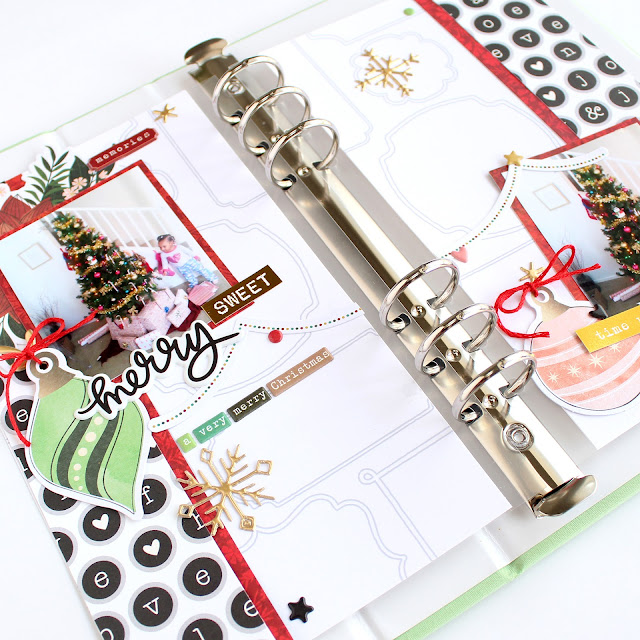
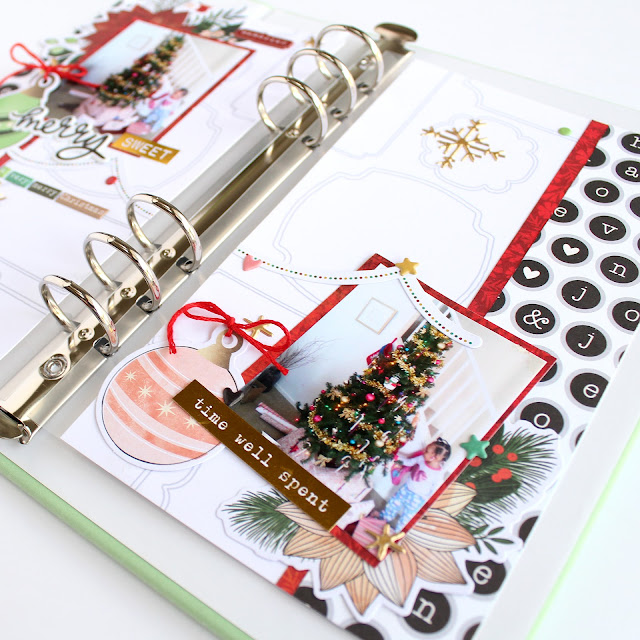
I loved how these two digital journaling cards worked together, so I decided to use both of them stacked on top of each other. They were originally 3x4 inches, but since I was working with the back of two 4x4 pockets (a full-sized page protector fused into two pockets), I used photoshop to widen them to the correct size before adding my journaling. 


If I have to sum up my approach to December documenting in one phrase, I think it has to be "throw some stars on it". I used the chipboard and gold puffy stars to surround my daughter in sparkles. Love! My finishing touches were a suitable die cut and of course the day's number in puffy gold stickers on top of one of the stars. 

I hope you're all having as much fun with your December documenting as I am, no matter which year you are working on!


Sunday, December 5, 2021

SUNDAY SKETCH with Nathalie


Hi there!

Nathalie with you today to bring you some inspiration featuring this week's sketch and a mix of new products from this month's release.  I am sure that you (as many of us) are looking at easy and quick ways to document your memories.  Well, sketches are a great help when it comes to documenting in style in a short amount of time.  They are like a blueprint to your page, the rest is up to you! Let me show you this week's sketch:


And here  is my project, inspired by the sketch:


I chose to use the sketch  for a Life Crafted album layout.    First, I had to decide on the orientation of the sketch so that it work for my album.  This meant, rotating the sketch 90 degrees counterclock wise.


I chose to place my photos and all the paper layers ( Fernwood Add -on kit and December Digital Files) on the left side of the album.  I followed the layering on the sketch to build the layers behind the photos, and replace the cut file mat with ephemera pieces from the Fernwood add on kit,


I decided to switch the background paper of the other side of the layout to one of the Digital papers from the December release ( this was also used as a layer behind the  photos.  I used Photoshop to add my journaling before printing.  


I added the small strips of paper to the right of the layout, just like in the sketch.  I repeated some of the patterned papers -Fernwood Add on kit-  so that it ties the two sides together; then switched the small label for CTK exclusive TAKE IT INSIDE ephemera pieces.   


I hope this inspires you to use the sketch to document your memories... Remember to have fun with it!!

XO


Saturday, December 4, 2021

3-to-Inspire with Desiree


Hello and happy holidays friends!  I am so happy to be joining you for this week's 3-to-inspire challenge. Of course, I had to do this challenge in my December album.  Let's take a look at the picks for the week so you can play along.


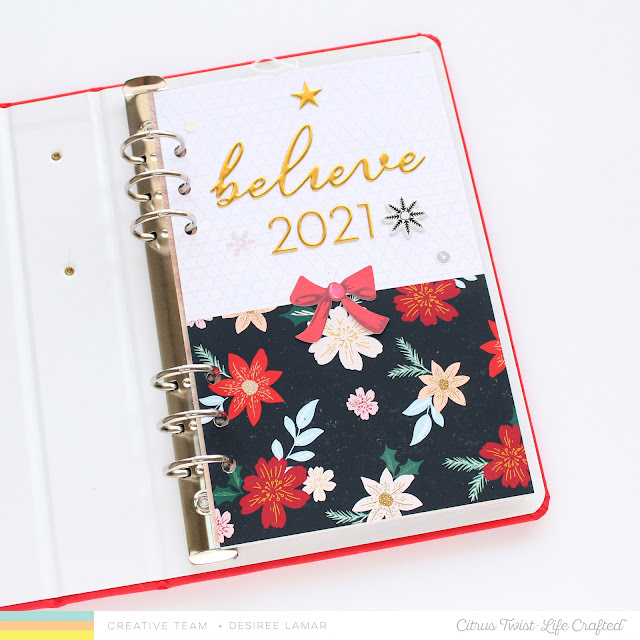
I started with my cover page.  I used this simple, white patterned paper from the Coming Home 6x8 Ledger Digital Papers for the base of my page. Then, I used a 4x6 journal card from the Merry and Bright Digital Journal Cards to cover the bottom half of my page. I love the rich details that this floral design brought to my cover. I completed this page with the gold puffy alpha Stickers and gold puffy phrase stickers from the Merry and Bright Kit.


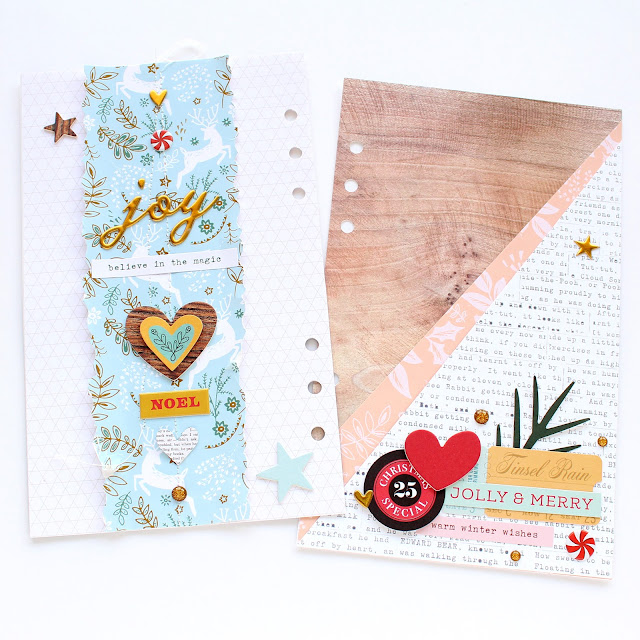
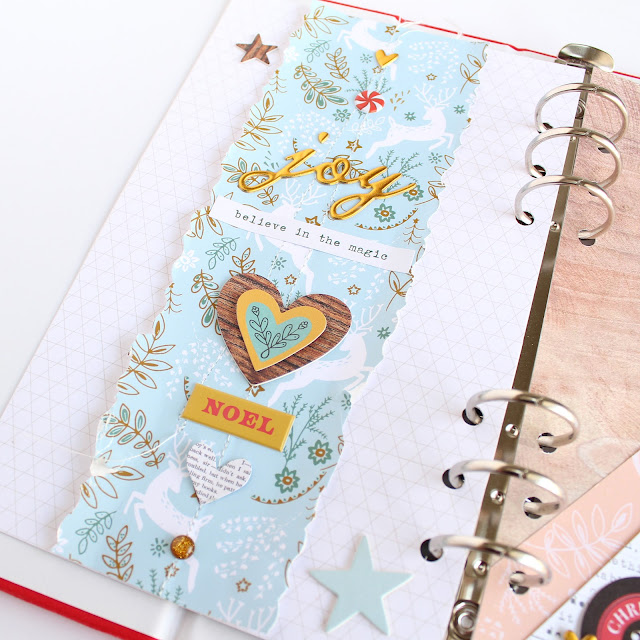
I wanted to record my hopes for the month.  So I used more digitals from the Merry and Bright Digitals and Coming Home 6x8 Ledger Paper Digitals to make these pages. On my left page, I used this beautiful, blue reindeer patterned paper from the Merry and Bright Digitals Travelers Notebook Papers to make a stitched strip down the center of my page.  I adorned the page with ephemera, puffy stickers, and chipboard stickers all from the Merry and Bright kit.


Using all Merry and Bright Digital papers and Coming Home Digital Papers, I decided to make the page on the right a double pocket style page. 


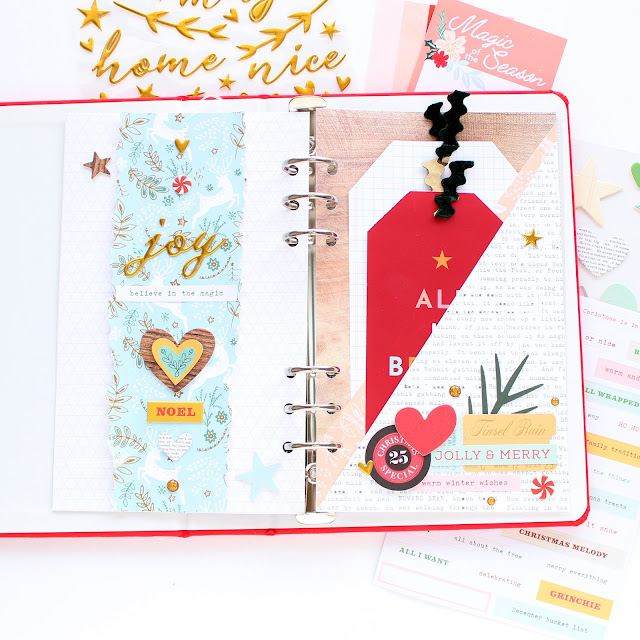
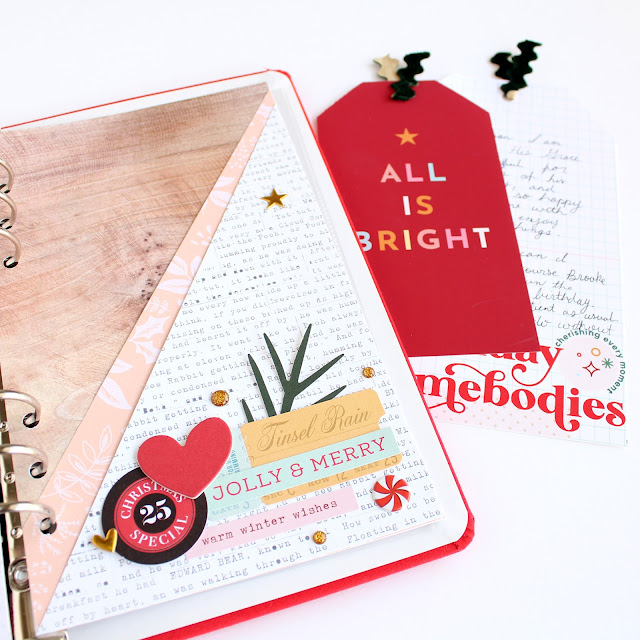
Once I adhered my uneven triangle pockets, I started working on my tags. For my smaller tags, I made this "all is bright" bookmark from the Merry and Bright Digital Journal Cards into a tag. I printed out this "holiday homebodies" digital TN paper to make into my larger tag.  Once I handwrote my intentions and added ribbon, I was done with this part.  

I completed my pages by loading them up with embellishments from the Merry and Bright Kit.  This included enamel dots, chipboard stickers, and puffy stickers.

Just like that, my pages were complete. I hope you enjoyed following along as much as I enjoyed making these pages. Happy December documenting!


Sunday, November 28, 2021

Sunday Sketch with Desiree


    Happy Sunday crafty friends!  Today, I am sharing this week's sketch.  I also got a chance to work with the lovely November Warm Wishes add-on kit.  Let's take a look at the sketch.


I was excited once I saw this sketch. Even more so when I got the chance to do a Christmas Edition of the sketch. So let's take a look at my version.


I decided to do this sketch in my new Pistachio Life Crafted Album. To make my pages, I enlarged the 4x6 journal card from the Gratitude Digital Journal Cards in the Citrus Twist Kits Digital shop. I then layered strips of the pattern papers from the Warm Wishes Kit to the edge of each of my pages.


Next, I added a cluster to each page. One at the top left and bottom right. I used the Warm Wishes ephemera from the Warm Wishes add-on kit and Warm Wishes Puffy Stickers. I used the lovely ornaments and poinsettia florals from the ephemera pack to accent my pictures. I used the garland ephemera to connect my photos like the sketch.

To add even more details to my cluster, I used the Life Crafted Simple Moments Gold Tiny Word Stickers on my pictures.

    
I completed my layout by adding stickers from the Hustle and Bustle Thickers from the Warm Wished add-on kit through my pages.

I love that this sketch gave me the opportunity to create a little unplanned uniformity on my spread.  I love how it came out.

Thank you so much for checking out today's sketch.  I hope you get a chance to play along.


Saturday, November 27, 2021

3- To- Inspire With Aimee


Hey there friends! It's Aimee here with you today— bringing you this week's 3-to-inspire challenge. I chose to make a full page 8.5x11 layout but I think it will translate well to many different sizes. Let's get into the prompts!

1. create three distinct clusters
2. use strips of paper to anchor your clusters 
3. use leaves or florals


So, as you can see I have created three distinct clusters that are separate from one another on the page and I have set them up almost in a staircase fashion if you will— I find that this draws your eye all around the layout. I cut pieces from the cut apart sheet that's available in the Flea Market Findings kit and rather than splitting them up into individual word phrases I left them altogether in a long strip to use as anchors to my clusters. I like that this creates a straight horizontal line under my photo and embellishments especially— this really helps to create perspective. 
 

I added in some of the beautiful leaves from the Falling Leaves Die Cut Ephemera pack on top of my cut-aparts to really frame out this photo of my daughter and add a touch of Fall to the page. On the top of the page I tore my white cardstock and added a bit of beautiful blue ledger paper from the digital Basics & Ledgers 6x8 paper collection to pull some blue up near the top of the page.   


At the bottom of the page I added a much shorter paper strip and decided to do some repeat stamping underneath using the Gratitude (Full Heart) Stamp set. 


I love this soft, feminine spread and I think that this design would be super fun flipped vertically as well! i hope you enjoyed this week's prompts and I hope you give it a go! Happy creating! I'll catch you next time!

Affectionately, 


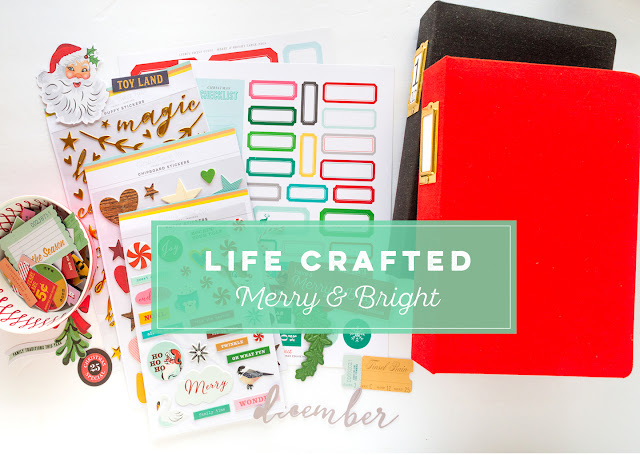
MERRY & BRIGHT with Guest Designer CLAUDIA WHITE


Hi there!!

Our guest designer Claudia White is sharing a bit of her December Magic with us today!


Oh what fun it is to have this scavenger hunt for the holidays! A fun game that my family and I are participating in this year. Last month I share a copy of the list of things to look for when ever you are out and about.

I gave the list to my husband and my kids and they are also  taking photos of things they come across. This is a great way to get the family involved in documenting holiday memories.


Find a copy of the scavenger hunt  list here  and start taking fun photos. Look for these items when you go the store, the super market, the craft store and when you go for a walk around your neighborhood. 

If you carry a picture of the list on your phone, you can easily check off the items you have already found.


If you want to embellish your pages consider using some of the December cut files Citrus Twist offers. I used my Cricut machine to cut the snow flakes and I had some of their digital files printed by my local printing shop.

I ordered two copies of each of the label sheets and the journaling cards. They are one of my go to embellishments.   


Here are some ideas on how to use journaling cards in your projects, (besides the obvious) You can treat them as paper, cut tags from journaling cards that have pretty floral patterns, use them to frame up your photos, 

If the cards have large florals or other fun graphics, cut them out and use them as ephemera pieces to layer up all the embellishments.

I used lots of journaling cards in these two layouts using the ideas I just mentioned, including the two at the front where I list the items of the scavenger hunt I’ ve already found.


The Merry and Bright Kit included lots of beautiful papers that fit the Life-Crafted album. I created side pockets by gluing the edges of two sheets. For the pull out pages I knew my photos were gonna cover most of the paper so plain white 

cardstock was good enough. The great thing is that now my pages are double sided and are ready for my next layout.


Print your photos any size you want, but I recommend choosing a smaller size since you will have a lot of photos to add to your December albums.  To print my photos this small, I first created a 4x6 collage with my Photoshop app. 

I can add 4 photos to each grid and each photo measures 2x3.  This size worked perfect to create the slider pages that will fit in my pocket page. I saved my photo grid to my photo library and used the Canon Printer photo  app to print my photos here at home.


Printing all the photos I collect one a week helps me keep up to date with my memories. I might now always have time to work on my albums or create a page but when I have some free time to craft, my photos are ready to go. 

I use my Canon Printer at home but if  have lots of photos to print I usually send them out to Persnickety Prints, they are my first choice when it comes to printing my family photos.

Don’t forget that you can use both sides of the slider page to add more pics. 


Hope all this looks ok. Let me know if you have any questions. If you celebrate Thanksgiving, have a great day tomorrow.

Thank you