
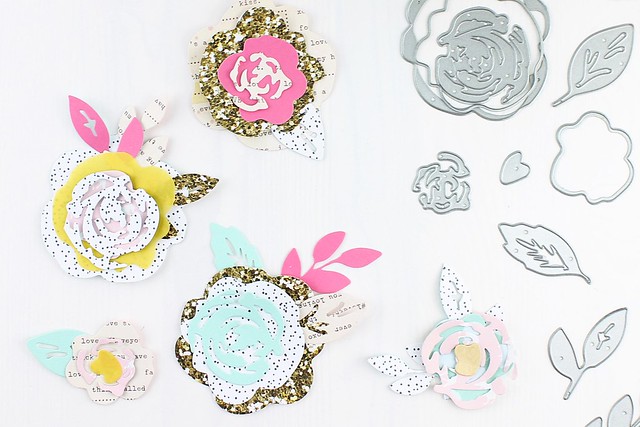
It's Emma here to share a few recent projects I've made using the gorgeous Crate Paper/Maggie Holmes Confetti Flower die-cut set which I picked up from the store. I've always loved the flower ephemera packs in Maggie's lines and now with this die-cut set, I can make my own!
The colour combinations you make are only limited by the papers you have, and fortunately for me, I have a lot ;)
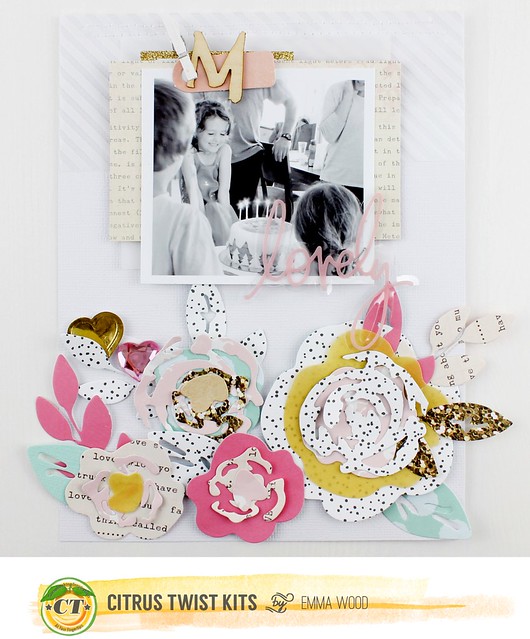
My first project was a a simple layout with a photo from my niece's 5th birthday party. I picked 6 or so favourite papers and cut one full set of each then just paired colours I liked together.
Then it was just a matter of teaming the bright flowers up with a b&w photo and some neutral papers at the top to create this:

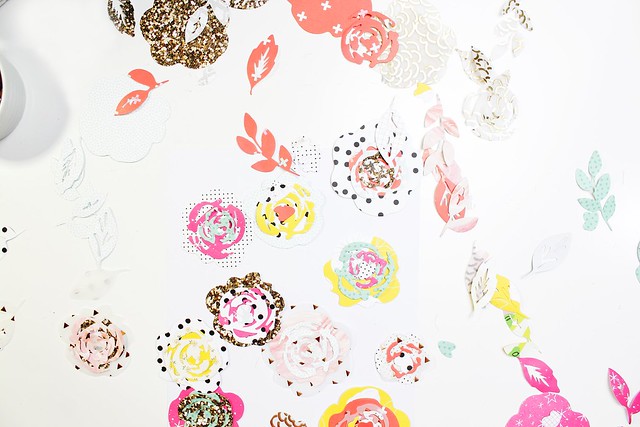
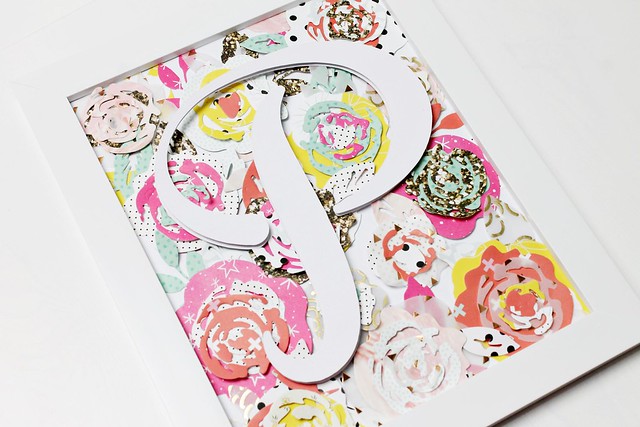
The next project I've made is actually for one of my work collegues; he and his wife are expecting their first baby (a girl!!) and his wife is a big fan of hand made gifts as opposed to brought gifts (and she knows I'm a crafty type because her hubby always gets me to make his cards....ha!) so I offered to make a few things for the nursery. One being a handmade mobile (still in progress, ahh, she's due next week, I really need to finish!) and the other being a set of wall prints! My plan is for 3 frames, one with a monogram of baby girls name and he other two with cute phrases. Because I love this die-set, the idea was to have a background of flowers with the letter "P" on top.
First up I cut a bunch of flowers in heaps of different colours...I think I ended up with 13...

Once you've got all your flowers it's just a matter of putting them together in combinations you like (this is my favourite part!) and sticking them onto your background paper:

I used my cameo to cut the letter "P" from white cardstock and put them on top. I was originally only having one P but after I'd put it on top of the flower background I felt it needed some dimension so I cut another the same size, layered it on top with foam dots in between.
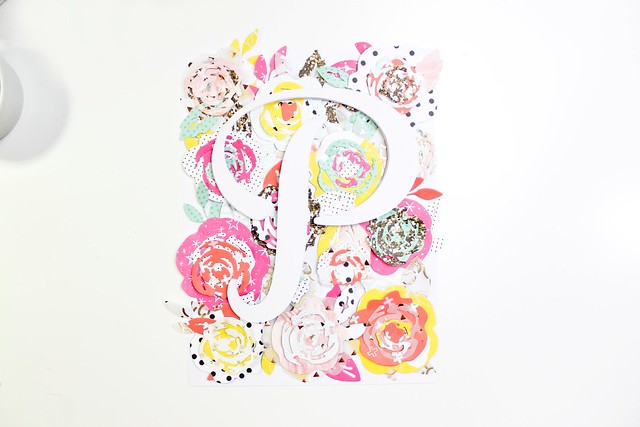
Once that was done I just added it to the frame and ended up with this:

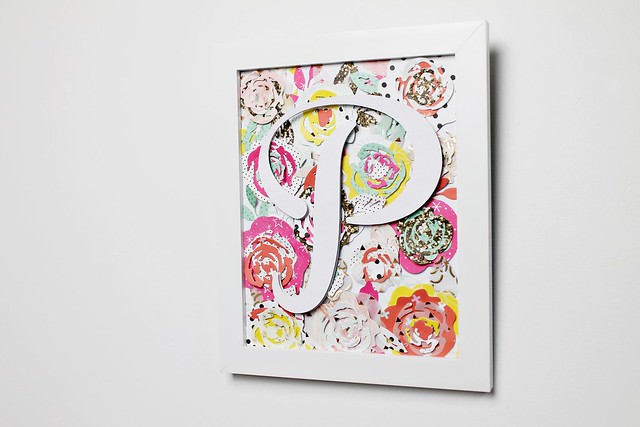
I think once I group it with the other 2 frames it's going to look kinda cute :)
Now I just need to find some time to finish the mobile and other frames before baby pops... *crossing fingers she's not early*.
Emma
So cute Emma! I ummed and ahhed over that dies set but now I wish I had grabbed it!
ReplyDeleteThanks so much Diane! There's always next month to sneak it into that cart....ha! ;)
DeleteI just bought this die set today! Love!! Loving both projects as well!
ReplyDeleteThanks Julie! You wont regret picking this one up :) Hopefully you'll stop by and show us what you make with it! ;)
DeleteLovely!!!!!!! Stunning!!!! Yes the die it self is nice BUT it's your idea that make it happens!!! Wow!!! :-):-):-)
ReplyDeleteThanks so much Anna :)
DeleteThis is so very lovely Emma!
ReplyDeleteThanks Trina!!
Delete