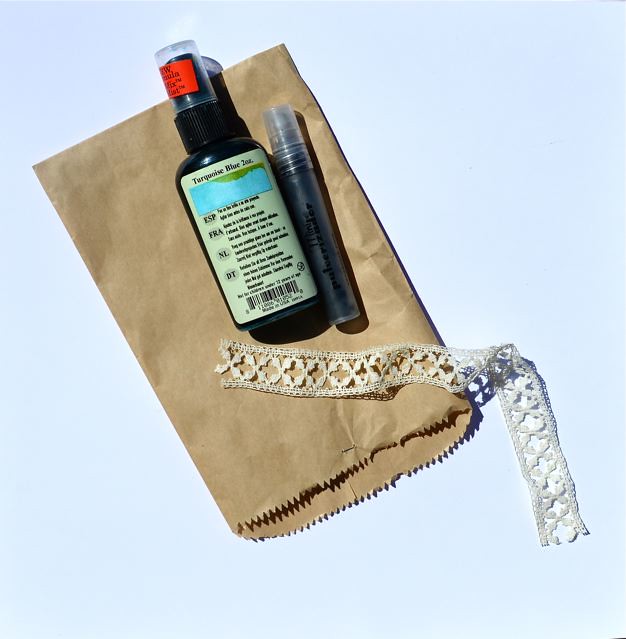
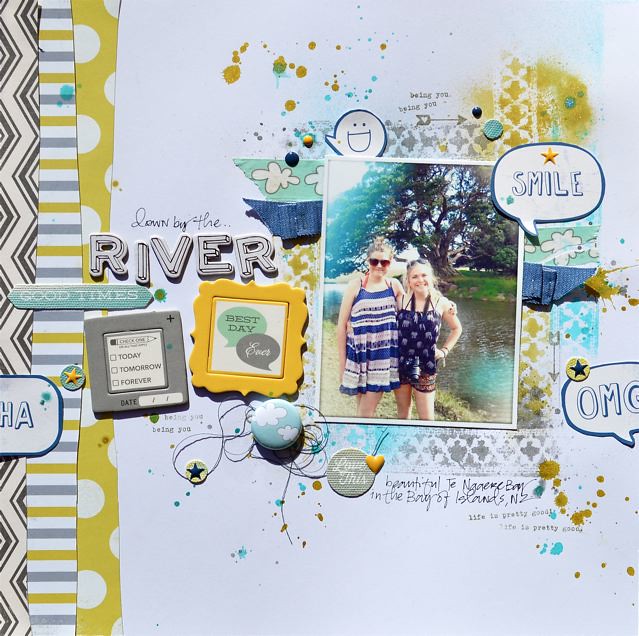
Hi, Gina here today, sharing a technique for creating a unique photo border on your page, using a section of the lace found in the February Main Kit, and a few spray mists..
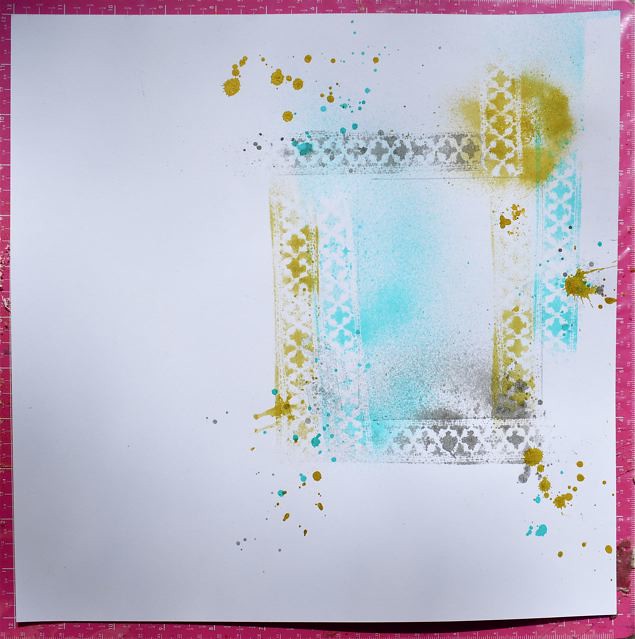
The brown paper bags from kit packaging come in handy for spraying between...I just placed a strip of lace between to bags and sprayed around where my photo was to go in alternating colours. This time I've used a turquoise, mustard (gold) and graphite (grey)..
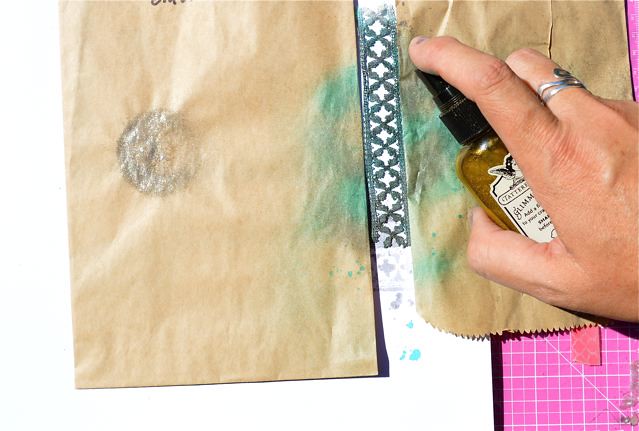
It's okay to overlap a bit and once you're happy with the effect, add a few splatters of mist around the outside of the frame..
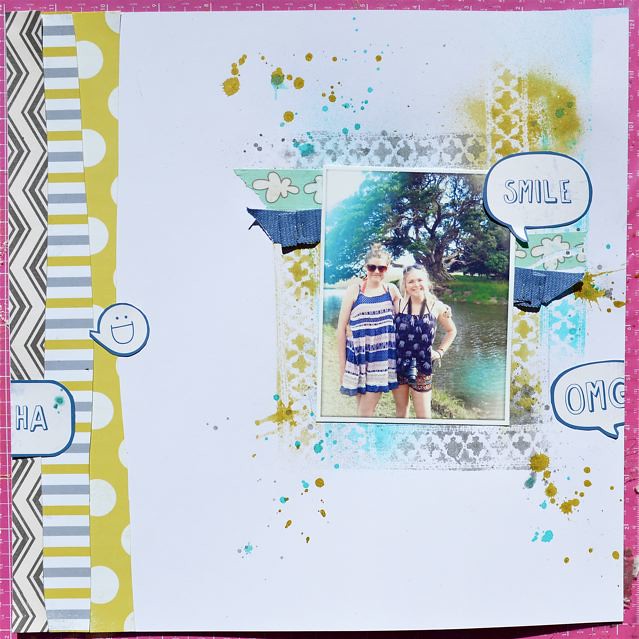
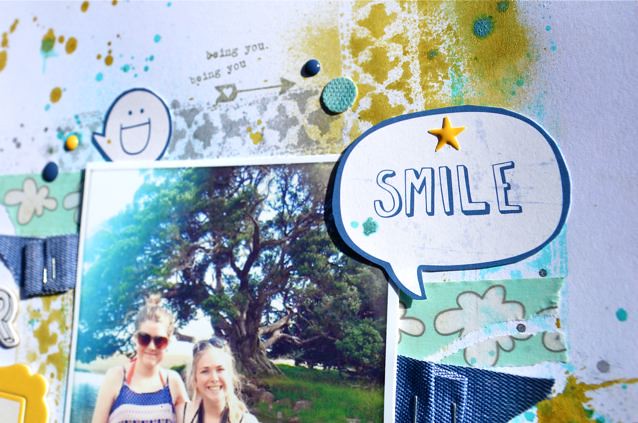
one the sides of the stencilled frame, I added a couple of strips of cloud washi tape and denim ribbon, which I first folded over a couple of times and stapled down..
the next step was to add some 12" hand cut strips of patterned paper down the left hand side of the page, and cut out the speech bubbles from the October Afternoon Daily Flash "Snapshots" paper
To finish, I've added some Daily Flash chip frames, stickers, alpha and exclusive flair, along with a bit of stamping with the main kit stamp set..
...how cute is the little arrow stamp?





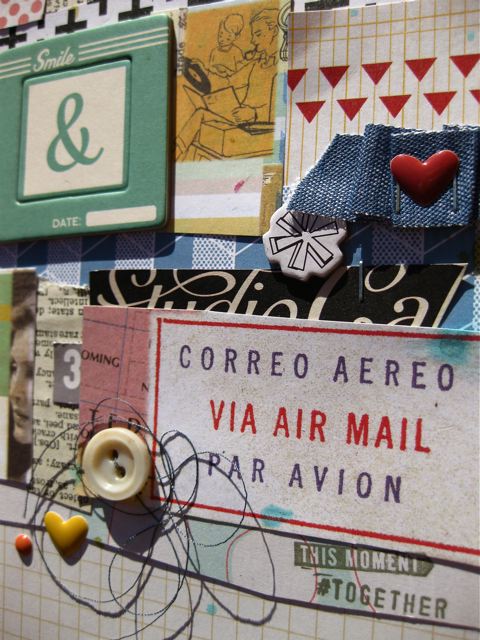
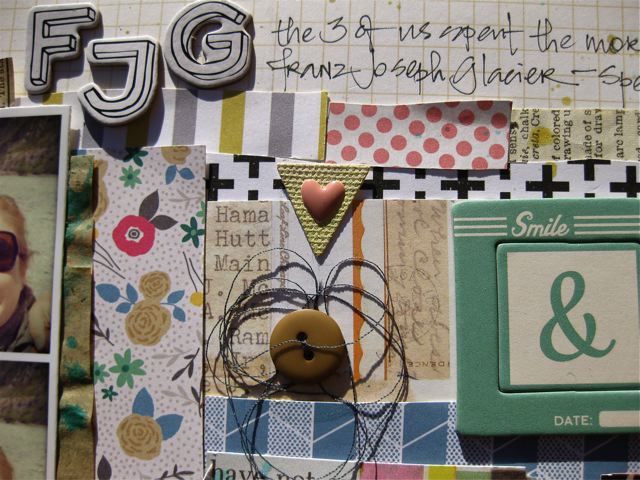
Wow......fabulous idea....makes a sensational border...fab pages, too:)
ReplyDelete