Wednesday, June 19, 2013

6x6 Paper Pad Layout with Melissa

Hello, everyone, and a very happy Wednesday to you all! Melissa here, back with you this week to share a layout made with the help of the 6x6 paper pack from June's Project Life kit.

After using my 6x6 paper pack for my Project Life layouts, I'm usually left with a small stack of 2"x6" scraps, which makes sense since I'm almost always cutting either a single 6x4 or a pair of 3x4 cards out of each sheet.
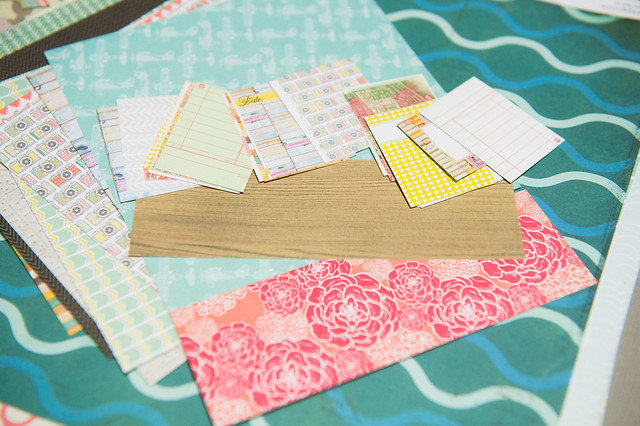
DSC_9415

This month I was inspired to take those scraps, along with the leftover tiny bits from the scaled-down cut apart sheets in the pack, and combine them with a few pieces of 12x12 papers from the other kits to make my layout.

DSC_9883

This layout uses a little something from all of the June kits since I love to mix them together as soon as I'm done with my Main kit only page. I started by arranging a few pieces from the larger cut-apart sheets in the Patterned Paper Add-On around and under my photo, then used the small scrap strips from the 6x6 pack to tie them all together. I cut some of the strips down to slightly shorter lengths (I just eyeballed the measurements and didn't even use a paper trimmer!) to vary the sizes and just continued adding layers until I was happy with the result.
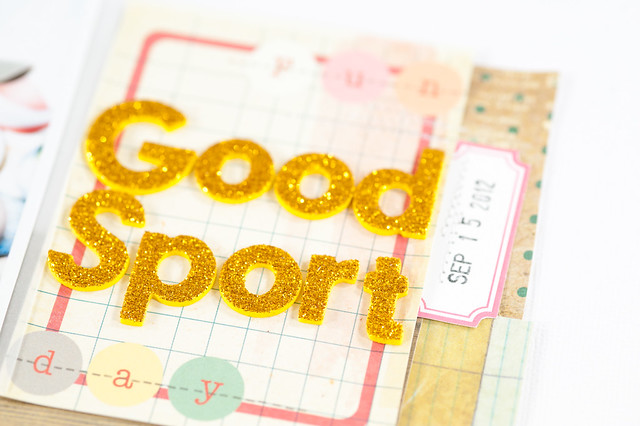
DSC_9569

DSC_9567

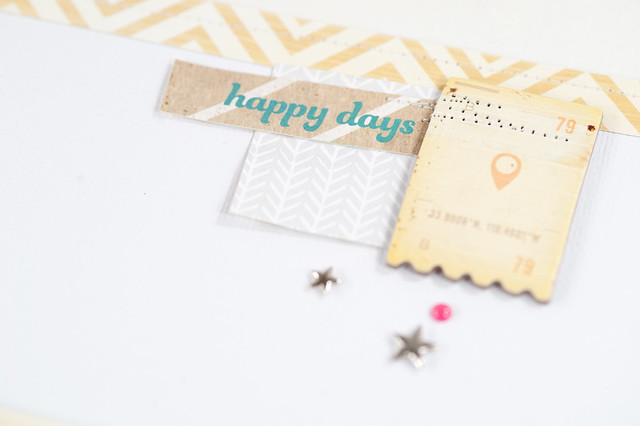
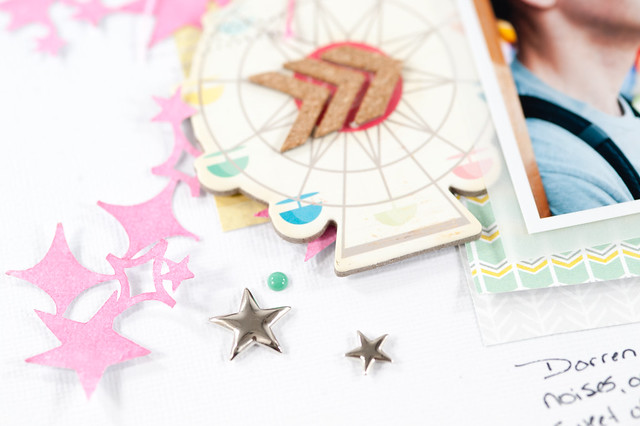
I loved the chipboard ferris wheel in the chipboard sheet from Crate Paper, but it had "The Pier" written across the center, which didn't quite work with my photo from our state fair last year. I was able to easily modify it, though, by adding a few cork chevrons from the main kit over the text, and the extra embellishment also points to the photo and helps lead the eye in that direction.
DSC_9568

I'm often inspired to add pieces of patterned paper to my layouts simply because they're already cut up and within arm's reach on my desk. Using scraps left over from a 6x6 pad or even full sheets of the smaller size paper is a great way to try out this sort of inspiration for yourself!

Tuesday, June 18, 2013

Tuesday Tutorial

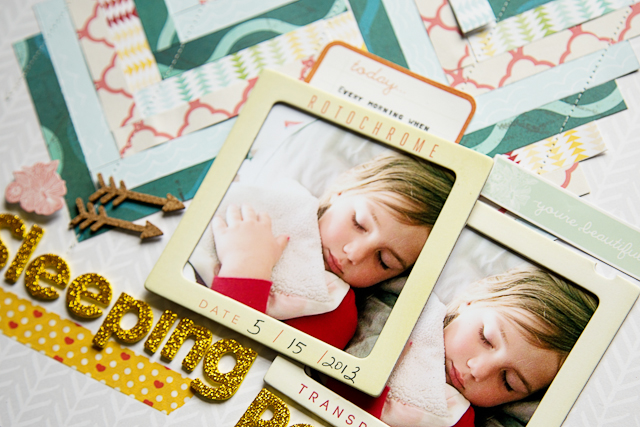
Hi Everyone! Katie Ehmann here with you today with a fun pieced patterned paper technique that I used on my Sleeping Beauty layout.

KE Tutorial Pic 1

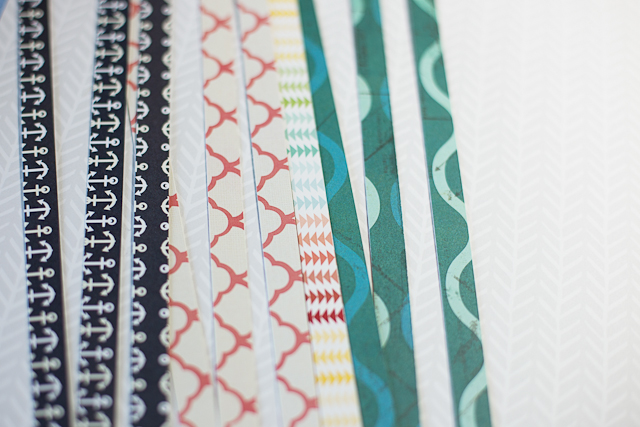
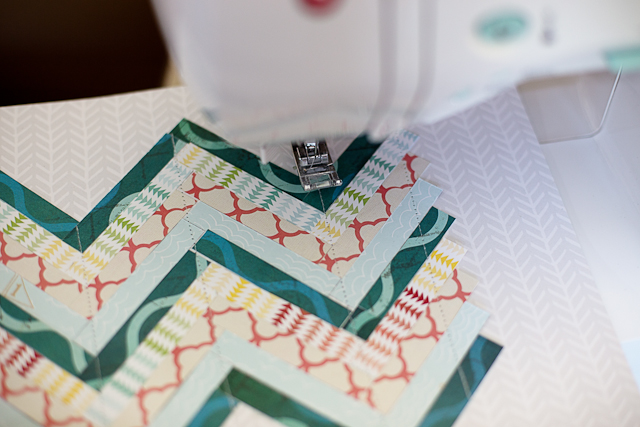
I love searching Pinterest for fun, graphic patterns. You can find them in all sorts of surprising places-- even shower tile, which was the inspiration for this pattern! This is such an easy way to make a big impact on your layouts, and to showcase colorful patterned papers. All you need are a variety of patterned papers, a paper trimmer, adhesive and a sewing machine. First, trim strips of patterned paper one half inch thick by 12 inches long.

KE Tutorial Pic 2

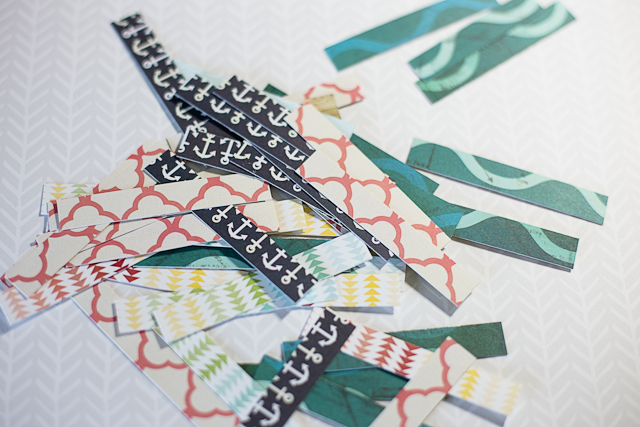
Next, cut each strip into four, three inch long, smaller pieces.

KE Tutorial Pic 3

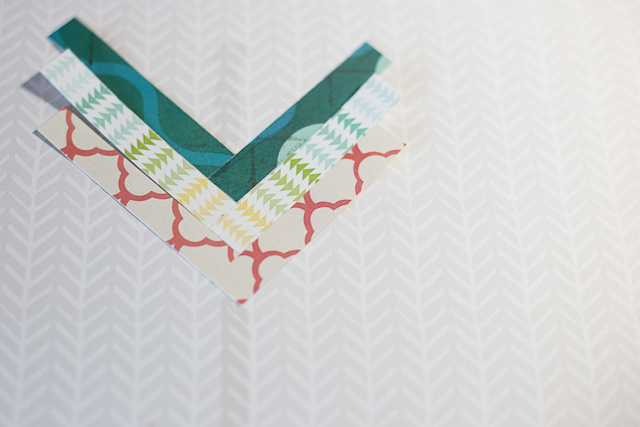
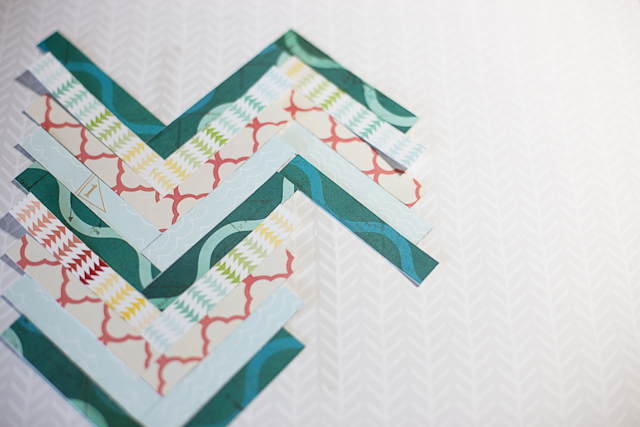
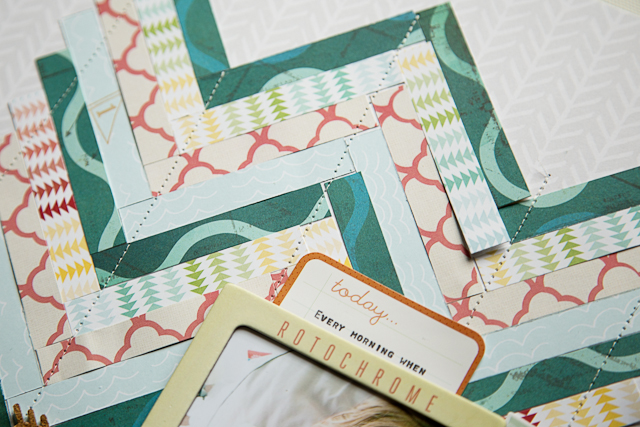
Run a line of adhesive along your background paper in a vertical line. Adhere each of the paper strips in the pattern as shown.

KE Tutorial Pic 4

I chose to keep each pattern in it's own zig zag to better define the overall chevron pattern, but you could easily mix them up for an even funkier, eclectic look as well! Continue running strips of adhesive and adhering pieces of paper until you finish your design.

KE Tutorial Pic 5

Machine stitch with your sewing machine in vertical stitch patterns for added texture and to permanently adhere your paper pieces

KE Tutorial Pic 6

Add your photos (I framed mine with the awesome slide frames from Crate Paper's The Pier Collection), embellishments, title and journaling card (I tucked mine behind one of my photos).

KE Tutorial Pic 7 KE Tutorial Pic 8

Finally, stand back and admire your work!

KE Tutorial Pic 1

Thanks so much for joining me today! I hope you'll try this technique on a future layout!

Monday, June 17, 2013

Simple Strategies


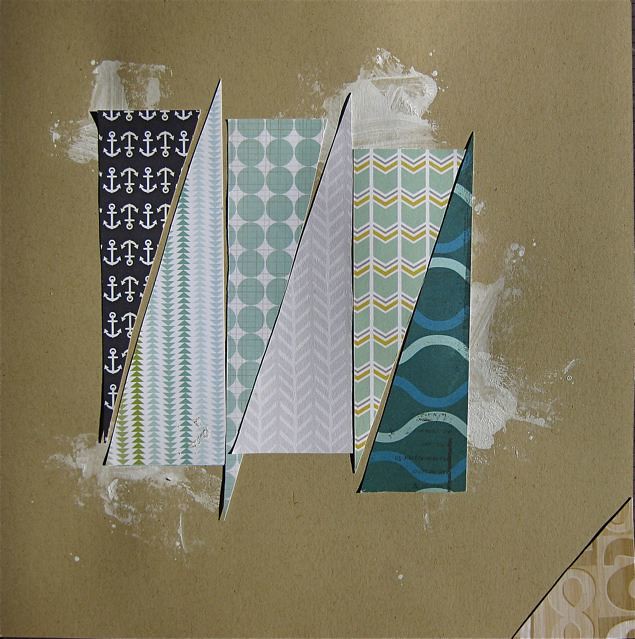
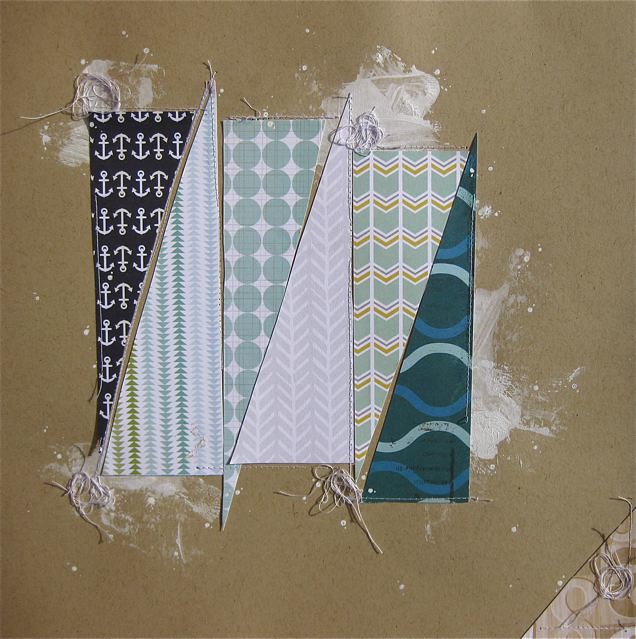
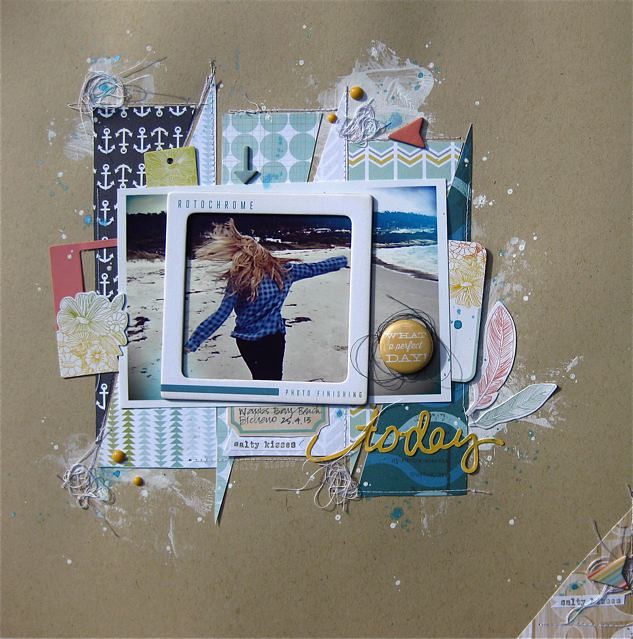
Hi, Gina here to share a simple strategy for a different kind background using pattern paper from the June main kit After adding a few scrapes of gesso (available in the CTK shop) and allowing it to dry I hand cut 6 long right angle triangles of roughly the same size and overlapped the middle ones slightly. I also added a triangle to the corner.

IMG_0533

You might like to add machine stitching around some of the triangles for texture

IMG_0537

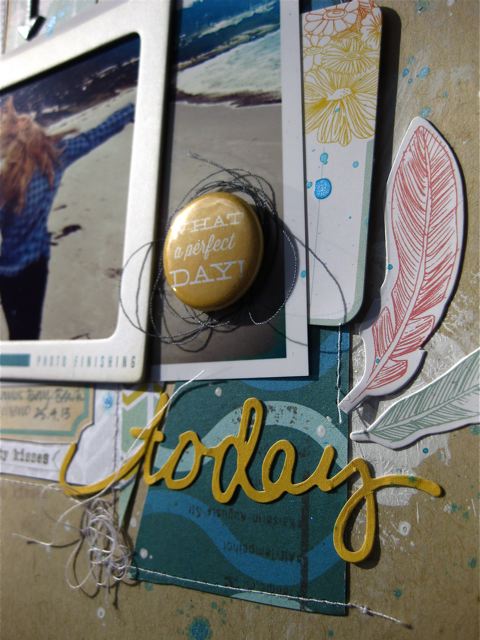
I layered in some Studio Calico die-cuts and used a Crate Paper slide frame over the photo, and embellished with Basic Grey enamel dots, Studio Calico arrow, die-cuts and an exclusive CTK flair. To finish off I added some mist splatters, hand journaling and a Jillibean Soup ‘wise word’ sticker for the title…

IMG_0538
IMG_0543

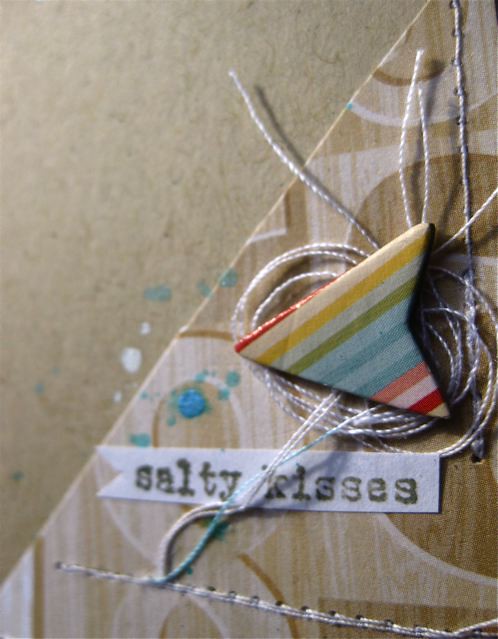
…and another little detail, in the corner I used an exclusive CTK stamp and Prima Ink (from the main kit) for the sentiment, which I stamped onto to copy paper and cut into a little banner – this is a great way to add stamping over patterned paper or if you don’t want to stamp directly onto the layout

IMG_0541
Happy creating! Gina x

Sunday, June 16, 2013

Sunday Sketch

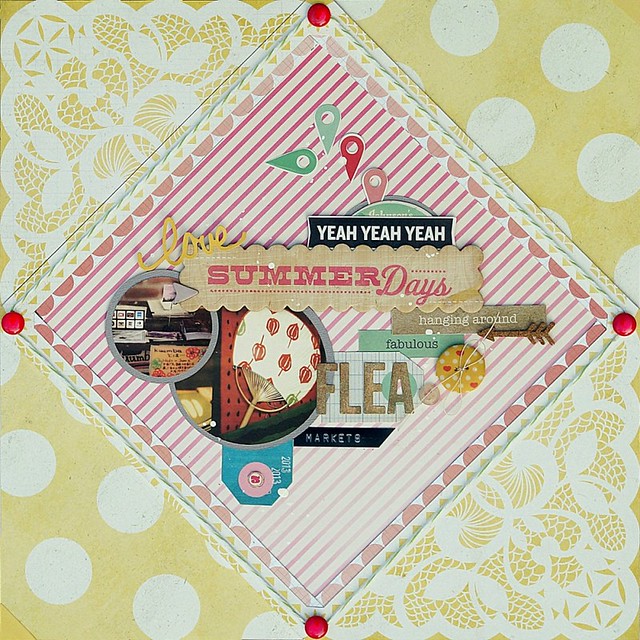
Hi it's Sandy with a layout based on Kaisa's Sunday Sketch. I took the idea of differently-sized circles cascading along a diagonal and played around to make it my own. I hope you will play along with our sketch challenge.

Upload your layouts to the gallery by June 22nd to get your name in a drawing to win a $5 GC to the store. When uploading to the gallery you can name it as you would normally but please include "Sketch 6/16".

Sandy Due June 16

I used the Crate Paper Popcorn paper, with its lace doily and large polka dot pattern as my background. I filled the central diamond with a pink stripe and created a frame around it using baker's twine secured with candy dots.

Flea Market

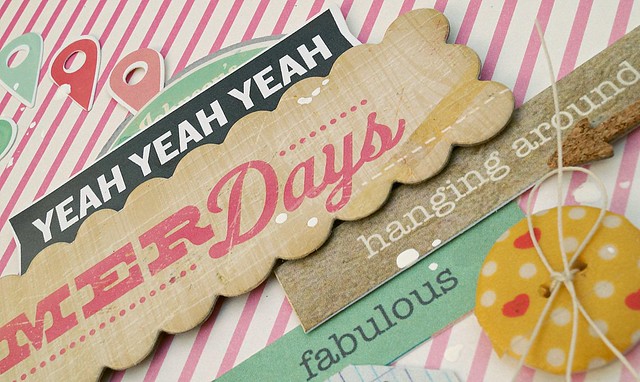
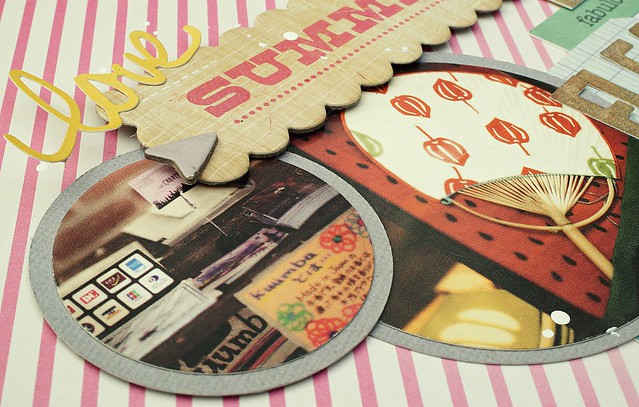
The circle elements on the page are my cropped photos, buttons and geo-tags. My title "love Summer Days hanging around fabulous FLEA markets" is made up of a series of staggered chipboard, die-cut and label phrases. The word FLEA I cut out from white cardstock and distressed with various inks.

.

I used the Main Kit, Embellie Kit and Crate Paper's Splash paper from the Pattern Paper Kit. From my stash I added a couple of buttons and used my dymo label printer to create part of my title.

.

Saturday, June 15, 2013

Card Day

Today is the day we share all our cards we created with the Junr kit.  So grab your coffee and sit back and enjoy some beautiful card inspiration!  We hope this gets those creative juices flowing for you to create some cards!


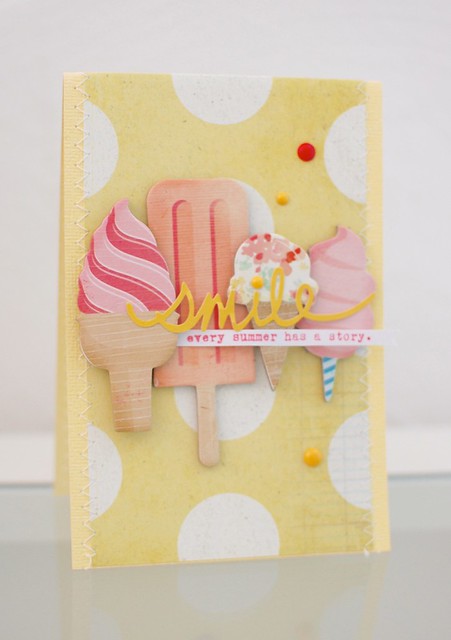
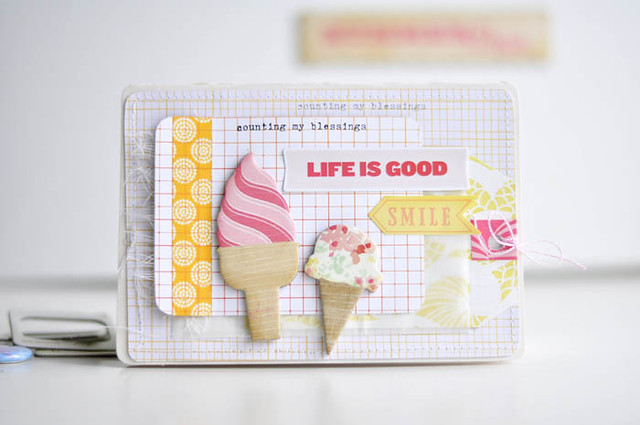
Nina here to share my card. For my card I used four different ice shapes from the Crate Paper chipboard as well as the cute Citrus Twist stamp phrase "every summer has a story". I think that´s a perfect combination for a summery card.

DSC_0451


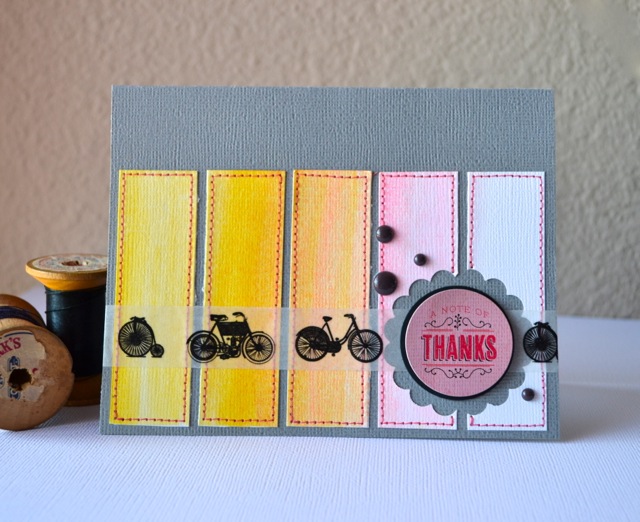
Nathalie here to shaare my card using the June kit. Once again, I stole my kid's old box of watercolors and had fun with it! Other than that, the supplies I used here are from the June "Charming" kit add-on. I think the result is a rather masculine thank you card, perfect for one of my son's teachers. And don't you love that bicycle washi tape?! :)

nathalie_anoteofthanks_CTKjune2013

April here to share a simple card I made with some scraps from the PL kit. I used kraft cardstock to define the division of papers – mostly to able to see the twine bow that I affixed to the manila tag (from my stash). I used Jen Boumis’ heart stamp in hot pink ink to give contrast to the rest of the card and wrote out “happy birthday” with my calligraphy pen. The second “happy” are the same alphas from the PL kit, just cut down smaller around the letters.

  AH-June-Card-1

Sandy here sharing a card using all those lovely Crate Paper The Pier supplies from the Main Kit, Embellie Kit and Paper Kit. The only thing added from her stash are the little pink pearl stars peaking out from behind the slide frames.

.

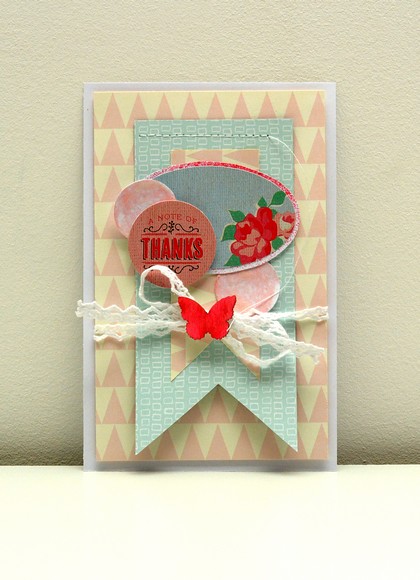
Hi Amélie here to share my card I made with the June Add-on Kit. A very simple card. The butterfly and the little circles are colored with gelatos from my stash.

CTKcard
Angie here to share a card I creted using the June Main Kit and Embellie Kit. I love the Webster's Pages envelope it is perfect for putting a message in it or a gift card. I just started layering and couldn't stop. I love how it turned out.

Citrus Twist Card

Gina here to share my card, created with the main and embellie kits. I've added some washi under the slide frame and pleated the ribbon, then secured with Tim Holts idea-ology fasteners (available in the CTK Store)

IMG_0555

Kasia here to share a card I created using things from main, embellie and project life kits. I wanted to make a card good for any summer occasion therefore I used bright and happy color scheme and made these gorgeous chipboard ice cream the focal point. I included a pocket with a hidden tag where you can write extra message or add a gift card!
card JUNE Kasia

Friday, June 14, 2013

Playing with Project Life with Melissa

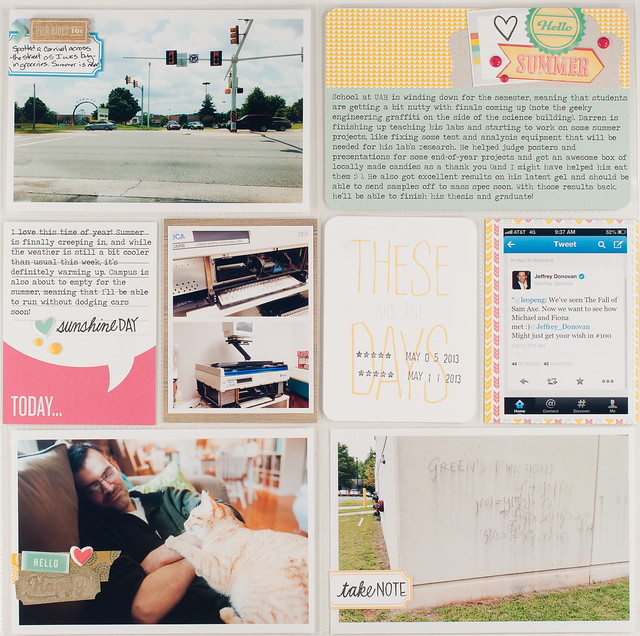
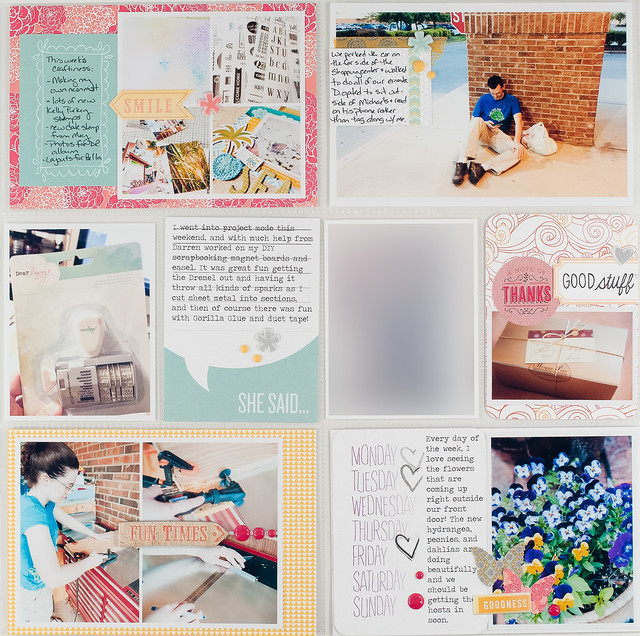
Happy Friday, everyone! Melissa here with another round of Project Life inspiration to share with you using the June kits. Today's layout includes a mix of items from the June Project Life, Embellishment, and Add-On kits. I love mixing everything together after I've made my "main kit only" page, giving me a big stack of items to choose from.

project life 2013 week 19.jpg

DSC_9889.jpg

DSC_9890-Edit.jpg

I absolutely loved the adorable puffy Amy Tangerine "Yes, Please" stickers that were included in the Project Life kit and used them along with the Basic Grey Candy Buttons from the Embellishment Add-On to create tiny embellishment clusters on several of my cards.

DSC_9549.jpg

DSC_9552.jpg

DSC_9557.jpg

Fellow design team member Jen Boumis made an amazing contribution to the kit this month with her stamp designs. Her handwriting is simply delightful! And don't tell Trina that I spilled the beans, but I'm pretty sure that you'll be seeing more of her stamps in future kits here and there.

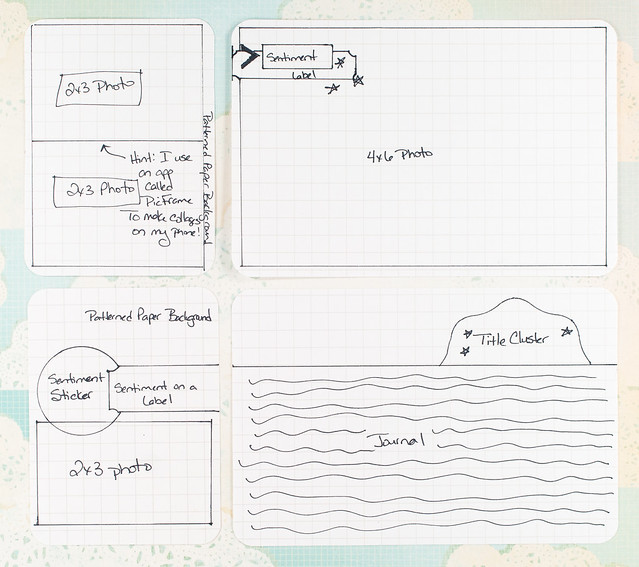
I'll leave you with a brand new set of Project Life sketches to play with, and there's an extra hint included for an iPhone/Android app (PicFrame) that I love to use to make tiny photo collages.

DSC_9903.jpg

Thanks for stopping by, and have a great weekend!

Thursday, June 13, 2013

Be Inspired

Hi, here is Amelie. For this “Be inspired” layout, I took as a starting point several images found on the web.

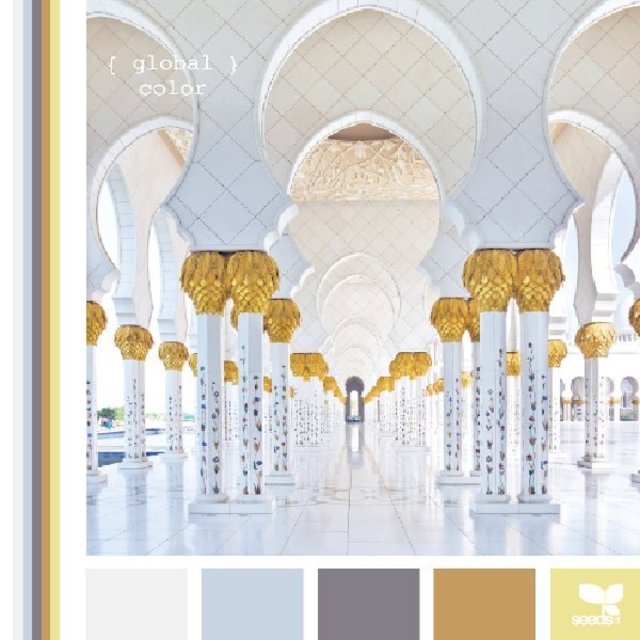
I'm first out of this combo of colors: Combo Seeds pictureLien:

M (1)

Et de ce design :

8c1daf4c3cd22dab3a0f0ee4b19c3c9c

And for embellissements :

fb0aa9cbb9f45ce2d839adeed7cc3535


So I take a white background which I layered several bands of different papers. I sewed some of these bands for a finished look. I put my embellishments in alignment with these bands for a very graphic style like stars. I also want to add some gold color with the chevrons and gold band of paper). The envelope and the little heart embellishments are handmade. For this layout I used Add-ons kit and I can see you some embellishments from previous kit, the gold paper is from a previous kit too.

CTKBI1-1

Are you inspired by this layout?