Saturday, January 24, 2015

3 To Inspire: Get Crafty with Citrus Twist Kits

Hello! Today is the second installment of our new weekly "3 to Inspire" blog post. Do you need a little creative boost to keep your pages moving along? Are you getting behind in Pocket Life? Did you step away from your crafty space for too long? We hope you'll join us and participate in our new inspirational blog post, coming to you weekly on the Citrus Twist blog.


Are you ready for your challenge? Here we go!

Create a scrapbook page or Pocket Life page using the following 3 things:
  1. A cluster of embellishments.
  2. Use 2 alphas in your title.
  3. Add some stitching-this can be my hand, with a machine, or drawn/stamped on.
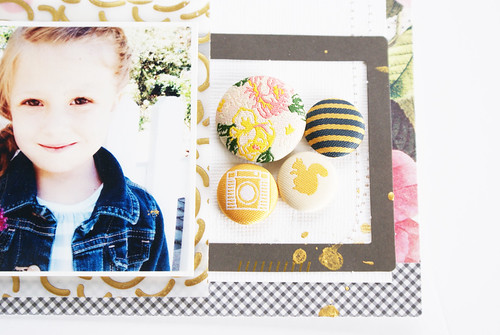
Here is my cluster of embellishments that I made using the brads from January's Main Kit:

This is Awesome 3
 
Use 2 alphas in your title:

Untitled

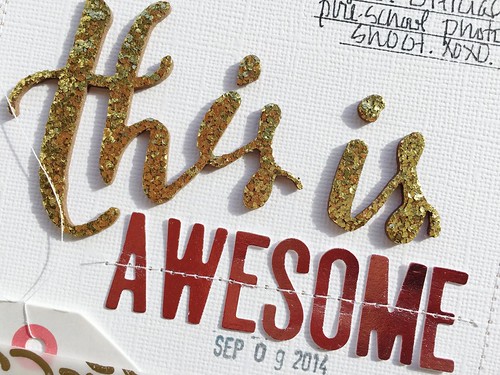
And finally, add stitching:
 
This is Awesome 2
 
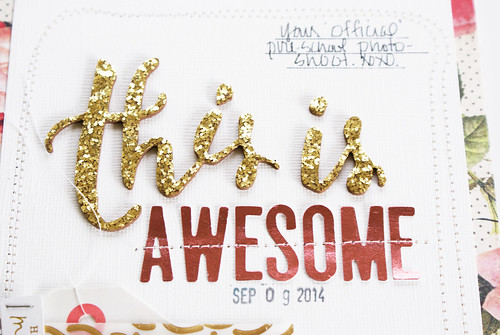
Here is my finished layout for my daughter's preschool album:
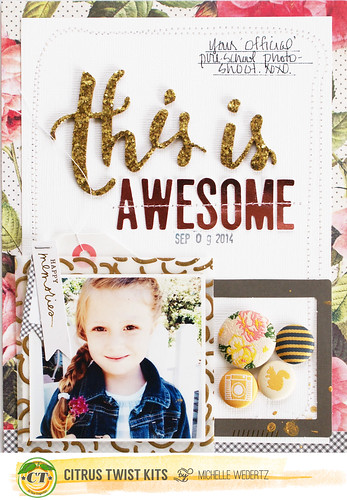
 
This is Awesome
 
This layout was created with the January "Fields of Gold" main kit. When you subscribe this month you'll get a free Main kit, shipped with the first kit in the Main subscription. (P.S. The price of our 6-month Main kit subscriptions just went down to $29.95 a month!)
 
Thanks for visiting and reading 3 to Inspire. Send us a request to join the Facebook Citrus Twist Kits Fan Page. We'd love to see what you do with this challenge posted there or in the Citrus Twist Kits gallery.
 
Michelle


Friday, January 23, 2015

Pocket Life with April

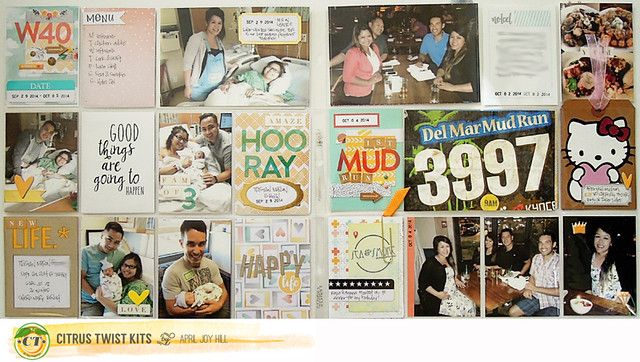
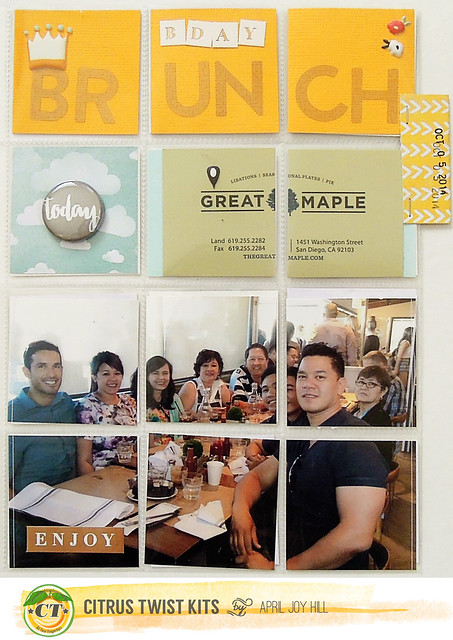
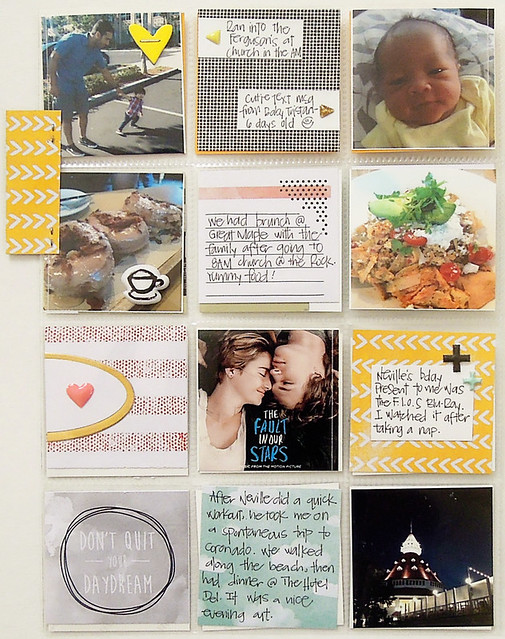
Hi everyone! April here to share a few different pocket life spreads that I created using the January PL and PL Embellie kits!

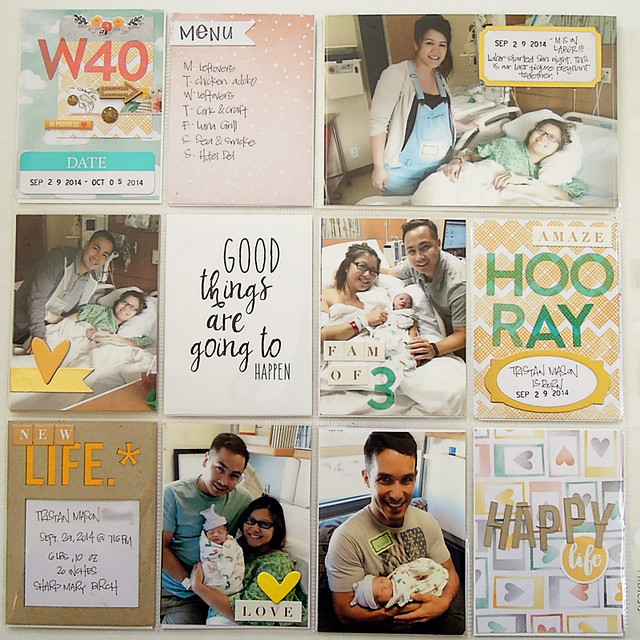
First, I have my week 40 from 2014. I'm currently behind and still trying to finish up my 2014 while I move forward with my 2015 album.

DSCN5352_800_CTK

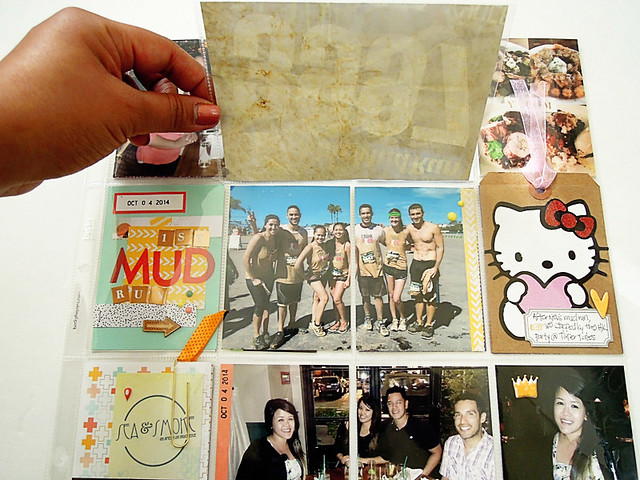
Right side documents the beginning of my birthday week with the much anticipated arrival of my baby nephew!

DSCN5354_800

Left side:

DSCN5357_800

Surprise.. I made a flip pocket!

DSCN5359_800

I have a 6x8 insert for this same week that documents what I did for my birthday that week. I looove the 2x2 squares. You can pick up this pocket protector from the CTK shop!

DSCN5338_800_CTK

DSCN5341_800

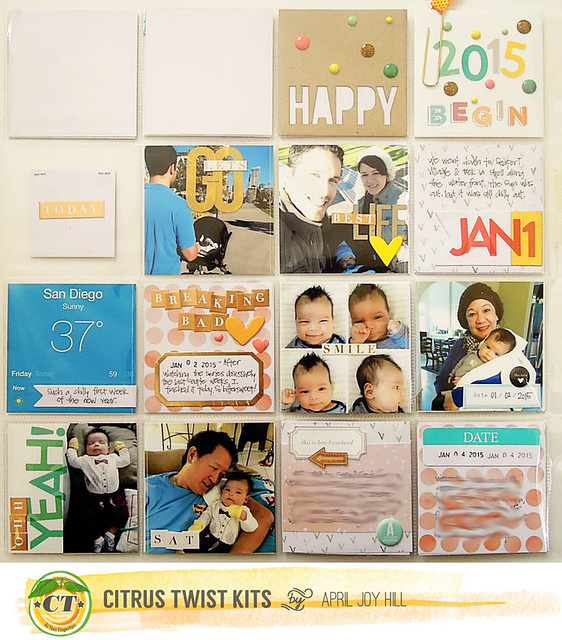
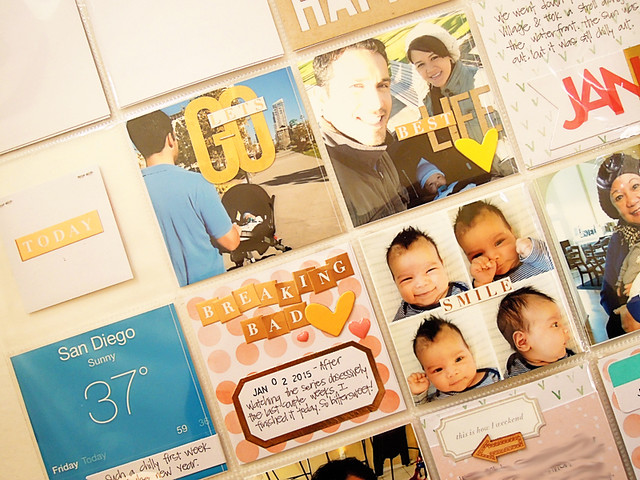
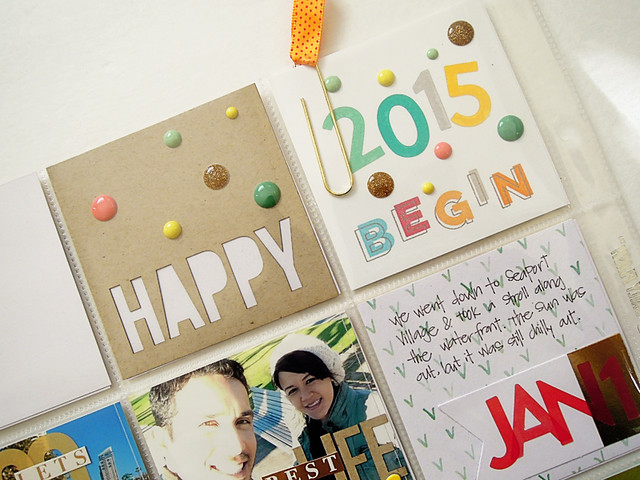
And lastly, I have my first spread of my 2015 album - week 1. It's a single page spread. One of my strategies this year is to not worry if my spreads are 2 pages and if they are 2 pages, not worry if they are left and right of each other. I'm okay with having my weeks go back to back in my album (you'll see what I'm talking about soon).  You'll also notice the two blank spaces in the top left.  I'm planning to use the same weekly marker and menu template for all weeks - I just haven't created it yet! :P

DSCN5345_800_CTK

The color of this next photo is so weird.. I apologize about that. I took it at the same time as the rest of my photos, but I must have taken it at a weird angle.  I used all the die cut letters in my spreads this time around.

DSCN5346_800

I loved the colors of the enamel dots!

DSCN5349_800

And here are your sketches:


Tuesday, January 20, 2015

heart shape bokeh- photo inspiration


heart bokeh tutorial 1


Hello! Kasia here today with some photography inspiration:) I love experimenting and trying new things with my camera and playing with bokeh is one of them. In case you don't know bokeh is the effect when the light source in the background instead of staying focused creates soft and blurred dots (I'm not a photographer and this is the basic way I can explain it, there might be many more proffessional ways to give bokeh's definition, for more detaile dinfo check good, old wikipedia:). Most of the time I use my old but still loved Nikon D5000 camera with a prime lens 50 mm f/1.8 which is gorgeous and bright and allows me to create lovely bokeh.

heart bokeh tutorial 8


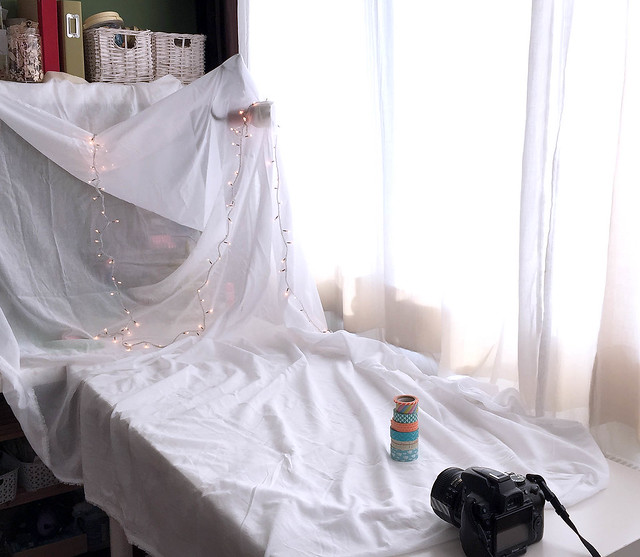
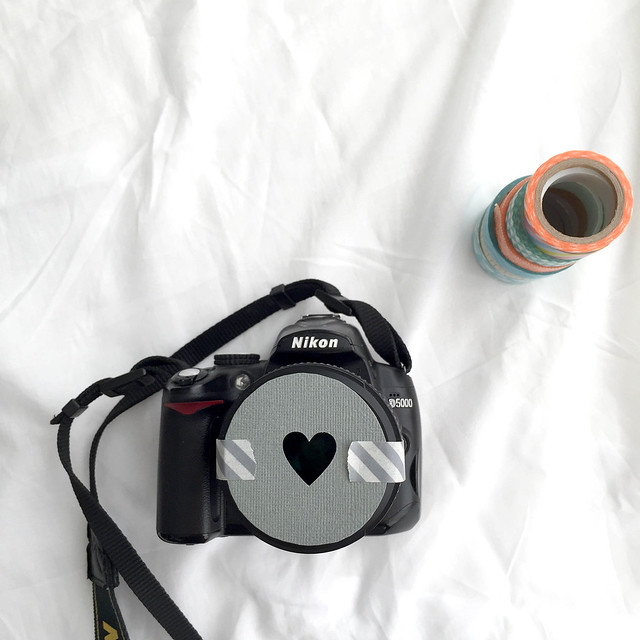
Here is how my setting looks like. I hang the light source (my christmas lights- I love those on light or transparent cables the most!) and create some free space between them and the object I photograph- the more space you give the bigger your bokeh will be. For the bright and sunny day I set up my camera to 200 ISO, time around 100-250 and aperture to f/1.8. I come close to my object, focus on it (you can choose manual or automatic focus- experiment and see what works best for you) and take a photo. The background should get blurred and the lights should create soft and beautiful bokeh like you can see below. Don't get doscouraged if you can't get perfect result at first- just keep experimenting :)

heart bokeh tutorial 6

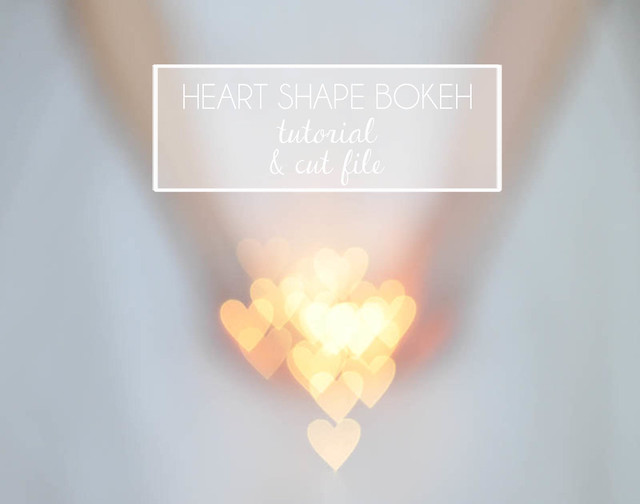
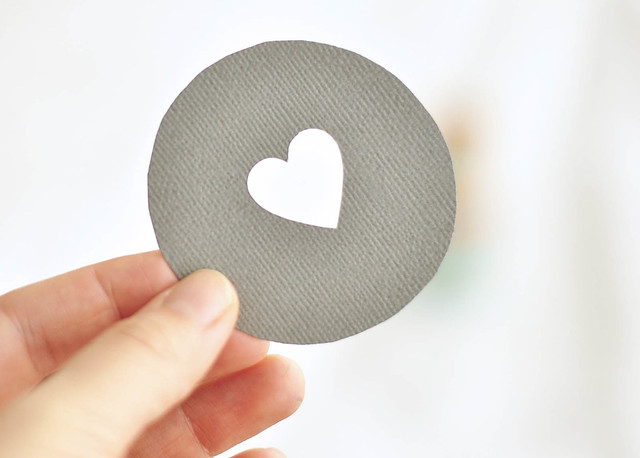
Now, let's get to the HEART of today's post. You know how to get bokeh in your pictures- that's great! Bring it to another level by creating a unique, shaped bokeh. You will need a paper circle with the symbol cut out in the middle. If you have a digital cutting machine you can download a bokeh cut file here. You can also just use a puncher, die or small scissors to cut your shape. 


heart bokeh tutorial 5


Attach the circle on the top of your lens using some washi tape, make sure that the cut out symbol is placed nicely in the middle and that it's centered with your lens.

heart bokeh tutorial 7


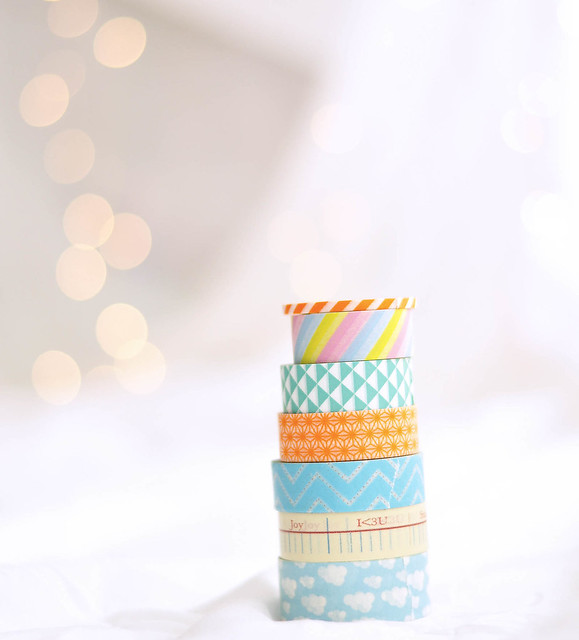
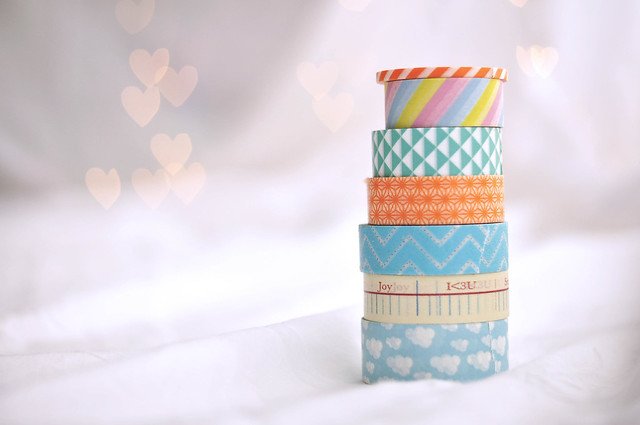
Follow exactly same steps as when you are taking regular bokeh photo. Focus, snap and.. can you see the magic which has just happened? Your bokeh got beautiful, dreamy heart shape!

heart bokeh tutorial 15


Below you can see some more examples of pictures I took with my heart bokeh. I love the romantic effect of this photos and they always WOW other people! Have fun with your camera, learn new things and enjoy ecperimenting!

heart bokeh tutorial 3


heart bokeh tutorial 4


heart bokeh tutorial 2

Sunday, January 18, 2015

Introducing Our Newest 2015 Pocket Life Designer

Good morning everyone. It is with great excitement that we introduce this talented designer to our Pocket Life team. We know you'll love her work as much as we do! It was love at first site when we discovered her PL pages with their beautiful simplicity.

Karen begins designing with our February PL kit that is currently on its way to her.

Please welcome Karen Baker (Australia)!

Karen Baker


My name is Karen [Hello Today Create] and I am the blogger, photographer, creator & 
memory keeper for my family.

When I'm not getting creative you can usually find me in my garden or with my head in a book looking for design & inspiration everywhere.

I'm passionate about my creative work, concentrating on telling my story through the wonderful mediums of paper & photography.

I create something everyday or at least every chance I get.


Karen, we can't wait to see what you create with the Citrus Twist Kits Pocket Life kits!

Sunday Sketch

I really love the openness of this sketch and the cute little accents on the sides.  This was a fun sketch to work with.  Here is your sketch challenge:


Now for my take on this sketch.  I used the January Main Kit only (ink splatters are from mist in my stash) on this layout.  I decided not to use two pictures so I replaced the second picture with a place to journal.  Isn't this kit so pretty?!!


Now it's your turn to take on this week's sketch!  We love to see what you do with our kits and sketches so please make sure to upload your projects to the Citrus Twist Gallery. And remember, by uploading your take on today's sketch to the gallery by 1/24, you will be entered to win a $5 Coupon to use on anything in the CTK Store Also add 1/18 to the title line.

Saturday, January 17, 2015

Winners!!!

Sketch Winners $5 Gift Certificate to CTK Store:

 Dec. 7 : anitatina
 Dec. 14: runxalot81
 Dec. 21: mamakven


Guest Designer Top 5 Winner (One of her favorite items):
Family studio space. Fantastic! My girls and I create together as well and it's one of the things I love about crafting.

 
Please email Trina at CitrusTwistKits@yahoo.com to claim your prize!!

3 to Inspire: Get Crafty with Citrus Twist Kits

Hello everyone. This is the debut of our new weekly "3 to Inspire" blog post. Do you need a little creative boost to keep your pages moving along? Are you getting behind in Pocket Life? Did you step away from your crafty space for too long? We hope you'll join us and participate in our new inspirational blog post, coming to you weekly on the Citrus Twist blog.
Are you ready for your challenge? Here we go!

Create a scrapbook page or Pocket Life page using the following 3 things:

  1. A piece of fabric on your page.
  2. An arrow/arrows to direct your eye to a title.
  3. A frame behind a photo with 3 layers of pattern paper.
Here is my use of fabric. I tore a strip (instead of cutting) to fray the edges, then layered a strip of pattern paper over the top and stitched it all down:


Use a wood chip arrow and position it near your title:


Last, use 3 pieces of pattern paper to frame your photo. One of my papers is a strip of gold-printed vellum that I cut a different size and shape from the other two pattern papers:


Here is my finished 6 x 8 layout, one of the mini scrapbook pages for my 2015 Pocket Life:


This mini page was created with the January "Fields of Gold" main kit. When you subscribe this month you'll get a free Main kit, shipped with the first kit in the Main subscription. (P.S. The price of our 6-month Main kit subscriptions just went down to $29.95 a month!)

Thanks for visiting and reading 3 to Inspire. Send us a request to join the Facebook Citrus Twist Kits Fan Page. We'd love to see what you do with this challenge posted there or in the Citrus Twist Kits gallery.

Trina