Hello CTK Friends! I am loving the new goodies each month, as always, but I do love going through some older favorites to use both new and old together! It is really my favorite way to scrapbook. Which leads me to the 3-to-Inspire for today:
1 - Use an older stamp, alphas, die cuts, papers, etc.
2 - Use the inspiration from others into your project.
3 - Use the new Picture Story Cut File.
For my older products, I pulled the
Good Life and the
Retro Hip Co & CT Collab stamp sets and a CTK kit pattern paper from my stash. I love to organize those papers by color, so I can grab exactly what I need. I find I use them more that way too! For the inspiration from others...I have loved all the fold outs I'm seeing from the team. I have done it before, BUT did you catch Nathalie's recent post
here. She used the digital TN Basics and duplicated that pattern to create the longer sheet she needed to then fold and punch! I had to try it and now I am hooked! I created my longer piece using the
January Traveler's Notebook Basics on the left side, then used the stamps, and a combination of January digitals, die cuts, and the new February puffy hearts to finish with a photo.
The trickier part for me was I wanted the cut file to be on the larger side once you open that top flap, which means that the cut file has to fold with it. I went for it and got it to work. I had to use clips from my stash to keep it closed, but it works and exactly the look I wanted. I combined a January die cut with it to add more color, and then created a grid with two more photos on this inside flap.
And again, used older pattern papers, one from the Sparkle and Shine. Having my colors organized, I just grabbed what I needed and it all worked well together! I wanted that gorgeous flower to have the pop of color with dark and light in that swirl.
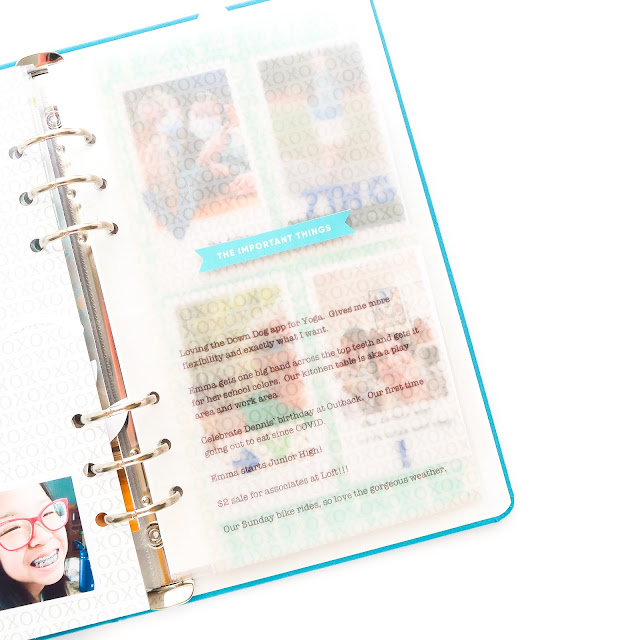
My confidence was up having gotten that awesome trick from Nathalie to duplicate the TN Basics digital paper. I needed this spread to continue with the same colors and patterns to balance, plus I knew I wanted all photos to fill the Instax pockets. The vellum with the same printed TN Basics worked for me here. It gave me the subtle texture repeating it from the left, and the vellum gave me a little bit of a break plus a place to journal so that I could have my beautiful colorful cut file on the left, and all four of the Instax pockets filled with photos and stamping.
Another thing I love about this spread is I got the entire week documented within these pages. Give these ideas a try in your next project and be sure to share with us in the Facebook group!


No comments:
Post a Comment