Pages

Saturday, January 31, 2015

3 to Inspire with Trina

Hi everyone. I am back today to share our new weekly Saturday post "3 to Inspire." This weekly blog feature is for those of you who  need a little extra push to get scrapbooking, keep scrapbooking or, maybe, stretch your comfort zones a little and try something you haven't tried before.

Your take on the weekly challenge can be scrapbooking or PL and you'll want to include all 3 inspirations on your page.
Here we go!

Your weekly inspiration:

  1. Create a banner.
  2. Stitch on your page.
  3. Use ink, mist or paint splatters.
This is what I did with the challenge and for those of you who want a little sneak at February's "Cherry Blossoms" add-on kit, this layout was made with the soon-to-be revealed kit. There are some bold colors in this kit, but I went with the soft, spring pastels.


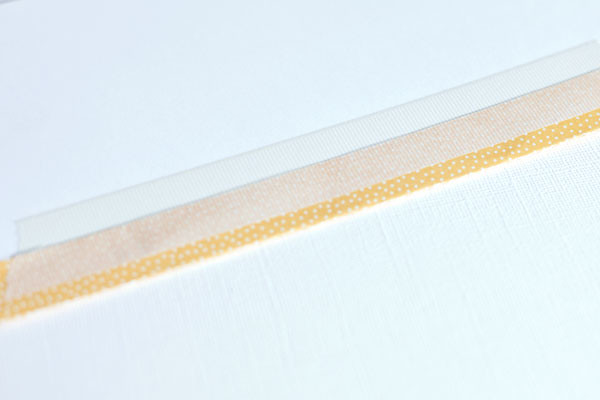
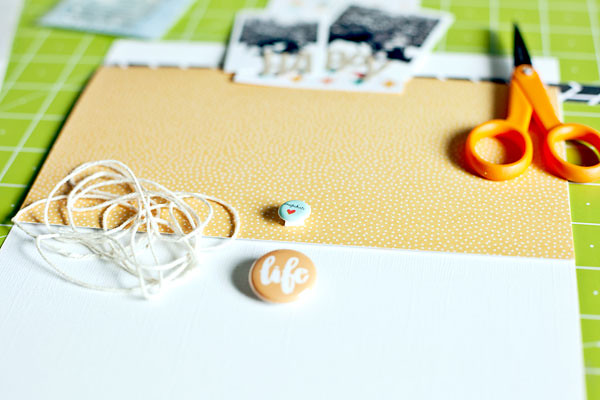
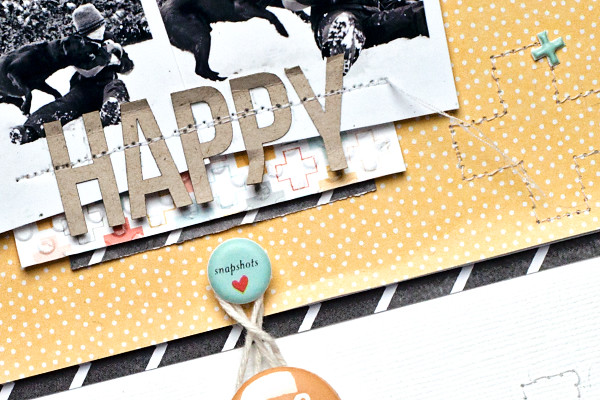
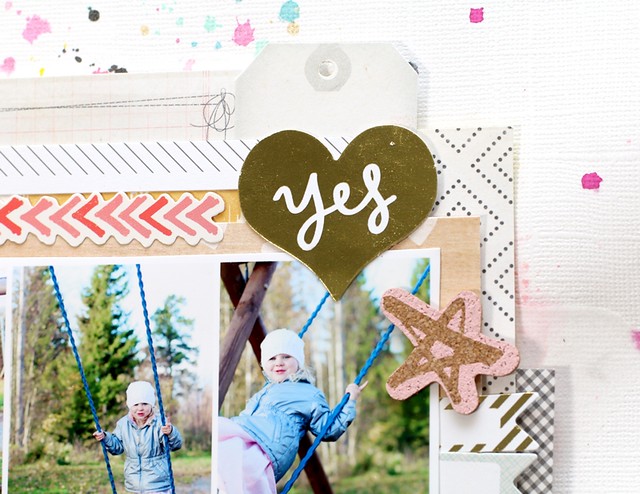
Here are 3 close-ups showing each of the 3 inspirations. The first one is a banner made by cutting triangles out of a piece of patterned paper, then sewing them down with a thick piece of sewing thread layered behind the triangles. I used a combination of straight and zigzag stitching to sew the banner down:


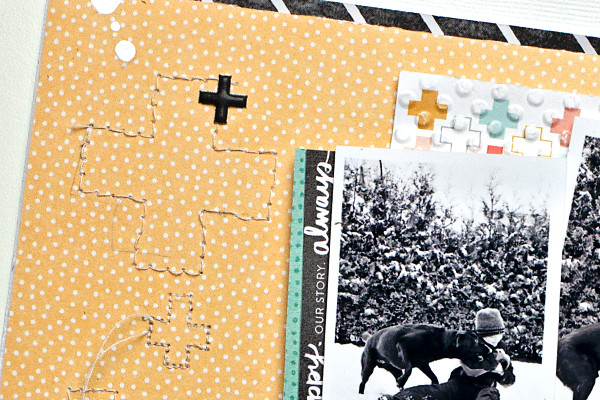
This next close-up shows stitching:


And the last picture shows paint splatters. I cheated and used rub-on paint splatters that come with the Cherry Blossoms kit:


Thanks for visiting. Be sure to share your challenge layouts in the Citrus Twist Kits Gallery or on the Facebook Citrus Twist Kits Fan Page!

Trina

Friday, January 30, 2015

Pocket Life Sketch Friday

It's Trina here today with your Friday Pocket Life sketches. For my PL 2015 I'm using the 6 x 8 format that I just love because it is so super do-able. These pocket layouts were created using the January PL kit and PL embellishment kit.

Here are your sketches for the week, starting off with a 4 x 6 card:


Here are two 3x4 sketches for your pocket pages:


This last pocket sketch was based on a 6 x 8 mini layout. You can also use this for a 4 x 6 PL card (or for a 8.5 x 11 inch layout):


Here are two pages from my Pocket Life pages:


And here is another page:


This close-up shows the stitching over the vellum alphabet letters that come in the January PL Kit:


I had too much fun playing with stars on the larger 6 x 4 card. Some of the stars were embossed and the smallest stars were punched using Teresa Collins new star punch:


Have fun with your PL pages this week!

Trina

Wednesday, January 28, 2015

In My Studio with Janine Langer

Hi everyone, I am so excited to show you my scrap space today! Lighting is horrible these days, but I did my best to get some shots that show my scrap room a bit.

My space is quite small and it is a home office/scrap space kind of thing. It is also quite messy, but it is a creative mess and I love that! I need to have the items I use in sight, otherwise I forget about them, and so there is a lot going on on my scrap table. :)

When you enter the room, the space on the right sight of the room is my office space. There is my computer, my printers and my Silhouette.


When you turn around, straight on the other side, there is my scrap space. I love that I can sit at my computer, printing my picture, turn around and am able to scrap straight away. 


Now you can see what I meant by saying 'messy'.

Everything got its space and it is clean (well - I could have emptied the trash bin beforehand), but it looks messy though. But I love it this way, everything I need is there. :)

I do have a lot of small boxes hanging on the wall which contents I change frome time to time. I have some thickers and alphabets in one of them, that I would love to use the next few weeks. Then I change them again, the rest of my thickers and alphabets are stored in boxes in a shelf that you can't see on the pictures.

The small box under the alphabet one is filled with printables, left overs and twine that I use quite often.


These are my favorites, my tool boxes! There is a lot going on and I use everything there on a daily basis. There are my Neocolors, Gelatos, pencils, knifes, brushes, scissors everything I need!


On the left side of my table, there are some boxes with Die Cuts, Labels, vellum shapes, frames ... just everything that I would like to use the next weeks as well as some recent papers, bigger scraps and a (closed) box full of smaller scraps. I love using scraps, so I do have the feeling that nothing I bought is going to be wasted.  I also do have a tiny box where my adhesives are stored so I can reach them easily. :)


Well - that's it for now, not the biggest space, but I love it. It is mine and I can create and spend me-time in there. Thanks so much for looking and have a wonderful day!

~Janine


Tuesday, January 27, 2015

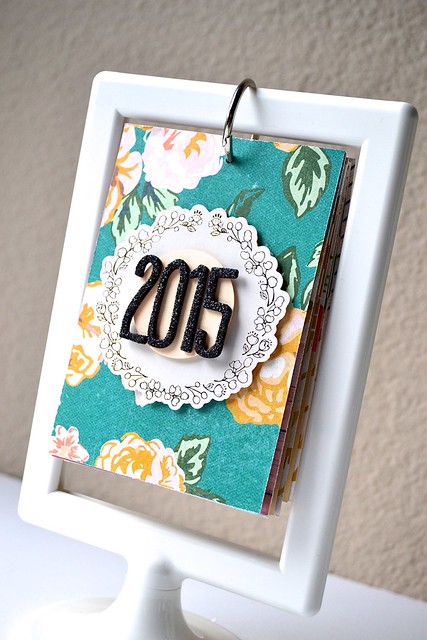
Tuesday Tutorial: 2015 Desktop Photo Calendar by Nathalie

Happy Tuesday CTK fans! Every year I create a different photo calendar for my parents and every year I use a kit to make it. The one I made for this tutorial is using the leftovers from the January add-on kit "New Beginnings" (still available in the store). I don't own any fancy printer or die-cutting machine so this is pretty low tech!

nathalie_2015calendar_CTKjan2015
This is what you will need:
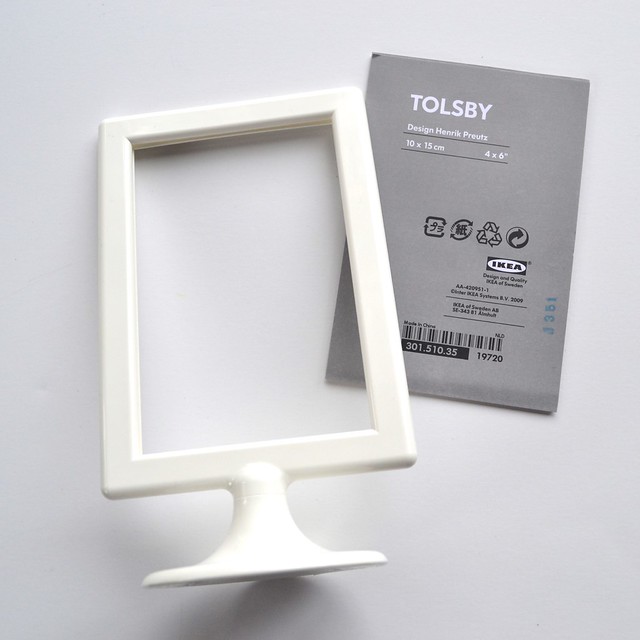
1. a Tolsby frame from Ikea (but I also saw at the last CHA that Tim Holtz was coming out with his own version!):
CTKtuto5
2. A book ring of 1" or more
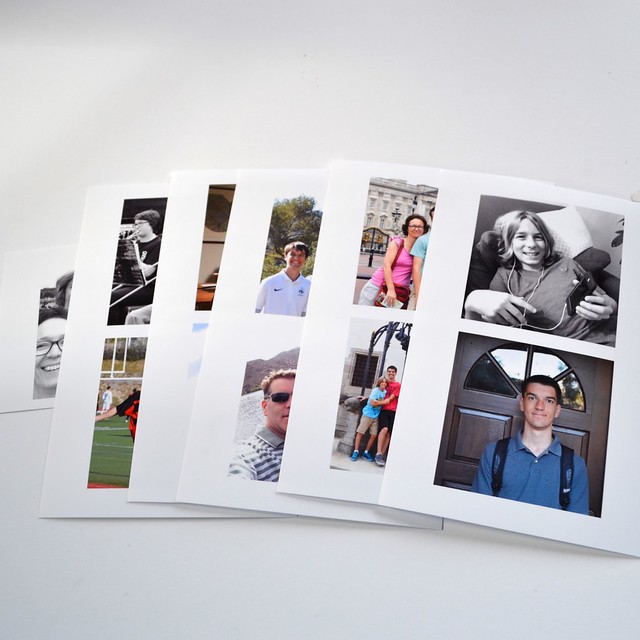
3. Twelve square photos trimmed to 2.25x2.25"
CTKtuto2
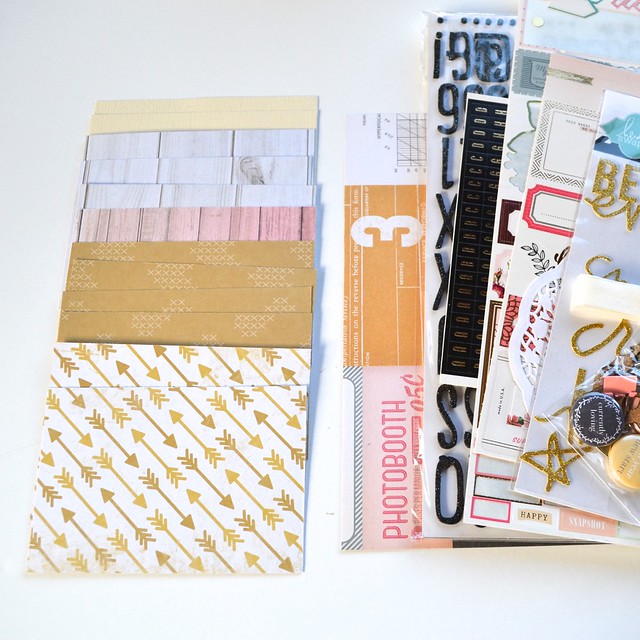
4. Twelve (13 if you want to make a cover) pieces of card stock and or patterned paper cut to 3.25x4.75" and any leftover embellishments (stickers, flairs, sequins, etc.)
CTKtuto1
5. A computer and printer

Step 1: Go to this list of 2015 calendar templates and download the "Blank 2015 Desktop Calendar" (it's free). 
Side note: You can find many other templates online. I picked this one because I prefer the European way of starting the week on Monday. You could also use mini paper calendars or stickers like SRM Stickers offers.

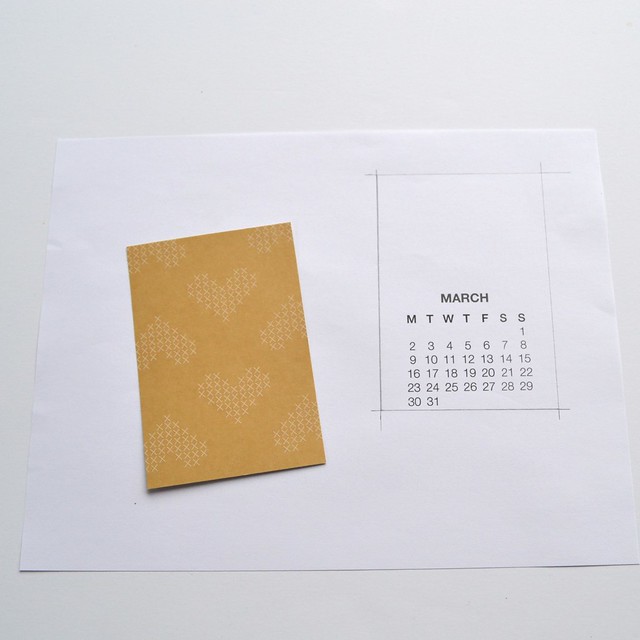
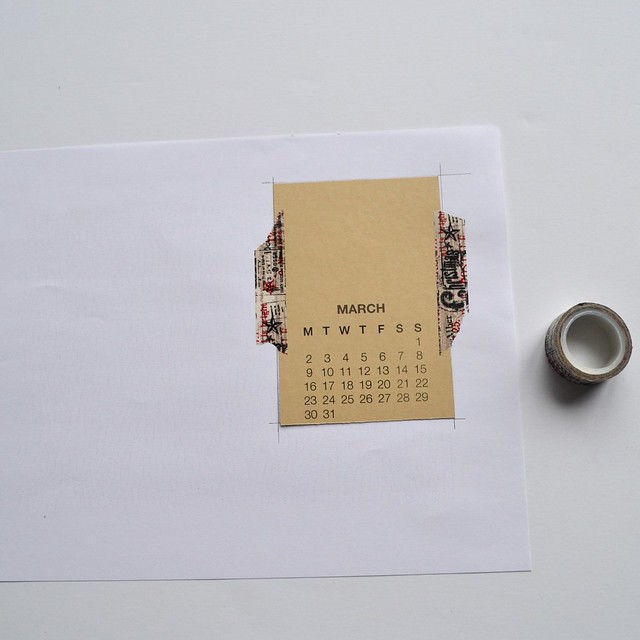
Step 2: Print the month of March (page 4 only) in black & white on a sheet of copy paper in order to create your template. Looking through a window figure out where your patterned paper needs to go and trace it:
CTKtuto6
Now put it back through your printer with the patterned paper attached to the copy paper with washi tape. Repeat this last step taping a new piece of patterned paper and selecting a new month, once for each month:
CTKtuto7

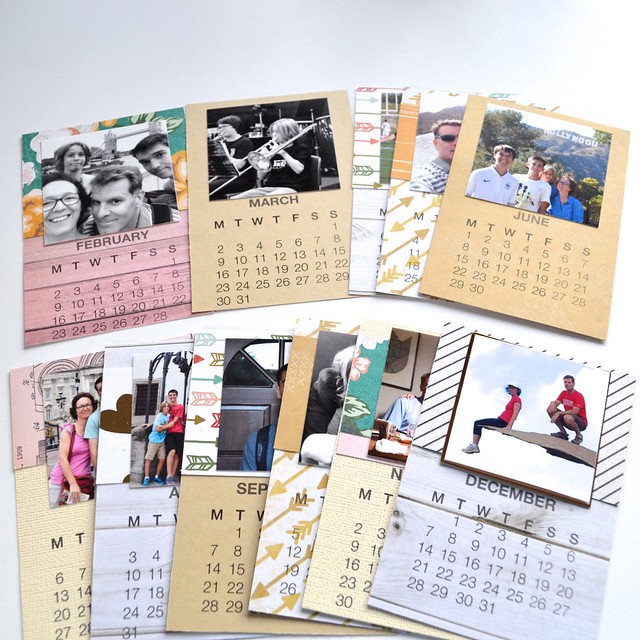
Step 3: Now the fun begins. Add layers and photos to each page:
CTKtuto3

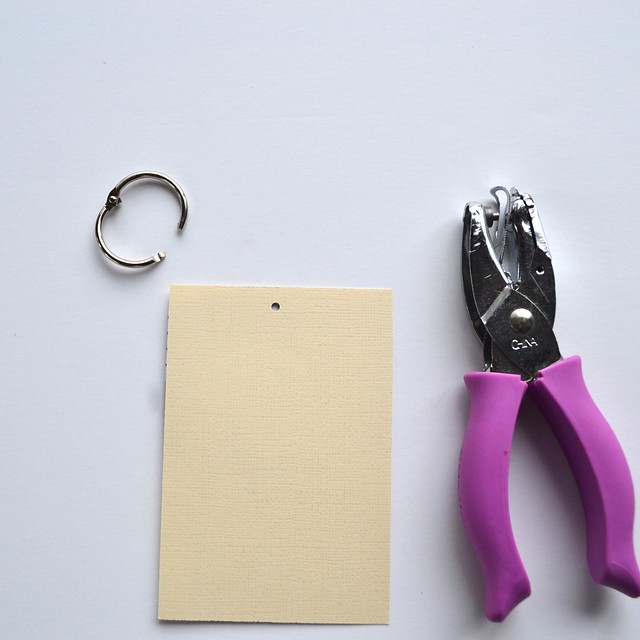
Step 4: Before you start really embellishing your pages, punch a hole on the top of each one for your book ring:
CTKtuto9

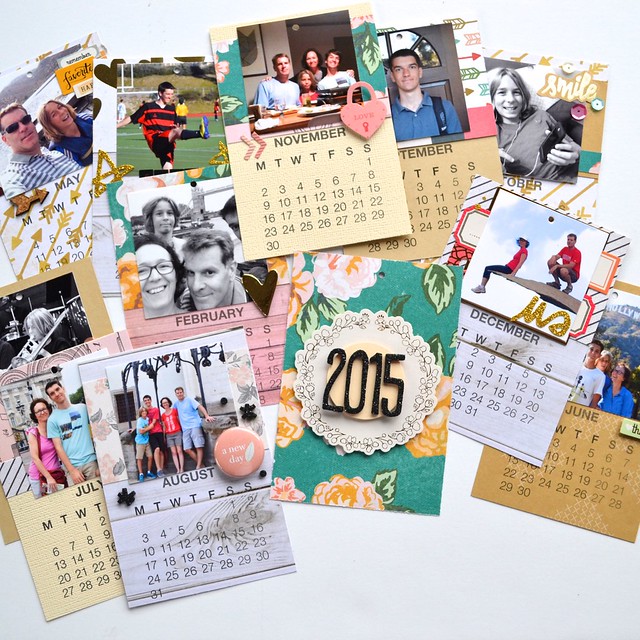
Step 5: Embellish and create a cover if you choose to:
CTKtuto4

Step 6: Put the pages in order on the ring and attach to the top of the frame. VoilĂ !

nathalie_2015calendarcloseup_CTKjan2015

As always, feel free to ask any question in the comments below and I will answer them there as well. Also, if you decide to use this tutorial, please please please link your calendar in the comments as well because we would LOVE to see it!
Merci!

Monday, January 26, 2015

Using your January PL Kit with Janine

Hello everyone, this is Janine Langer with my very first blog post for Citrus Twist Kits. I am so excited! :)

Today I'd love to show you what I created with the wonderful Januar PL Kit 'The Sweet Life', the PL Embellishment Kit 'Bits and Pieces' as well as the Patterned Paper Kit.

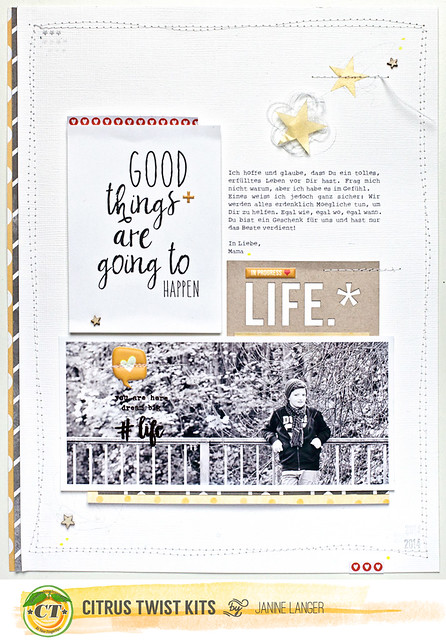
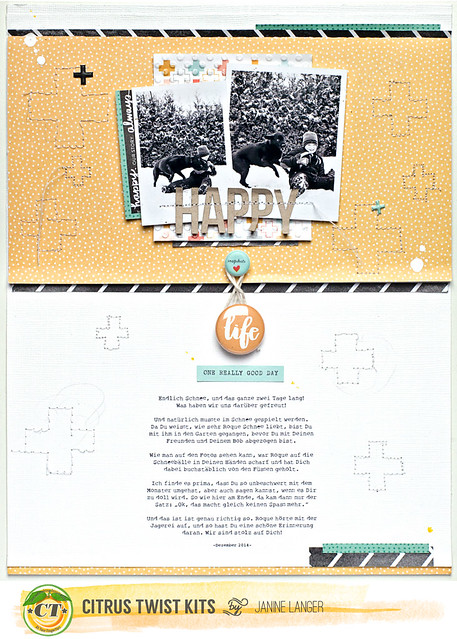
Let's start with the first layout, that I created. But first I have to say that I was really amazed when I got the kit. It is so perfectly balanced and the colors fit together wonderfully. I love to use PL cards on my layout, so I was very happy when I opened the package and saw all the beautiful cards that came with the kit!

The card I used on this layout immediately caught my attention. It is perfect for what I had in mind. I wanted to write a litte note for my son about life in general. So - perfect fit.

janinelanger-ctk-januar2015-banner-001

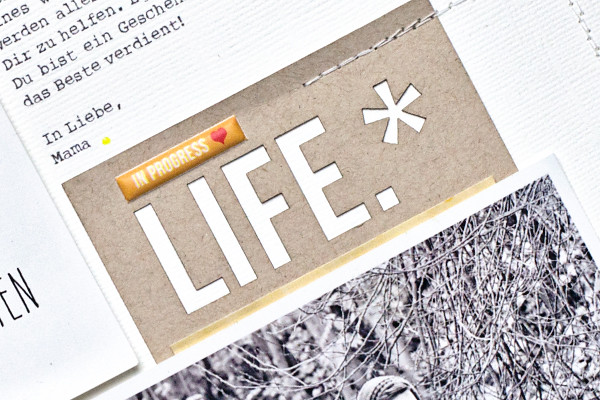
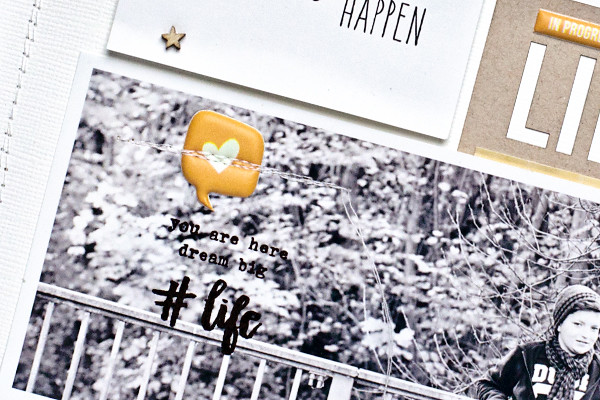
I kept the design quite simple to focus on the journaling and what I had to say. But as always I added some stitching and a bit of twine. Just because I love it. :)

janinelanger-ctk-januar2015-003

janinelanger-ctk-januar2015-002  

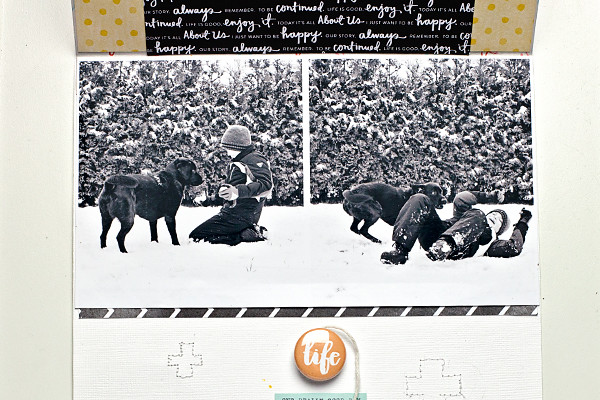
The second layout I made, actually has a tiny interactive twist to it.

janinelanger-ctk-januar2015-banner-004
It has a flap with two more photos under it. I loved those photos and I couldn't find another way to put them on the layout without hiding too much of the beautiful paper and the stitching, as well as the journaling. So I went with an interactive element instead. It's the first time for me and it was actually a lot of fun. I should do that more often!


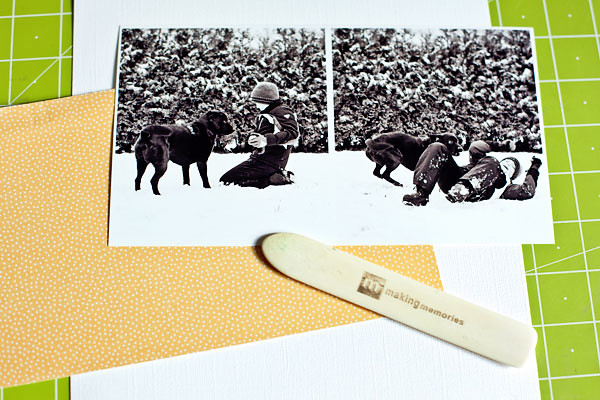
Also it was quick to do, just a few steps. You're going to need some cardstock or patterned paper, photos and a bone folder.

janinelanger-ctk-januar2015-minitut001


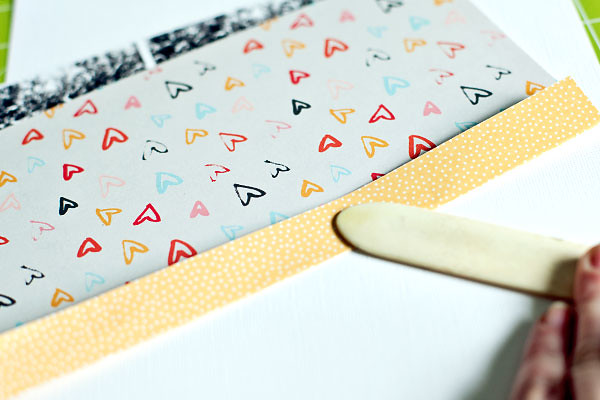
Then you put the patterned paper on your pictures so it covers everything and fold the top behind the photo. To get a nice and clean line, use a bone folder to do so.

janinelanger-ctk-januar2015-minitut002

Now you can adhere the folded part on the back of your photo. You can use glue or washi tape, whatever you prefer.

janinelanger-ctk-januar2015-minitut003

Eventually you adhere everything on your layout and close it with two elements and some twine. I adhered the puffy sticker and the flair button with foam tape, so there would be enough space for the twine. That's it. :)

janinelanger-ctk-januar2015-minitut004

Here are some more close-ups of the finished layout.

janinelanger-ctk-januar2015-007

janinelanger-ctk-januar2015-006

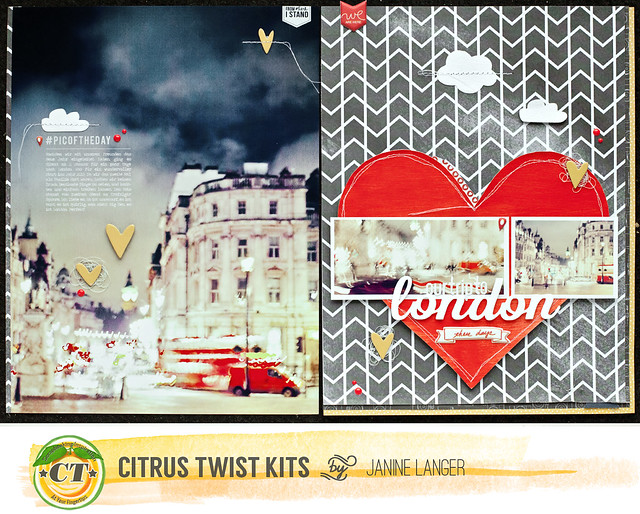
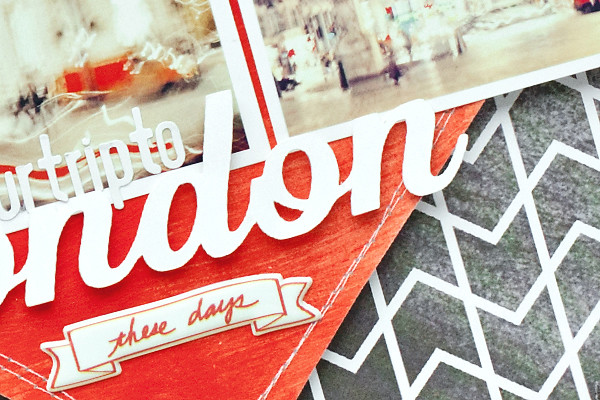
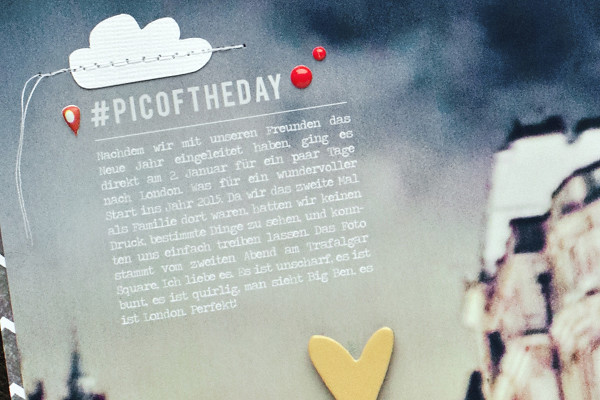
The next one ist probably one of my most favorite layouts I've done for a while! At the beginning of January my husband, our son and I went to London. We try to go there at least once a year. It is an amazing city and we all love it! On the second evening we came across Trafalgar square and I tried to take some photos with my travel camera. It doesn't take very good photos when it is dark, but I had to give it a try. And - I am so in love with the photos that I took that evening.They are blurry, chaotic, busy, imperfect. For me it shows movement, excitement - well, it shows London!

As I wanted to print my favorite photo in 8.5x11 inch, but also wanted to include some other photos and our love for this town, I decided to create a double pager.

janinelanger-ctk-januar2015-banner-014

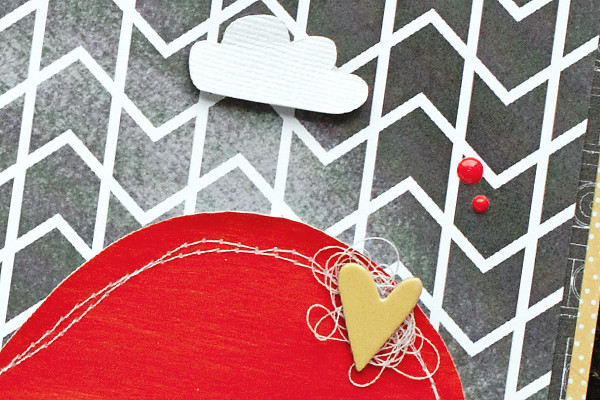
I think red is a perfect color to describe London and so I decided to paint a red heart on watercolor paper, cut it out and adhered it on my background paper. I really like the way it looks.

janinelanger-ctk-januar2015-019

janinelanger-ctk-januar2015-018

janinelanger-ctk-januar2015-017

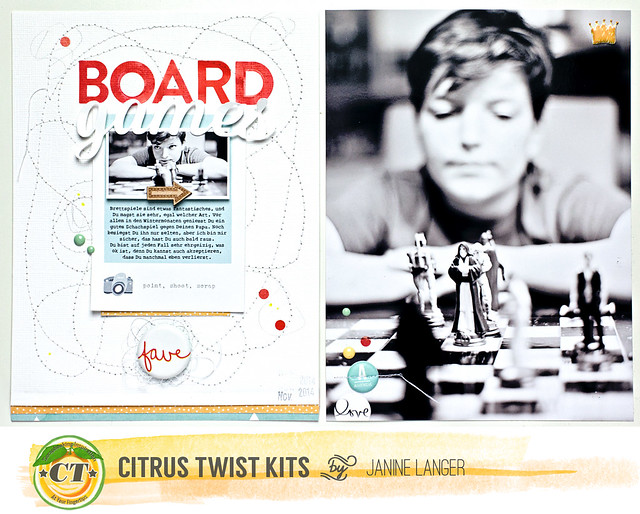
And now, finally, the last layout I did. It is a double pager again, but this time it is 6x8 inches each side. I love that our son likes to play chess from time to time (especially during winter). And since he's got a Star Wars chess board and Star Wars figures, he likes it even more!

janinelanger-ctk-januar2015-banner-008

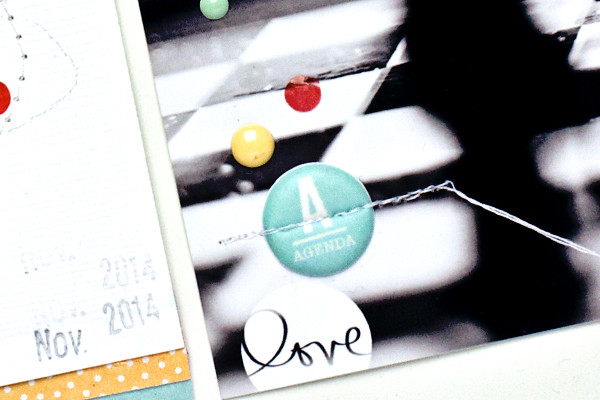
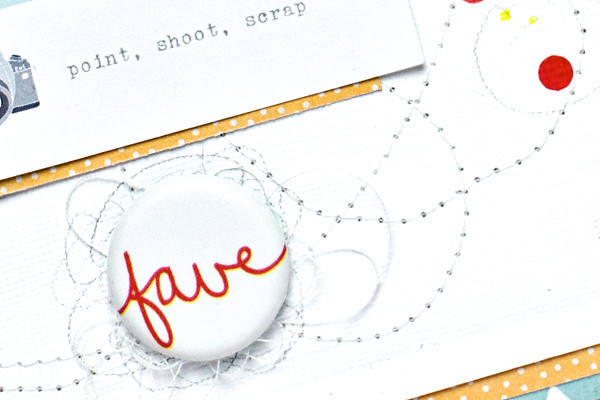
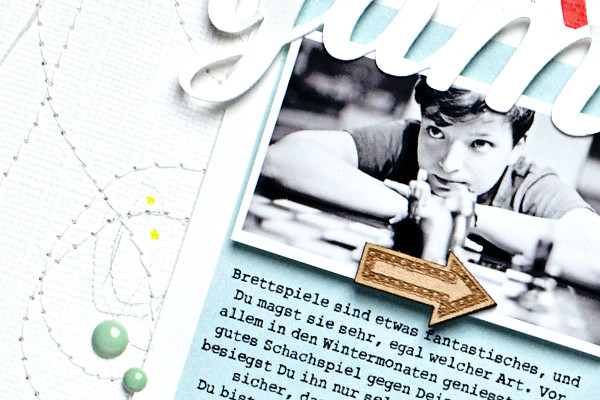
On the left side I added a lot of stitching to give a bit more interest to the cardstock background. I also loved that polaroid card where I printed my journaling on. Other than that, it is again quite simple.

janinelanger-ctk-januar2015-013

janinelanger-ctk-januar2015-012

janinelanger-ctk-januar2015-011

And that's it for today. Thanks so much for stopping by and have a wonderful week!

Sunday, January 25, 2015

Sunday sketch with Christin

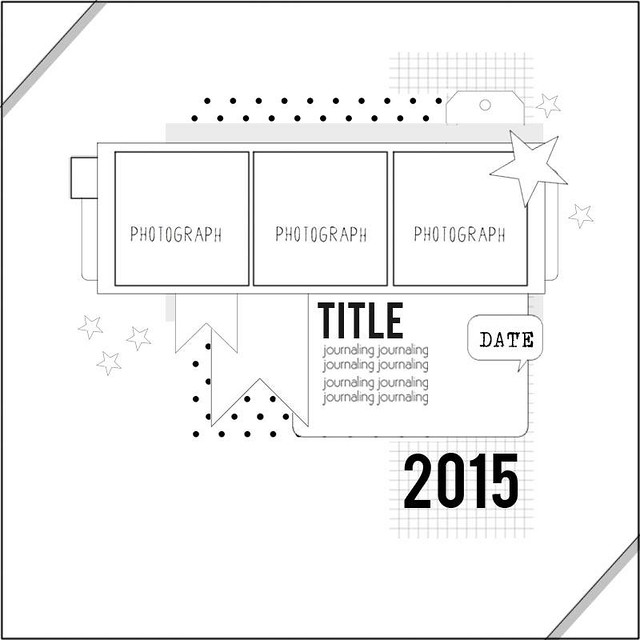
Christin here with the Sunday sketch.

January 25th sketch

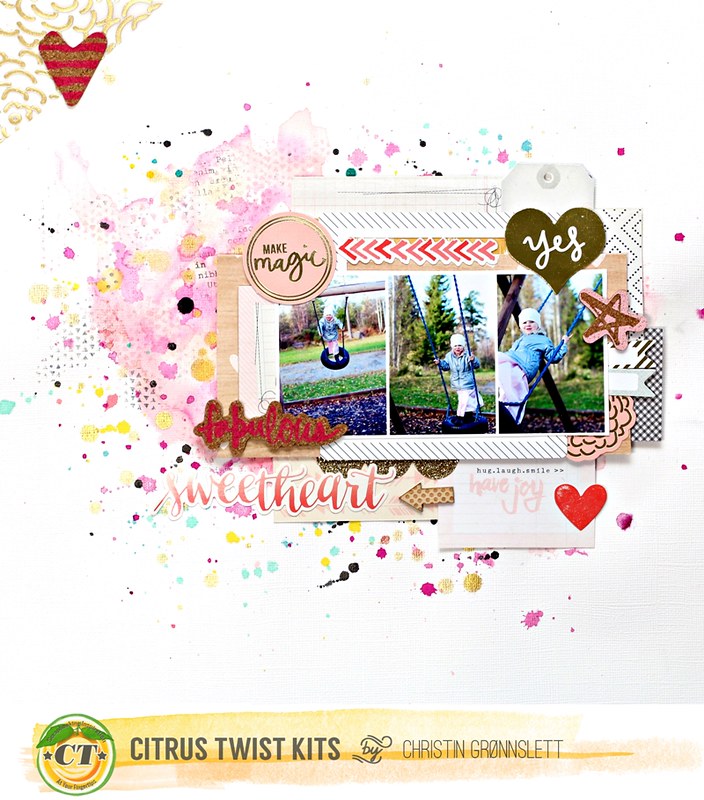
When I scrap I usually mix scrapping one photo and 3-4 photos in a row like with this sketch. That way I can show off more than one angle. I use Photoscape to attach the photos together after I have edited them.

I have used the January Main kit on this layout

CTK January main kit - christin gronnslett 06

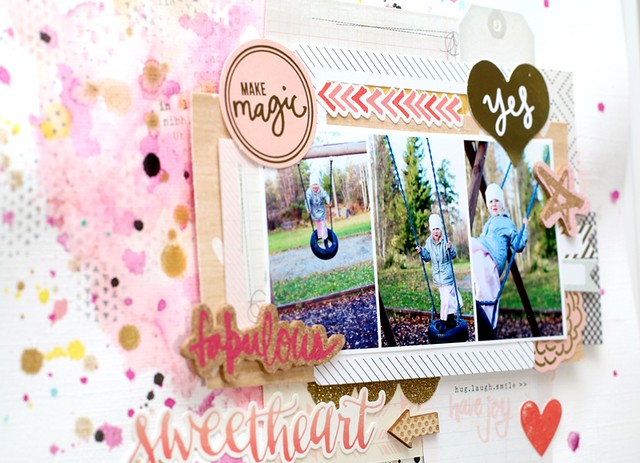
CTK January main kit - christin gronnslett 08
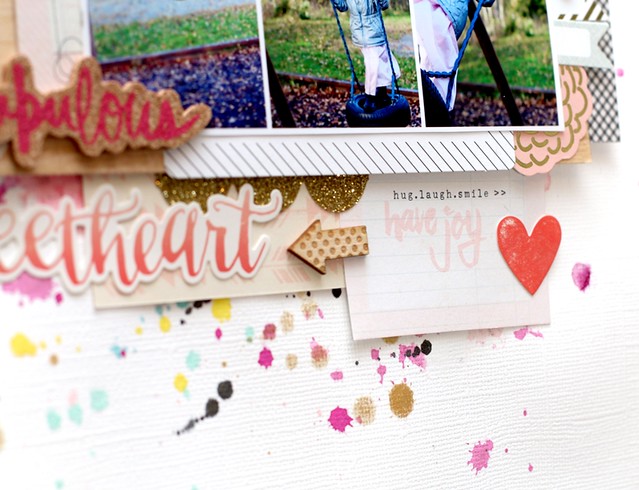
CTK January main kit - christin gronnslett 10
CTK January main kit - christin gronnslett 09

Now it's your turn to take on this week's sketch!  We love to see what you do with our kits and sketches so please make sure to upload your projects to the Citrus Twist Gallery. And remember, by uploading your take on today's sketch to the gallery by 1/31, you will be entered to win a $5 Coupon to use on anything in the CTK Store Also add 1/25 to the title line.