Pages

Sunday, August 31, 2014

Sunday Sketch with Michelle

Hello.  Not only is it the last day of August, it is also time for another Sunday Sketch!  This week's sketch brings you an opportunity for including multiple pictures and lots of embellishments.


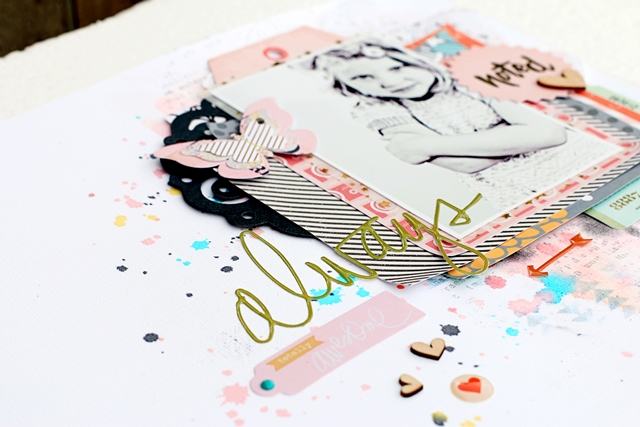
And here is my take on this sketch using products from the August Main, Embellishment, and PL Kits,:

Go Somewhere Lovely

I had originally printed out and planned on using three photos, but as I was laying them out I felt that all three together really overwhelmed my smaller sized layout (8.5x11), so I opted for going with one photo and filling the remaining photo space with a phrase cut from the Shimelle Paper Pad included in the August PL kit.

Go Somewhere Lovely 2

One of the great things about a sketch, is that they can be easily adapted to fit your needs and asthetics which is what I did. This time though, I still wanted to scrapbook the other photos I had eliminated from my layout because all of them together told a more complete story.

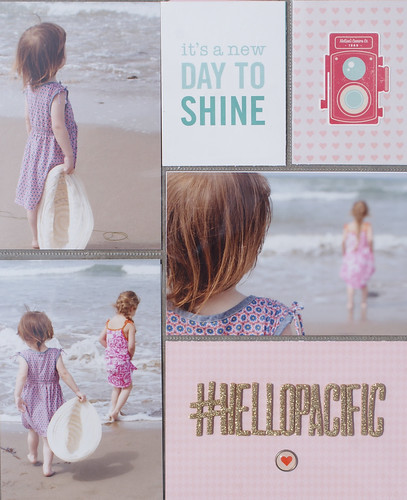
My solution for this, was to include a coordinating pocket page to go alongside it in the album.

Pocket Page


To play along this week and for a chance to win $5 to spend at the CTK Store, upload your projects based off of this week's sketch to the CTK Gallery.  You have until September 6th and please include "Sketch 8/31" in the discription.

Wishing you a great week!

Saturday, August 30, 2014

September Sneaks & the New Website Look

We are thrilled to finally roll out the revamped look for our website. Be sure to pop on over and visit us the view the new look. If you aren't a subscriber you can now see reveal on our site beginning on the 1st day of each month at 10 p.m. PST.

Olya Schmidt (Citrus Twist Kits PL Designer) had this to say about her kit box when it arrived:

"How is it possible for the kits to get better & better each month? Life, I can't even . . . I'm in love with everything."
Let's start off with our September mood board:


Next, are you ready for sneaks?


Add paint and have fun!


For all of our Pocket Life scrapbookers out here, we wanted to share two small sneaks of what's to come in September. This sneak uses the September PL kit and PL Embellishment kits:


Subscribe to our PL kit today, through August 31st, to get in at the current price of $18 (plus shipping--if you haven't heard, the price of shipping is going down on September 1st for our PL-only subscribers) monthly. Beginning September 1st the price of this kit will be $19.50. We have some magic coming on the horizon with the delightful new style and packaging of our PL kits. You can check out our kits here.

Our September kits are filled with wonderful and whimsical elements that we know you will enjoy.


Beginning in September our site reveal will occur at 10 p.m. PST on the first day of each month. Pre sale for our current subscribers begins as usual at 10 p.m. PST on the last day of each month.

What products do you see in these sneaks?

Thank you for visiting the Citrus Twist Kits blog.

Friday, August 29, 2014

Pocket Life with Olya

Hello, hello!
Olya here, with my August pages. I have to say that I thought July's Pocket Life kit was pretty awesome and then Bam! here comes my August one and I just can't stop swooning over all the papers, colours and embellishments. Everything fits together so well, from patterned papers to buttons, from 3x4 filler cards to stickers. But enough of talking, let's look at what I actually created with those August CTK goodies.

This month my husband and I celebrated our 5th wedding anniversary. I wanted to create some kind of layout with our wedding photos and when I saw those 2x2 squares in Shimelle's new patterned paper, I knew I had to use them. I cut a 4x6 photo into 2x2 squares, placed them into pocket protectors, then filled the remaining open spots with papers. I added some embellishments on top of the page protectors because a) I didn't want to fuss with taking papers once they were in the page protectors and b) lately I've been enjoying seeing my embellishments on top of the photos, in a 3D sort of way :)
For the second wedding photo I just trimmed it, adhered to the cardstock that came with the kit and drew some lines and hearts around the photo. I completed the page with some gold accents from August PL add-on and the main August PL kit. Once again, I love how all the embellishments just flow together, making it easy for us, scrapbookers, to put a layout in a pinch.
And here is my 12x12 spread from the everyday Project Life album.

That stamp phrase was perfect for our Jenga night, with game pieces flying in all directions when the tower finally breaks.
Again, look at those stickers and the pretty 6x6 paper in Shimelle's new line. Two words: IN LOVE.
Another love worthy embellishment is this month's wood veneers. I just adore those circle, pie-chart looking veneers. I added some colors to them with my gel pens, let them dry and attached to the paper using little glue dots.
My second 12x12 spread is again full of Shimelle's patterned papers, and embellishments from the August PL kits and add-on.

Thursday, August 28, 2014

Summer Mini Album

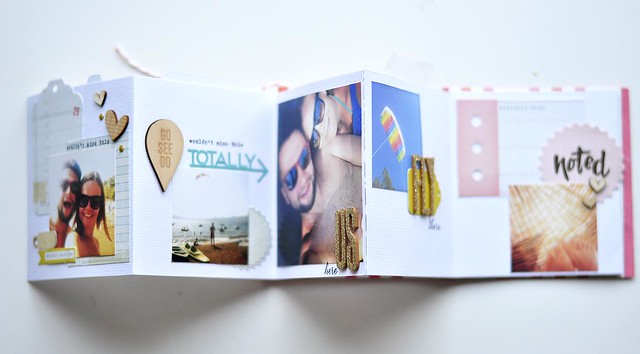
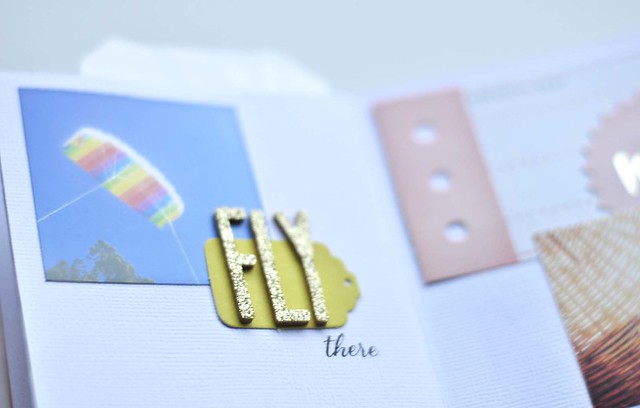
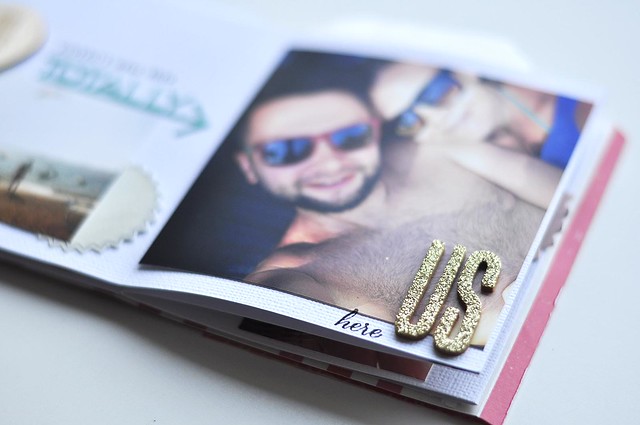
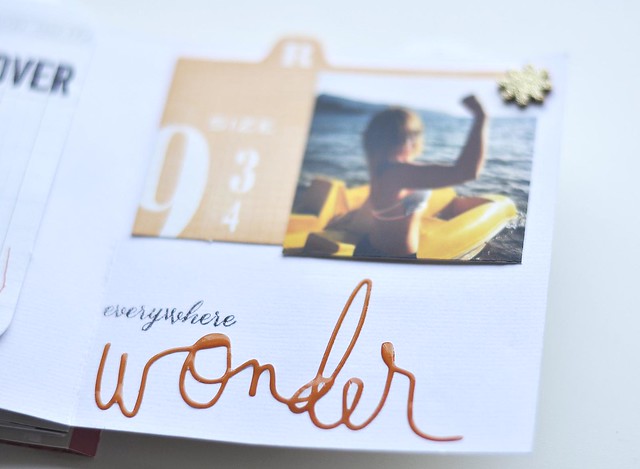
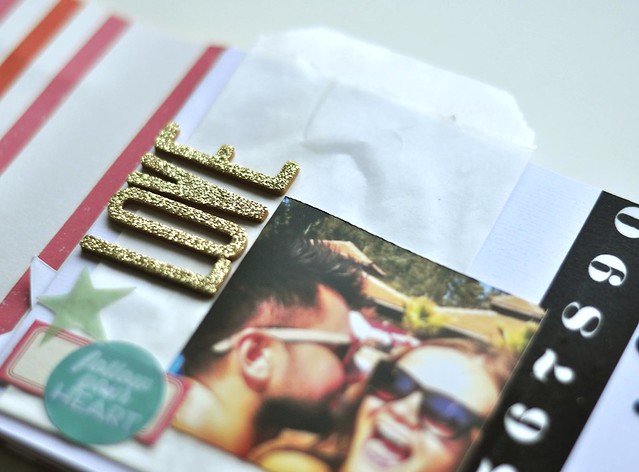
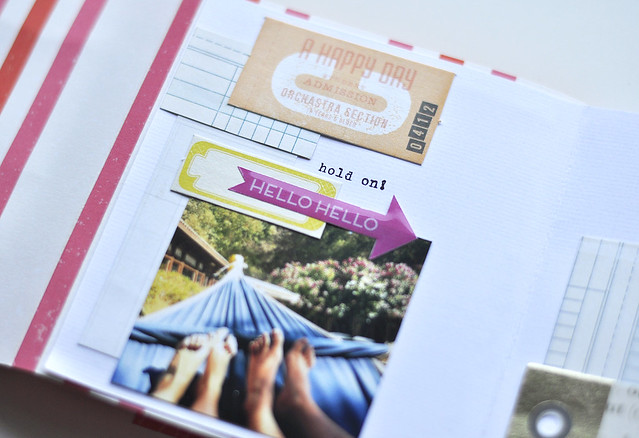
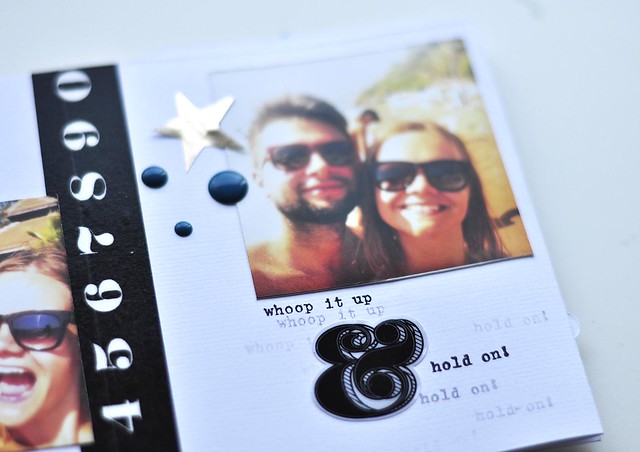
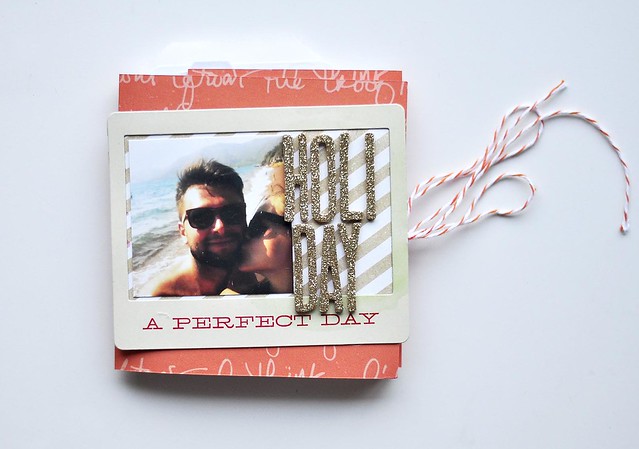
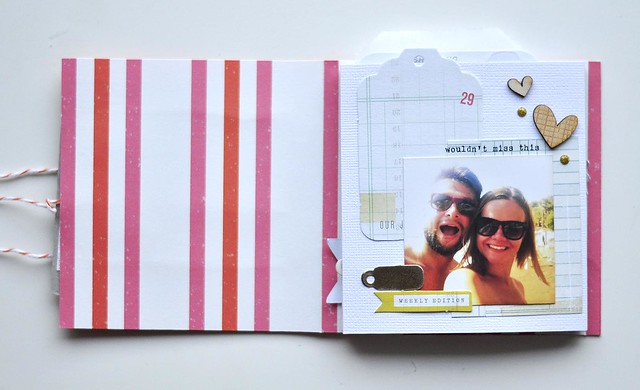
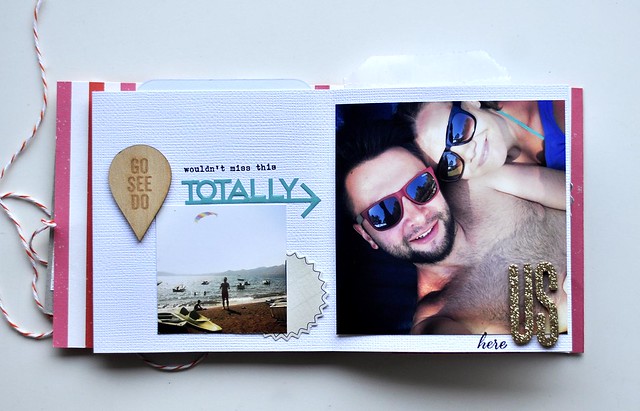
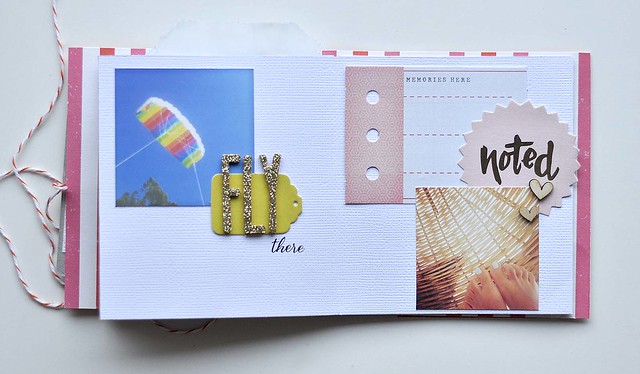
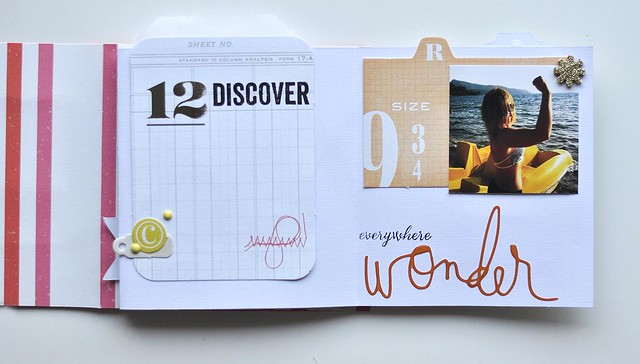
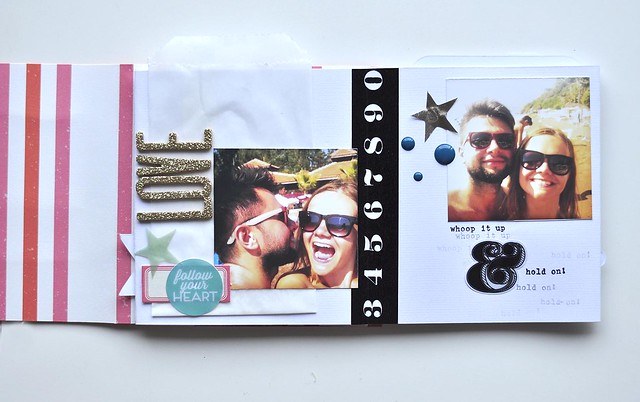
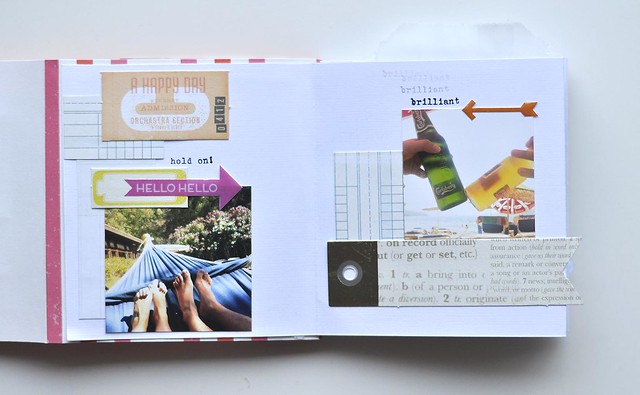
Hello and happy Thursday! It's Kasia here today with a mini album made using the August main kit and embellishment add on kit. I wanted to try something new so instead of making album on my usual base- connected with a metal wire or binding rings- I decided to make a foldable mini book.

mini kasia 3

Inside I used photos from our short holiday in Marmaris- they are so cheerful and bring many good memories. They are all square size, all taken with my iPhone and processed with Instagram. It really couldn't get easier:)


mini kasia 14


mini kasia 13


mini kasia 12


mini kasia 9


mini kasia 10


mini kasia 11

I finished my album by adding some layers built on embellishments and paper pieces from the kits. You can see the end result below:)

mini kasia 1

mini kasia 2

mini kasia 4

mini kasia 5

mini kasia 6

mini kasia 7

mini kasia 8


Have fun documenting your summer memories in mini books! It's a great way to share a story or two :)

Wednesday, August 27, 2014

A View from Our Gallery Plus aSneak Peek of the New Gallery and a Contest

Good morning! We are here to share this week's View from our Gallery, featuring Guest Designer Emily Spahn, plus a sneak peek of our new Gallery (and website look) coming any day along with a chance for you to win a $100 embellishment grab bag.

First we'll start off with a sneak peek of our new Gallery look. We know you are going to love the simple design and ease of using the new Gallery. The design for the new Citrus Twist Kits website has been happening quietly in the background over the past few weeks and we are almost ready for its unveiling. Here is a screenshot sneak:


Next, onto our drawing that we'll be doing on October 1st. We'll be giving away one wildly wonderful $100 embellishment grab bag to one lucky winner. What do you have to do to earn a chance to win? Upload your work to our gallery. For each layout or PL page that you upload you'll earn one chance to win the grab bag. This contest runs beginning today through September 30th 2014.

Now let's take a peek at an extra layout that our August Guest Designer, Emily Spahn, created using her August All that Glitters Main kit.

Emily Spahn

Hi there, Citrus Twist fans! Emily here!  I have one last layout to share this month as the August guest designer.  I don’t usually create my layouts based on the colors in my photos, but the blues and oranges in these photos of my husband and our sons were just too perfect not to use on a layout!!  Luckily, the August All That Glitters kit fit the bill perfectly!  I included all of the orange and blue elements and papers from the All That Glitters kit, as well as a few brads from the Summer Dreaming Embellishment kit.  I also tossed in a few black and gold elements like the glittery gold Thickers and the fun black number tape.

 
I’m often drawn to the look of white on white in layouts I see in other galleries, so I thought I would give it a shot here to add a bit of dimension to my layout. I randomly cut a few uneven strips and placed them on the top white section of my layout and then flicked my mist over the top and added a few fun enamel dots, which are one of go-to embellishments!

 
 I decided not to add journaling to this layout which is something I do sometimes if I can’t find a “perfect” spot for it.  Sometimes, I will also add journaling to the back, but in the case, I included that the photos were taken on Easter and how old everyone was, which is perfectly sufficient for me! All in all, this is a fun, simple layout that I was able to create rather quickly, which is always good when you are strapped for time!

  
I had a blast creating with the August kit! A big thank you to Citrus Twist for having me!

Tuesday, August 26, 2014

Layout process with Christin

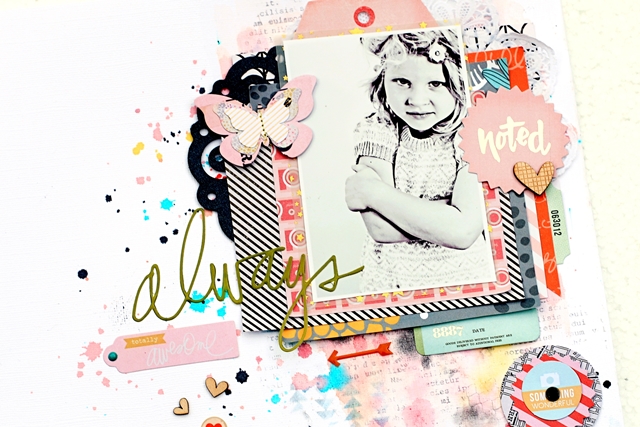
Christin here to day to give you a little step by step tutorial of how I make my layouts.Here using the August Main kit and Embellishment kit and some pieces of 6x6 papers from the PLKit. (paper doily from my own stash)

First the finished layout.
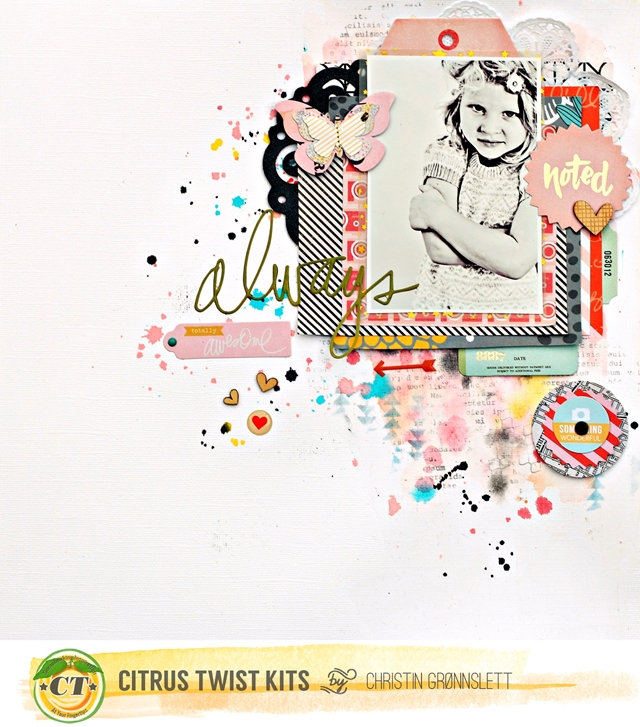
CTK August Main Kit tutorial Aug 26th Christin G 18

I always start with a white cardstock. When I get my kits I often make small minikits for each layout picking out the papers and the embellishments I want to use for each layout. I don't always end up using all the pieces, but I try to boost the creativity by giving me some extra time to plan.  I don't like mixing colors too much, but I want some contrast in my layouts. I made mini kits for all my four layouts this month the same way.
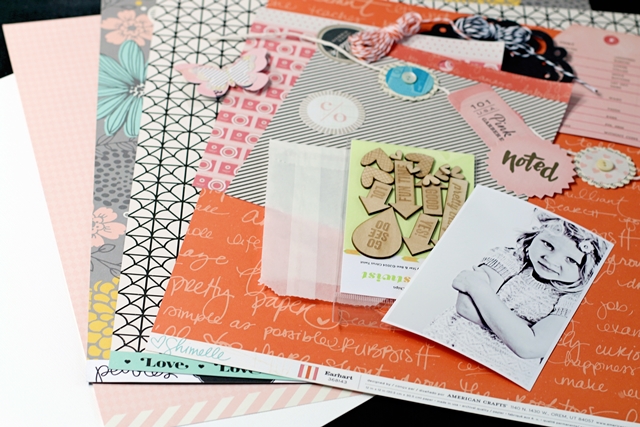
CTK August Main Kit tutorial Aug 26th Christin G 01

Next step: backgrounds. Since it takes a while for my backgrounds to dry I like to make them in bulks. I pick out the mists and mediums I want for each layout and make them at the same time.

These are the mists I chose for this layout.
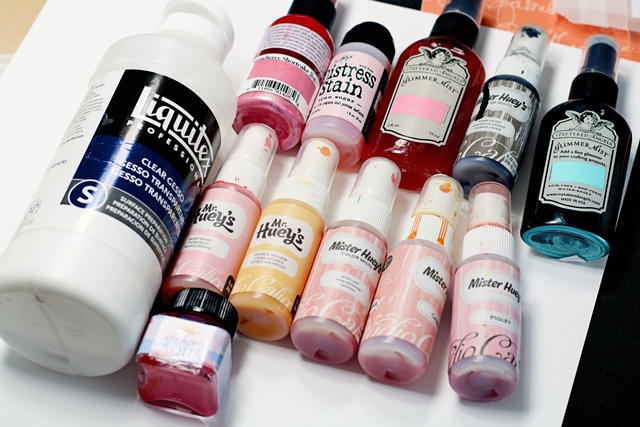
CTK August Main Kit tutorial Aug 26th Christin G 02
I always use clear gesso and not white gesso when I make my backgrounds and for several reasons. I use ordinary white Bazzill as I like the structure and color of it and white gesso looks yellow on the white cardstock,  the white gesso is also very smooth and it feels like the mists will run off, the clear gesso is mucher rougher when you touch it and I feel works better with the mists.  To spread out the clear gesso I use a long ruler to get it even and no lumps.
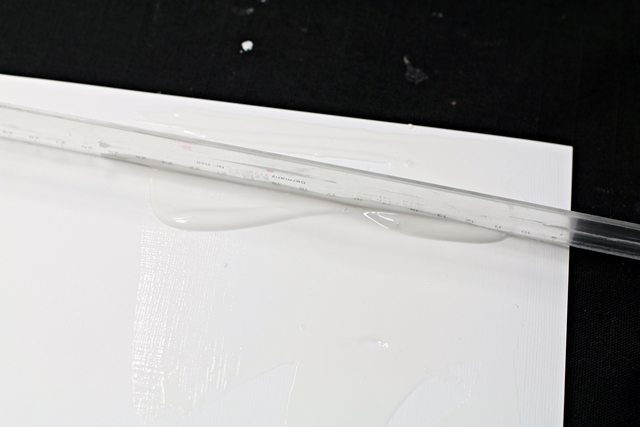
CTK August Main Kit tutorial Aug 26th Christin G 04
I wrote earlier that I often make backgrounds in bulk, the same goes with layering. I don't use my heat gun to hurry up the drying time. In stead I start cutting the layouts roughly how I want it.  Notice how I don't use anything else beside my scissors.  It just feels better and I can see better when I cut.  My thoughts about layering is that nothing has to be precise, quite opposite, it feels stiff when it gets too linear.   I cut some pieces bigger and some smaller. And as long as you add mulitple layers it doesn't really matter how you layer them, it can't go wrong...
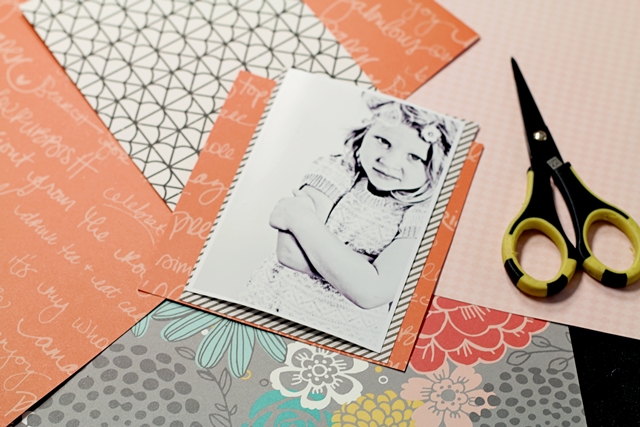

CTK August Main Kit tutorial Aug 26th Christin G 05

After I cut everything I test layer it on a piece of white cardstock, to see if I need more layers or not. Notice that the finished layout didn't look exactly like this....
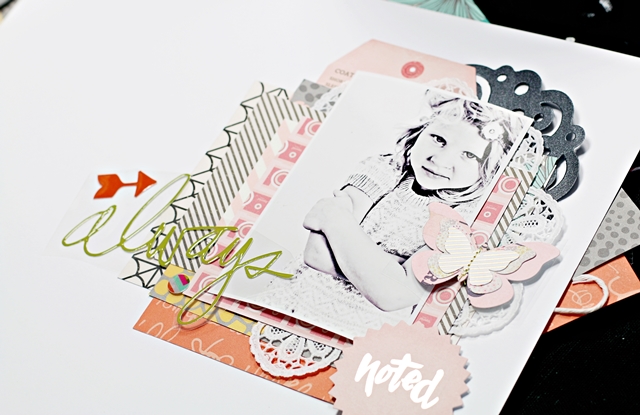
CTK August Main Kit tutorial Aug 26th Christin G 06

Now my clear gesso has dried up and it's time to start playing with the mists. I like to get a watercolor feeling, without working with the real thing.   I add a little water to my cardstock and start dropping mists, Ecoline or similar mediums,. Then I use a waterbrush or brush with water to spread out the color.
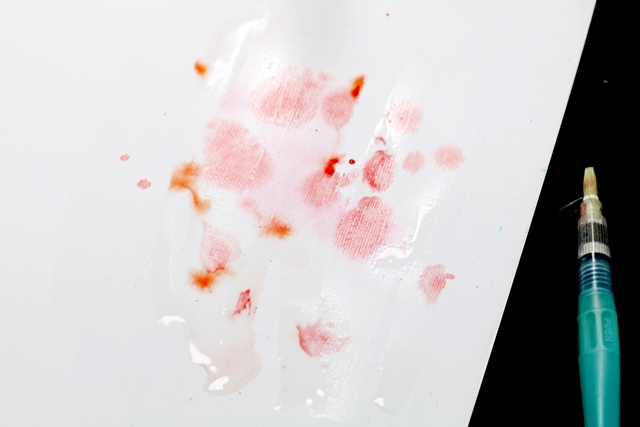
CTK August Main Kit tutorial Aug 26th Christin G 07

To avoid bulky cardstock and too heavy color I use babywipes and/or paper towels to remove water. 
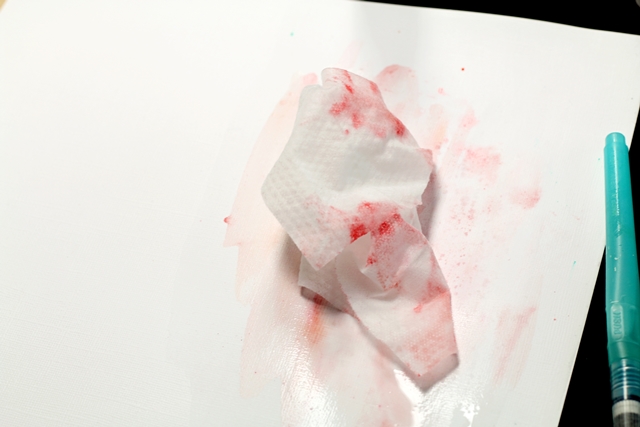
CTK August Main Kit tutorial Aug 26th Christin G 08

After all the colors have dried I add more dimension to the page by adding layers of stenciling and layers with stamps. All to ease the transition between the layers of paper and cardstock.
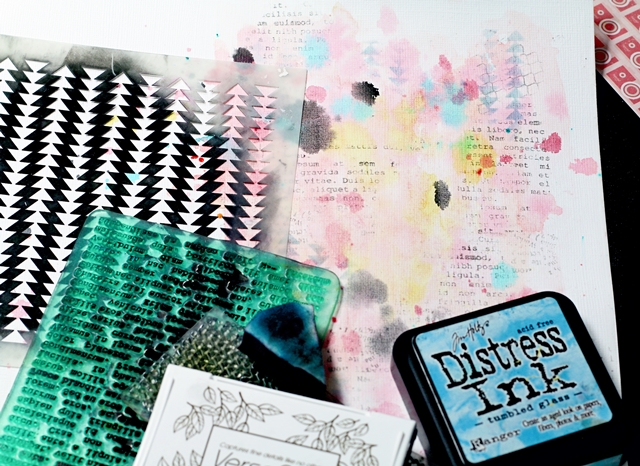
CTK August Main Kit tutorial Aug 26th Christin G 09
Here is the finished background. I end up cover most of it, but it doesn't matter, you can see some of it.  I work with layers on the coloring. When I drop the mist in water it acts like when water is freezing and spreads out in similar pattern.  You have to let it completely dry before you add drops of mists that you DON'T want spreading out and only look like small drops...
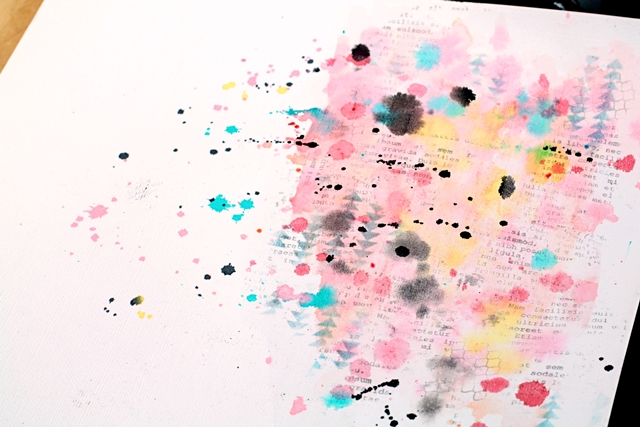
CTK August Main Kit tutorial Aug 26th Christin G 10
After finishing the background it's time to go back to my layers of paper.  When I am happy with the layers I either staple the papers together or to the white cardstock, allowing me to stick pieces of papers and stickers between the layers with ease.
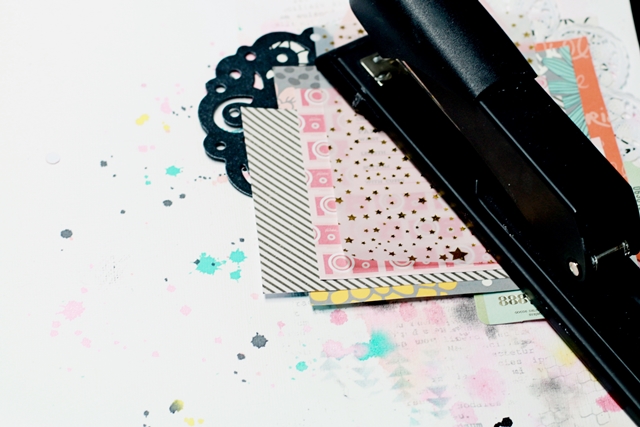
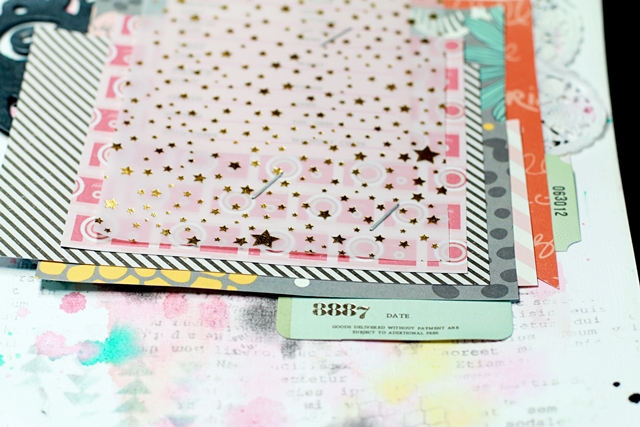
CTK August Main Kit tutorial Aug 26th Christin G 11
CTK August Main Kit tutorial Aug 26th Christin G 12
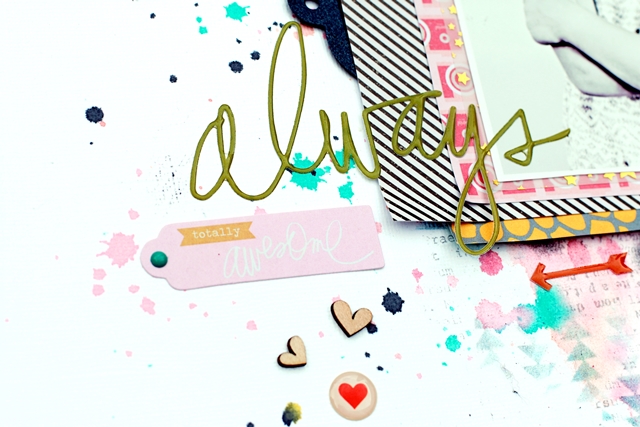
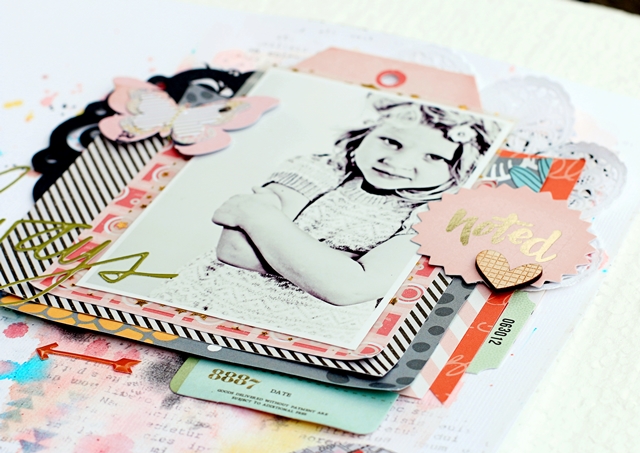
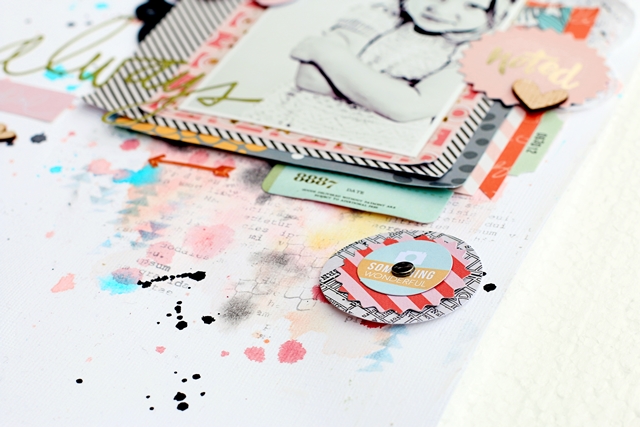
Here is the finished layout again CTK August Main Kit tutorial Aug 26th Christin G 18 And some closeups.
CTK August Main Kit tutorial Aug 26th Christin G 13 CTK August Main Kit tutorial Aug 26th Christin G 14
CTK August Main Kit tutorial Aug 26th Christin G 15 CTK August Main Kit tutorial Aug 26th Christin G 16 CTK August Main Kit tutorial Aug 26th Christin G 17