
I love searching Pinterest for fun, graphic patterns. You can find them in all sorts of surprising places-- even shower tile, which was the inspiration for this pattern! This is such an easy way to make a big impact on your layouts, and to showcase colorful patterned papers. All you need are a variety of patterned papers, a paper trimmer, adhesive and a sewing machine. First, trim strips of patterned paper one half inch thick by 12 inches long.
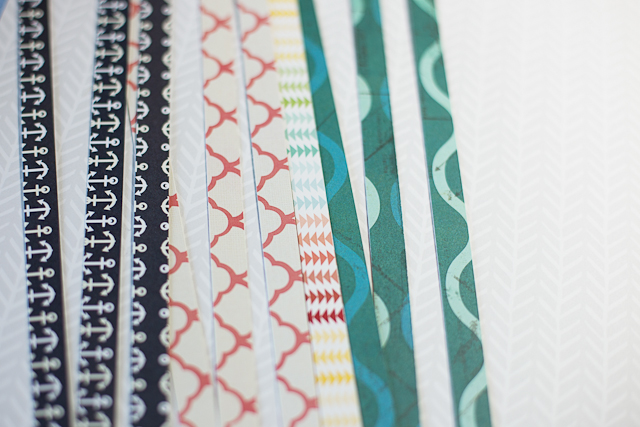
Next, cut each strip into four, three inch long, smaller pieces.
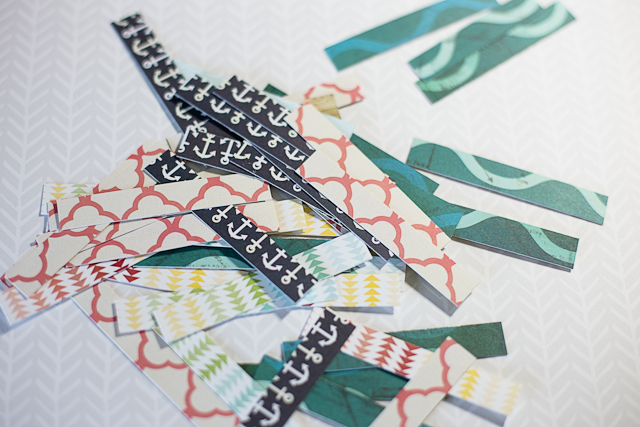
Run a line of adhesive along your background paper in a vertical line. Adhere each of the paper strips in the pattern as shown.
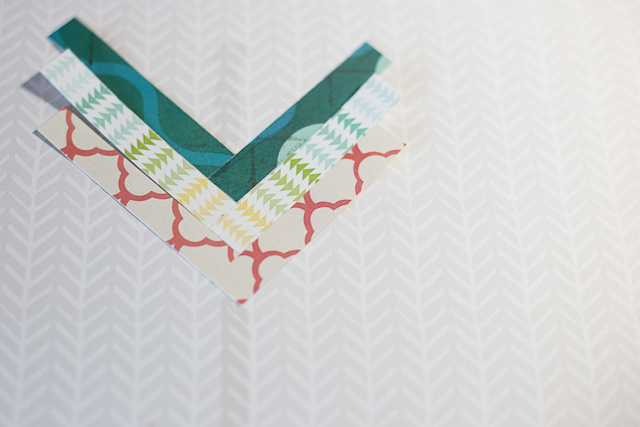
I chose to keep each pattern in it's own zig zag to better define the overall chevron pattern, but you could easily mix them up for an even funkier, eclectic look as well! Continue running strips of adhesive and adhering pieces of paper until you finish your design.
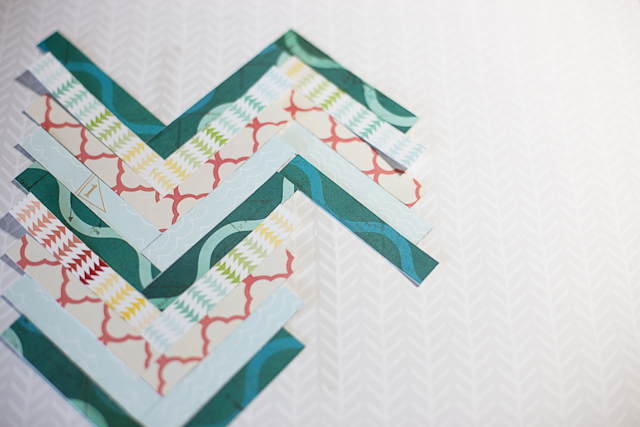
Machine stitch with your sewing machine in vertical stitch patterns for added texture and to permanently adhere your paper pieces
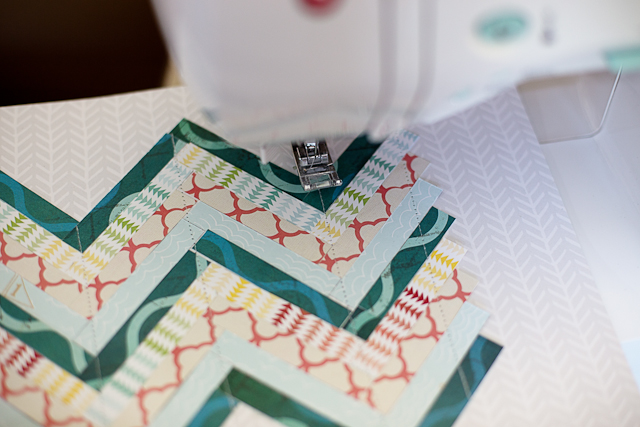
Add your photos (I framed mine with the awesome slide frames from Crate Paper's The Pier Collection), embellishments, title and journaling card (I tucked mine behind one of my photos).
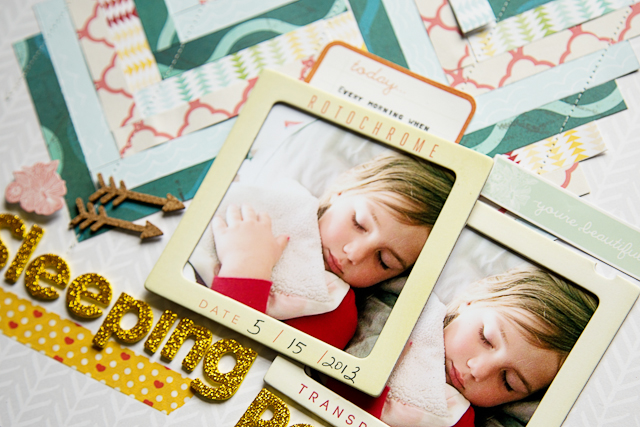
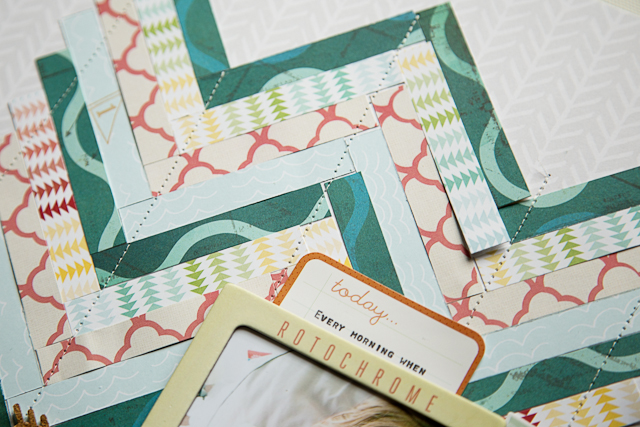
Finally, stand back and admire your work!

Thanks so much for joining me today! I hope you'll try this technique on a future layout!

I love that pattern and will definitely be trying this technique soon! Thanks Katie! :)
ReplyDeleteThanks so much, ladies!
ReplyDelete